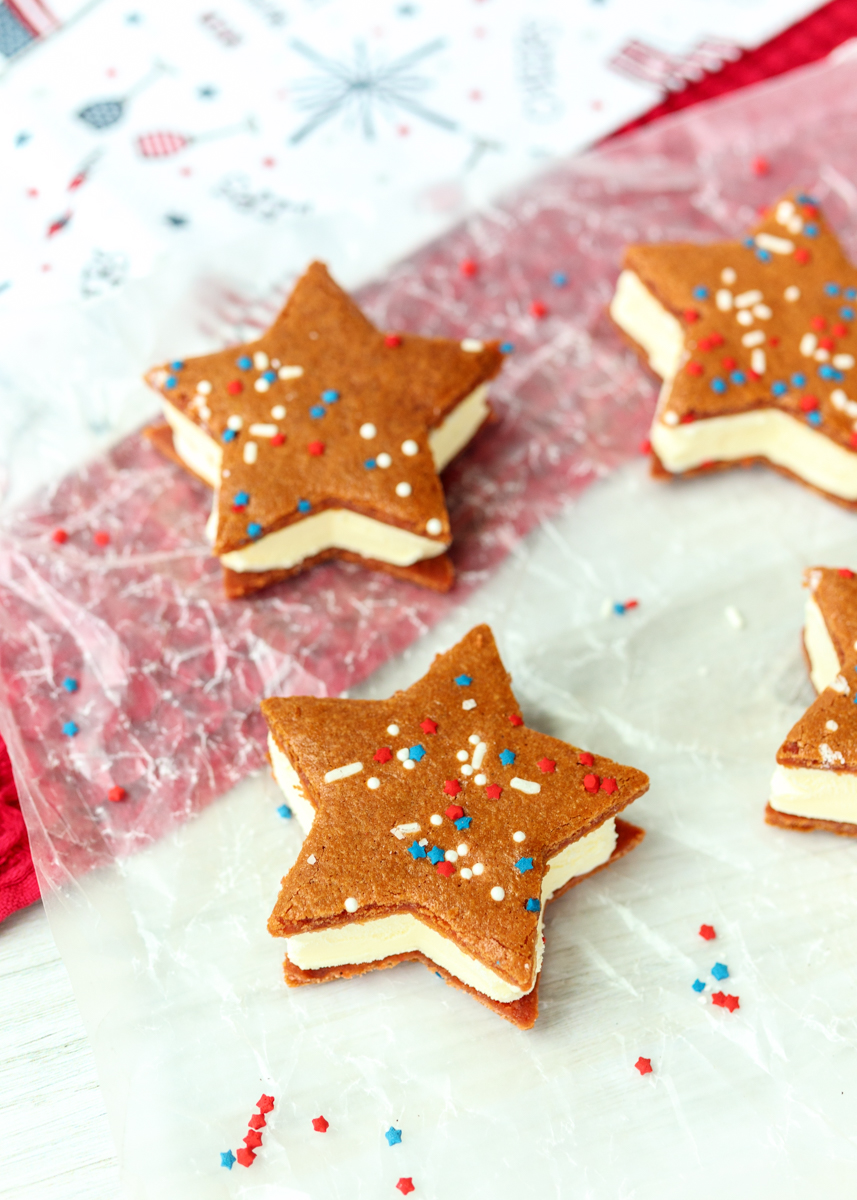
Ice Cream Sandwich Stars
Even though it’s still June I’m here sharing the Food Network Magazine July cookies because they are perfect for the Fourth of July. Like the May macarons I skipped, these cookies were slightly involved, but there’s also ice cream so of course I stuck it out.

Have you ever made homemade ice cream sandwiches? I have a handful of times, but they can be difficult to get right because the texture of the cookies is so important. The cookies needs to be soft enough that they don’t get too hard in the freezer so you can actually bite through the ice cream treat. They also can’t be too soft that the cookie falls apart when you try to put the ice cream sandwich together.
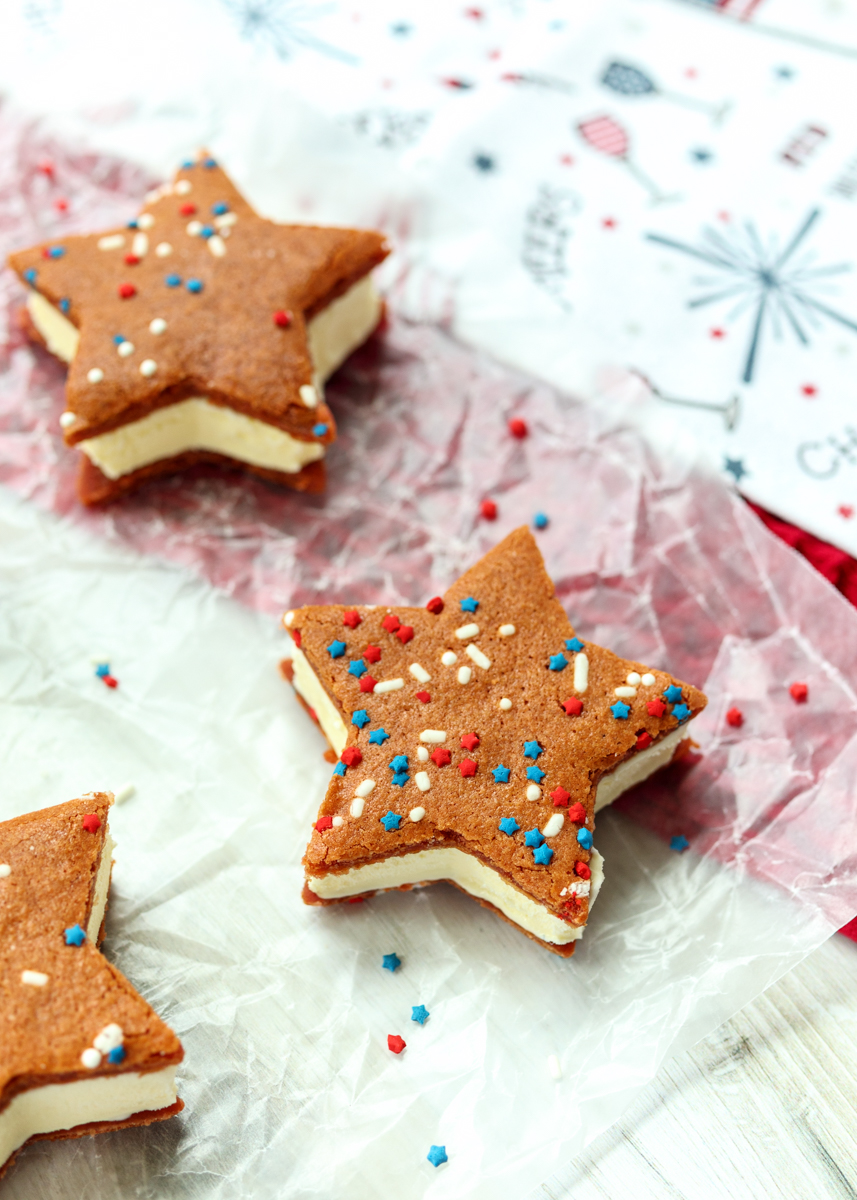
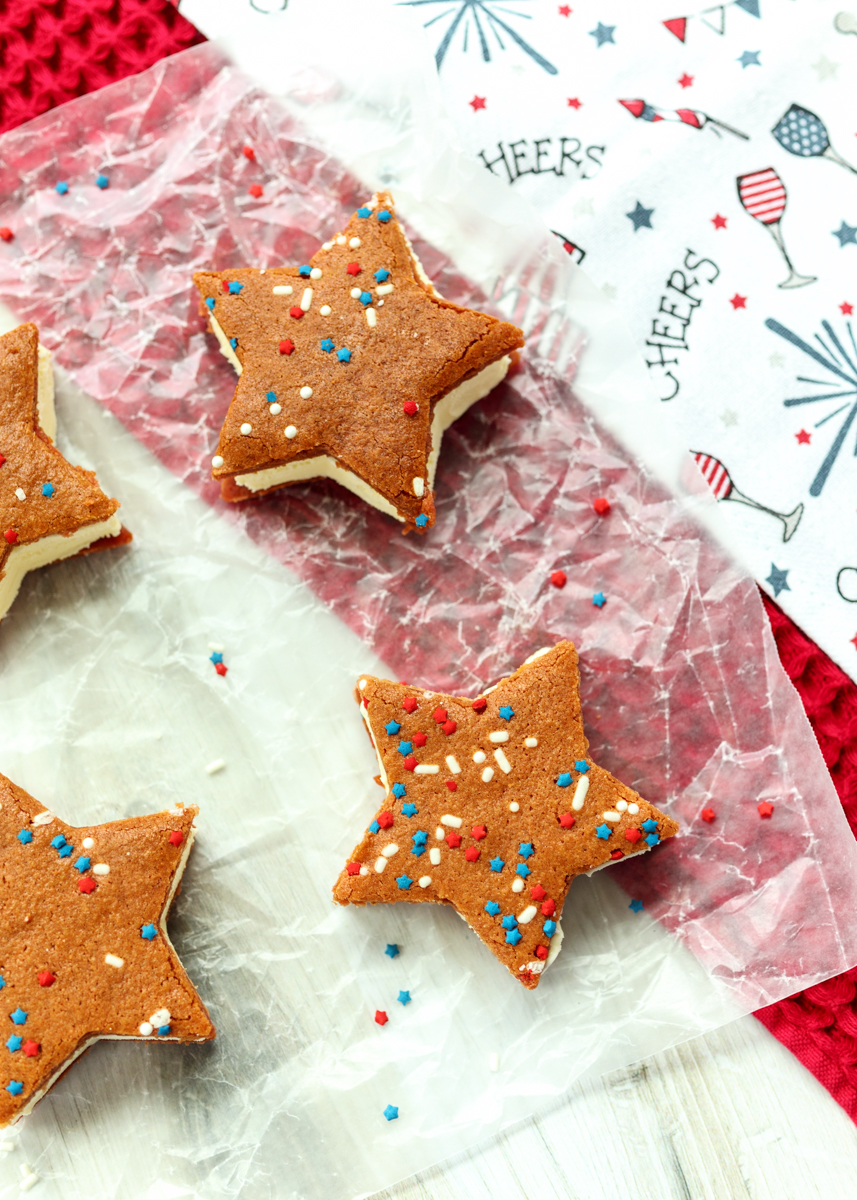
One thing the Food Network Magazine got right was definitely the texture of the cookies for these Ice Cream Sandwich Stars. I thought they were too soft and underdone when I baked them, but they ended up being just the right texture for ice cream sandwiches. The cookies have a malted milk vanilla flavor that isn’t too sweet, which is another reason they work well for making into ice cream sandwiches. I would not recommend baking and eating these cookies on their own; they seem specifically designed for consuming with creamy vanilla ice cream.
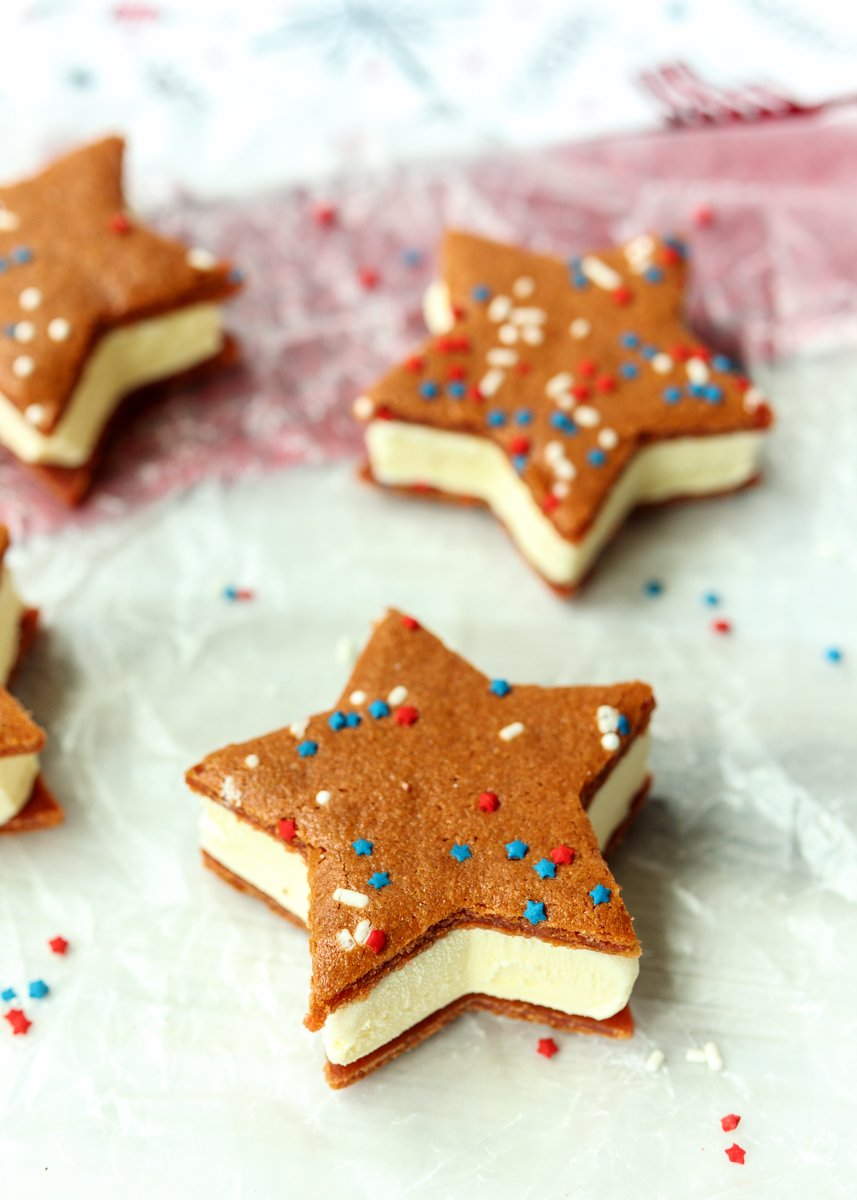
If you get the Food Network Magazine then you know their version of these cookies are bright cherry red. I did run out of red gel food coloring so mine shown here only have half the amount the recipe below calls for, but even with the full amount I’m not sure how the cookies would ever be that color since the cookies get fairly browned by being baked in the top 1/3 of the oven. I’m curious to see if anyone else is able to get the ice cream sandwiches that bright red color or if it was all food styling and editing tricks.
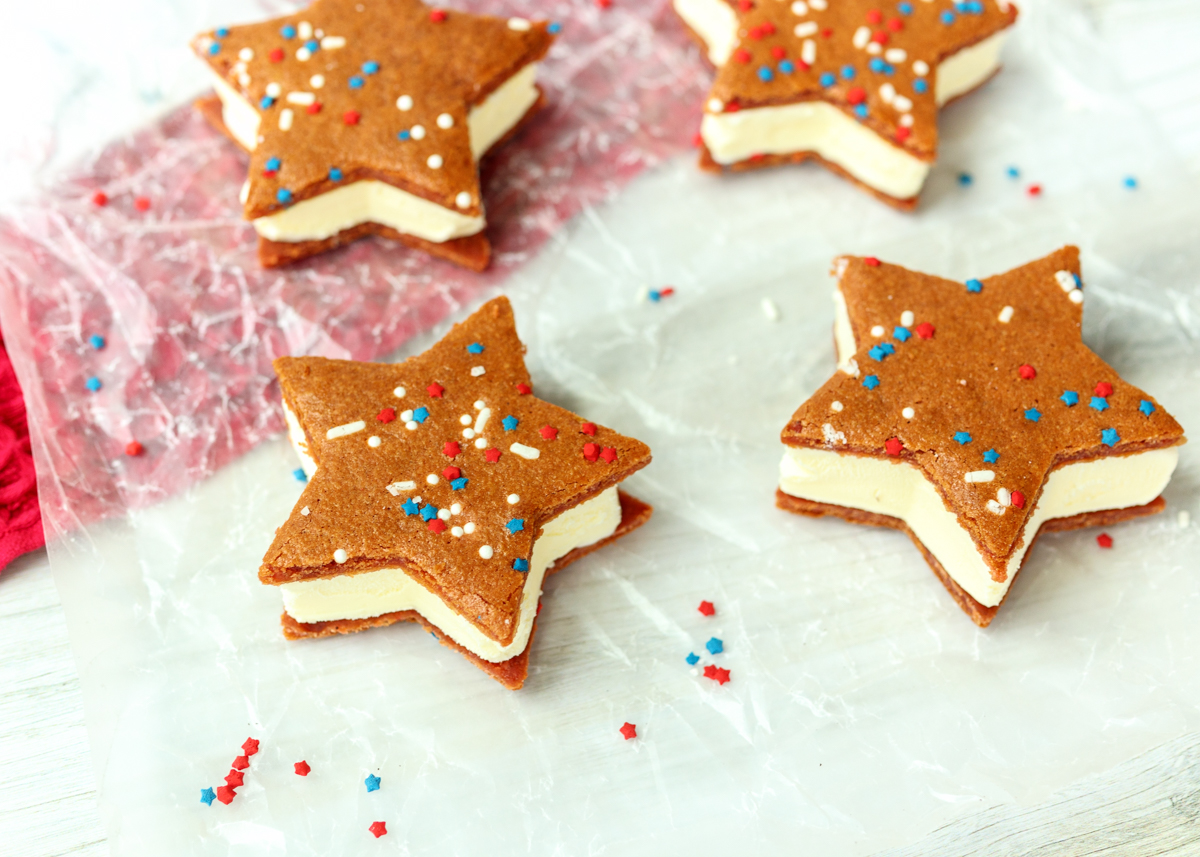
Either way, they still looked cute with all the Fourth of July red, white and blue sprinkles. I have an easy red, white and blue dessert I’ll be sharing next week right before the holiday so stay tuned!
- 4 tablespoons unsalted butter, at room temperature, plus more for the pan
- 2 cups all-purpose flour, plus more for the pan
- 2 teaspoons vanilla extract
- 1½ teaspoons red gel food coloring
- ½ cup whole milk
- ½ cup malted milk powder (such as Carnation original)
- ¾ teaspoon salt
- ¼ teaspoon baking powder
- ¼ teaspoon baking soda
- ¼ cup vegetable shortening
- ¾ cup granulated sugar
- ¾ cup packed brown sugar
- 3 large egg yolks
- Red, white and blue nonpareils or 4th of July sprinkles, for decorating
- 3 pints vanilla ice cream
- Preheat oven to 325 with the rack positioned in the upper third of the oven. Line a rimmed 13x18-inch baking sheet with parchment paper, buttering the pan so the parchment paper stays put. Butter and four the parchment, tapping out the excess flour.
- In a liquid measuring cup, stir together the vanilla, food coloring and milk. Set aside. In a medium bowl, sift together the flour, malted milk powder, salt, baking powder and baking soda.
- In the bowl of a stand mixer or in a large bowl with a hand mixer, beat the butter, shortening, sugar and brown sugar on low speed until combined. Beat on medium-high speed until fluffy, about 5 minutes. Add the egg yolks, beating after each addition, until combined, scraping down the sides as needed. Add the flour mixture then beat on low until just combined. Add the milk mixture and beat on medium until smooth. Pour the batter into the prepared pan and then spread until even. Sprinkle the nonpareils or sprinkles over top then bake for 25-30 minutes, or until a toothpick inserted in the center comes out clean and the cake is just set. Cool completely in the pan set on a wire cooling rack. Once cool, use a 3¼-inch star cookie cutter to cut out 18 stars. Let the cookie stars sit in the fridge to firm up until you are ready to sandwich then with the ice cream.
- While the cake is baking and cooling, cut out the ice cream stars. Line a baking sheet (that will fit in your freezer) with parchment paper. Take 1 pint of ice cream out of the freezer. Turn it on its side and cut into ½-inch thick slices, right through the cardboard and ice cream, starting with the wide end. You will get 3 to 4 slices out of the pint. Place the pint slices on the parchment and remove then cardboard wrapping then place the baking sheet in the fridge to firm up. Once the slices have firmed up, use a 3¼-inch star cookie cutter to cut the slices into stars, placing the ice cream scraps in a container for another use. Put back in the freezer then repeat with the remaining two pints.
- Once the ice cream stars are firm enough to handle, working with a few at a time sandwich the ice cream stars between 2 of the cookie stars. Return to the freezer until ready to eat. If not eating right away, wrap them in plastic wrap after they’ve had a chance to firm up.
Recipe from January/February 2019 issue of Food Network Magazine.
Some of the links above are affiliate links, which means I may receive a small commission for my referral. This does not affect the retail cost of the item. Thank you for supporting Lemon & Mocha!