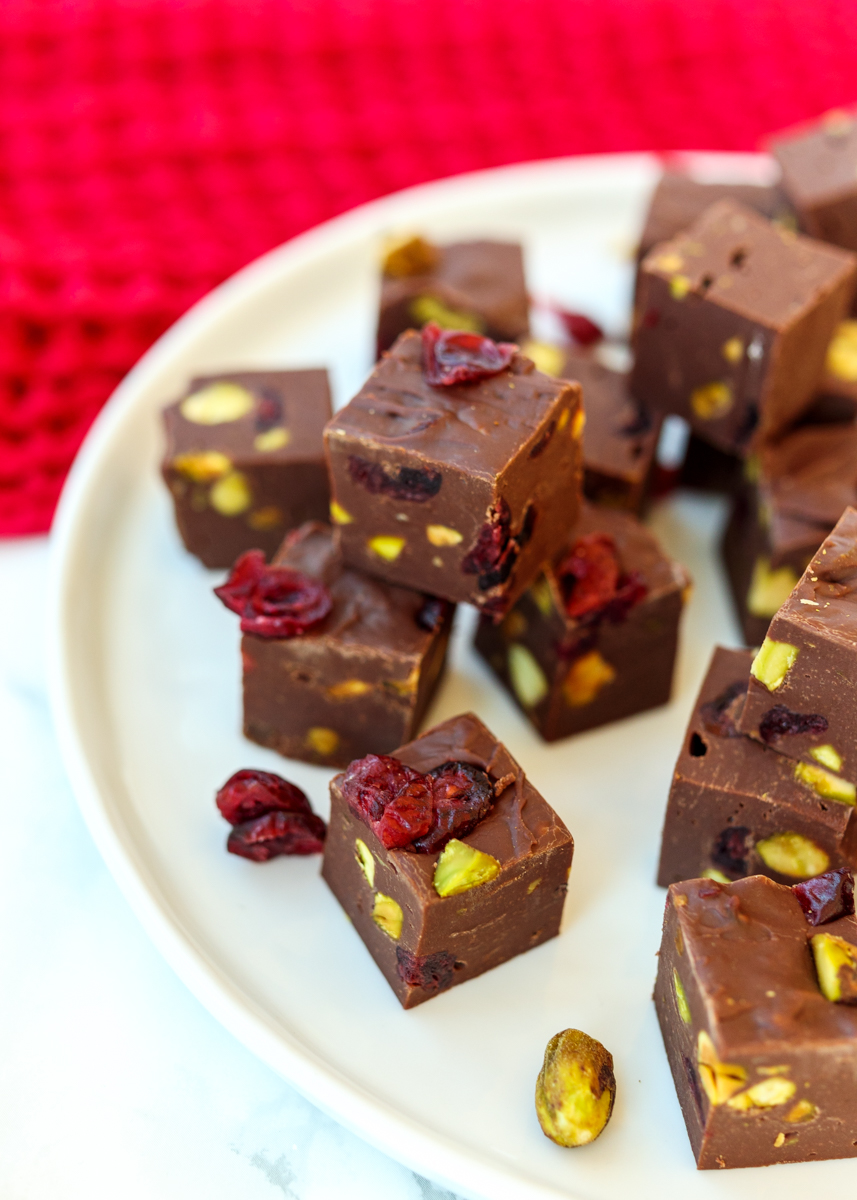
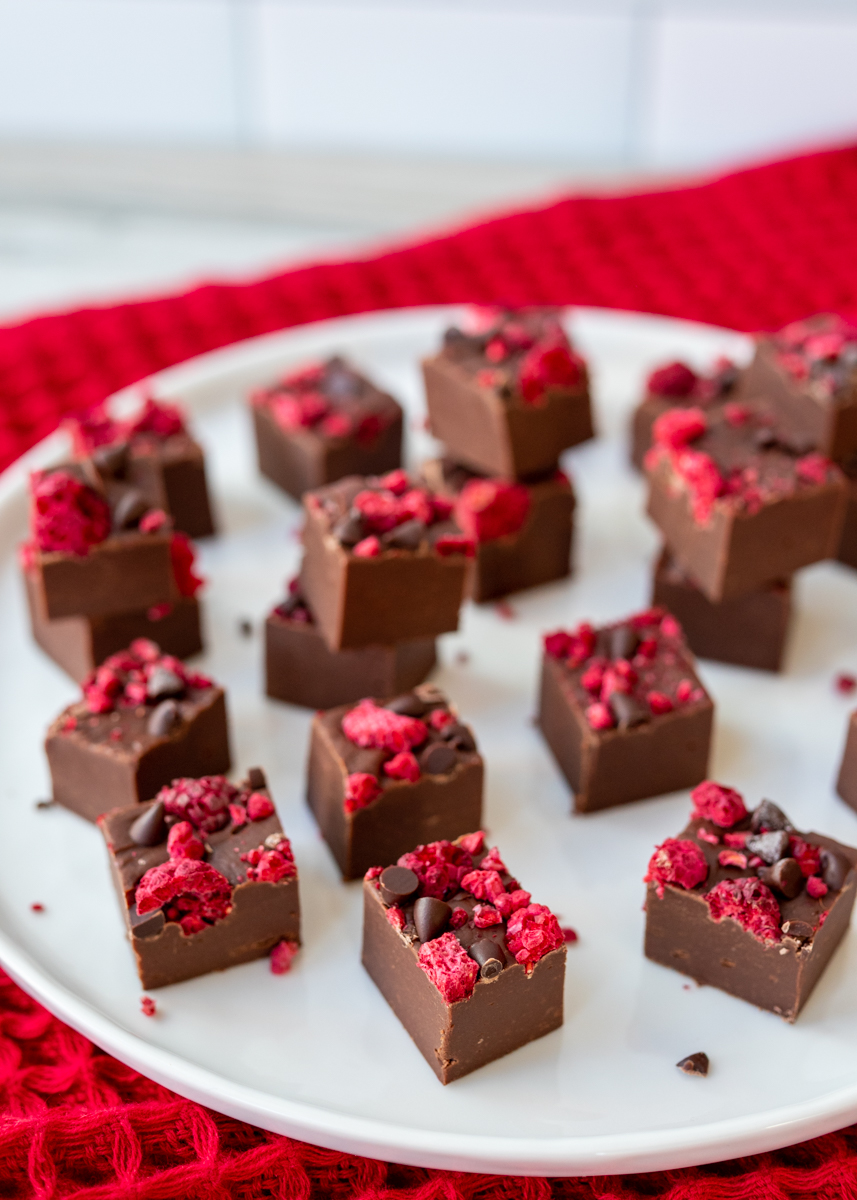
Dark Chocolate Raspberry Fudge
Good morning, everyone! Fudge week is continuing here on Lemon & Mocha with this Dark Chocolate Raspberry Fudge. Similar to Monday’s variation, the Dark Chocolate Raspberry Fudge introduces a tart element that pairs extremely well with the rich chocolate.
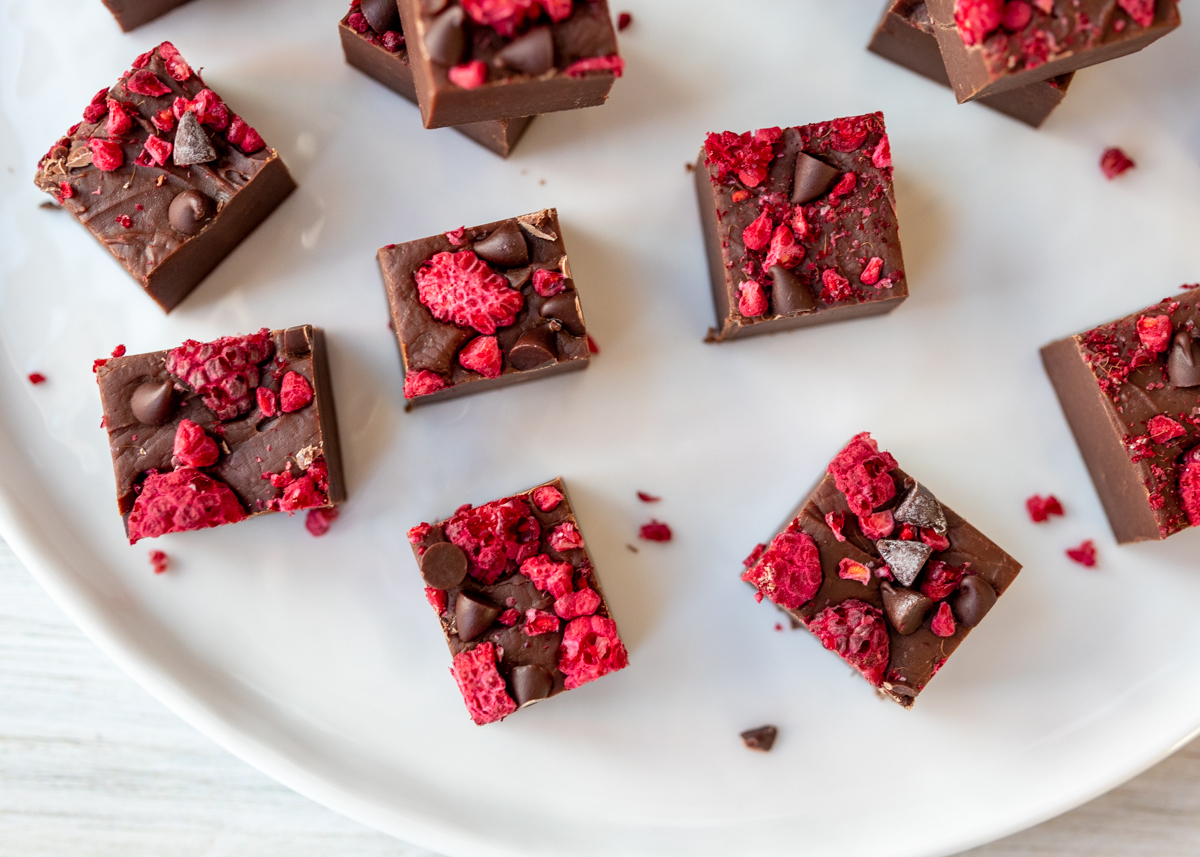
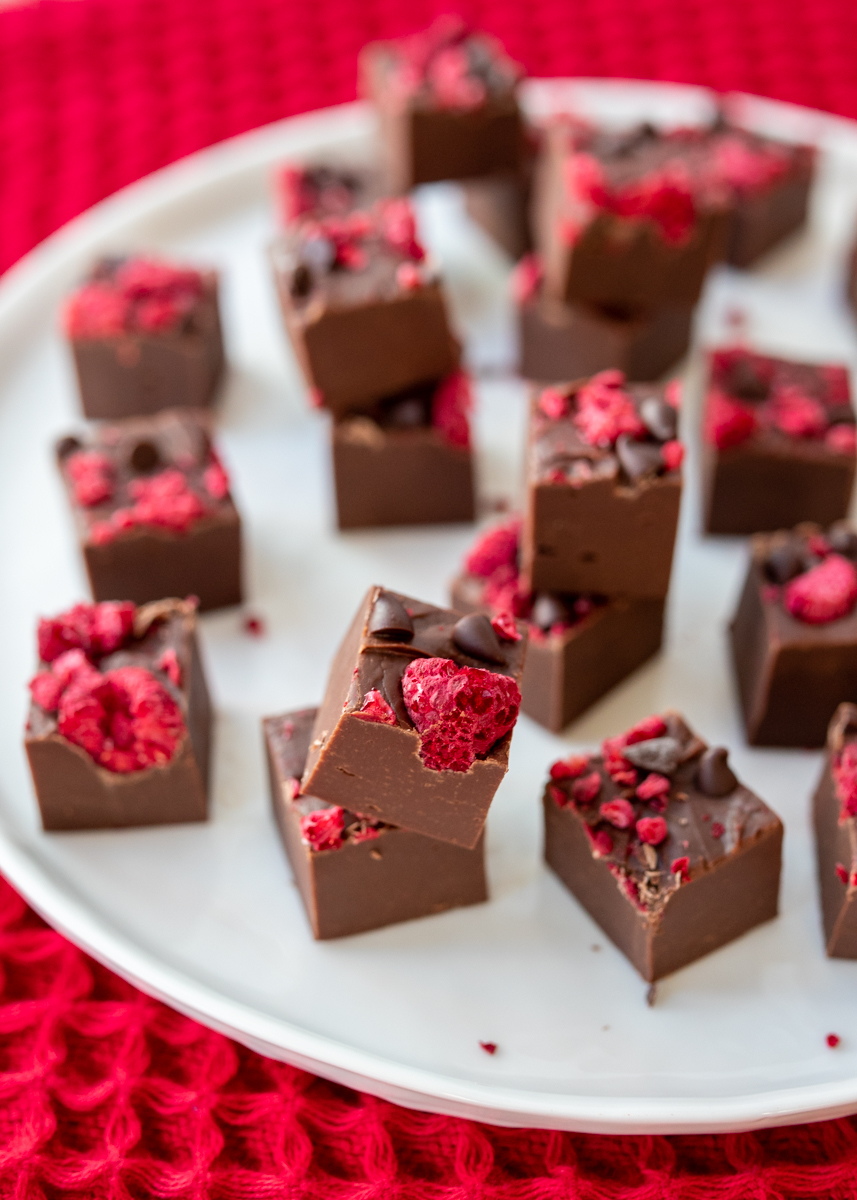
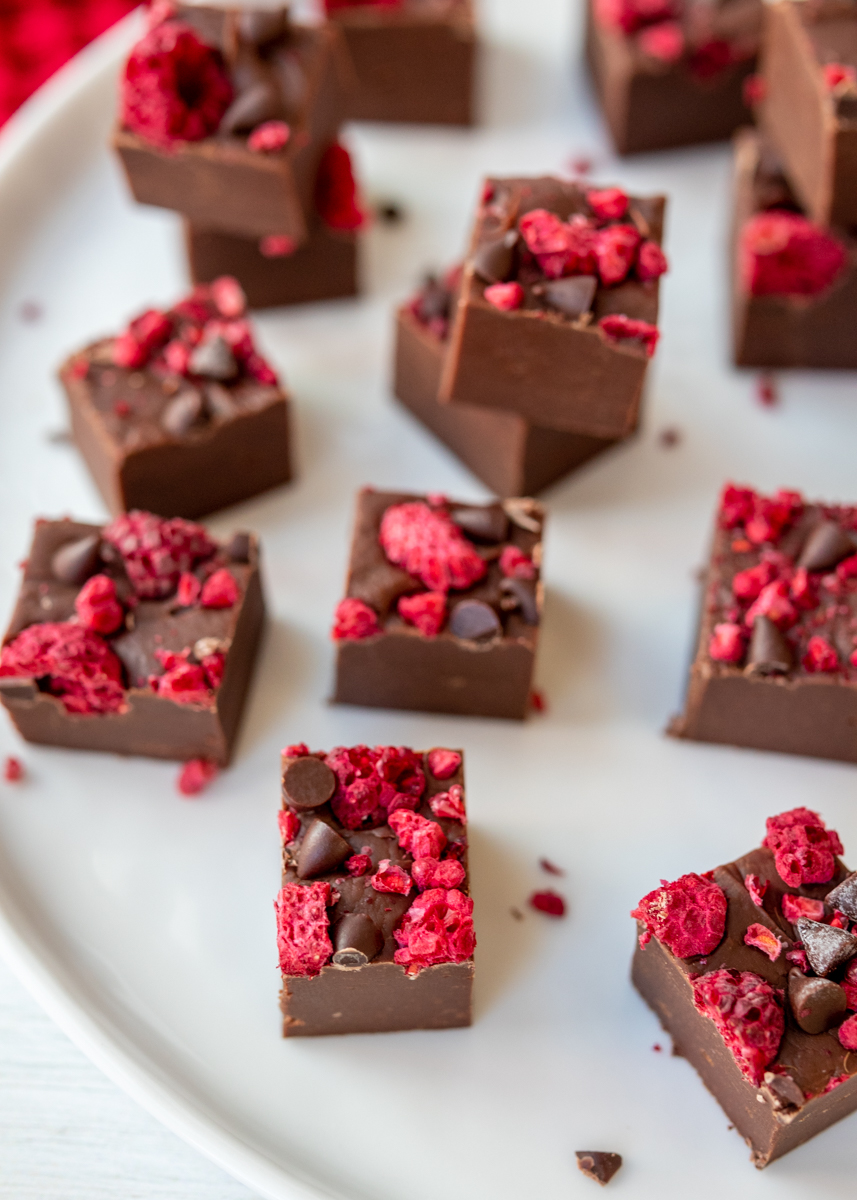
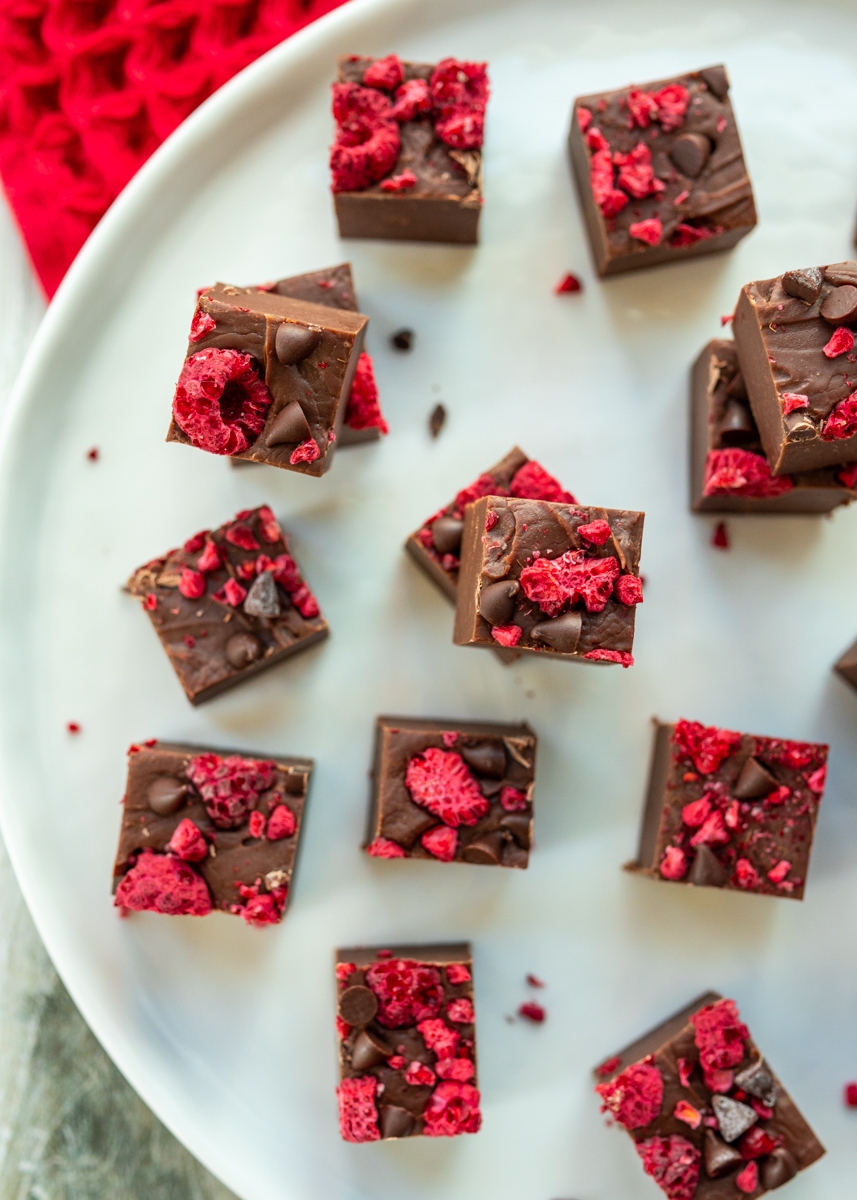
Sometimes in the fall and winter flavors can become really heavy so I love having a dessert with a bright fruitiness or acidity, which is exactly what we get with this Dark Chocolate Raspberry Fudge. I’ve taken our classic chocolate fudge base and added raspberry extract before topping it off with some freeze dried raspberries and mini semisweet chocolate chips.
If you’ve had the World’s Smoothest Chocolate Fudge then you know it’s quite rich in its chocolate flavor so it takes a bit to break through all that chocolateyness. The amount of raspberry extract and freeze dried raspberries we’re adding allows the fudge to balance the fine line of the raspberry flavor being present while being neither overpowering nor too subtle.
The reason we’re using freeze dried raspberries instead of fresh raspberries is because when they are freeze dried the flavor becomes more concentrated, which is exactly what we need in this recipe. Also, we’re able to get the raspberry flavor without any additional moisture that fresh fruit would bring. You can find freeze dried raspberries in quite a few stores; I’ve bought them in both Target and Trader Joe’s.
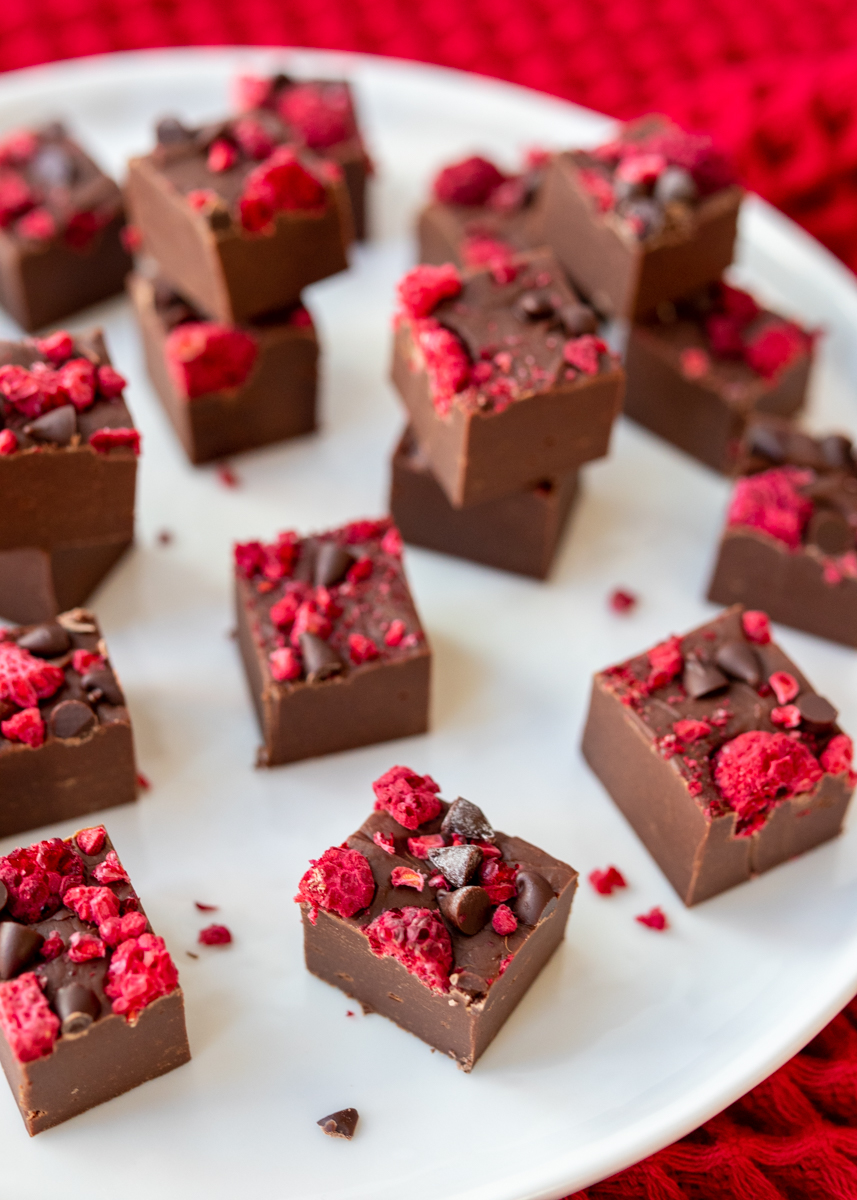
Don’t forget the mini semisweet chocolate chips on top! Since they’re just chocolate on top of more chocolate they don’t actually add any flavor nuances to this fudge, but they make it look even cuter between all the pops of red from the raspberries and adding a nice textural bit to the topping. Enjoy!
- 2 tablespoons unsalted butter
- 1 ounce unsweetened Baker’s baking chocolate
- 14 ounces sweetened condensed milk
- 12 ounces semisweet chocolate chips
- 1 teaspoon raspberry extract
- Freeze dried raspberries for topping, about 3 tablespoons
- Mini semisweet chocolate chips for topping, about 3 tablespoons
- Line an 8" x 8" pan with wax paper and set aside.
- Double Boiler Method: If not using a double boiler, skip to the next step. Melt butter and the Baker’s chocolate in a double boiler over medium heat, stirring occasionally. Pour in half the bag of chocolate chips and stir with a heatproof rubber spatula to help melt. Once partially melted add the rest of the bag of chocolate chips and stir until fully melted. Carefully stir in the condensed milk to combine and remove from the heat. Stir in the raspberry extract. Skip to step 4.
- Saucepan Method: Melt the butter and unsweetened chocolate in a medium nonstick saucepan over low heat, stirring regularly with a heatproof spatula to make sure the chocolate doesn’t burn. Pour in the sweetened condensed milk and stir to combine. Let the mixture get a little warm then pour in half the bag of chocolate chips. Stir to help melt. Once partially melted add the rest of the bag of chocolate chips and stir until fully melted, being sure to scrape the bottom as you stir. Stir in the raspberry extract and remove from the heat.
- Pour the chocolate mixture into the prepared pan and smooth the top with the spatula. Top with the freeze dried raspberries. Let cool very slightly then top with the mini chocolate chips. Press down lightly and refrigerate until the fudge is set. Once set cut into bite size pieces.