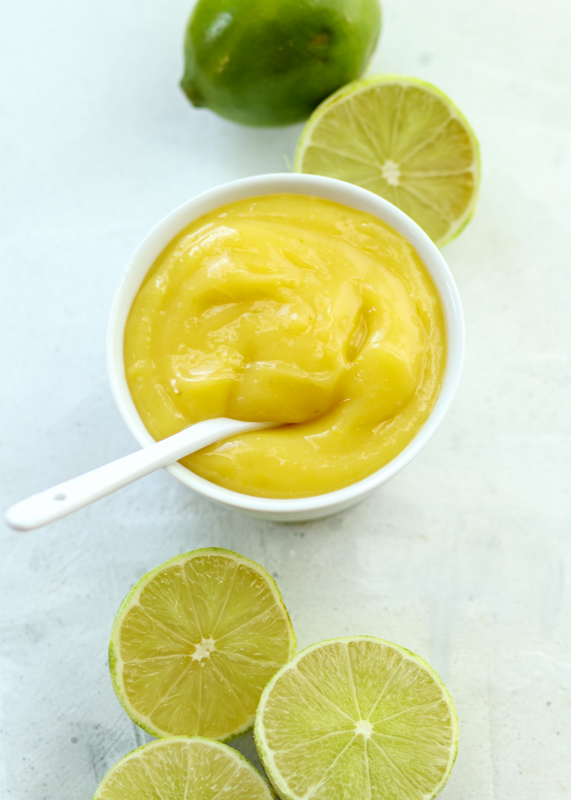
How to Make Homemade Key Lime Curd
I had no idea that I had a deep love for citrus desserts until I met Matt. When we first started dating we decided to grab some desserts on campus and eat them on the quad. We went up to the Chocolate Bar, which, first, if you’ve been to Boston College recently it’s not like it used to be and second, it was as amazing as it sounds. I am a chocoholic so I would always get the Oreo frappe or the chocolate croissant. I picked out a chocolate dessert, probably a chocolate croissant, and Matt got a lemon tart. We went outside with a couple forks for our little dessert picnic and I could not believe how much I loved the lemon tart! As our relationship went on, the more citrus desserts Matt ordered, the more I would love them until next thing I knew I was full-on citrus dessert obsessed.
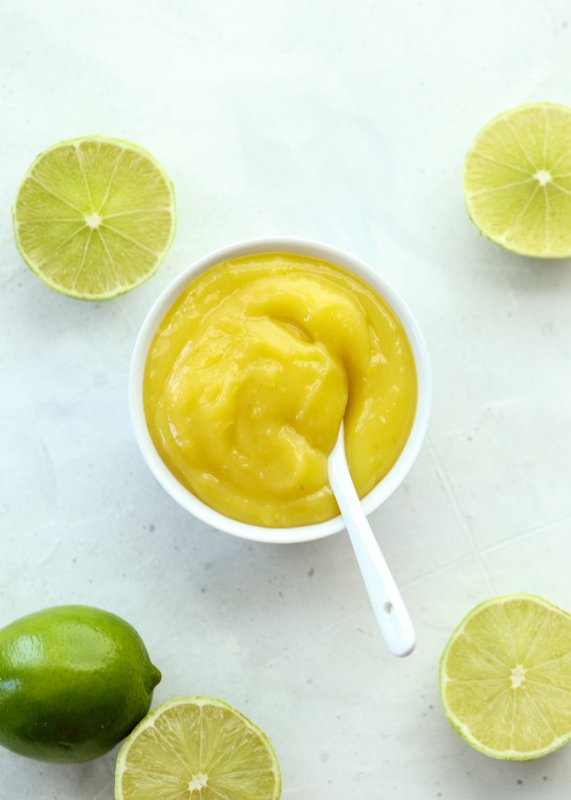
One of my favorite citrus treats to drizzle on waffles or stuff inside cupcakes is homemade lemon curd. I’ve been making it for a few years now and I figured it was time I branched out and tried the recipe with a different citrus flavor. Key limes have a bright punch to them that pairs well with subtle sweet flavors, like graham crackers or angel food cake.
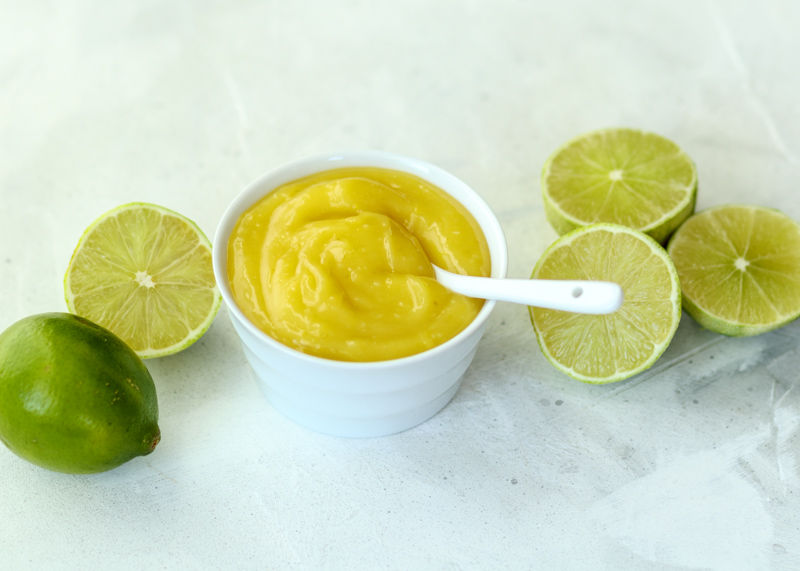
Just like the lemon curd, this key lime curd is smooth and decadent. In addition to be slathered on cookies, spread over cheesecake or generally just eaten with a spoon, I think it tastes particularly delicious stirred into some plain Greek yogurt. Whatever you do with it, make sure you keep some for Wednesday’s post! I can’t wait to show you how I used up my batch of key lime curd.
- ½ cup key lime juice
- Zest of 3 key limes
- ⅔ cup sugar
- 3 large eggs
- 4 tablespoons unsalted butter, diced into small pieces
- In a medium saucepan, whisk together the key lime juice, key lime zest, sugar and eggs. Place the saucepan over medium-low heat and stir in the pieces of butter. Whisk the curd frequently until the curd is thick enough that it keeps the mark of the whisk when you touch it to the curd in the saucepan. It takes a bit of time for it to thicken, but just keep whisking!
- Strain the key lime curd through a fine mesh strainer into a small bowl to get rid of any egg lumps. Cover the surface of the key lime curd with a piece of plastic wrap so that it’s completely touching the curd. Place in the fridge to cool. After cooled, if not using right away store in an airtight container in the fridge for 1-2 weeks.