


Perfect Chocolate Cupcakes & Perfect Chocolate Frosting
This recipe is so delicious, so chocolately and so perfect in every way that we need to start talking about it right now. No wasting time reading about my childhood breakfast memories or my typical New Englander obsession with fall or my confusion about why anyone would ever think smaller sizes of candy are “fun” – I just don’t get it! We need to be quick about this so you have time to run to your kitchen and start baking these cupcakes immediately. Your tastebuds will thank you. Your stomach, however, will curse you for eating three of them faster than someone can say, “Where did all the cupcakes go?” Or maybe you’re an normal unusual human being with self control around moist chocolate baked goods, in which case maybe you can teach me someday.
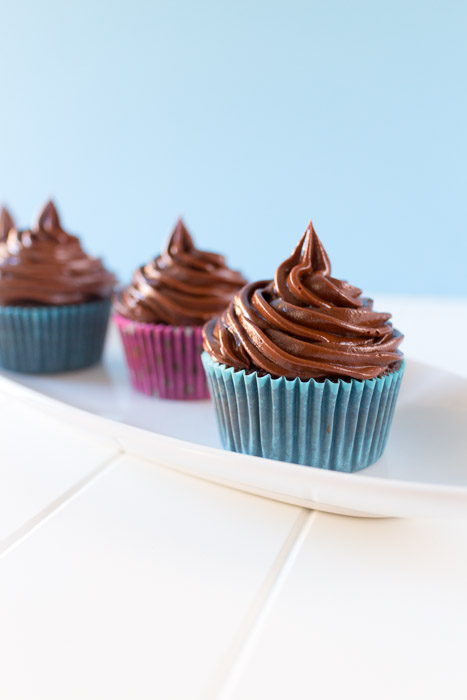
If you don’t yet have a go-to chocolate cake recipe you can stop your search right now. And if you do have one it’s time to make these cupcakes and reevaluate that statement. Over the last two years I have made this recipe dozens of times in the form of cupcakes, layer cakes and sheet cakes and it always comes out amazing. “Wow,” “omg” and “mmm” are the three most common exclamations when people try these cupcakes, typically mumbled while still mid-bite. Who knew a cake would be so life-changing?
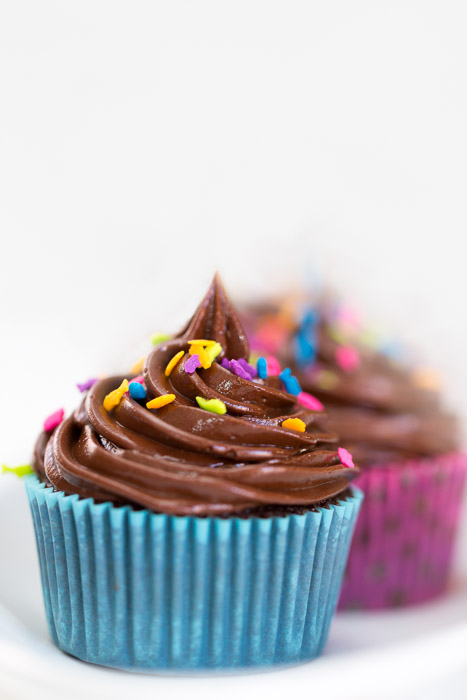
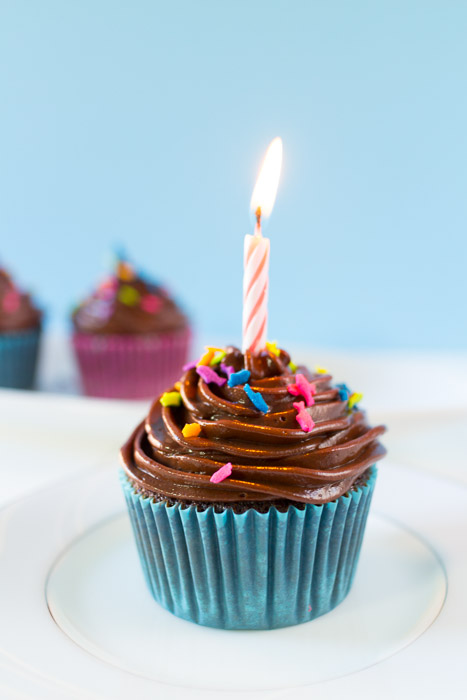
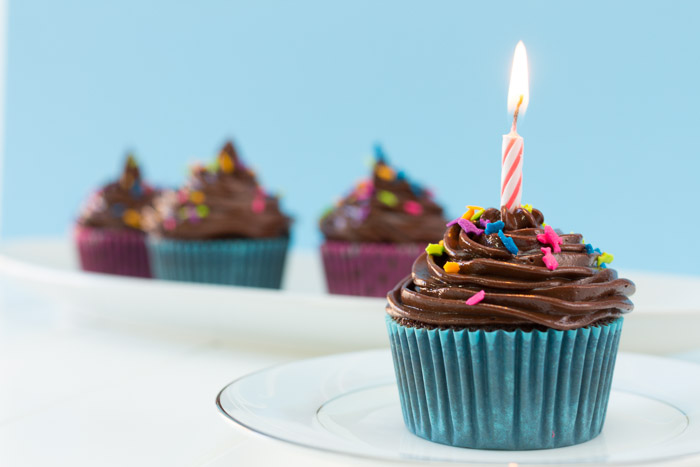
When a cupcake is this good you need to make sure you have a frosting that is equally drool-worthy. This chocolate frosting is creamy, rich and as the title states, perfect. The combination of melted chocolate and cocoa powder provides a pure melt-in-your-mouth chocolate taste, instead of the overwhelming sugary or buttery attributes that are often associated with buttercream frostings. I made it for the first time this past weekend and there’s something so exhilarating about stumbling upon a recipe that you know you will return to time and time again. So go bake these cupcakes and get exhilarated.
- 2 cups sugar
- 1¾ cups all-purpose flour
- ¾ cup unsweetened cocoa powder
- 1½ teaspoon baking powder
- 1 teaspoon baking soda
- 1 teaspoon salt
- 2 large eggs
- 1 cup buttermilk, see note
- ¼ cup butter, melted
- ¼ cup vegetable oil
- 1 tablespoon vanilla extract
- 1 cup hot coffee, see note
- 2½ sticks of unsalted butter, softened
- 1 cup powdered sugar
- ¾ cup unsweetened cocoa powder
- Pinch of salt
- ¾ cup light corn syrup
- 1 teaspoon vanilla extract
- 8 ounces semisweet chocolate
- Preheat the oven to 350 degrees and line 2 cupcake pans with paper liners and set aside.
- In a large mixing bowl or in the bowl of a stand mixer, sift together the sugar, flour, cocoa powder, baking powder, baking soda and salt.
- In a medium mixing bowl, whisk together the eggs, buttermilk, melted butter, vegetable oil and vanilla extract. Pour the liquid ingredients into the dry ingredients and mix together until smooth.
- Pour the hot coffee into the batter and stir until combined. The batter will be extremely liquidy. Divide the batter between the 24 cupcake liners, filling them slightly more than half full. Bake for 18-20 minutes, or until a toothpick inserted in the center comes back mostly clean. Alternatively, they are done when you gently press your finger on the center of a cupcake and it lightly springs back. I find mine to be done at exactly 19 minutes.
- Let cool in the pan for a couple minutes then remove to a wire cooling rack to cool completely before frosting.
- Set the chocolate over a double boiler on medium heat, stirring occasionally.
- Meanwhile, combine the butter, powdered sugar, cocoa powder and salt in a food processor or in a large mixing bowl with an immersion blender. Pulse until mixture is smooth and well combined, making sure to scrape sides as needed.
- Add the corn syrup and vanilla extract to the butter mixture. I like to lightly spray my measuring cup with cooking spray before measuring out the corn syrup because it helps the corn syrup from sticking to the measuring cup when you go to use it (this works well for honey, too).
- Pulse the mixture until well combined, making sure to scrape sides as needed.
- If the chocolate is completely melted and smooth, remove from the heat for a few minutes. Carefully pour the melted chocolate into the mixture and process until smooth.
If you don’t want to use coffee you can use hot water, but the flavor of the chocolate won’t be as pronounced. You can use decaffeinated coffee if you prefer.
The cupcakes, unfrosted, freeze very well if you want to make them ahead of time.
Frosting from Fun Foods on a Budget!