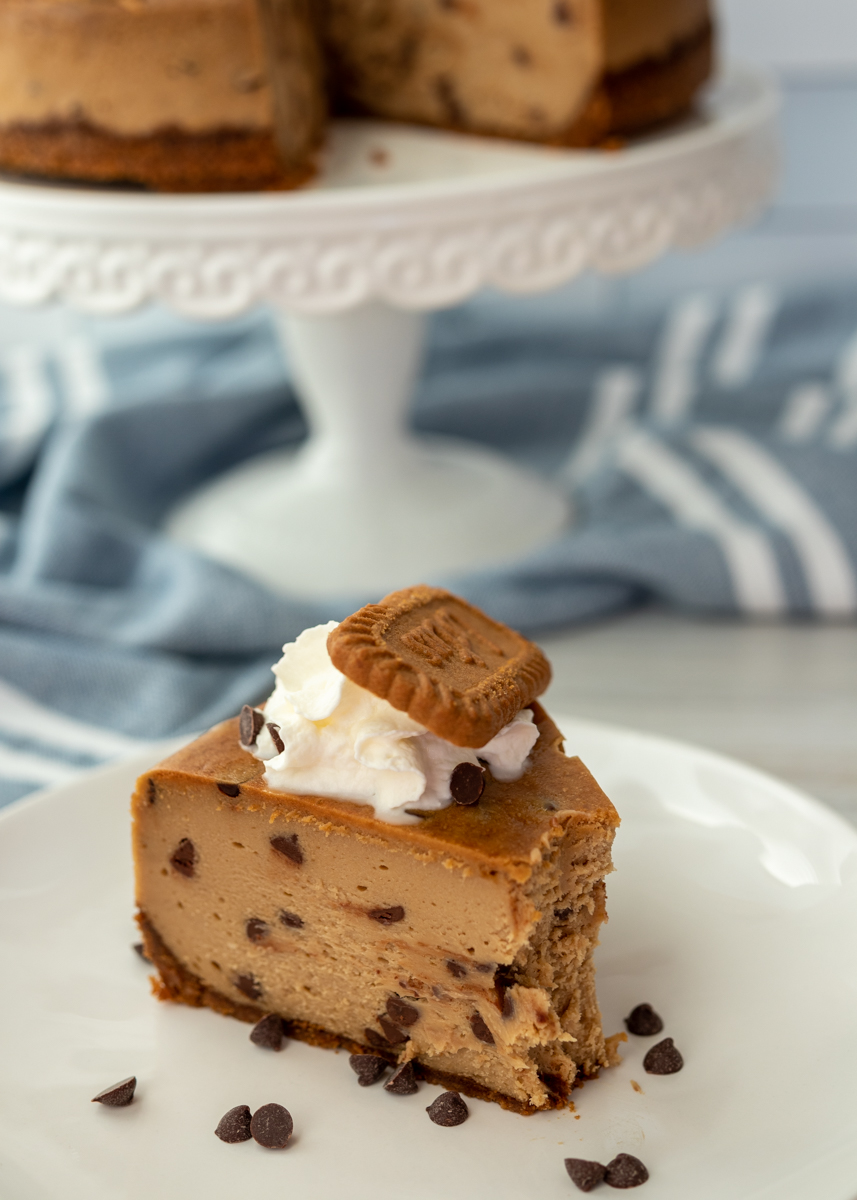
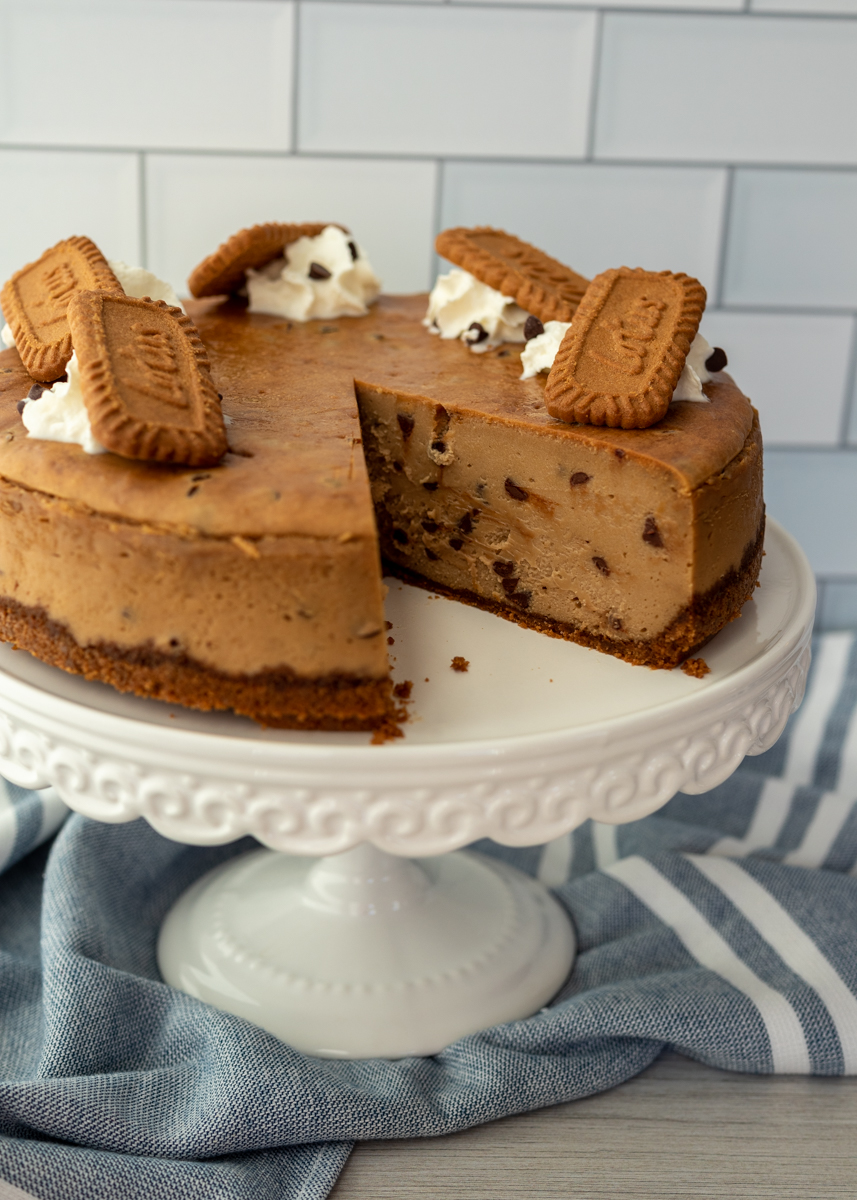
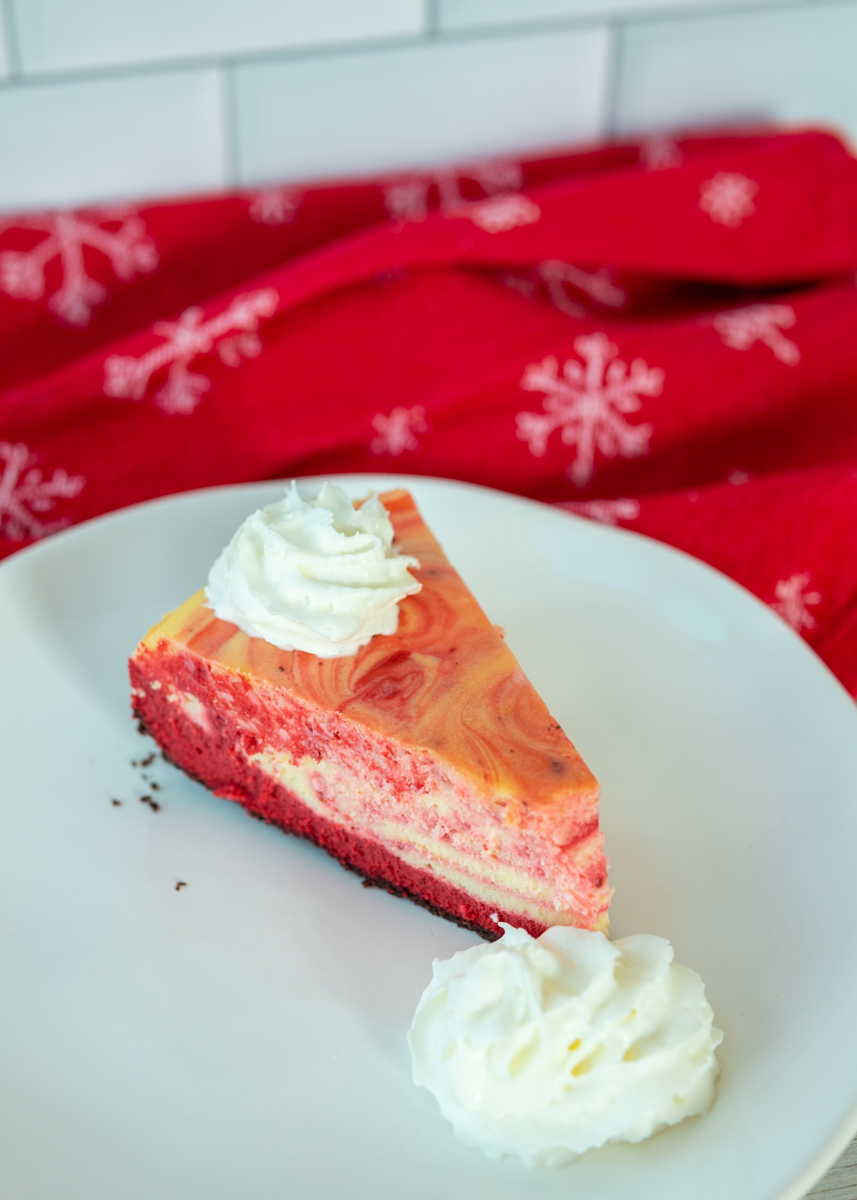
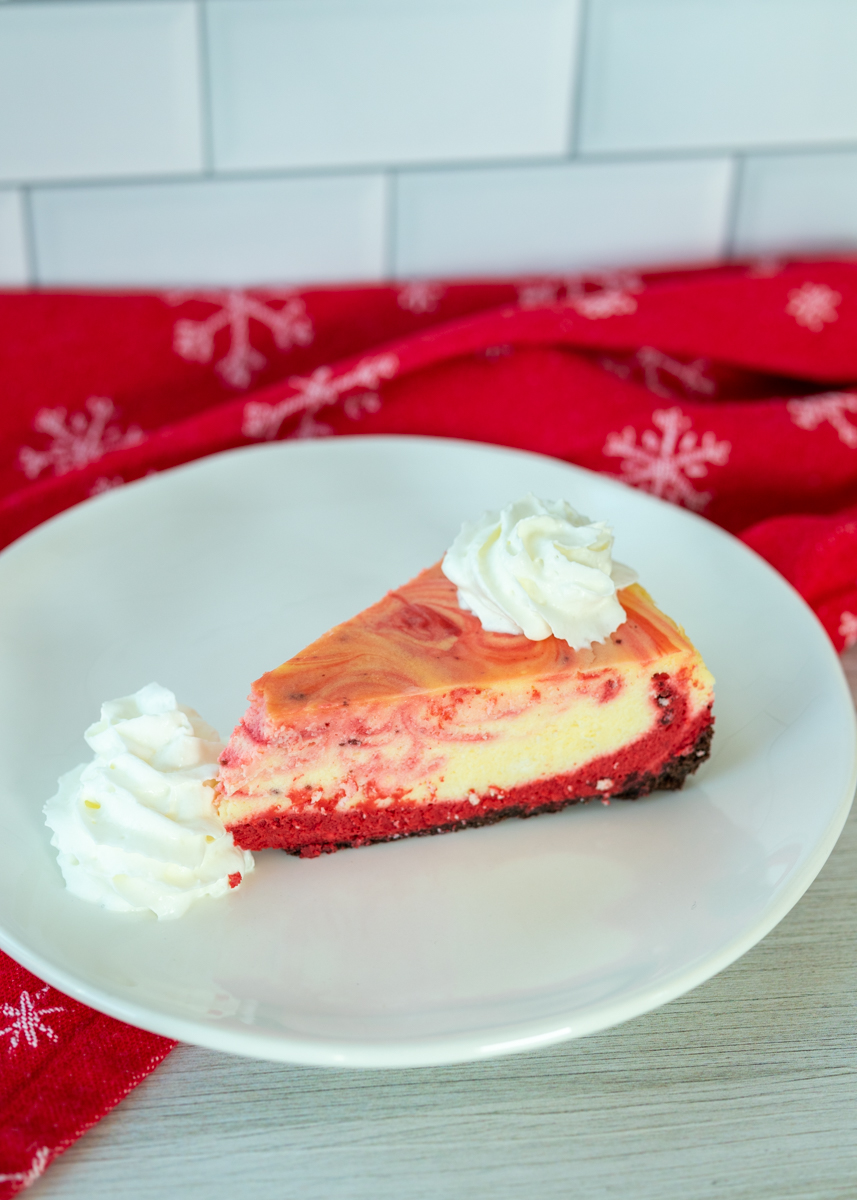
Red Velvet Swirl Cheesecake
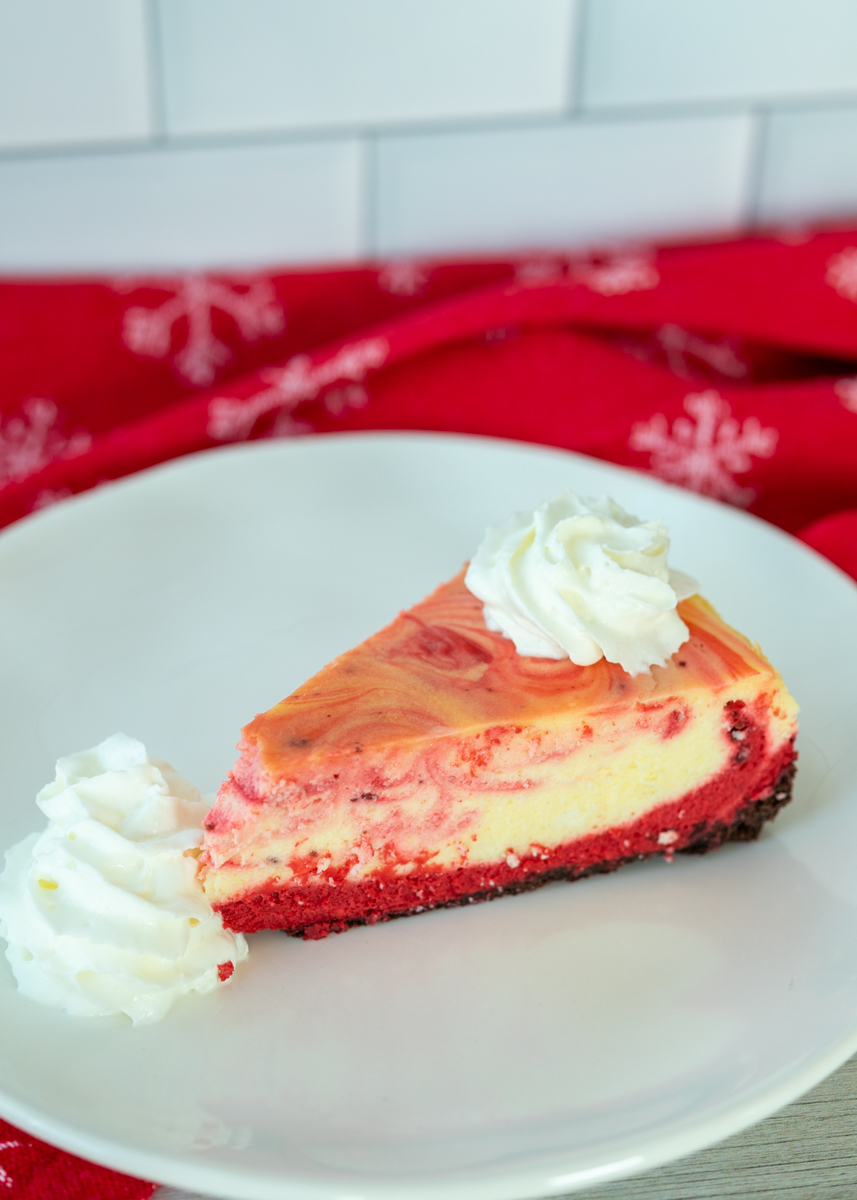
It’s time for this month’s cheesecake recipe! Of course with Valentine’s Day coming up this Friday it only made sense to bust out this Red Velvet Swirl Cheesecake for February. How fun is this cheesecake pattern?
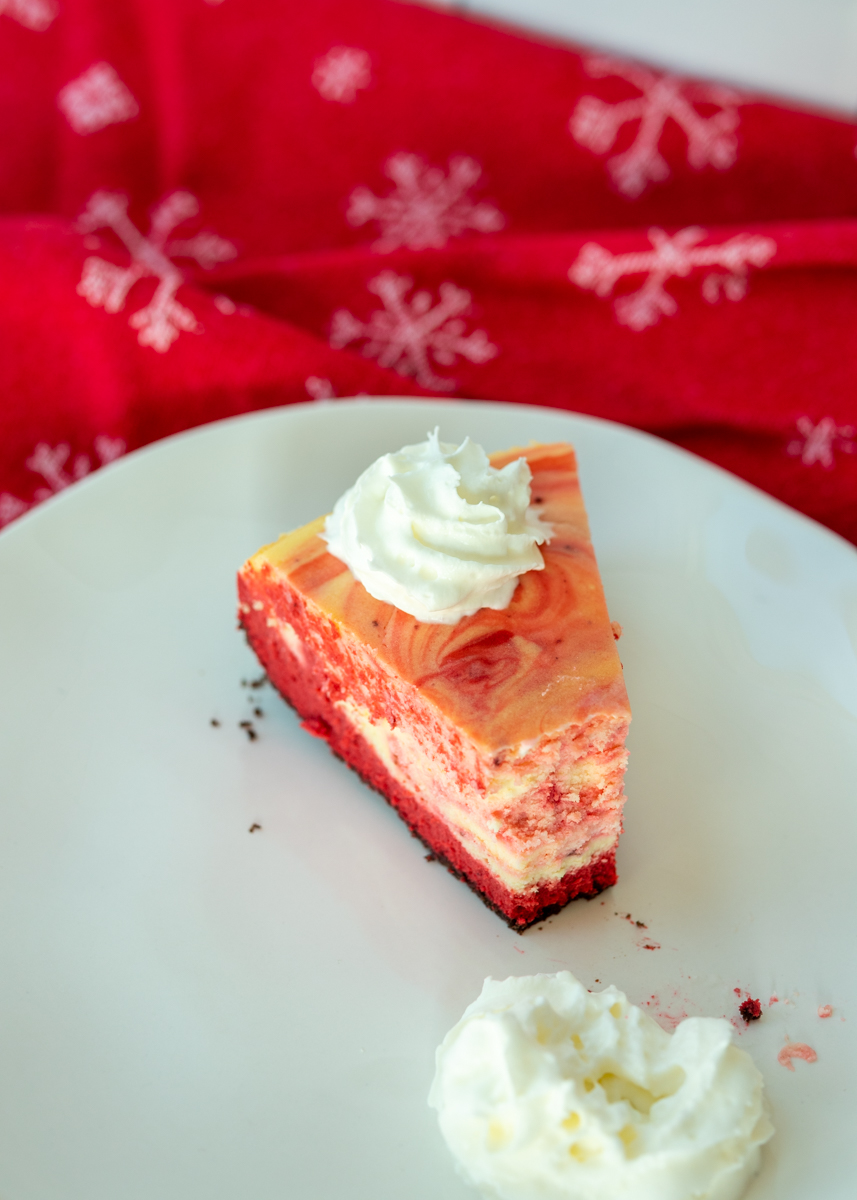
I’ve never made a swirled cheesecake before so I’m definitely going to have to work on my technique. I guess it’s more of a pink velvet swirl cheesecake!
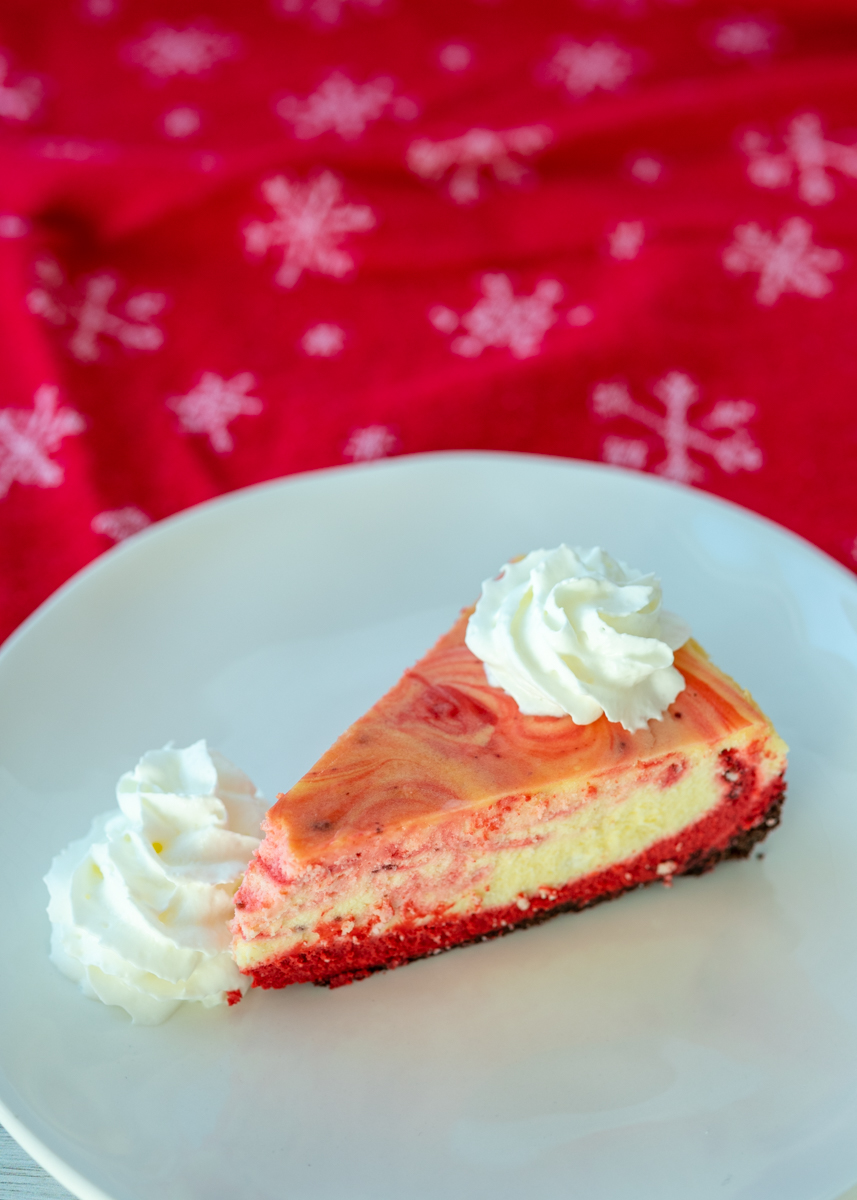
Red, pink, swirled, semi-swirled – either way it still looks pretty and cute for Valentine’s Day.
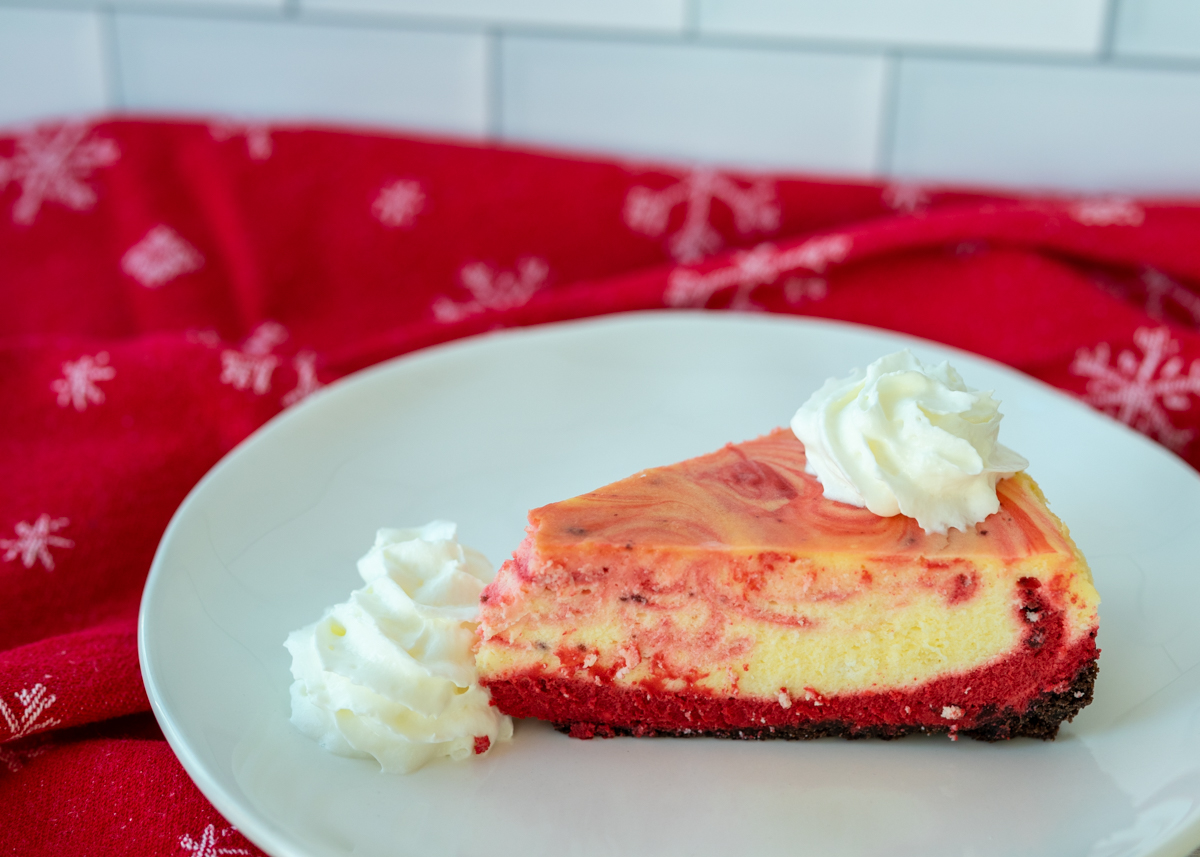
This is a creamy classic cheesecake with a chocolate graham cracker crust. Red velvet seems to reference the appearance of the cheesecake more than anything since there’s only a tablespoon of cocoa powder so you don’t really get that hint of chocolate that you think of with a red velvet cake, but it is still a really tasty cheesecake.
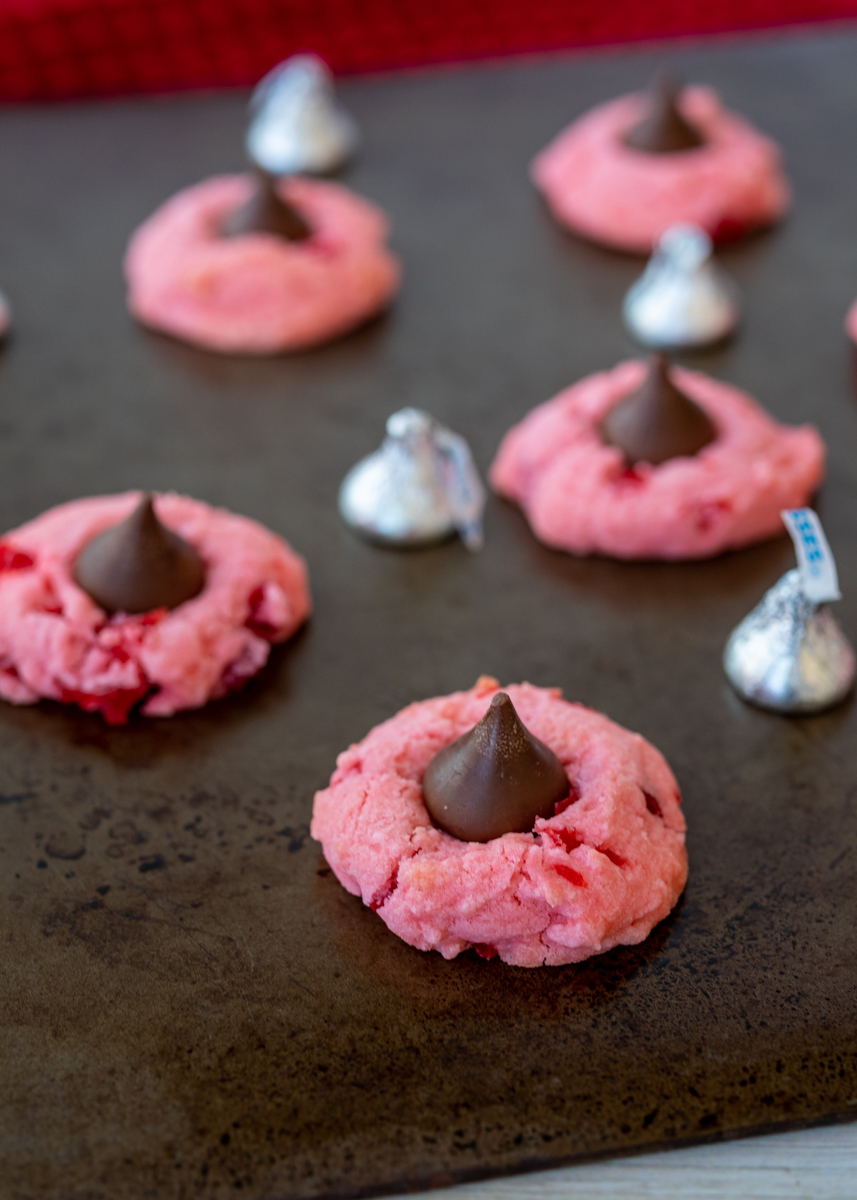
I’m a big fan of Valentine’s Day so I have all kinds of fun treats posted on the blog, like these Strawberry Chocolate Ganache Cake Balls or these Red Velvet Oreo Truffle Chocolate Crunch Brownies. You can find them all the festive treats in the Valentine’s Day section of the recipe index. Are you making any sweets this Valentine’s Day?
- 16 chocolate graham cracker squares
- 5 tablespoons unsalted butter, melted
- ¼ teaspoon salt
- 2 pounds cream cheese (4 8-ounce packages), room temperature
- 1¼ cups granulated sugar
- 1 tablespoon lemon juice
- 1 teaspoon vanilla extract
- 2 tablespoons all-purpose flour
- 4 large eggs, room temperature
- 1 tablespoon cocoa powder
- 2 teaspoons red food coloring
- Preheat oven to 350 degrees F. Spray a 9-inch springform pan with cooking spray then tightly wrap aluminum foil around the bottom and up the sides. This is to keep the water coming in from the water bath the cheesecake will be sitting in while cooking.
- Turn the graham crackers into fine crumbs using a food processor or whacking with a rolling pin. In a medium mixing bowl, combine the chocolate crumbs, melted butter and salt until it resembles coarse sand. Pour the mixture into the prepared pan and press it into the bottom and up the sides in an even layer. Bake for 8 minutes then let cool completely.
- To make the filling, beat the cream cheese, sugar, lemon juice and vanilla extract in a large bowl with a hand mixer or in the bowl of a stand mixer with the paddle attachment. Beat on medium speed then increase to medium-high and continue to beat until super smooth, scraping down the sides as needed. Add the flour then beat until combined. Add the eggs one at a time, beating until just combined after each addition. Spoon 2 cups of the filling into a mixing bowl. Add the cocoa powder and food coloring then mix until combined. Pour the red filling into the crust then pour the white batter over top. Use a spoon to pull up some of the red batter from the bottom and swirl it, being careful not to pull up any of the crust.
- Reduce oven to 325 degrees F. Place the springform pan on a baking pan then place in the oven. Carefully pour water into the baking pan so the water comes about ½-inch to 1-inch up the side of the springform pan. Bake for 1 hour and 15 minutes to an hour and 30 minutes. It is done when there is a 2-3” wobble in the center. Turn the oven off and crack it open, leaving the cheesecake inside. I usually wedge a wooden spoon in the door to leave it cracked. After the hour, carefully remove from the water bath and place on a cooling rack to cool completely. Once cool, cover with plastic wrap and place in the fridge for at least 6 hours or overnight.
Recipe slightly adapted from January/February 2012 issue of Food Network Magazine.
Some of the links above are affiliate links, which means I may receive a small commission for my referral. This does not affect the retail cost of the item. Thank you for supporting Lemon & Mocha!