Dessert

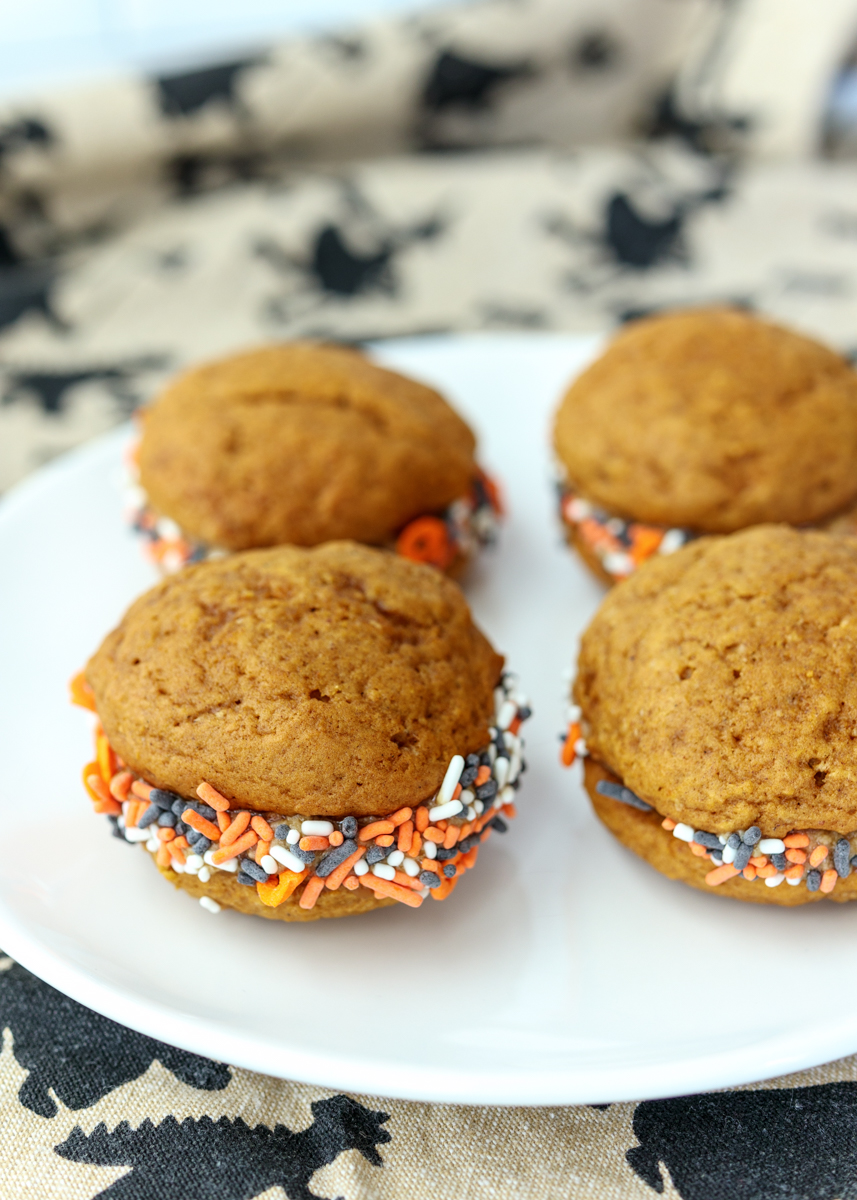
Pumpkin Spice Latte Whoopie Pies
Pumpkin Spice Latte Whoopie Pies  |  Lemon & Mocha

Happy October! I know it’s been October since Tuesday and I’ve already posted since then, but now that I’m sharing a pumpkin recipe with you all it feels more official. I’m super unique and love pumpkin recipes in the fall. Especially baked goods because the smell that fills up the kitchen is amazing.
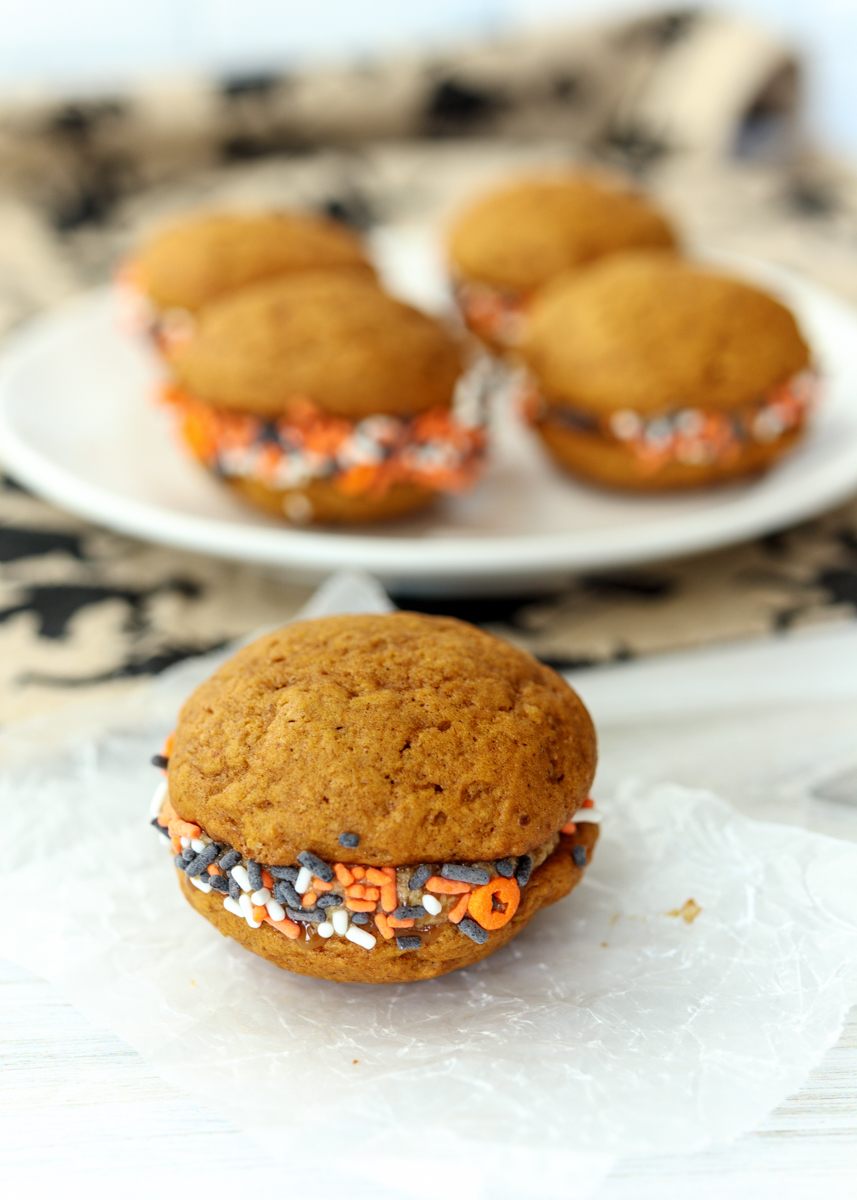
Pumpkin Spice Latte Whoopie Pies  |  Lemon & MochaFood Network Magazine stayed true to the season and made their October cookies these Pumpkin Spice Latte Whoopie Pies. I’ve made whoopie pies in the past, but they turned out a little dense so I was curious to see how their pumpkin spice version would stack up.
Pumpkin Spice Latte Whoopie Pies  |  Lemon & Mocha

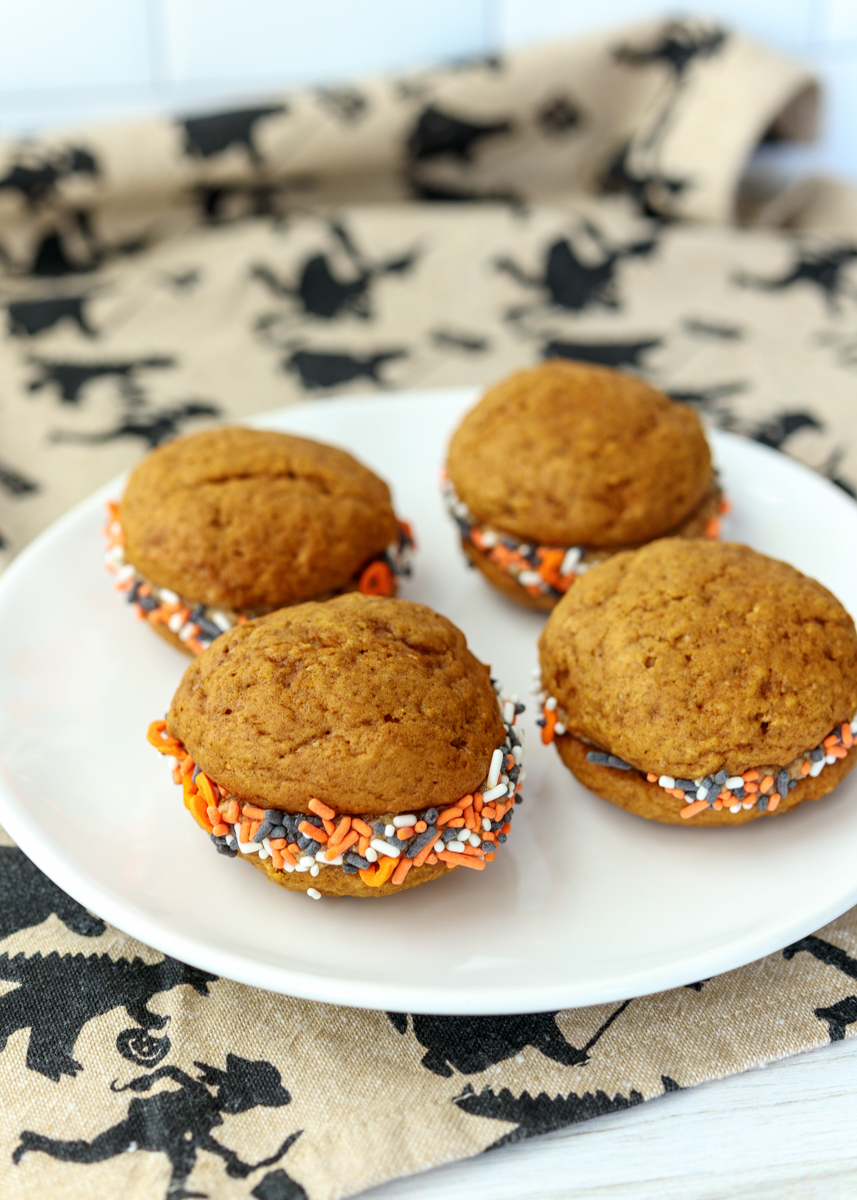
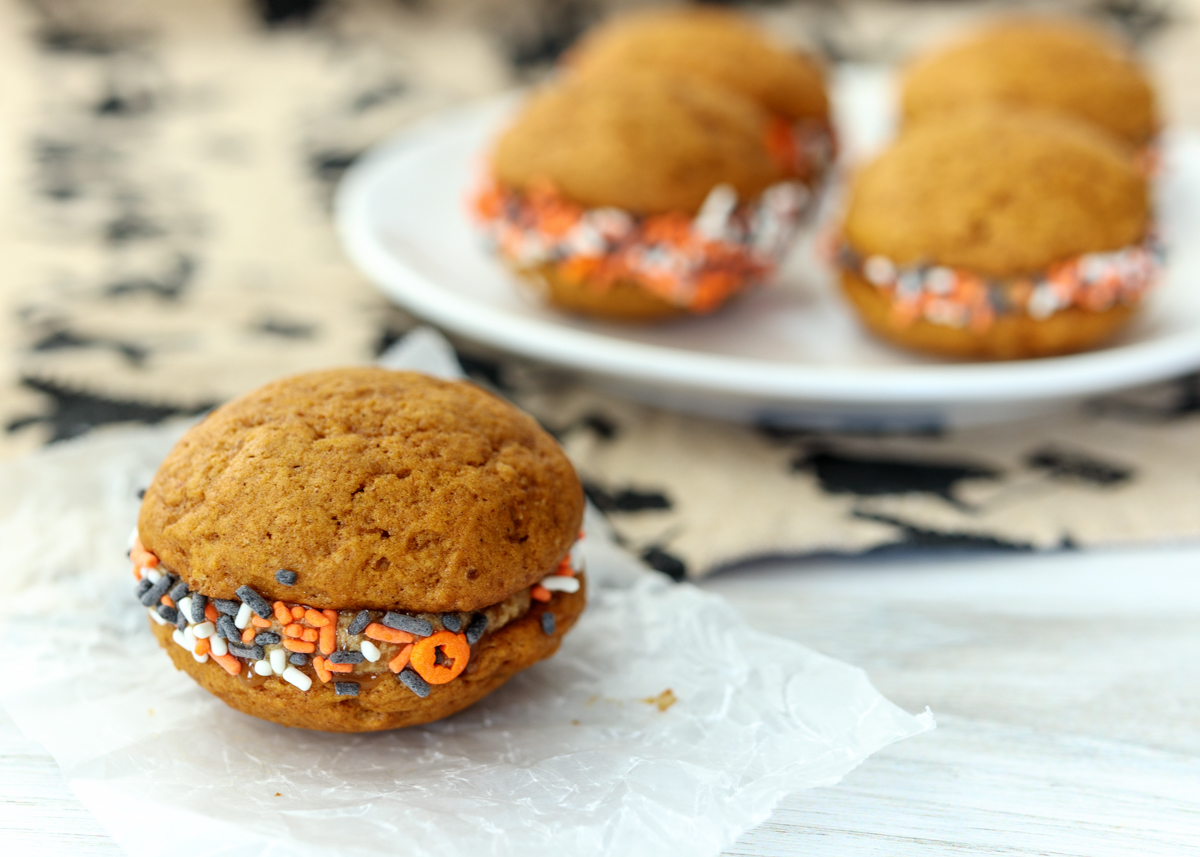
First of all, I love that the cookies for these whoopie pies are so cute and little! Especially because once you sandwich two together with some filling it ends up being quite a lot so they really are the perfect size.
Pumpkin Spice Latte Whoopie Pies  |  Lemon & Mocha

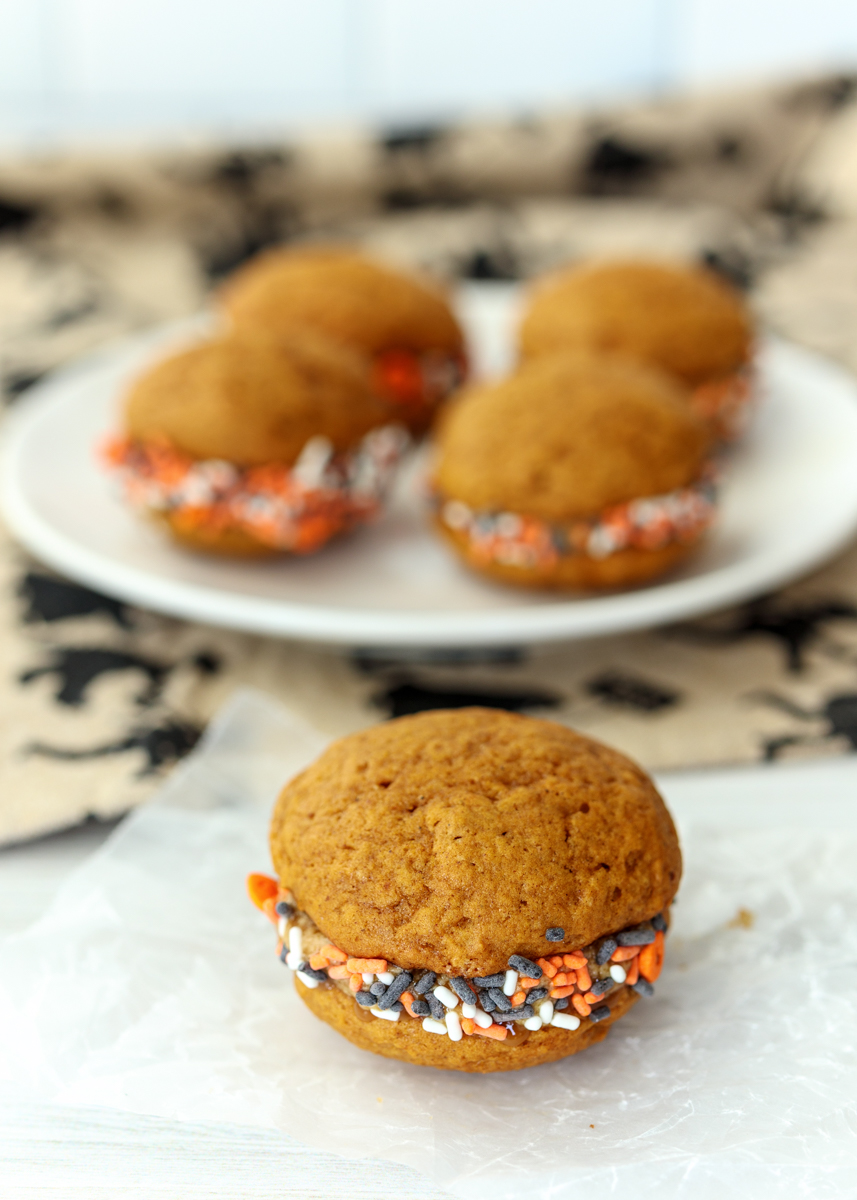
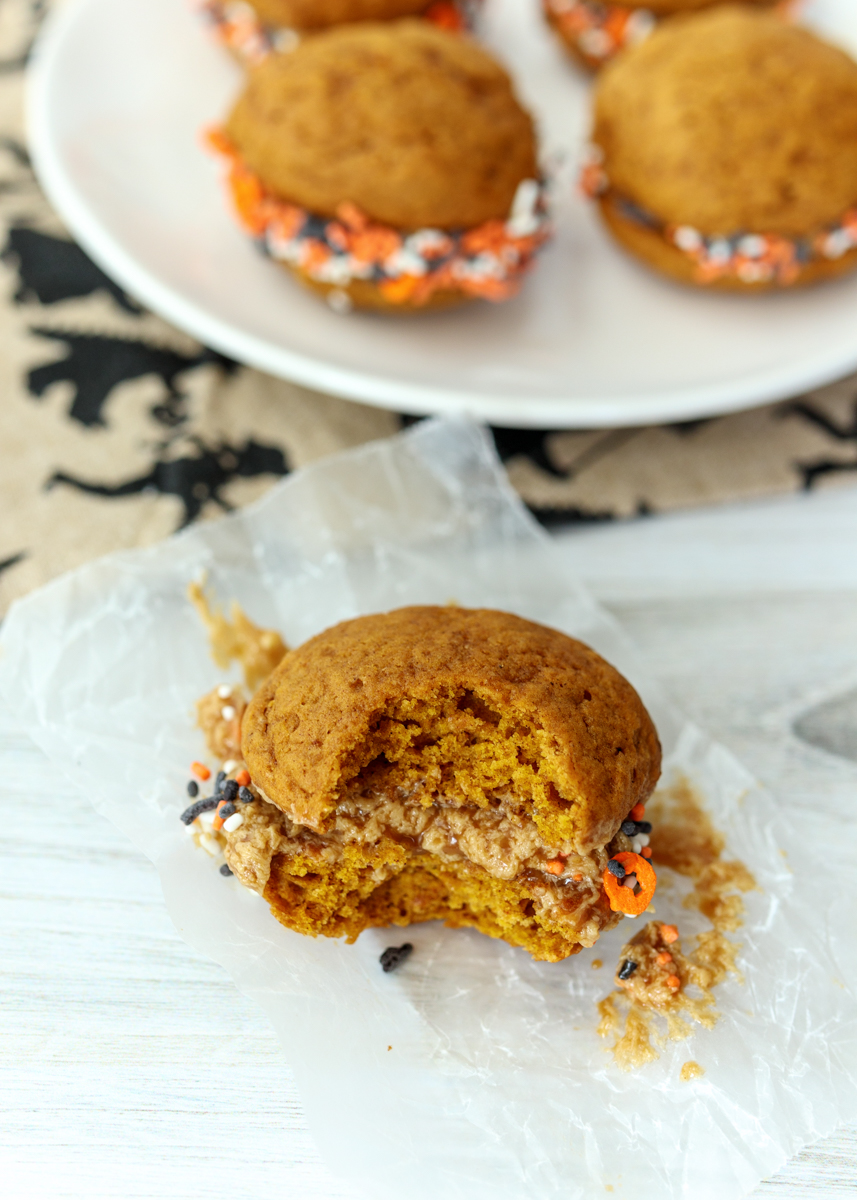
Second, they are moist, definitely not dense and packed with pumpkin spice goodness! I ate one on its own while it was still warm and it was so good. Kind of like a little pumpkin cake in a cookie shape.
Pumpkin Spice Latte Whoopie Pies  |  Lemon & Mocha

The filling is a coffee buttercream, which is a delicious combination with the pumpkin flavoring. Don’t forget the fun fall sprinkles to roll them in!
Pumpkin Spice Latte Whoopie Pies  |  Lemon & Mocha

Pumpkin Spice Latte Whoopie Pies
 
Yield: 15-16 2" whoopie pies
Ingredients
for the cookies
  • 2 cups all-purpose flour
  • 1 tablespoon pumpkin pie spice
  • 1 teaspoon baking powder
  • ½ teaspoon baking soda
  • ½ teaspoon salt
  • 6 tablespoons unsalted butter, at room temperature
  • ¾ cup granulated sugar
  • ½ cup brown sugar
  • ½ teaspoon vanilla extract
  • 1 large egg, at room temperature
  • 1 cup pure pumpkin puree
for the filling
  • 2 tablespoons milk
  • 2 teaspoons instant coffee granules
  • 12 tablespoons unsalted butter (1½ sticks), at room temperature
  • 2 cups confectioners’ sugar
  • ¼ teaspoon salt
  • Fall sprinkles or nonpareils, for decorating
Directions
for the cookies
  1. Preheat oven to 375 degrees F, making sure to position oven racks in the upper and lower thirds positions. Line 2 baking sheets with parchment paper and set aside.
  2. In a medium bowl, sift together the flour, pumpkin pie spice, baking powder, baking soda and salt.
  3. In the bowl of a stand mixer or in the large bowl with a hand mixer, beat the butter, granulated sugar, brown sugar and vanilla on medium-high speed for 5 minutes, or until pale and fluffy. Add the egg, beat until combined. Add the pumpkin puree and beat on low speed until combined, scraping the sides of the bowl as needed. Add the flour mixture and beat on low until just combined.
  4. Scoop 1½ tablespoon mounds of batter onto the prepared baking sheets, about 2 inches apart. Use damp fingers to shape them into rounds. Alternatively, use a piping bag fitted with a ½-inch round tip to pipe 1½-inch rounds of batter. Bake for 14-16 minutes, switching the pans halfway through baking. They are done when they’re golden and the tops spring back with lightly pressed. Let the cookies cool for 5 minutes on the baking sheet set on a wire cooling rack then transfer to a wire cooling rack to cool completely. Let the baking sheets cool slightly then repeat with the remaining batter.
for the filling
  1. Combine the milk and instant coffee in a small bowl until the coffee dissolves.
  2. In the bowl of a stand mixer or in a large bowl with a hand mixer, beat the butter, confectioners’ sugar and salt on low speed until combined. Increase the speed to medium-high and beat for 3 minutes, or until smooth. Add the milk mixture then beat on medium-low until smooth, about 1 minute, scraping the sides of the bowl as needed. Refrigerate for 20 minutes, or until slightly firm.
  3. When the cookies are cool and the filling is slightly firm, sandwich about 1 tablespoon of filling between 2 cookies. Roll the edges in sprinkles. If the filling is too soft, refrigerate the whoopie pies for 30 minutes, but let sit at room temperature before serving.

 Recipe adapted from January/February 2019 issue of Food Network Magazine.

Some of the links above are affiliate links, which means I may receive a small commission for my referral. This does not affect the retail cost of the item. Thank you for supporting Lemon & Mocha!

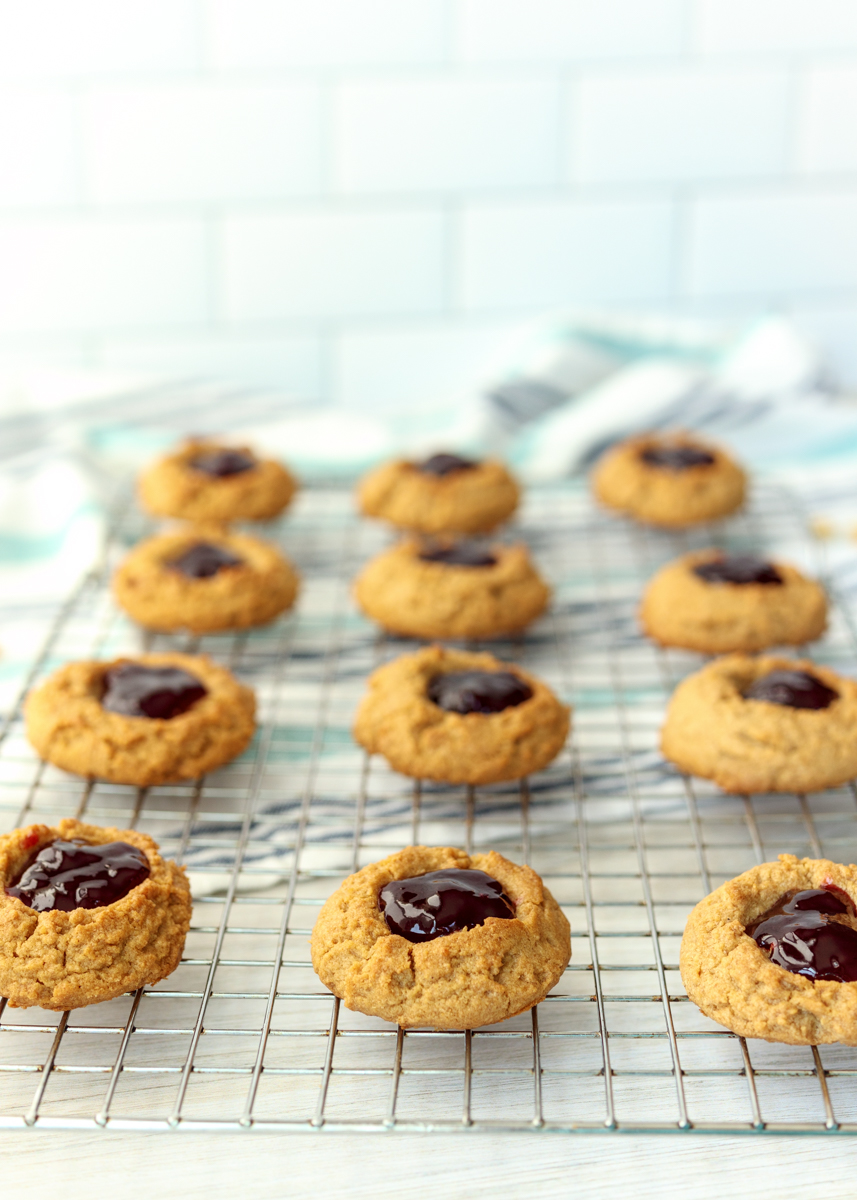
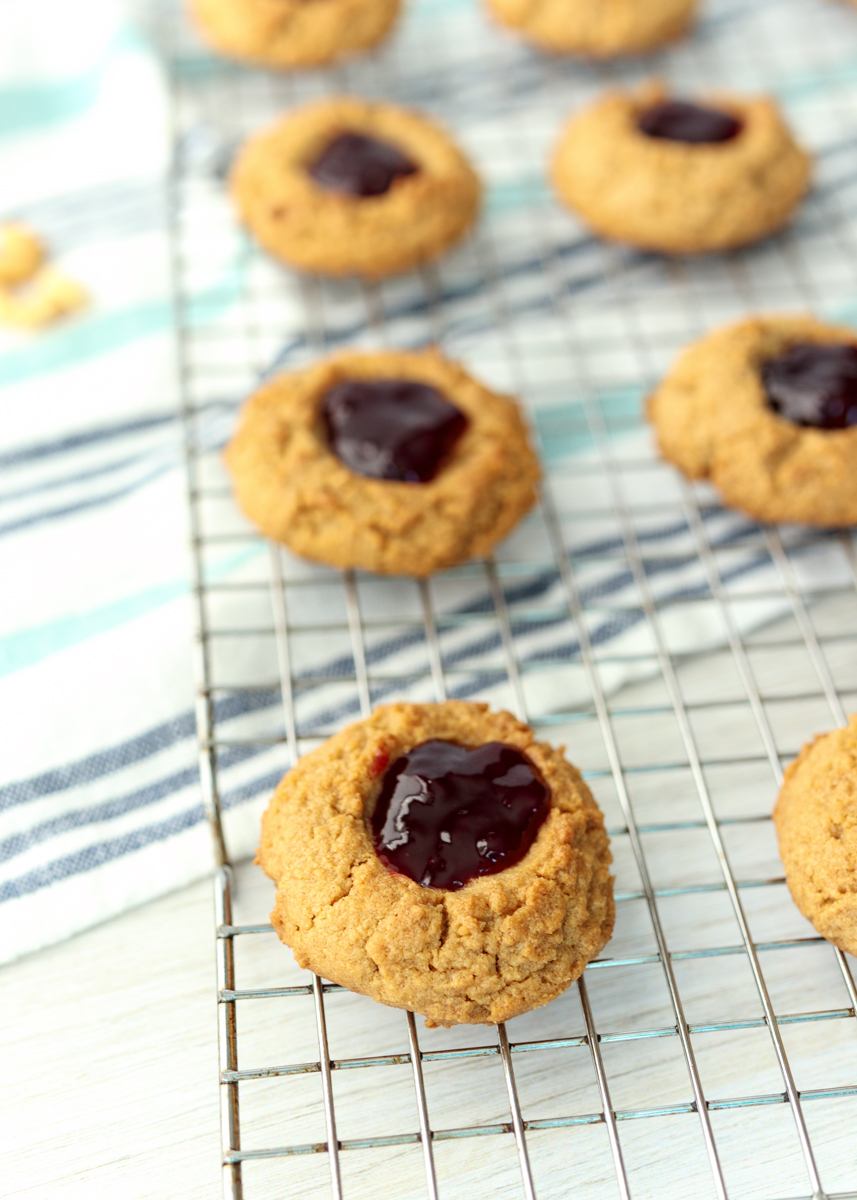
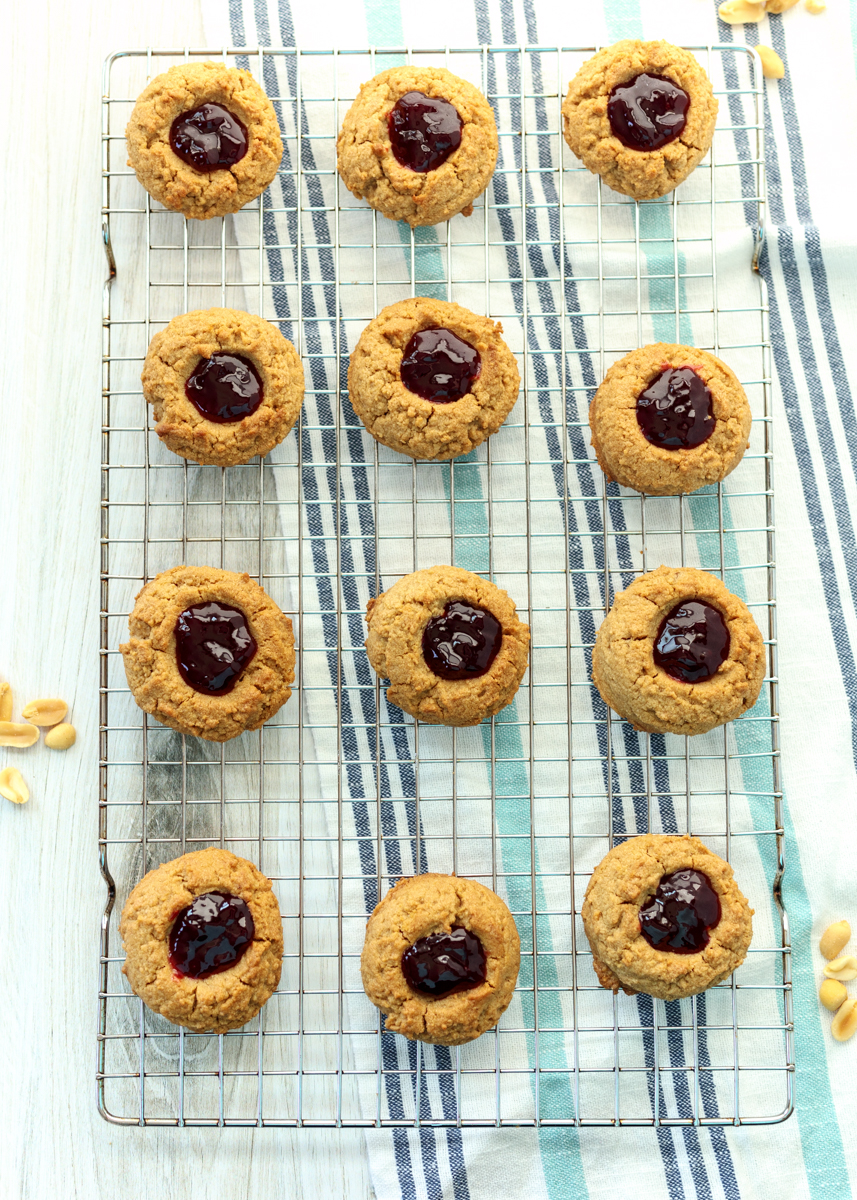
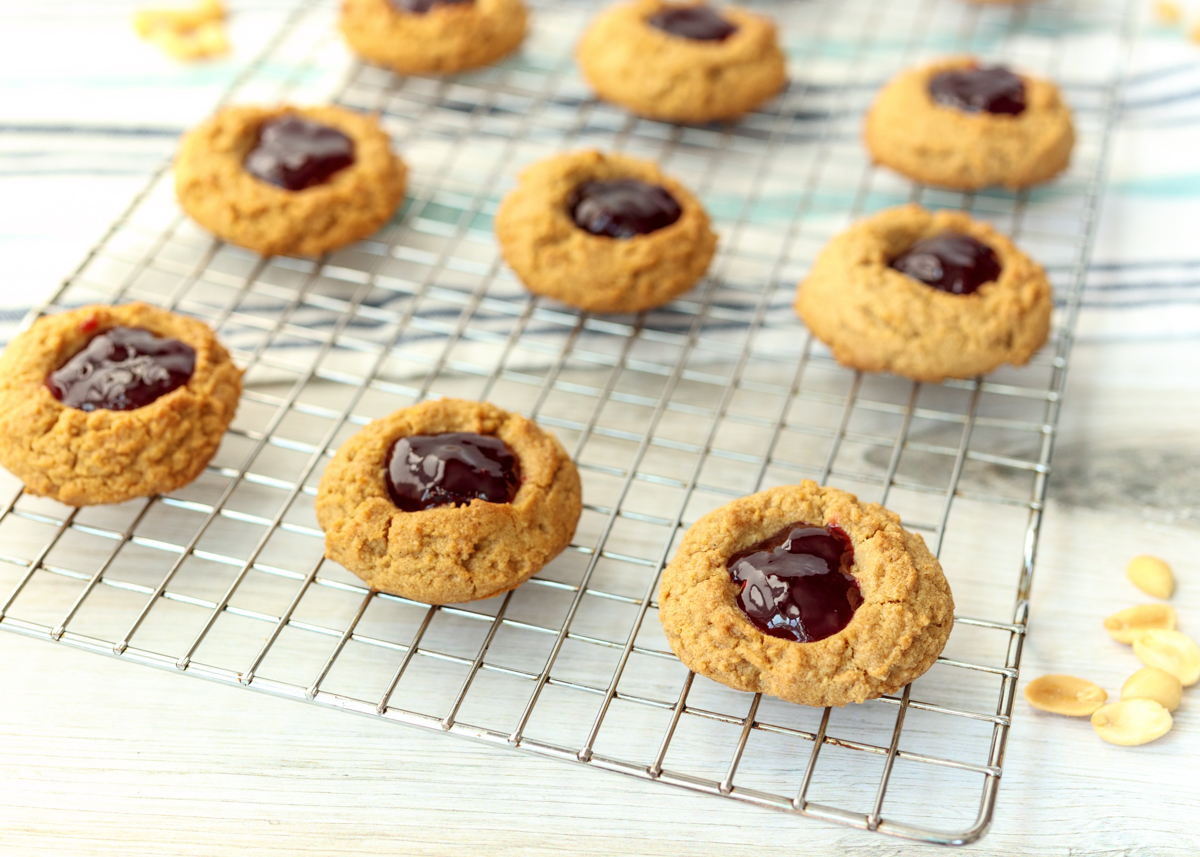
Peanut Butter and Jelly Thumbprint Cookies

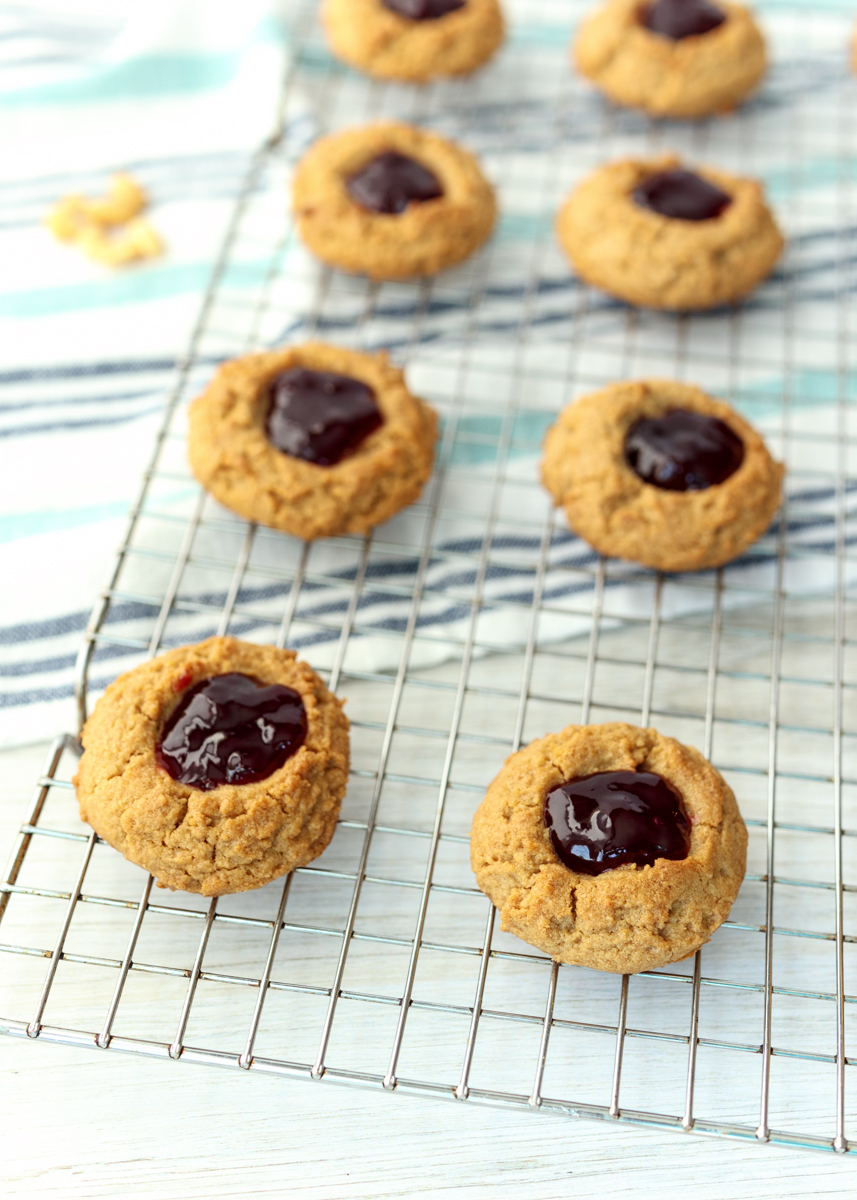
Peanut Butter and Jelly Thumbprint Cookies  |  Lemon & Mocha

Can you believe we’re already nine months into the Food Network Magazine’s Calendar of Cookies? Food Network Magazine definitely likes the September baked treat to be peanut butter and jelly themed, as seen with last year’s Peanut Butter and Jelly Muffins, and I am not mad about it at all. In fact I’m thrilled about it because I love a classic peanut butter and jelly sandwich. Also, I was a huge fan of the Peanut Butter and Jelly Muffins so I couldn’t wait to try their cookie rendition.

Peanut Butter and Jelly Thumbprint Cookies  |  Lemon & Mocha

I did deviate a bit from the original recipe, but I think you will thank me for it because I seriously shortened the prep and fussiness time while still staying true to the exact flavors of the recipe. So, today for you I have Peanut Butter and Jelly Thumbprint Cookies. The original recipe involved rolling the dough out into rectangles and baking little sandwich cookies with the jam in between, but I figured thumbprint cookies are a true classic for a reason.

Peanut Butter and Jelly Thumbprint Cookies  |  Lemon & Mocha

They are simple to make, it’s okay if they don’t look perfect and, most importantly, they are easy to eat. I didn’t change anything about the peanut butter dough from the recipe and I’m so glad because it makes the most perfect crumbly peanut butter cookies that are the ultimate vessel for that dollop of jelly.

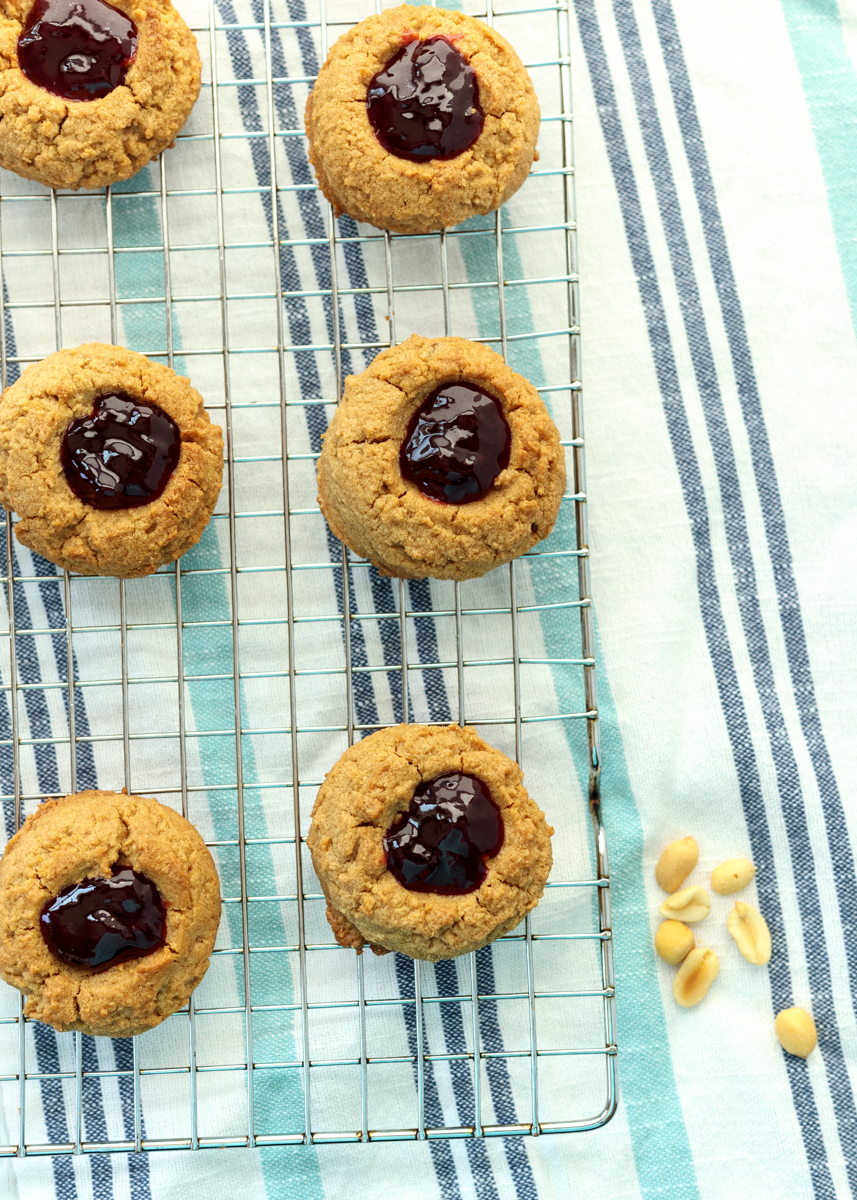
Peanut Butter and Jelly Thumbprint Cookies  |  Lemon & Mocha

They also taste delicious on their own, which I know both by sneaking one or two right from the oven and because I froze a bunch of these cookies without the jam and was too lazy to fill them before munching away on them. Similar to the Peanut Butter and Jelly Muffins recipe, there’s a little whole wheat flour mixed into the dough so the cookies really give you that peanut butter and jelly sandwich nostalgia.

Peanut Butter and Jelly Thumbprint Cookies  |  Lemon & Mocha

You can use any jelly you prefer to fill these Peanut Butter and Jelly Thumbprint Cookies. The original recipe calls for grape, but I’ve used raspberry, triple berry and apricot so far and they’ve all been delicious. Side note: apparently we have a lot of jelly flavors in our fridge! If you are a peanut butter and jelly fan I know you will love these cookies! Okay, only three more months of Food Network Magazine monthly cookies left! Stay tuned!

Peanut Butter and Jelly Thumbprint Cookies  |  Lemon & Mocha

Peanut Butter and Jelly Thumbprint Cookies
 
Yield: 30 cookies
Ingredients
  • 1 cup all-purpose flour
  • ½ cup whole wheat flour
  • ½ teaspoon baking powder
  • ½ teaspoon salt
  • ½ cup unsalted butter (1 stick), room temperature
  • ½ cup granulated sugar
  • ½ cup brown sugar
  • 1 teaspoon vanilla extract
  • 1 large egg
  • 1½ cups smooth peanut butter (not natural)
  • ⅔ cup raspberry, strawberry or other jelly of choice
Directions
  1. Preheat oven to 375 degrees. Line 2 baking sheets with parchment paper and set aside.
  2. In a medium bowl, sift together the all-purpose flour, whole wheat flour, baking powder and salt.
  3. In the bowl of a stand mixer or in a large bowl with a hand mixer beat the butter, granulated sugar, brown sugar and vanilla on medium-high speed until fluffy, about 5 minutes. Add the egg and beat until combined. Add the peanut butter and beat until combined. Add the flour mixture then beat on low until just combined.
  4. Use a medium cookie scoop to scoop out 30 balls of cookie dough between the 2 prepared baking sheets. Use your thumb or the handle of a wooden spoon to press a small indent into each cookie ball. Bake for 12-13 minutes. The edges of the cookie should be browned. Let side on the pan for 3 minutes then use the handle of the wooden spoon to re-make the indents in the center of each cookie. Transfer the cookies to a wire cooling rack to cool completely. Once cooled, add 1 teaspoon of jelly into each indent.

 Recipe adapted from January/February 2019 issue of Food Network Magazine.

Some of the links above are affiliate links, which means I may receive a small commission for my referral. This does not affect the retail cost of the item. Thank you for supporting Lemon & Mocha!

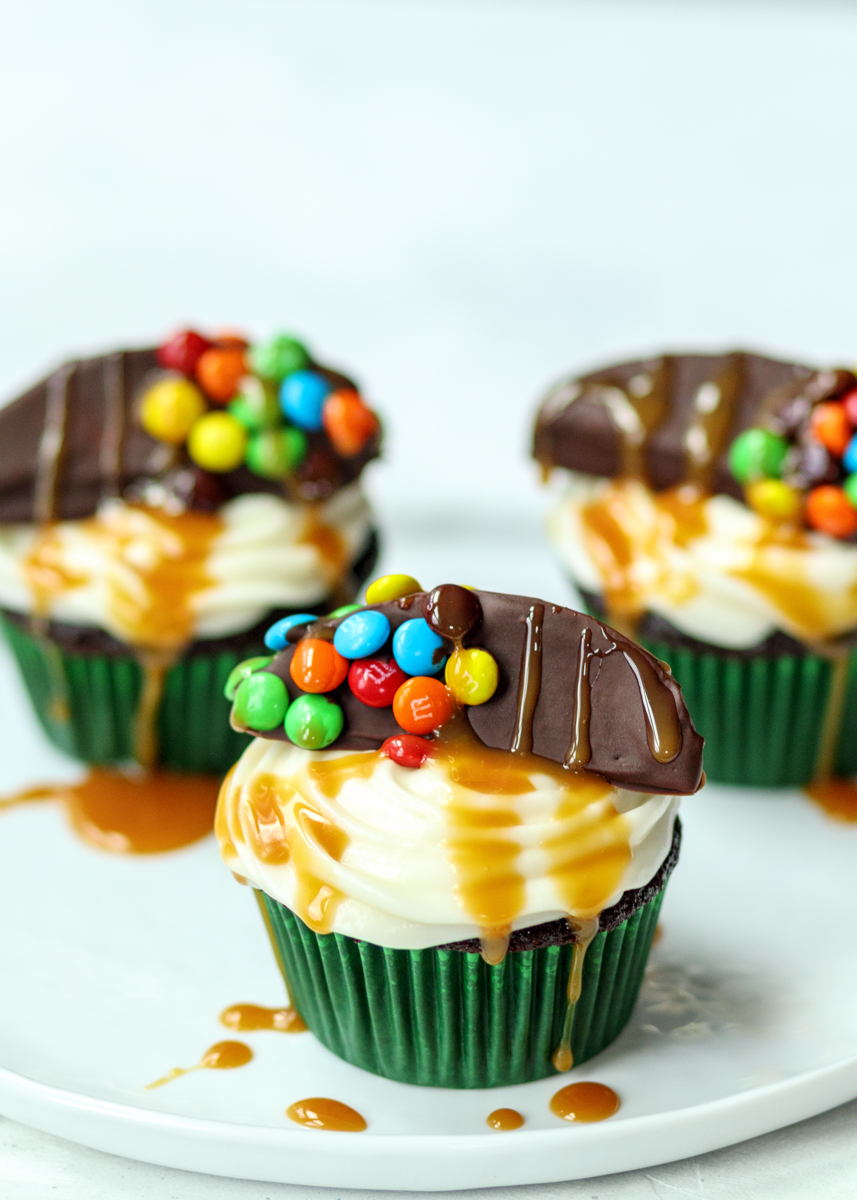
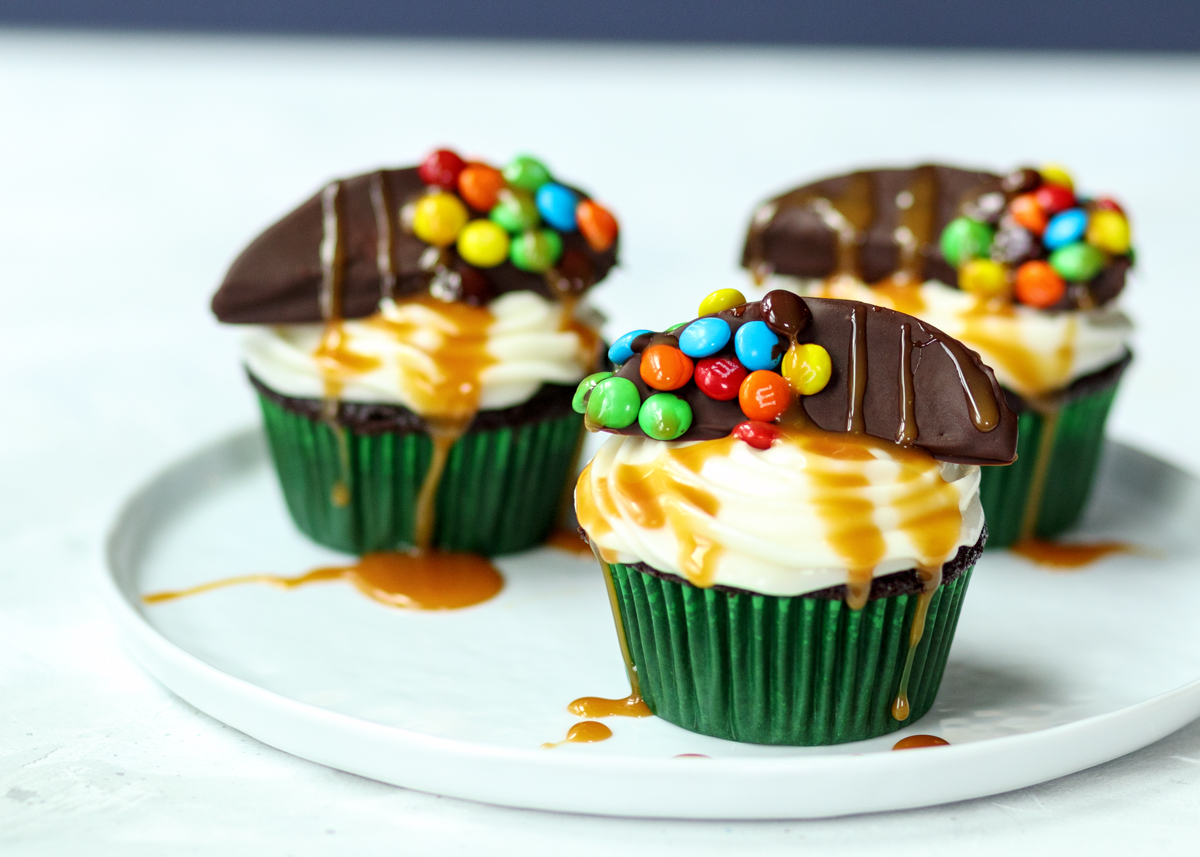
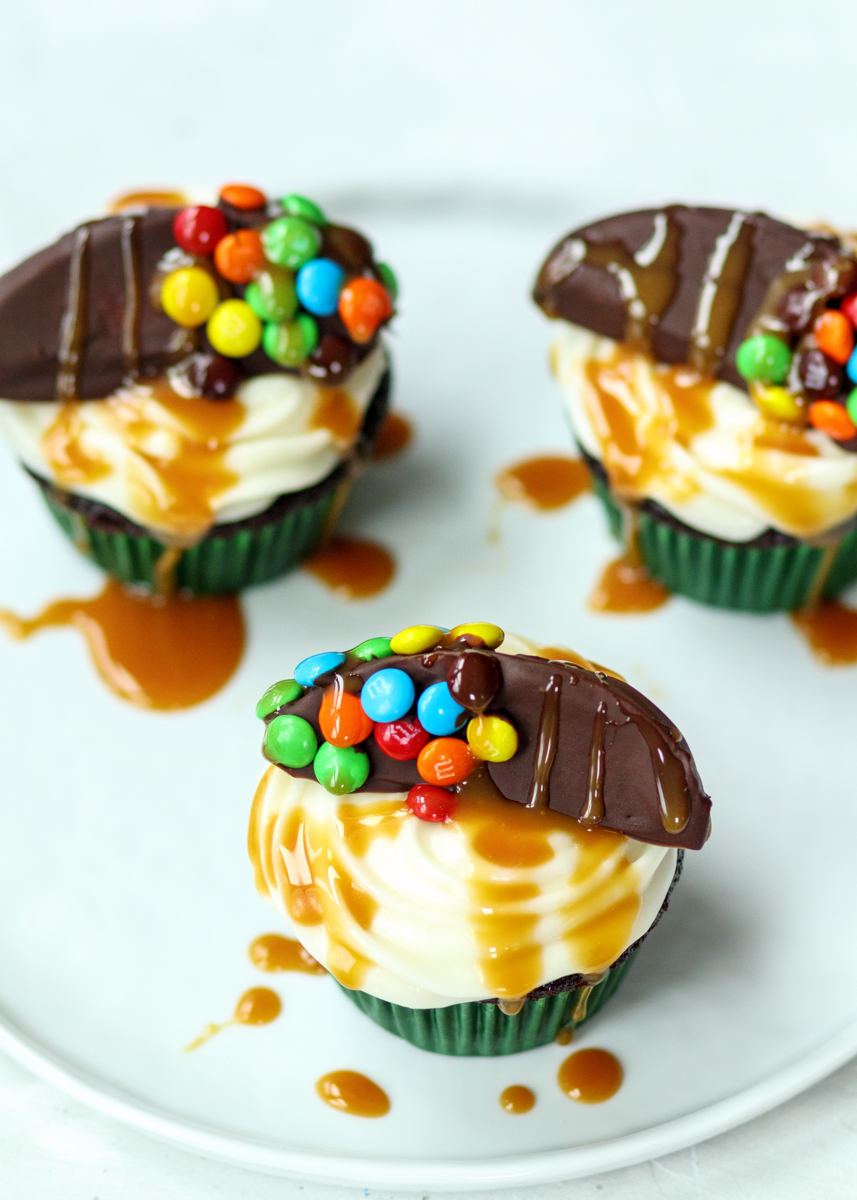
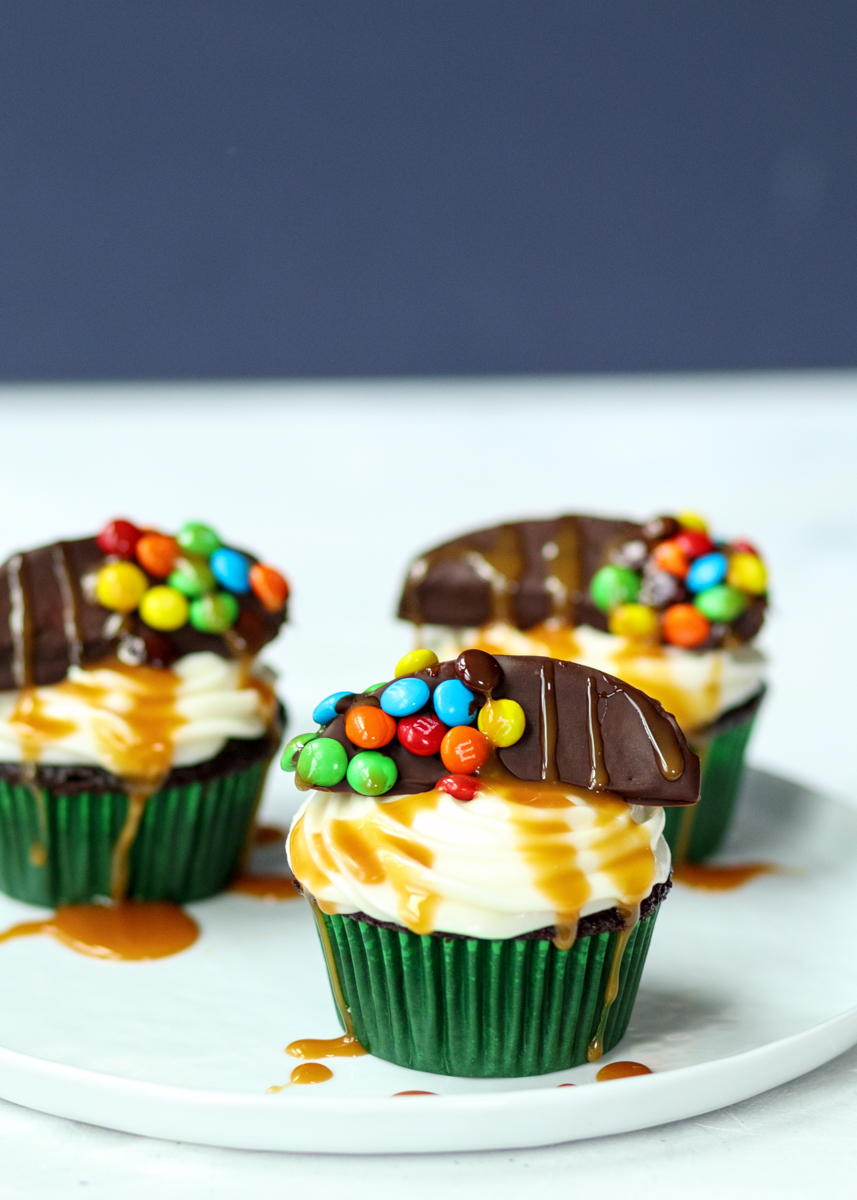
Chocolate Covered Caramel Apple Cupcakes

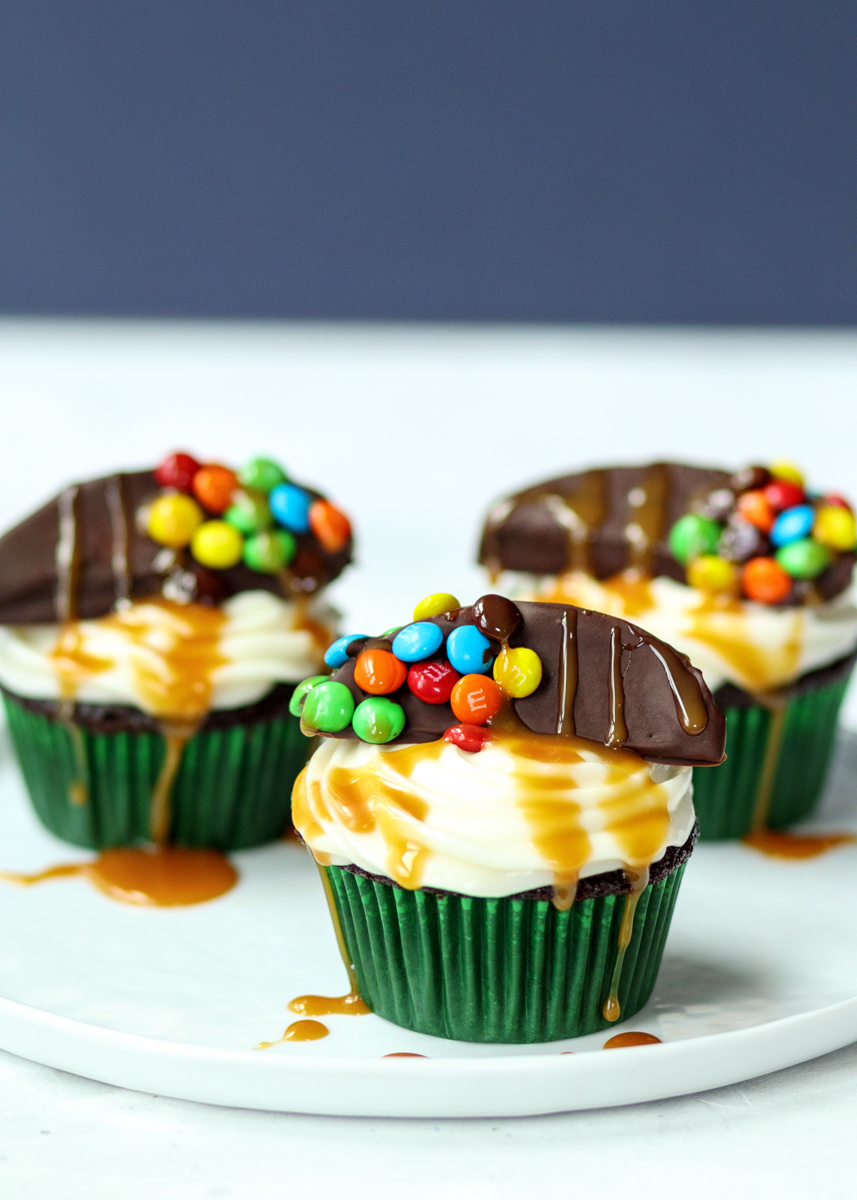
Chocolate Covered Caramel Apple Cupcakes  |  Lemon & Mocha

We’re celebrating the start of apple picking season here on Lemon & Mocha all week and I saved the best for last. Why is it the best? Because it is heavy on the chocolate and anything involving chocolate immediately jumps to the top of the list for me. Especially when there’s chocolate covered apples, too.

Chocolate Covered Caramel Apple Cupcakes  |  Lemon & Mocha

If you haven’t had chocolate covered apples before then you are seriously missing out, but you could remedy that this weekend by making these over-the-top Chocolate Covered Caramel Apple Cupcakes. The base of these cupcakes is my Perfect Chocolate Cupcakes. They are fluffy, moist and rich with chocolate flavor.

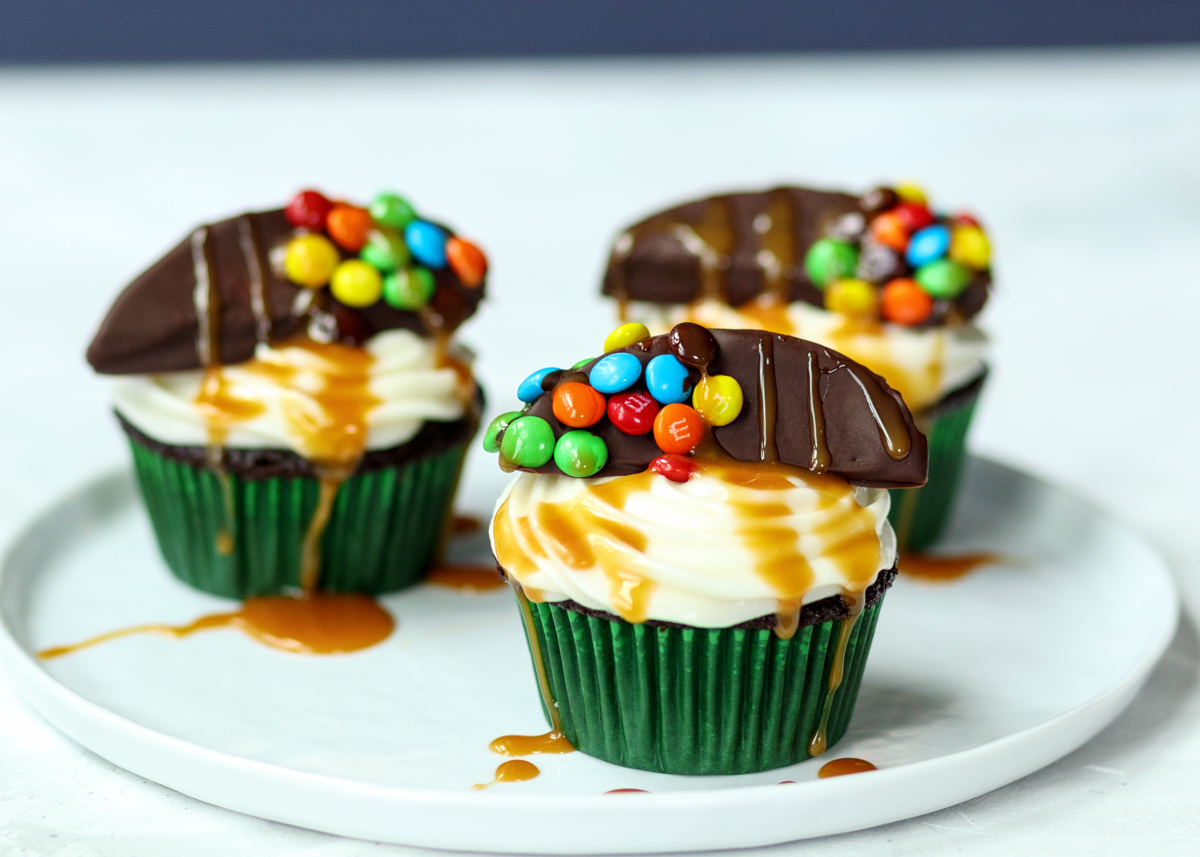
Chocolate Covered Caramel Apple Cupcakes  |  Lemon & Mocha

On top we have an apple cider cream cheese frosting. We’re using the same technique from Tuesday’s Baked Apple Cider Donuts of reducing down apple cider to get a concentrated spiced apple flavor. This apple cider reduction is whipped into the cream cheese frosting.

Chocolate Covered Caramel Apple Cupcakes  |  Lemon & Mocha

Next, we have chocolate covered apple wedges. I decorated mine with mini M&M’s because the more chocolate the better and I love the pop of color they add to the cupcakes. You can use any of your favorite candy apple toppings, such as toffee, nuts or even Oreos. Or you could just drizzle with some melted white chocolate or melted peanut butter chips – yum! Finally, I added a generous drizzle of salted caramel sauce. You could make your own or you could buy your favorite brand and drizzle away.

Chocolate Covered Caramel Apple Cupcakes  |  Lemon & Mocha

I made these cupcakes last year for a fun girls weekend where we did all the fall things, including apple picking of course. They were a big hit and I’m getting so hungry looking at the photos that I think I will definitely have to make them again this fall! Enjoy, friends, and have a great weekend!

Chocolate Covered Caramel Apple Cupcakes  |  Lemon & Mocha

Chocolate Covered Caramel Apple Cupcakes
 
Yield: 24 cupcakes
Ingredients
for the cupcakes
  • 2 cups sugar
  • 1¾ cups all-purpose flour
  • ¾ cup unsweetened cocoa powder
  • 1½ teaspoon baking powder
  • 1 teaspoon baking soda
  • 1 teaspoon salt
  • 2 large eggs
  • 1 cup buttermilk, see note
  • ¼ cup butter, melted
  • ¼ cup vegetable oil
  • 1 tablespoon vanilla extract
  • 1 cup hot coffee, see note
for the frosting
  • ¾ cup apple cider
  • 12 ounces cream cheese, room temperature (use block cream cheese)
  • 12 tablespoons unsalted butter, room temperature
  • 6 cups powdered sugar, sifted, plus more as needed
  • 1 teaspoon vanilla extract
  • ¼ teaspoon salt
for topping
  • 2 apples, cored and cut into wedges (a total of 24 wedges)
  • 1⅓ cups semisweet chocolate chips
  • 2 tablespoons coconut oil
  • Mini M&Ms or other preferred topping
  • Salted caramel topping, such as Smucker’s brand
Directions
for the cupcakes
  1. Preheat the oven to 350 degrees and line 2 cupcake pans with paper liners and set aside.
  2. In a large mixing bowl or in the bowl of a stand mixer, sift together the sugar, flour, cocoa powder, baking powder, baking soda and salt.
  3. In a medium mixing bowl, whisk together the eggs, buttermilk, melted butter, vegetable oil and vanilla extract. Pour the liquid ingredients into the dry ingredients and mix together until smooth.
  4. Pour the hot coffee into the batter and stir until combined. The batter will be extremely liquidy. Divide the batter between the 24 cupcake liners, filling them slightly more than half full. Bake for 18-20 minutes, or until a toothpick inserted in the center comes back mostly clean. Alternatively, they are done when you gently press your finger on the center of a cupcake and it lightly springs back. I find mine to be done at exactly 19 minutes.
  5. Let cool in the pan for a couple minutes then remove to a wire cooling rack to cool completely before frosting.
for the frosting
  1. Simmer the apple cider in a small saucepan over low heat until it has reduced to ¼ cup. It will not thicken, but it will get darker. This may take anywhere from 10 to 20 minutes. Once reduced let cool completely.
  2. Beat the cream cheese and the butter in the bowl of a stand mixer fitting with a whisk attachment or in a large bowl with a hand mixer on medium-high speed until smooth and fluffy, about 5 minutes. Add the powdered sugar and slowly beat until combined, increasing speed as it combines. Add the vanilla extract, salt and reduced apple cider and beat to combine. If the frosting isn’t firm enough to pipe after adding the apple cider add more powdered sugar until the desired stiffness is reached.
for topping
  1. Line a baking sheet that will fit in your fridge with wax paper and set aside.
  2. In a liquid measuring cup or other narrow, tall microwave-safe bowl, heat the chocolate chips and the coconut oil for 30 seconds. Stir, then continue heating in 15 second intervals, stirring after each, until melted and smooth. Use a fork to help you completely dip an apple wedge into the melted chocolate. Place on the prepared baking sheet then sprinkle with the mini M&Ms or other topping. Repeat for the remaining apple wedges. If you need to reheat your chocolate, do it at 15 second intervals. Place the apple wedges in the fridge and let set until firm, about 30 minutes.
  3. To decorate the cooled cupcakes, pipe the apple cider cream cheese onto the cupcakes. Top with a chocolate covered apple wedge and then a drizzle of the salted caramel topping. If you aren’t serving right away, wait to top the cupcakes with the apple wedges and caramel sauce. Frosted cupcakes need to stay refrigerated because it’s a cream cheese frosting.
Notes
To make your own buttermilk: pour 1 tablespoon of lemon juice or vinegar in a liquid measuring cup. Pour milk, any fat percentage, into the measuring cup until you have 1 cup. Let sit for 5 minutes before using.
If you don’t want to use coffee you can use hot water, but the flavor of the chocolate won’t be as pronounced. You can use decaffeinated coffee if you prefer.
The cupcakes, unfrosted, freeze very well if you want to make them ahead of time.


Baked Apple Cider Donuts

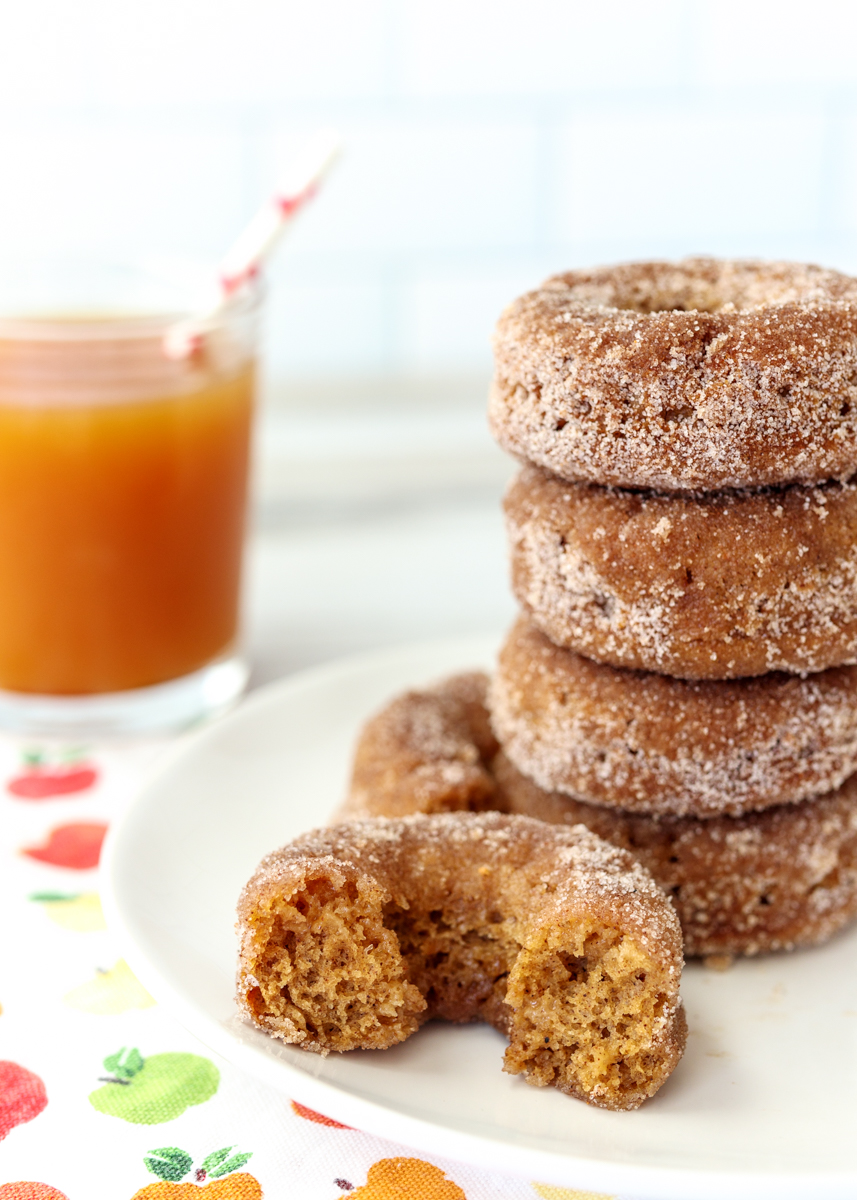
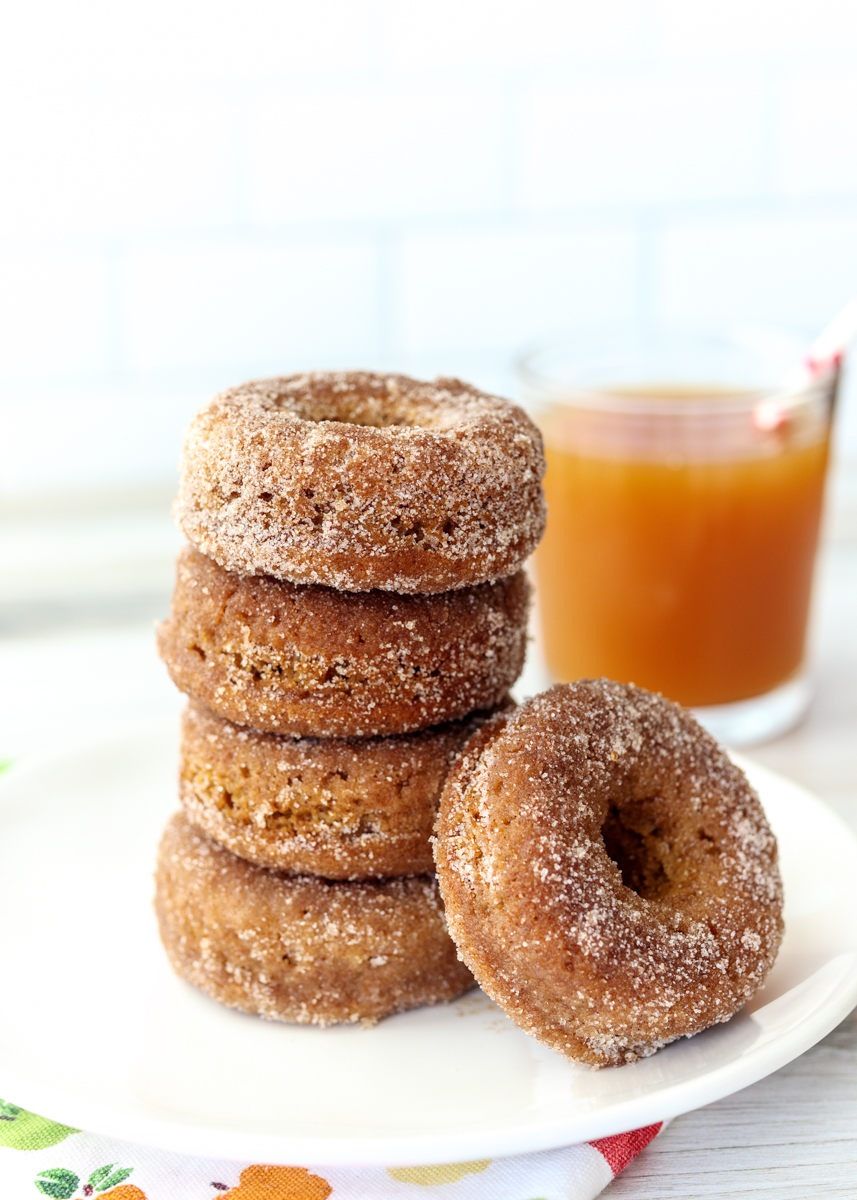
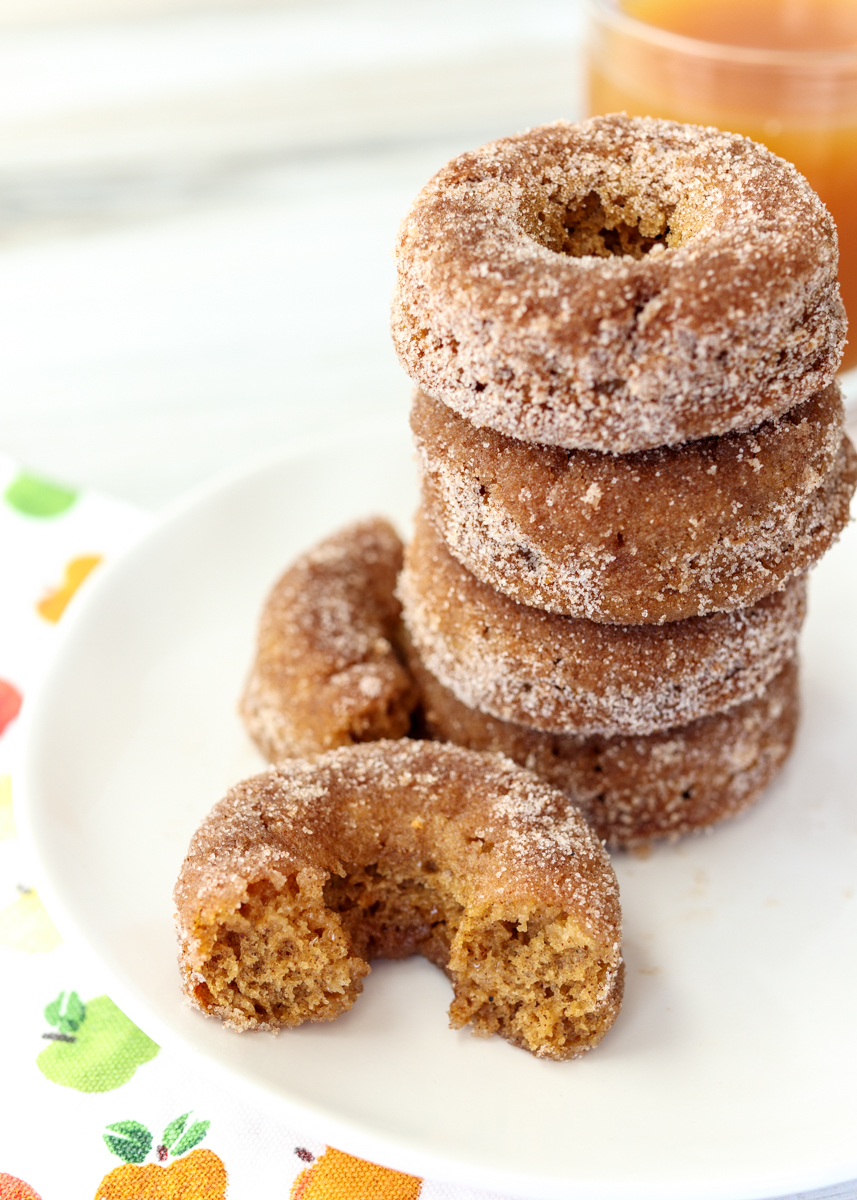
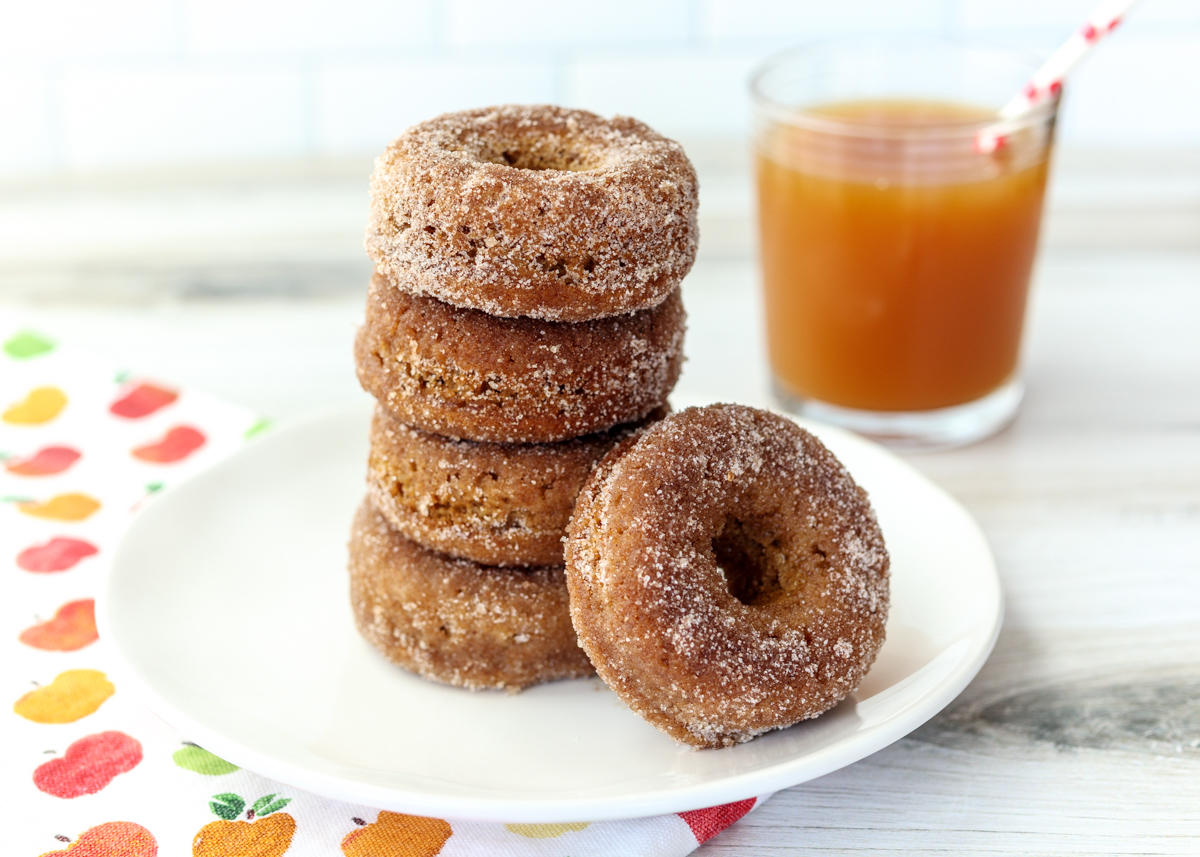
Baked Apple Cider Donuts  |  Lemon & Mocha

September is here! To try to get myself excited for the end of summer I’m diving right into fall recipes. Don’t get me wrong – I love fall. Here in New England the changing leaves are beautiful and there’s plenty of fun fall activities. I love all the celebrations: Halloween, Thanksgiving, my anniversary and my birthday. Of course you can’t forget all the delicious fall flavors coupled with cozy blankets and cool nights.

Baked Apple Cider Donuts  |  Lemon & Mocha

But these last few years I’ve started this shift where summer is starting to tie fall as my favorite season. Maybe it’s because I’m cold all the time and I can appreciate the summer heat more since I’m much better at avoiding getting sunburned these days. It’s hard to beat the long days as well, especially since I’m a morning person and highly unproductive once the sun goes down. Yet here we are in September so I’m trying to amp myself up with a week dedicated to one of fall’s classic flavors: apple.

Baked Apple Cider Donuts  |  Lemon & Mocha

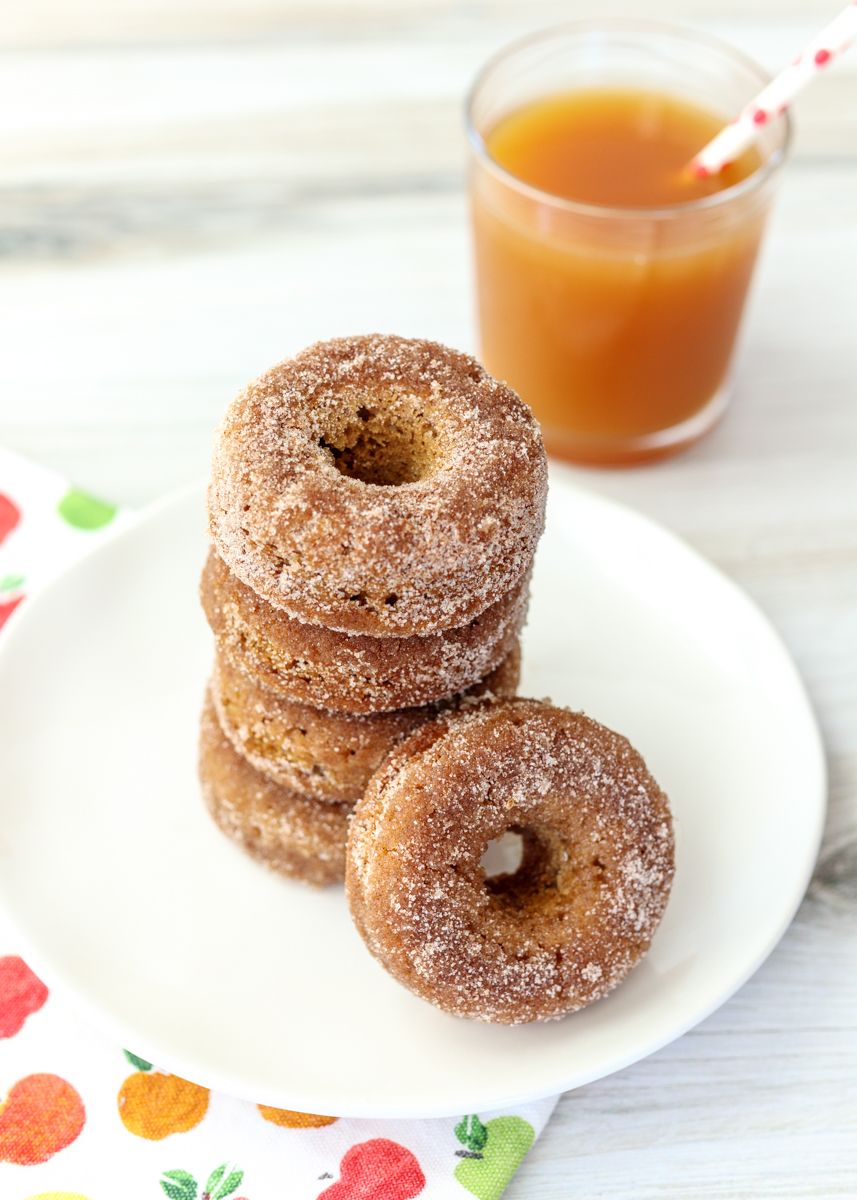
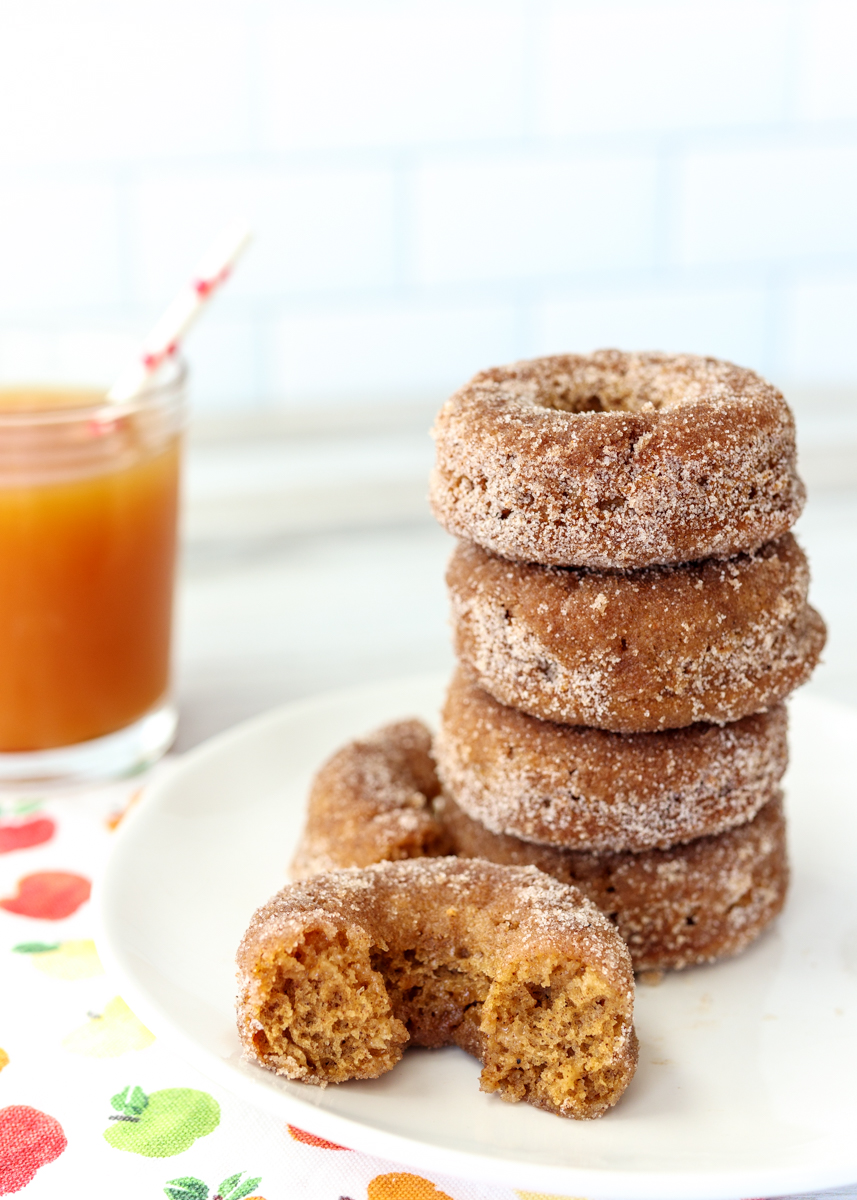
Apples are synonymous with fall, with plenty thanks to apple picking being a quintessential fall activity. The best treat while apple picking is a hot apple cider donut caked in cinnamon-sugar. Their sugary spiced scent has you drooling before you even have one in your hands.

Baked Apple Cider Donuts  |  Lemon & Mocha

Today we’re recreating that deliciousness with these Baked Apple Cider Donuts. It had been too long since I used my silicone donut pans and I was excited to break them out for another baked donut treat. The key to getting that perfect apple cider flavor in these donuts is that we’re using apple cider concentrate that we’ve made by reducing apple cider down on the stove-top. We’re also adding plenty of cinnamon, nutmeg and other apple pie spices to get that rich spiced flavor.

Baked Apple Cider Donuts  |  Lemon & Mocha

If you don’t have a donut pan you can bake these up in a sprayed mini muffin pan at the same temperature in the recipe below for about nine minutes. I hope you enjoy this tasty fall treat!

Baked Apple Cider Donuts  |  Lemon & Mocha

Baked Apple Cider Donuts
 
Yield: 12-14 donuts
Ingredients
for the donuts
  • 1¾ cups apple cider, see first instruction
  • 2 cups all-purpose flour
  • 1 teaspoon baking soda
  • ¾ teaspoon baking powder
  • 1½ teaspoons ground cinnamon
  • ¼ teaspoon ground nutmeg
  • ⅛ teaspoon ground cardamom or allspice
  • ⅛ teaspoon ground cloves
  • ¼ teaspoon salt
  • 2 tablespoons unsalted butter, melted
  • 1 egg, room temperature
  • ½ cup granulated sugar
  • ½ cup brown sugar
  • ½ cup milk, room temperature
  • 1 teaspoon vanilla extract
for the sugar topping
  • 4 tablespoons unsalted butter, melted
  • 1 cup granulated sugar
  • 1¼ teaspoons ground cinnamon
  • ¼ teaspoon ground nutmeg
  • ⅛ teaspoon ground cardamom or allspice
Directions
for the donuts
  1. Reduce the apple cider. Heat in a saucepan over medium-low heat for about 30 minutes, or until it has reduced to ½ cup plus 2 tablespoons. It can take a while so be patient; you most likely aren’t doing anything wrong and it just needs to reduce longer. The apple cider will not get thicker, it will just reduce down to less liquid and also get a little darker. Let cool for 10 minutes before using in the recipe.
  2. Preheat oven to 350 degrees F. Spray donut pan with nonstick cooking spray and set aside.
  3. Whisk together the flour, baking soda, baking powder, spices and salt in a large mixing bowl.
  4. Whisk together the melted butter, egg, sugar, brown sugar, milk and vanilla in a medium mixing bowl. Pour the butter mixture into the flour mixture and whisk until combined. Add ½ cup of the reduced apple cider and whisk. Carefully pour the batter into the prepared donut pan so that the cavities are filled halfway up. I use Wilton batter spoons; you could also pipe from a piping bag. Bake for 12-14 minutes. The tops of the donuts should be browned and they should spring back lightly when you press them. Cool in the pan for 2-4 minutes then remove to a wire cooling rack to cool completely.
for the sugar topping
  1. Place the melted butter and the remaining 2 tablespoons of reduced apple cider in one bowl large enough to dip one donut at a time. In another bowl combine the sugar and spices. Dunk the donut in the melted butter mixture (being sure not to oversaturate) and then dip in the cinnamon-sugar mixture to coat completely. Repeat for the remaining donuts. Donuts will taste best fresh, but can also be eaten at room temperature for 2 days.

Recipe slightly adapted from Sally’s Baking Addiction.

Some of the links above are affiliate links, which means I may receive a small commission for my referral if you purchase something. This does not affect the retail cost of the item. Thank you for supporting Lemon & Mocha!

Frozen Peanut Butter Banana Pie

Frozen Peanut Butter Banana Pie  |  Lemon & Mocha

How is it already the end of August? I feel like I say this every summer, but this has definitely been the quickest one yet. The past three months have been a complete whirlwind, but of course there was plenty of time for epic desserts.

Frozen Peanut Butter Banana Pie  |  Lemon & Mocha

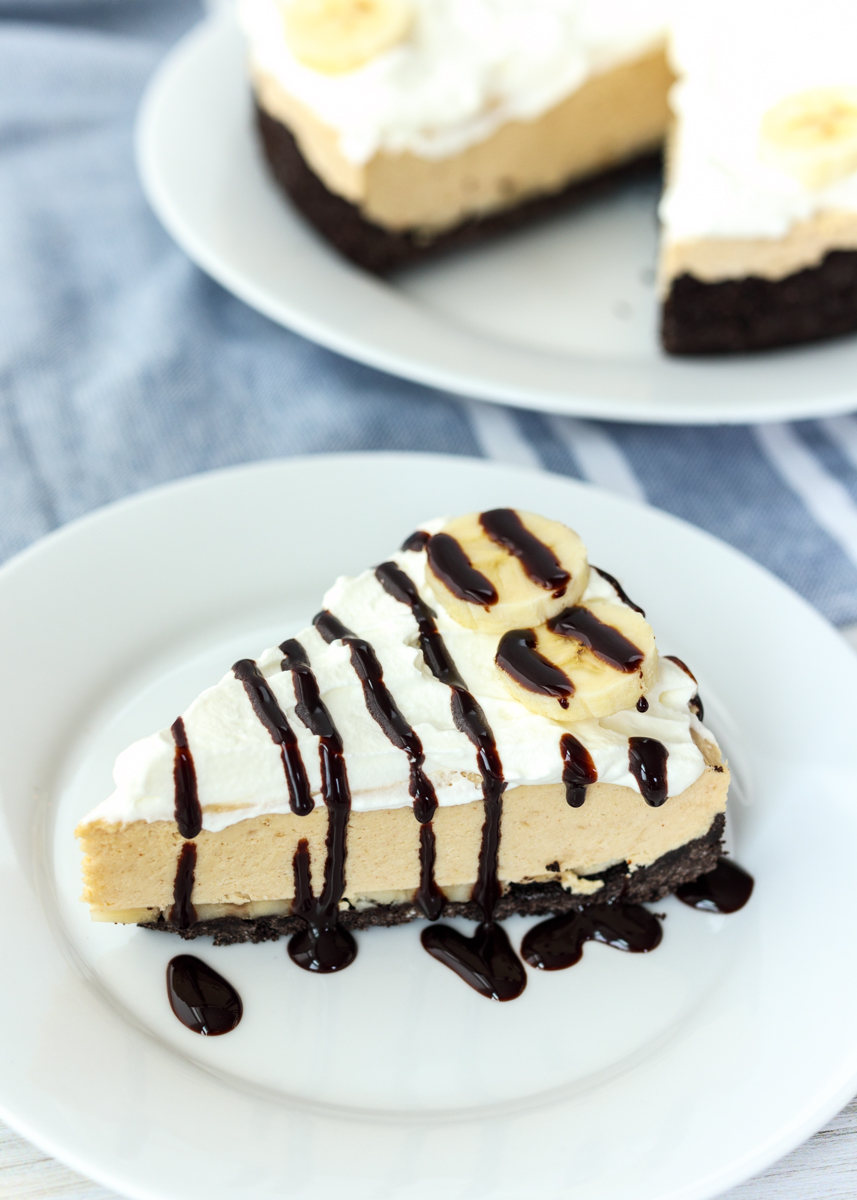
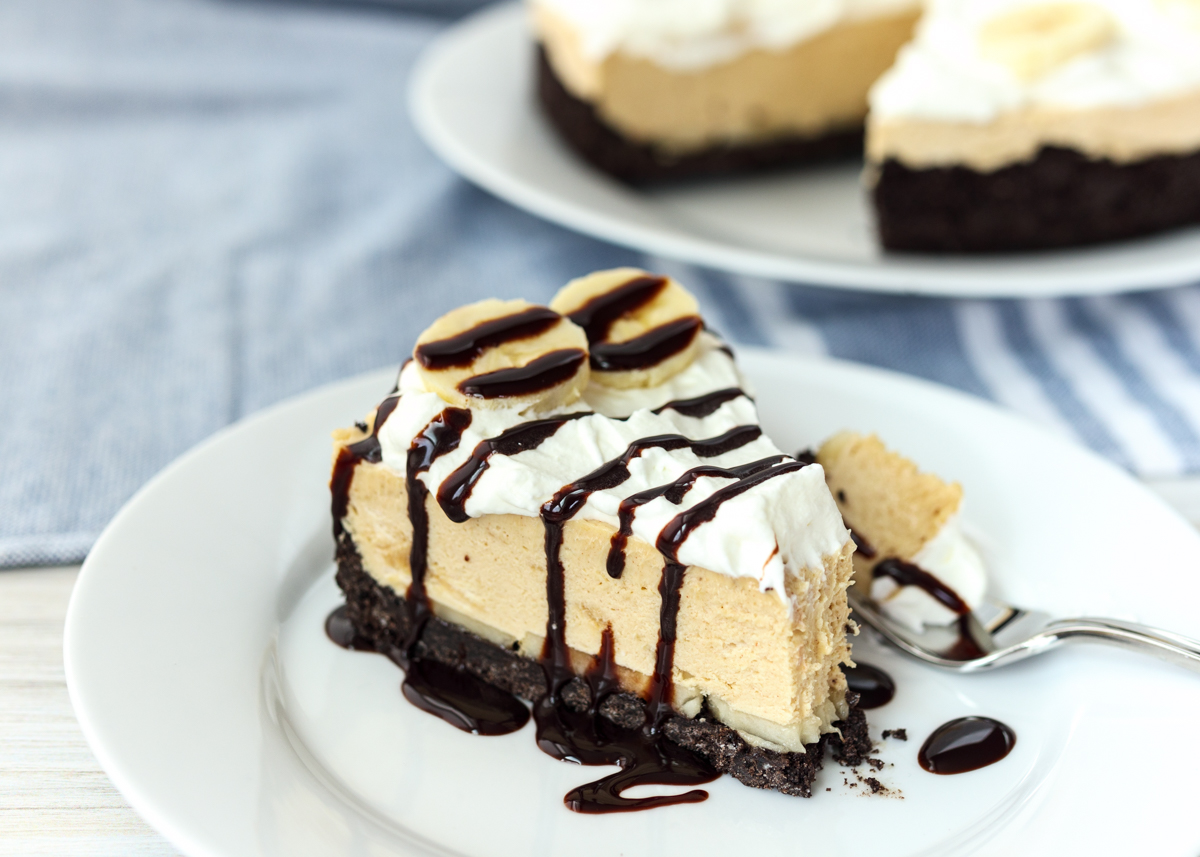
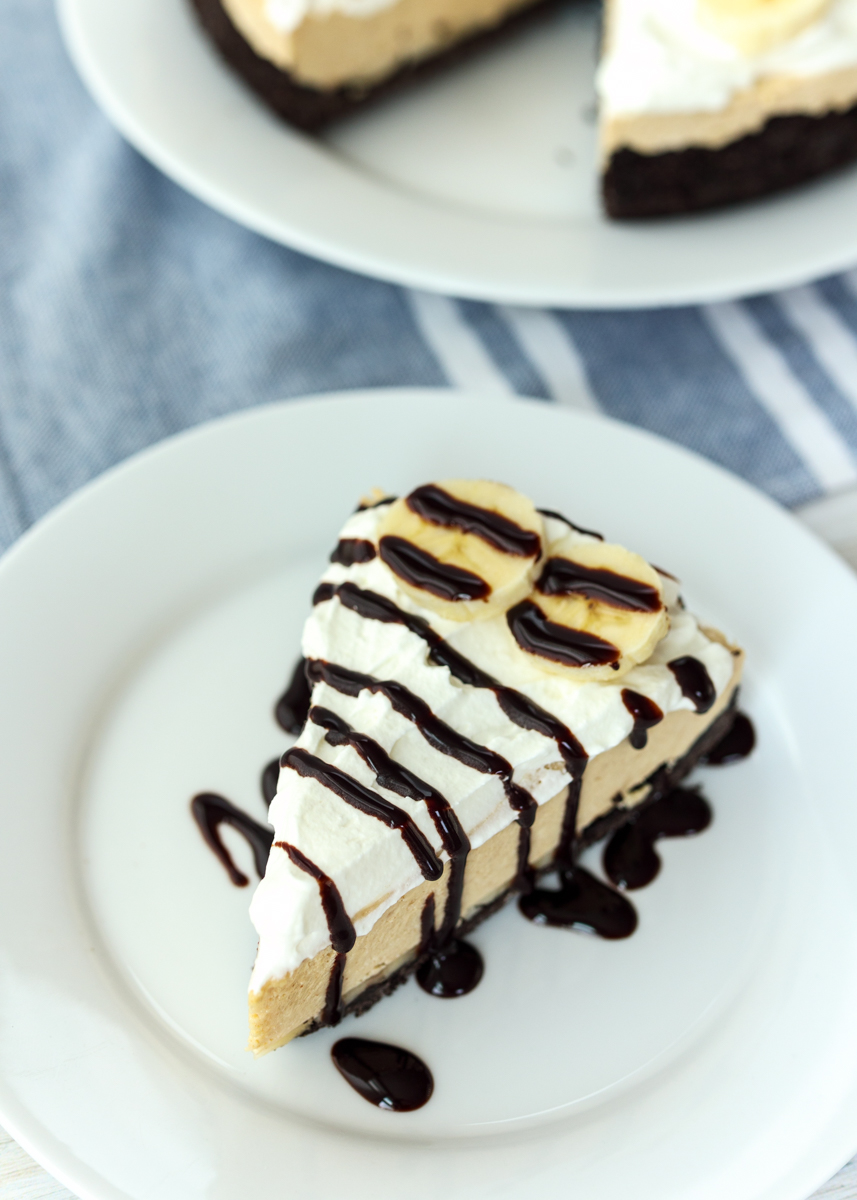
It would be impossible to pick a favorite, but this Frozen Peanut Butter Banana Pie that I’m sneaking in right at the end here would definitely be a contender. There’s been a lot of dessert making going on in our house so I was hesitant to load Matt and I up with even more, but I couldn’t let the summer go by without sharing this outrageous Frozen Peanut Butter Banana Pie I discovered about six months ago from my Sally’s Baking Addiction cookbook.

Frozen Peanut Butter Banana Pie  |  Lemon & Mocha

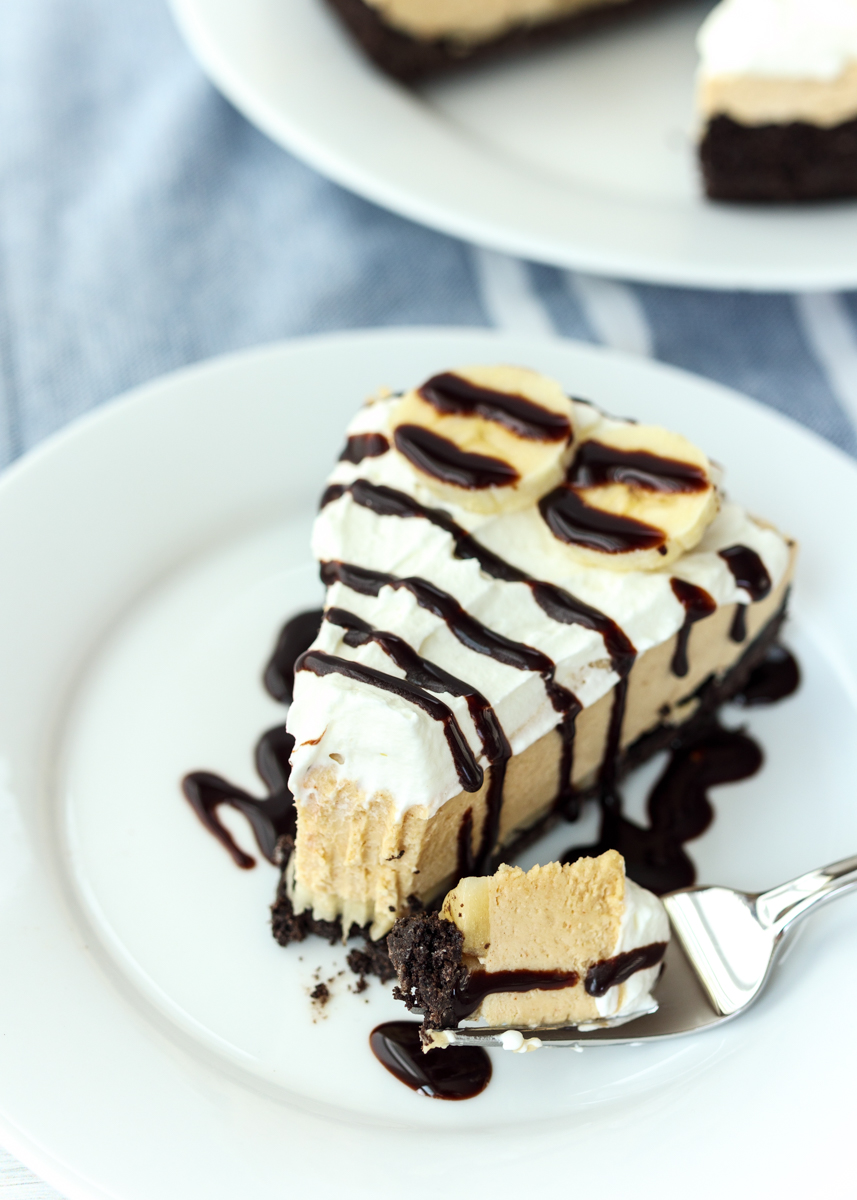
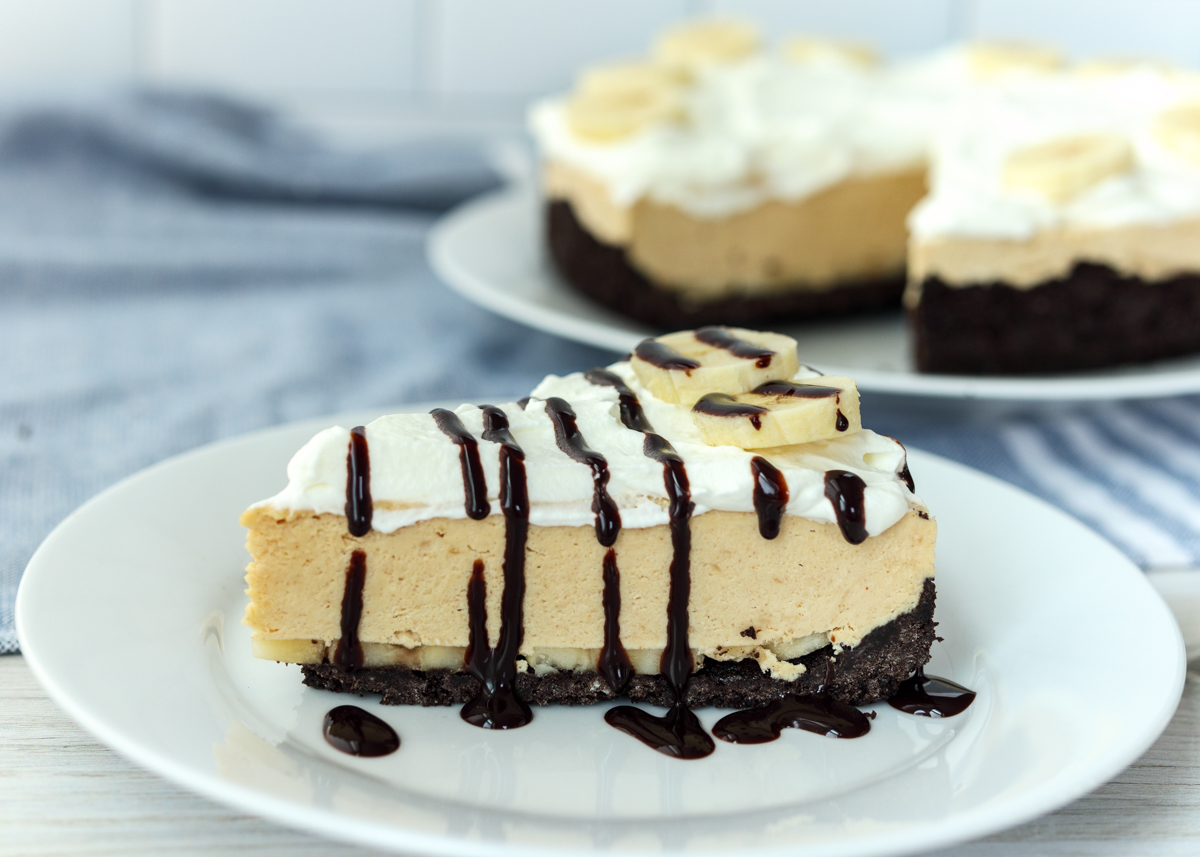
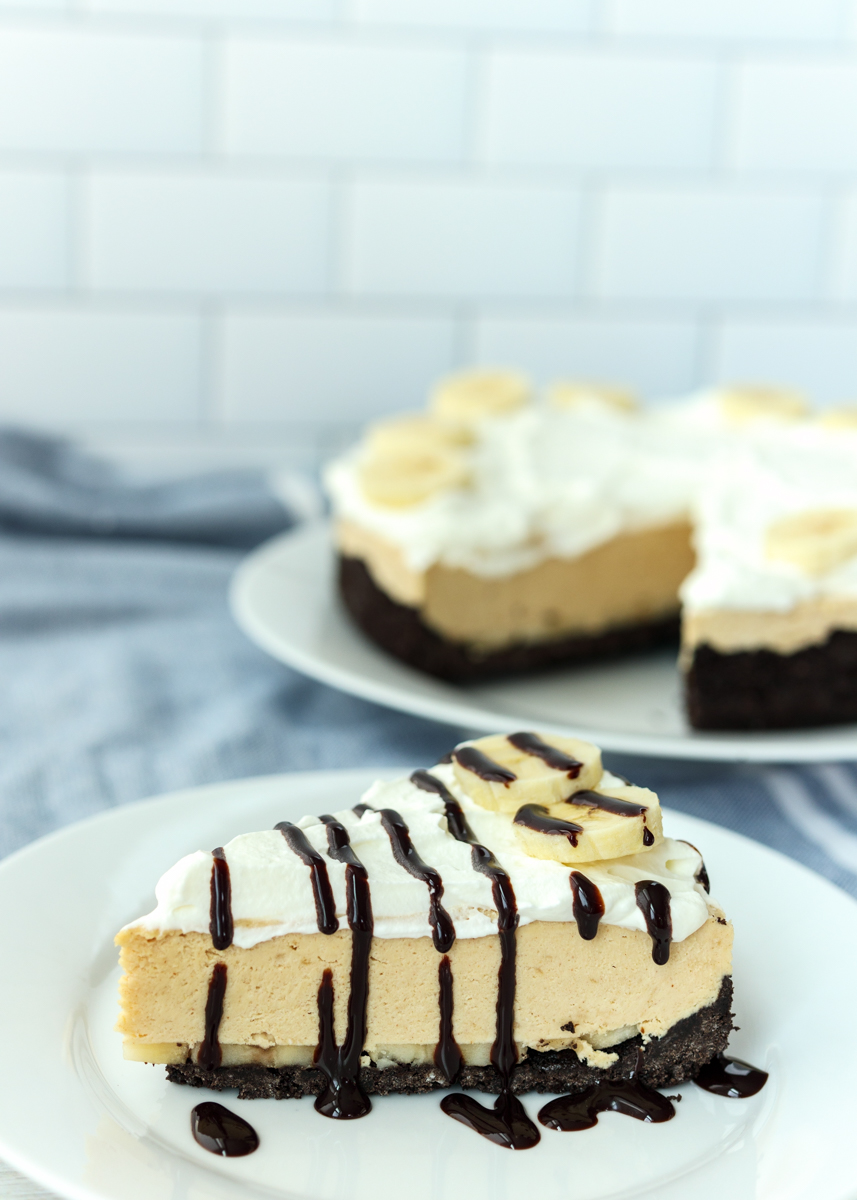
The base of this no-bake pie is a classic Oreo crust because the only thing better than peanut butter is chocolate and peanut butter. Then there’s a layer of fresh banana slices that get covered with a creamy peanut butter filling. The whole pie is frozen and topped with fresh whipped cream so that each bite is light and balanced.

Frozen Peanut Butter Banana Pie  |  Lemon & Mocha

I’ve always loved bananas, but other than banana splits I hadn’t really eaten too many desserts incorporating banana. This Frozen Peanut Butter Banana Pie has the perfect amount of banana flavor. It’s secondary to the peanut butter and chocolate Oreos and adds a great freshness to the pie.

Frozen Peanut Butter Banana Pie  |  Lemon & Mocha

As with most no-bake pies, this one is incredibly easy to make, which is both a great thing and a dangerous thing. You’ve been warned! Enjoy!

Frozen Peanut Butter Banana Pie  |  Lemon & Mocha

Frozen Peanut Butter Banana Pie
 
Yield: 8-10 servings
Ingredients
  • 28 Oreo cookies, crushed into crumbs (do not remove cream filling)
  • 5 tablespoons unsalted butter, melted
  • ¼ teaspoon salt
  • 2 large bananas, thinly sliced, plus more for decoration if desired
  • 2 cups heavy cream, divided
  • 8 ounces full-fat cream cheese
  • 1 cup creamy peanut butter (not natural peanut butter)
  • ½ cup granulated sugar
  • 1 tablespoon plus ¾ teaspoon vanilla extract, divided
  • ½ cup powdered sugar
Directions
  1. Make the base of the pie. In a medium mixing bowl, combine the Oreo crumbs with the melted butter and salt. Use the flat bottom of a measuring cup and your fingers to press the mixture into the bottom and up the sides of a 9-inch springform pan. Place the banana slices in an even layer on the bottom of the crust and set aside.
  2. Make the filling. Place a metal mixing bowl or the metal bowl of a stand mixer in the freezer along with the metal beaters or beater for 5-10 minutes. Remove and add 1 cup of the heavy cream (make sure your cream is cold) and beat on high speed until stiff peaks form, about 4-5 minutes.
  3. In the bowl of a stand mixer or in a large bowl with a hand-held mixer, use the paddle attachment to beat the cream cheese and peanut butter together until creamy and smooth. Add the granulated sugar and 1 tablespoon of the vanilla extract then beat until combined. Use a spatula and gently fold in the whipped cream from the previous step. Spread the peanut butter filling into the springform pan on top of the banana slices.
  4. Make the whipped cream. Place the metal mixing bowl or the metal bowl of a stand mixer back in the freezer along with the metal beaters or beater for 5-10 minutes. Remove and add the remaining cup of the heavy cream (make sure your cream is cold), powdered sugar and the remaining ¾ teaspoon of vanilla extract. Beat on medium-high until stiff peaks form. Spoon over the top of the pie, cover and freeze until firm, about 6 hours. Let pie sit at room temperature for 10 minutes before serving and top with additional banana slices if desired.

Recipe adapted from Sally’s Baking Addiction.
Some of the links above are affiliate links, which means I may receive a small commission for my referral. This does not affect the retail cost of the item. Thank you for supporting Lemon & Mocha!