Black Raspberry and Lemon Cream Pie Ice Cream Cake

Since I already posted the Classic Ice Cream Cake recipe this summer I wasn’t planning on posting another ice cream cake, but I got the urge to make it so here we are. This right here is a Black Raspberry and Lemon Cream Pie Ice Cream Cake. This cake is my absolute favorite non-chocolate ice cream cake I’ve ever made. It’s fruity, tart, sweet, creamy and so so so good.
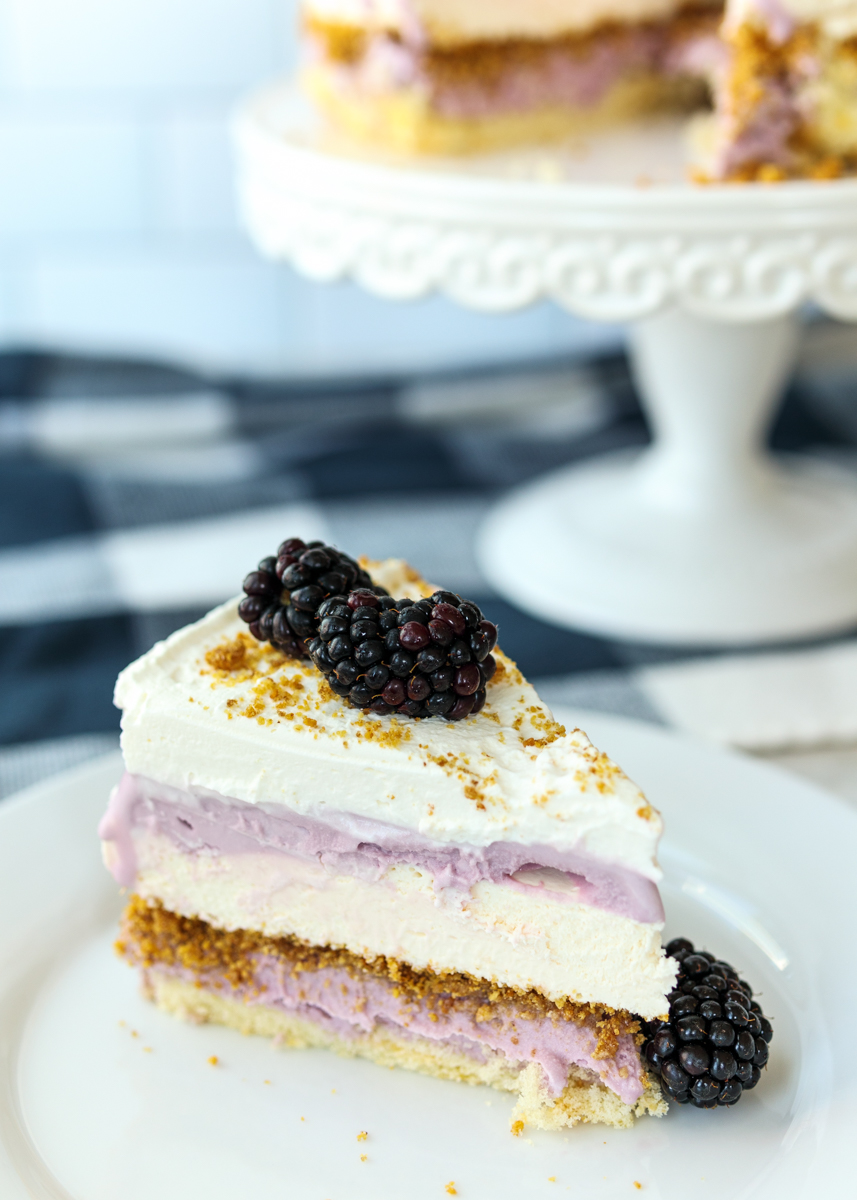
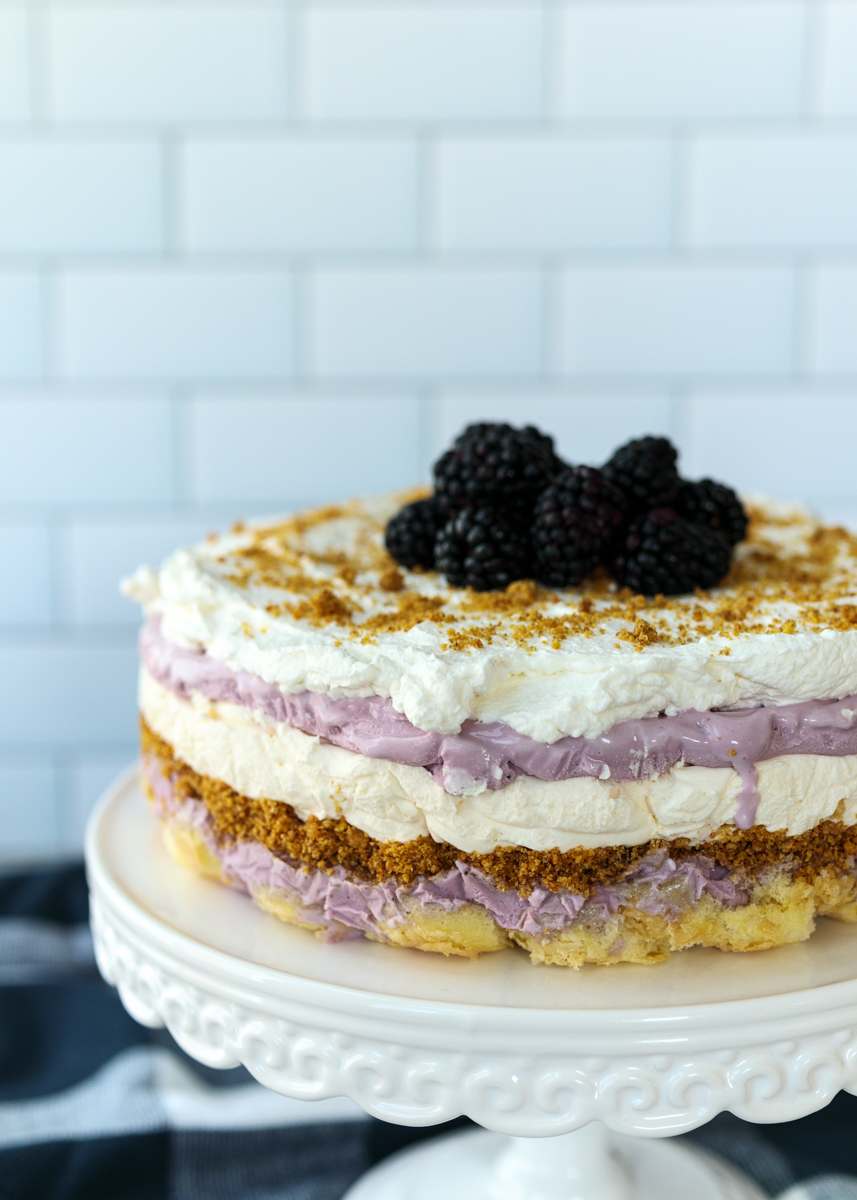
Ice cream cakes are all about the layering so let’s dive in. On the bottom we have a layer of soft lady fingers. You could do a graham cracker layer instead, following directions from the Classic Ice Cream Cake, but I like having a little bit of cake texture with the lemon and black raspberry flavors. Next we have black raspberry ice cream followed by a layer of the Lemon Cream Pie Dip from Monday. The combination of these two together is crazy delicious!
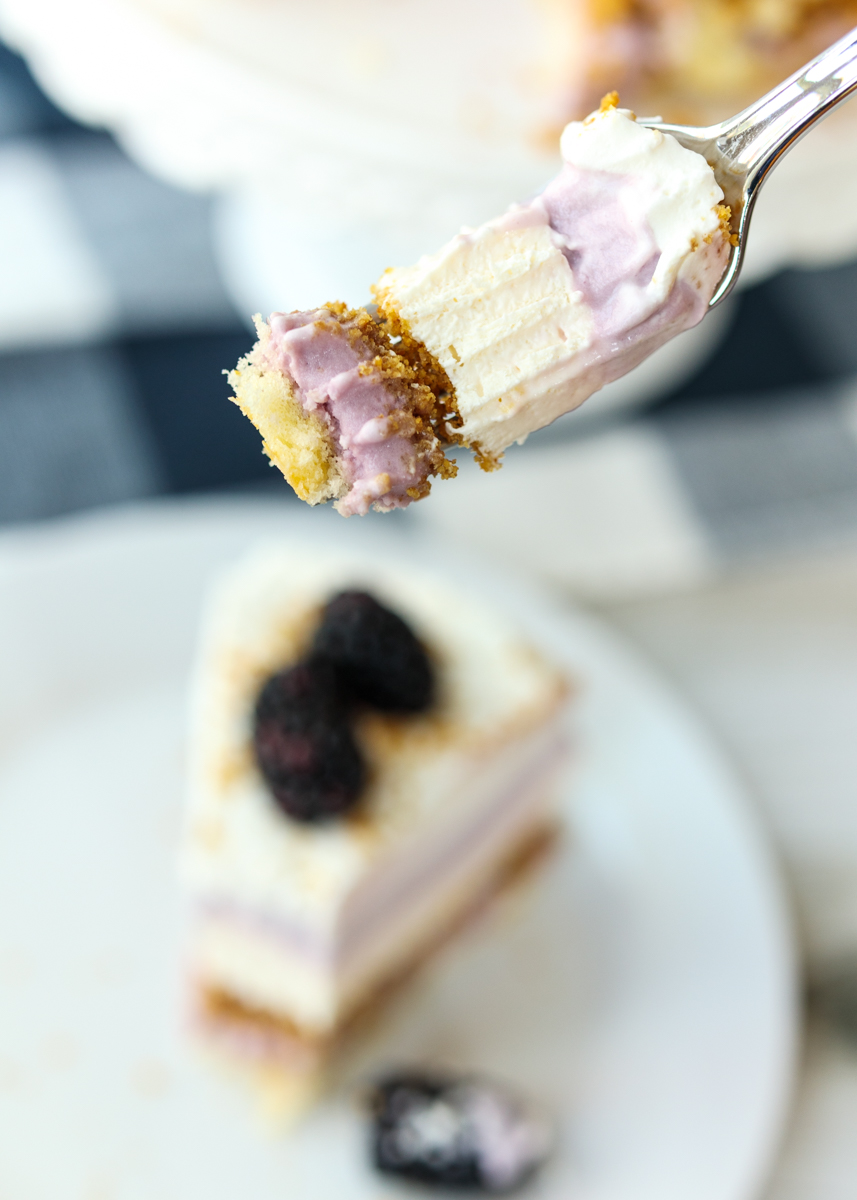
I also added in a middle layer of graham cracker crunch to give the cake some texture and a little saltiness. Next up, a final layer of black raspberry ice cream and fresh whipped cream. Yum! You could make extra whipped cream and frost the sides, but I went the easier, pile-on-top route this time around.
I was initially going to try making this in a loaf pan so it would be a small cake. I took one look at all the different components and decided this needed to be full-sized to really get enough of each layer. I’m so glad I did because not having leftovers of this Black Raspberry and Lemon Cream Pie Ice Cream Cake would be a very sad day.

If you want additional tips for making a perfectly layered ice cream cake, head over to my Classic Ice Cream Cake post. Meanwhile, I’ll be over here trying to convince myself I shouldn’t immediately run out to get everything to make this cake all over again…

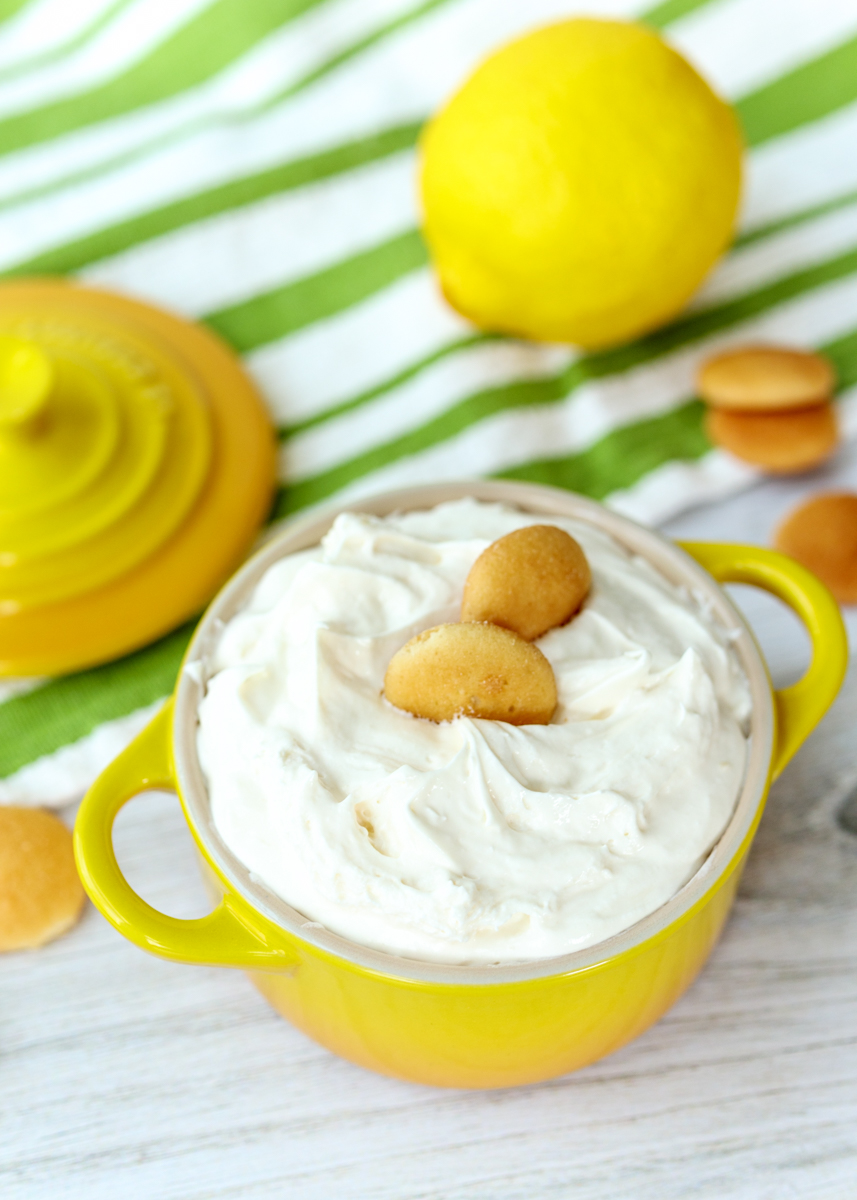
- 8 ounces cream cheese, softened (see note)
- ¼ cup powdered sugar
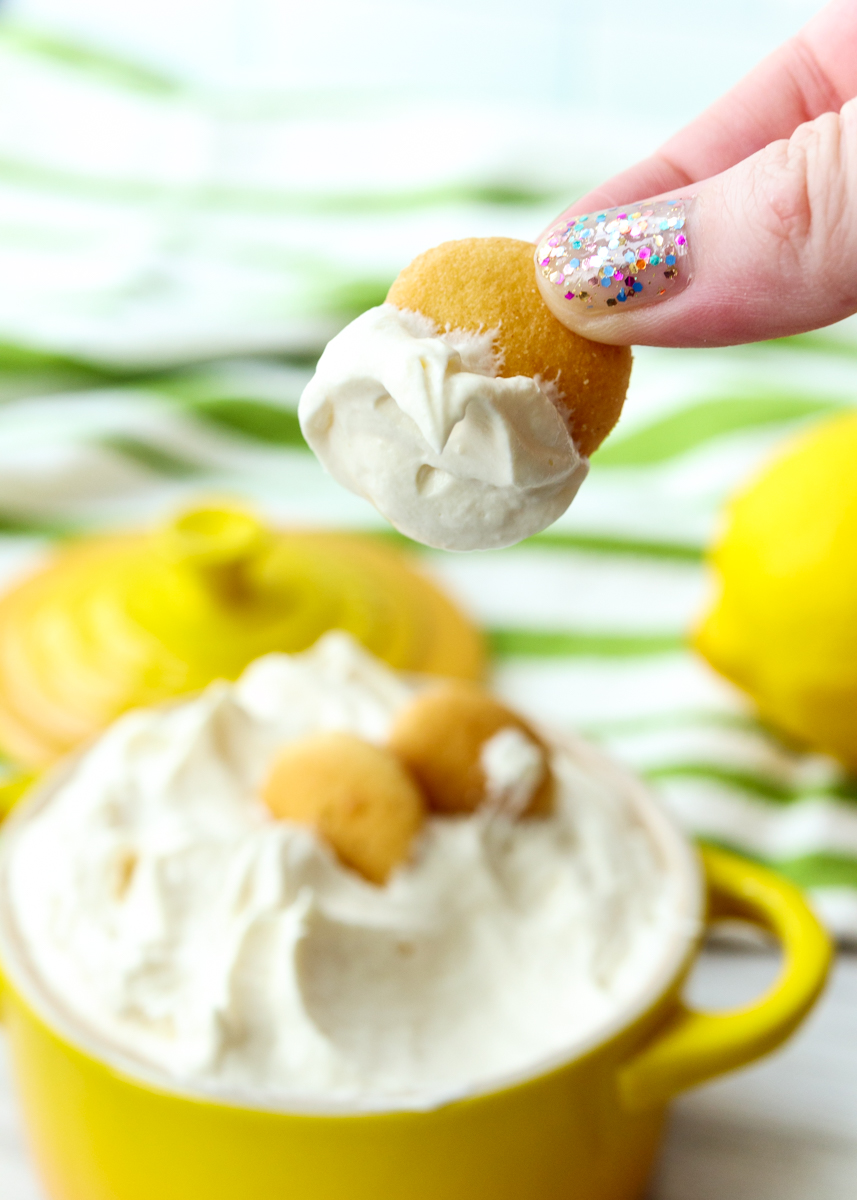
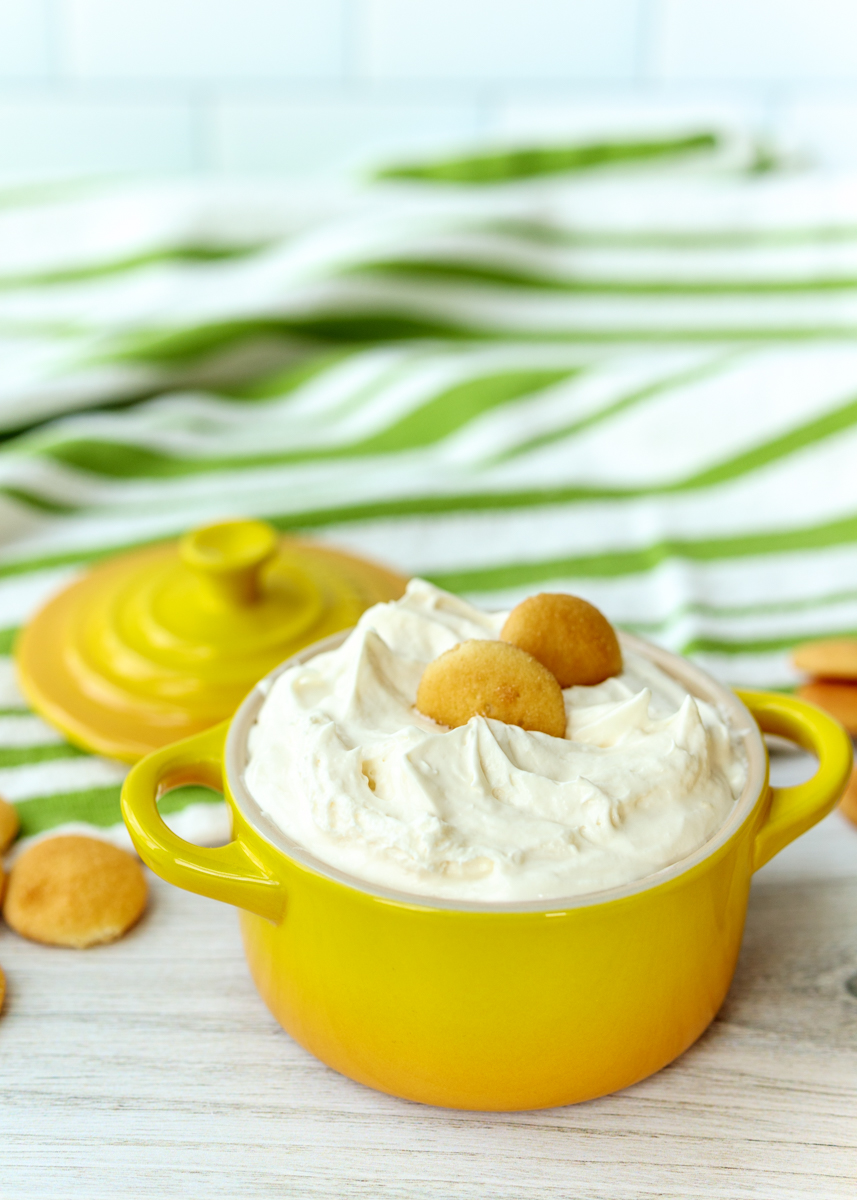
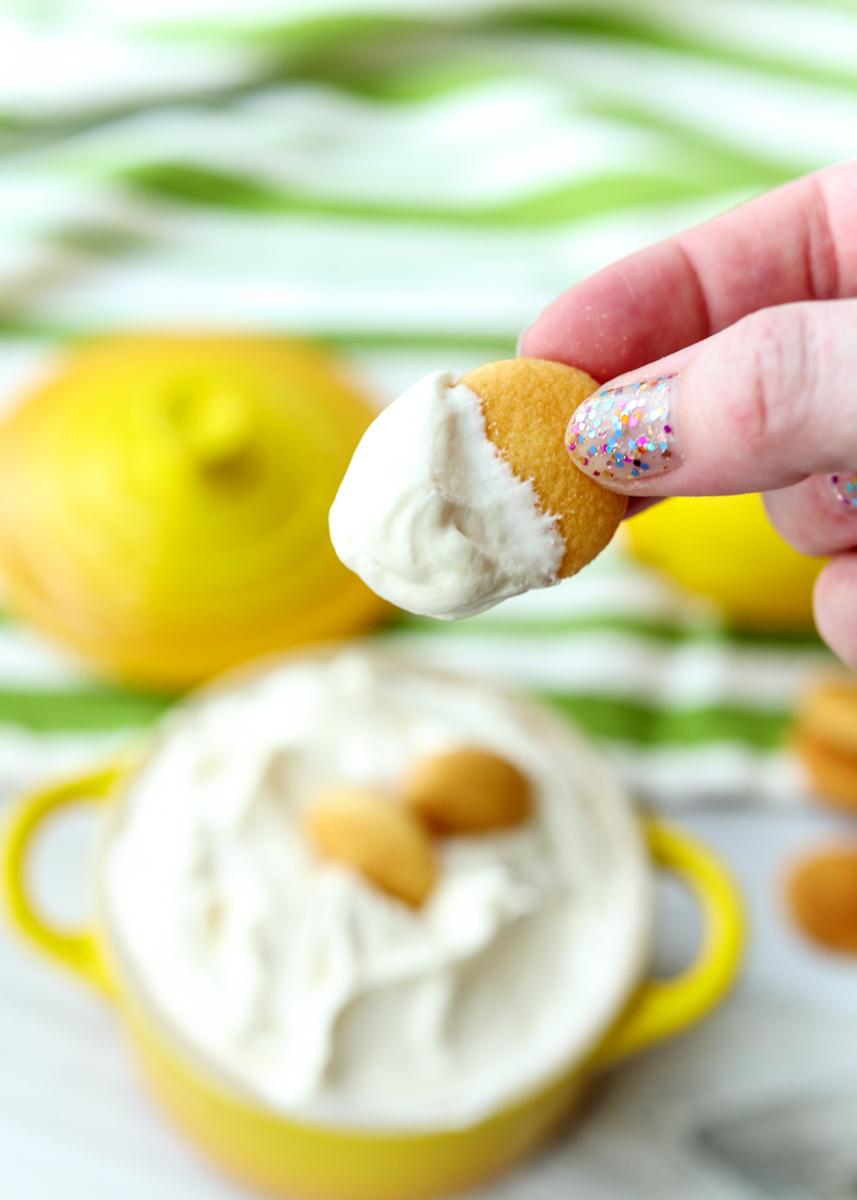
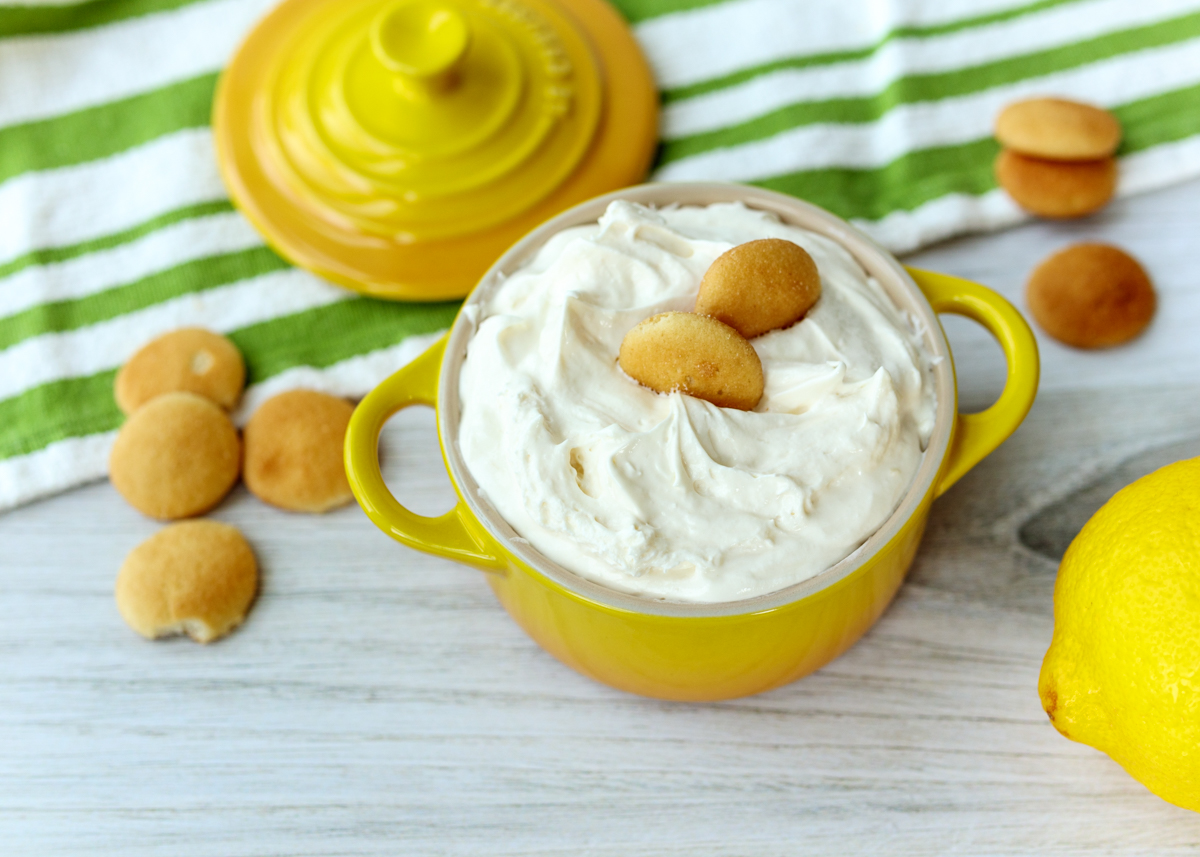
- 10 ounces lemon curd (usually found near jelly in the grocery store)
- 8 ounces whipped topping, such as Cool Whip, thawed (see note)
- 12 soft lady fingers, halved lengthwise
- 1½ quarts black raspberry ice cream
- 1 tablespoon unsalted butter
- 1 cup crushed graham crackers
- 2 tablespoons brown sugar
- ½ teaspoon salt
- 1 cup heavy cream
- ½ cup powdered sugar
- ¾ teaspoon vanilla extract
- Blackberries, for topping
- Beat the cream cheese and powdered sugar in the bowl of a stand mixer or in a large bowl with a hand mixer until fluffy and smooth, about 2 minutes. Add the lemon curd and beat until combined. Gently fold in the whipped topping until blended. Keep in the fridge until ready to use.
- Line a 9-inch springform pan with plastic wrap so it goes up and over the sides. I use 2 pieces. Use the lady fingers to make a single layer on the bottom of the pan, pressing down as you add them. You might need to rip some to fill up all the little spots.
- Scoop half the container of ice cream into the bowl of a stand mixer then beat with your paddle attachment until smooth and spreadable. Use a rubber spatula to spoon over the lady fingers and spread into an even layer. Put in the freezer.
- Melt the butter in a skillet over medium heat. Add the crushed graham crackers and sprinkle the brown sugar over top. Cook for about 5 minutes, until toasted and coated. Toss with the salt and set aside to cool. Once cool, remove the cake from the freezer and sprinkle a single layer of the graham crumbs over top, reserving a little to sprinkle over the finished cake. Use a spatula to spoon 4 cups of the lemon cream cheesecake over top (you will have some leftover) and spread into an even layer. Put in the freezer until just firm, about 1 hour.
- When the lemon cream cheesecake layer is firm enough to put on another layer, scoop the remaining half the container of ice cream into the bowl of a stand mixer then beat with your paddle attachment until smooth and spreadable. Use a rubber spatula to spoon over the lemon cream cheese layer and spread into an even layer. Put in the freezer.
- Make the whipped cream. Place a metal mixing bowl or the metal bowl of a stand mixer in the freezer along with the metal beaters or beater for 5-10 minutes. Remove and add the heavy cream (make sure your cream is cold), powdered sugar and vanilla. Beat on medium-high until stiff peaks form. Spoon over the top of the cake and return to the freezer for at least 2 hours or overnight. When ready to serve, open the ring of the springform pan. Use the plastic wrap to lift up the cake; carefully remove the plastic wrap and transfer the cake to a cake board or platter. Top with the remaining graham cracker crumble and some fresh blackberries. The cake can usually be cut right out of the freezer with a sharp knife.
If you want to use homemade whipped cream for the lemon cream cheesecake layer, follow these instructions: In a cold metal bowl of a stand mixer or in a large cold metal mixing bowl with a hand mixer, use cold beaters to beat 1½ cups cold heavy whipping cream, ¾ cup powdered sugar and 1 teaspoon vanilla extract until stiff peaks form. Also feel free to substitute Lite Cool Whip.