Flag Fruit & Dessert Platter
Memorial Day weekend always feels like the official start of summer. I’m sure I would feel differently if I was a teacher or if Matt and I had kids in school, but for us, come Memorial Day we are in full summer mode! Up here in Boston it usually means we will have warm weather from here on out without any random 50 degree “spring” days – not that I want to jinx it. It also means summer barbecues and outdoor eating are sticking around for the next few months. I love the casualness of a barbecue and it goes well with my new-found love for easy entertaining.
If you know me, and especially if you’ve been to dinner at my house, you know I tend to… over-do it when it comes to food. Everything from scratch, multiple courses, me barely sitting because I’m making sure the fresh ravioli will be ready the same time as Matt is done searing the sous vide steak. Sound familiar? I love cooking, and I especially love cooking for other people, so when I have a chance to go all “chefy” and put my pent-up absorption of Top Chef season viewings to good use I go to town.
However, in the last six months or so I have realized how amazing it is when you have people over and keep things simple. The food is still delicious, everyone still has a great time and best of all I (and my sous chef, Matt), get to fully enjoy the company. I have completely embraced grocery store shortcuts and I don’t plan to go back anytime soon. I still love to have at least one thing I get a little “chefy” with, whether it’s some homemade bread or a crazy dessert, but it doesn’t need to be the whole meal.
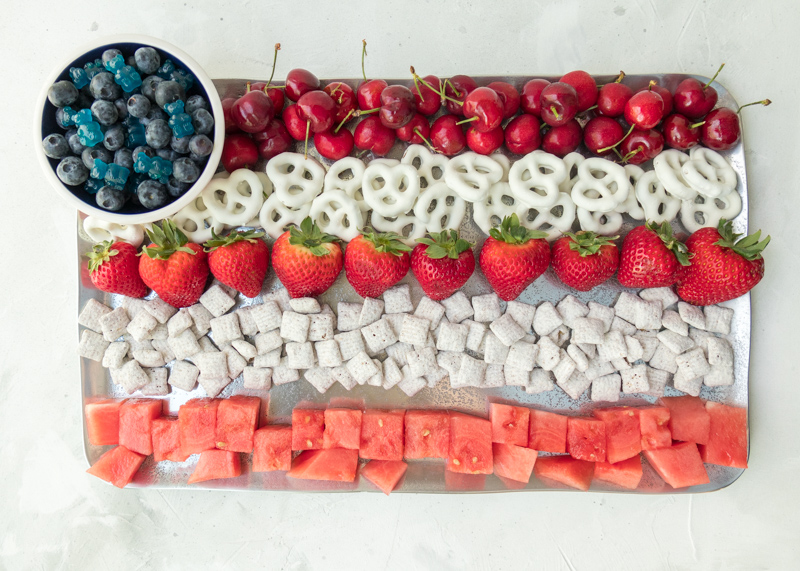
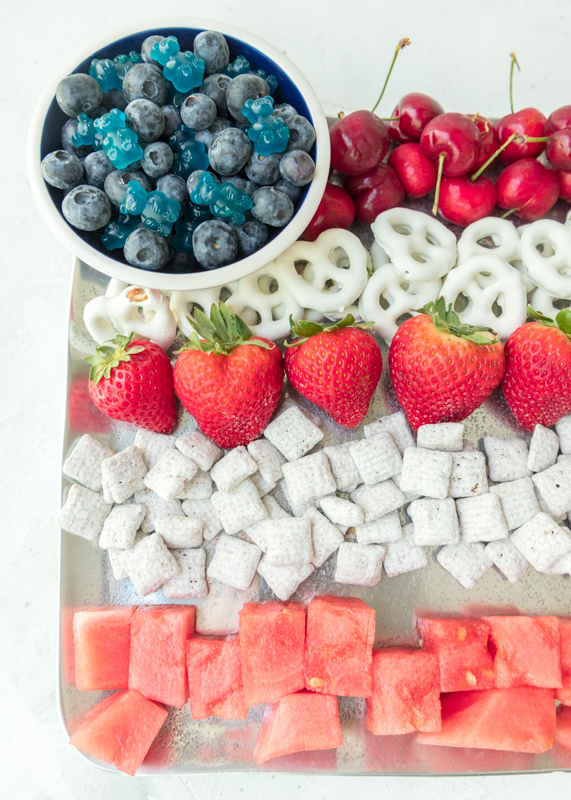
That’s where this Flag Fruit & Dessert Platter comes in. This is the perfect easy entertaining dish to serve at Memorial Day barbecues, Fourth of July parties or anytime you’re feeling patriotic. As I’ve mentioned in the past posts, Babu and I used to make a flag cake every July 4th so I’m always looking for new ways to reinvent the iconic red, white and blue dessert. I thought it would be fun to do a snack board that’s easy to put together and make ahead of time, whether you’re hosting or bringing it to someone’s house. I went with a sweet and salty theme, although feel free to get creative if there are other treats you would prefer to include!
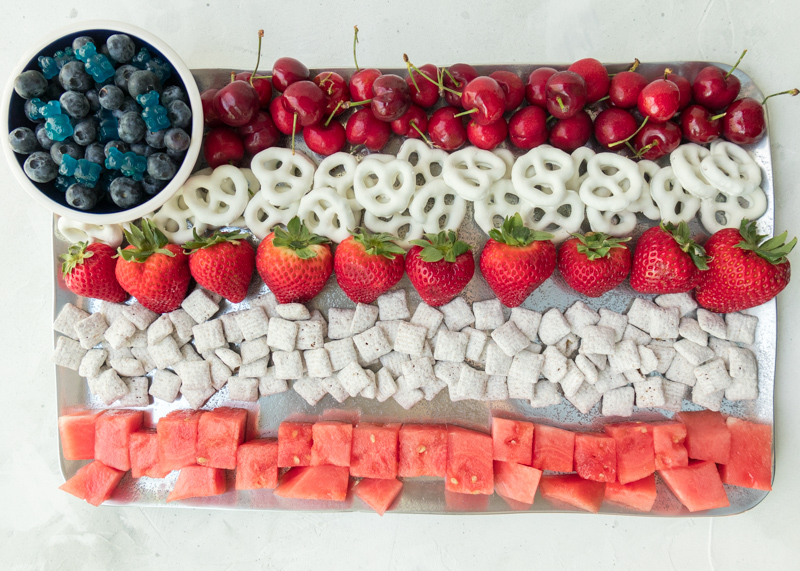
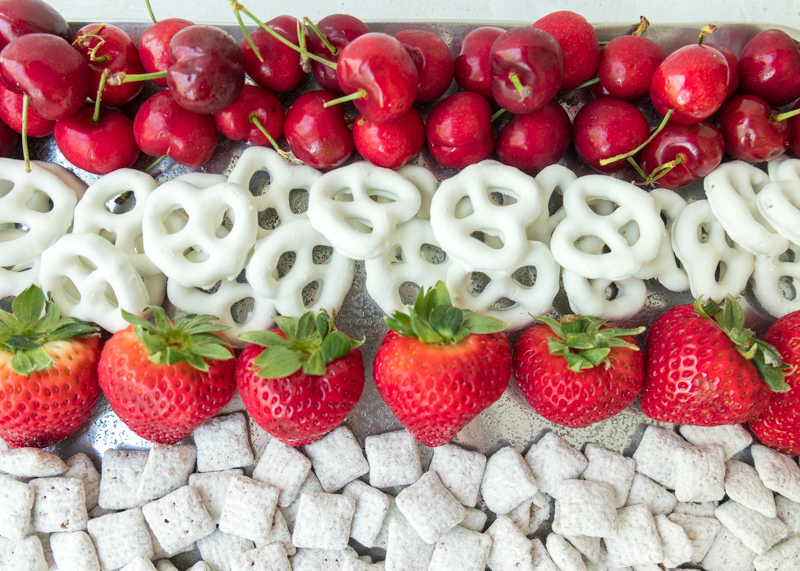
For the red stripes I used cherries, strawberries and watermelon. For the white stripes I used store-bought yogurt covered pretzels and Chex Mix Muddy Buddies. I wasn’t able to find these in the Market Basket by me, but I might not have been looking in the right spot. Does anyone else get overwhelmed in there? I found both things at 7-11, although I know Trader Joe’s carries yogurt covered pretzels and the Flipz brand also has some. You can certainly make your own Muddy Buddies as they are just Chex cereal covered in chocolate, peanut butter, butter, vanilla and powdered sugar, but I was trying to keep it simple. A word of warning if you buy the Muddy Buddies – do not buy the cookies and cream flavor. Actually, let me re-phrase – buy the cookies and cream flavor to eat because it’s delicious, but do not buy it for this platter because it has speckles of Oreo that would throw off your white stripe.
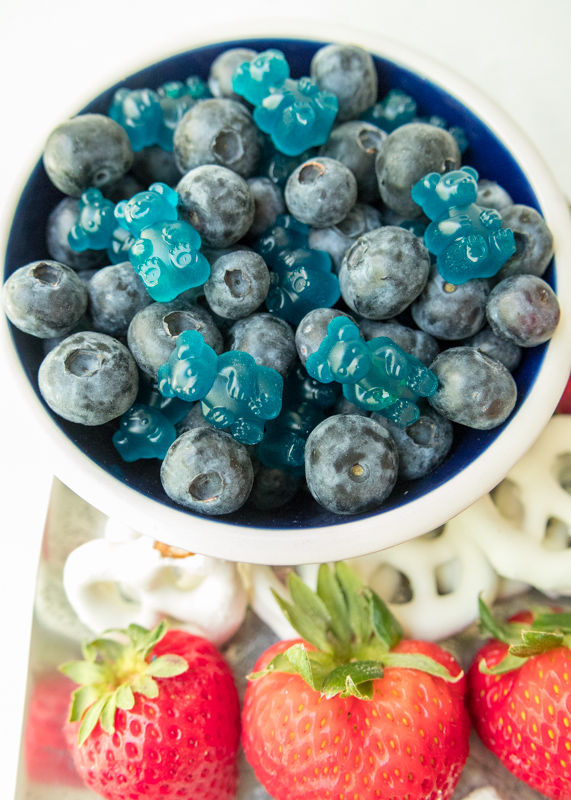
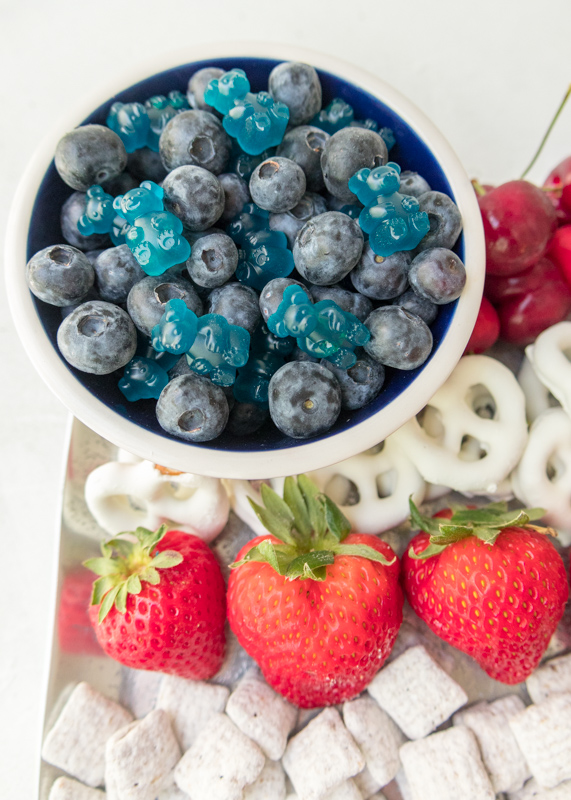
The blue stars are where I went a little “chefy”, but it’s not even really that fancy because it’s still so simple. Matt loves gummies so I wanted to include them in this dessert platter somehow. I tossed them in with the blueberries for the blue star portion of the flag board. These are lemon-lime gummy bears that I dyed blue. If you would rather another flavor you could substitute with a different fruit juice, such as orange or grape, but don’t use pineapple because the enzymes do something to the gelatin that makes them not turn out right. Making homemade gummy bears is something I’ve been wanting to try for a while and I finally went for it after reading the reviews on these cute animal silicone molds. The gelatin, juice and honey mixture gets heated in a saucepan then piped into the molds using a big dropper that comes with the molds.
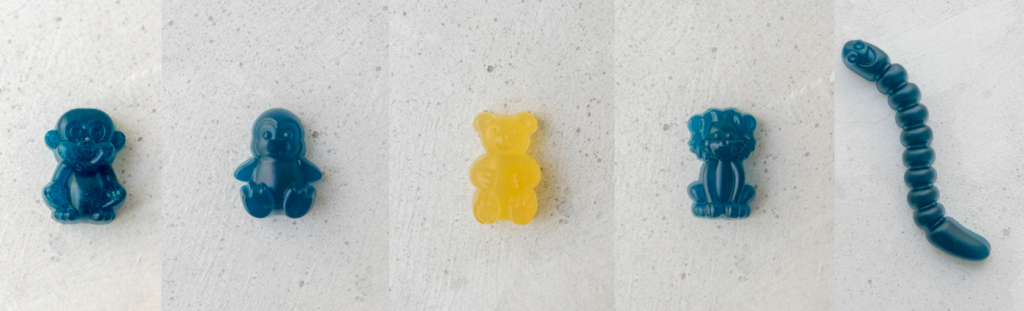
After 20 minutes in the fridge to set they pop right out of the molds, cute smiles, paws and all! I highly recommend these molds if you want to try homemade gummies, otherwise feel free to go full simple and buy them at the store! I have another easy entertaining recipe to share on Wednesday so stay tuned! In the meantime, here are a few of my favorite recipes on Lemon & Mocha that each include some sort of grocery store shortcut:
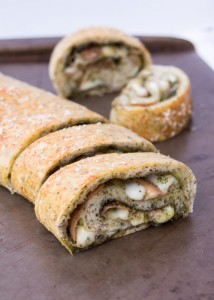
Cheesy Pesto Bread with Crispy Prosciutto
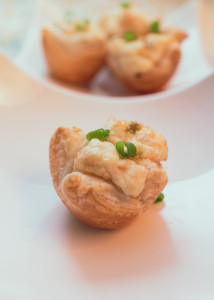
Crab Dip Puffs
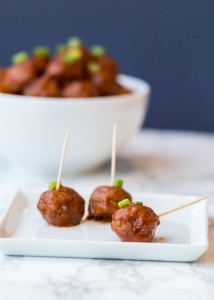
Best Slow Cooker Cocktail Meatballs
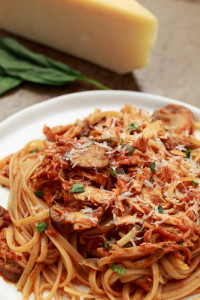
Chicken Cacciatore with Mushrooms & Artichokes
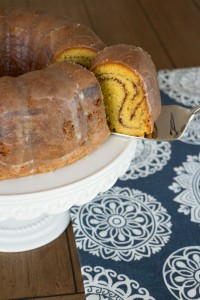
Babu’s Coffee Cake
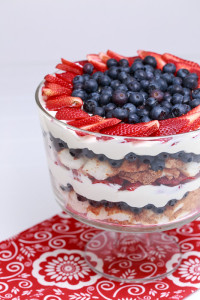
Summer Berry Trifle
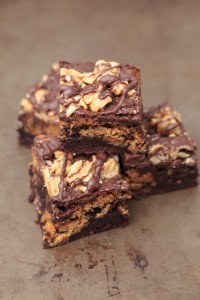
Chocolate Drizzled Peanut Butter Crunch Chocolate Brownies
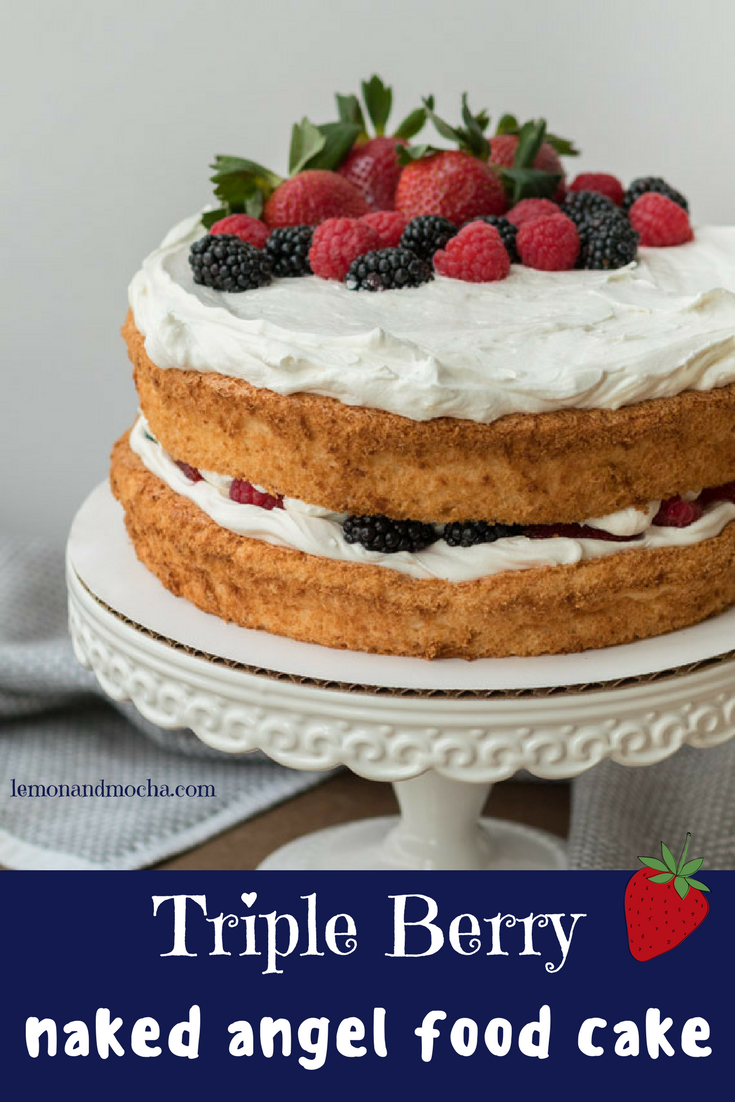
Triple Berry Naked Angel Food Cake
- Blueberries
- Strawberries
- Watermelon, diced
- Cherries
- White yogurt covered pretzels
- Chex Muddy Buddies
- 3 tablespoons unflavored gelatin
- ⅓ cup lime juice
- 3 tablespoons honey
- 1 teaspoon lemon zest
- Blue food coloring
- Wash and dry the berries and cherries. Place your bowl in the top-left corner and fill with blueberries and blue gummy bears. Lay the cherries horizontally on the top of your platter for the first stripe. Follow with a horizontal stripe of the yogurt covered pretzels. Then a stripe of the strawberries (you can hull and cut this if you prefer) followed by a stripe of the Chex Mix Muddy Buddies. Finish with a horizontal stripe of the diced watermelon at the bottom of the platter.
- Place the silicone gummy molds on a baking sheet that will fit in your fridge. I use two toaster oven sized pans. This will fill up one and a half of the silicone gummy molds in this post.
- Combine the gelatin, lime juice, honey and lemon zest in a small saucepan over medium-low heat. Whisk until the mixture has melted and combined. Add a few drops of blue food coloring and stir to blend. Use the dropper to fill the silicone gummy molds. Place in the fridge and let set for 20 minutes. Pop them out of the molds then serve or place in the fridge in an airtight container.
To prep ahead of time place all the fruit in their spots except for the watermelon. Place the gummy bears in their spot as well. Cover and put in the fridge. When ready to serve, add the yogurt covered pretzels, Muddy Buddies and watermelon (their juices will run on the platter).
Some of the links above are affiliate links, which means I may receive a small commission for my referral. This does not affect the retail cost of the item. Thank you for supporting Lemon & Mocha!