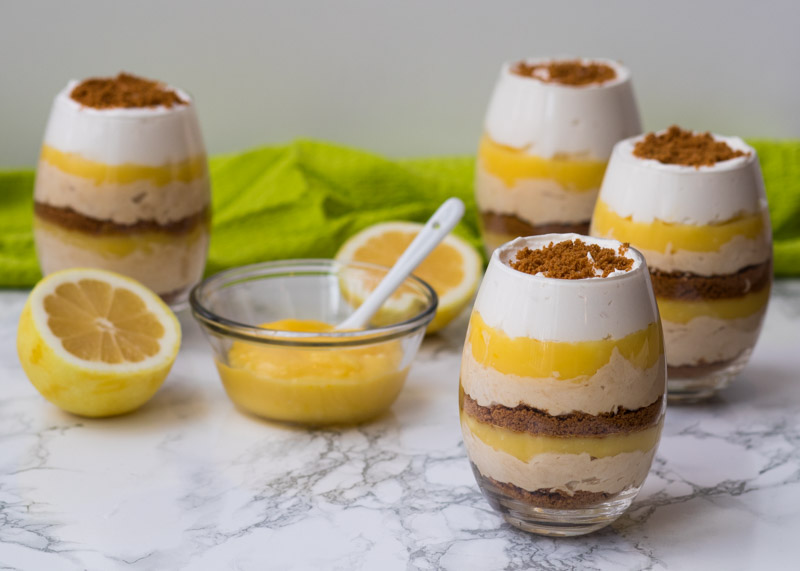
Lemon Cookie Butter Cheesecake Parfaits

Lemon Cookie Butter Cheesecake Parfaits. Yes, you read that correctly. I will let that sink in for a moment. As much as I love all the chocolatey treats I’ve made over the years, this might be one of my favorite desserts I’ve ever made. I say one of because I definitely would never be able to choose. You know about my love affair with homemade lemon curd from Monday’s post so I’m going to skip ahead here and dive right into this no-bake cookie butter cheesecake layer.
If you’ve never tasted cookie butter before (also known as speculoos spread), it tastes like crushed up sweet spice cookies that have been turned into a spread a little thicker than peanut butter. If that description is blowing your mind right now wait until you actually try some; definite life-changing experience right there. So this amazing spreadable cookie butter is combined with cream cheese and sugar until fluffy. Right when you think it can’t get any better, Cool Whip is folded in to make the whole layer light, airy, and perfect for eating by the spoonful. But try to resist! You need it for the parfaits!

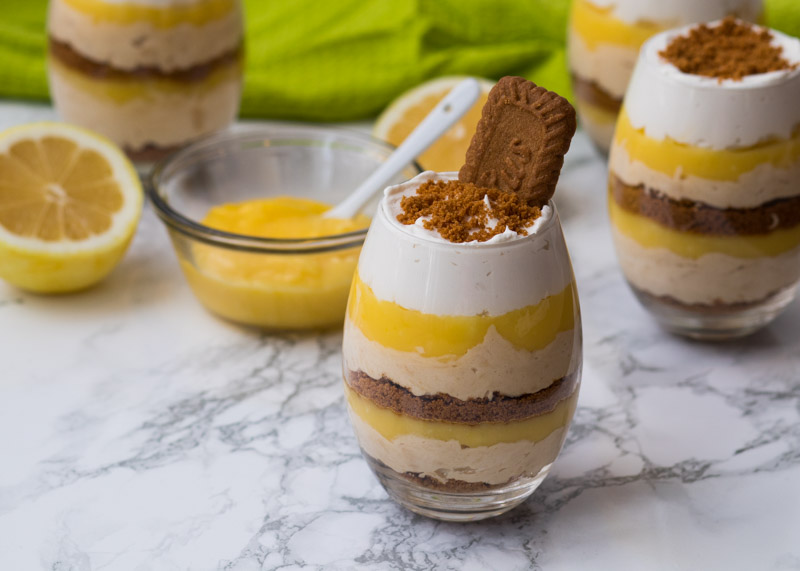
The cookie crumb layer is made with speculoos cookie crumbs, which are the same cookies used to make cookie butter. The predominant flavor is brown sugar with a bit of cinnamon. I used the Lotus Biscoff brand for both the cookies and the cookie butter, but Trader Joe’s also makes an excellent version of both products.
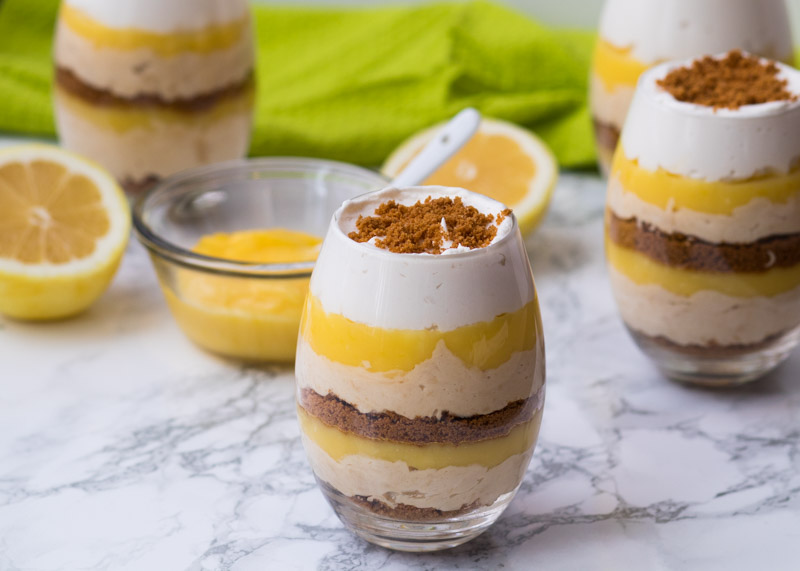
The buttery cinnamonyness (say that five times fast!) of the speculoos cookie crumbs and cheesecake pair perfectly with the tart creaminess of the lemon curd. Top it all off with some Cool Whip and extra cookie crumbs and you are one spoon away from light, creamy, and flavor-exploding heaven.
These are the first parfaits I’ve made and they do take a fair amount of time to put together. The presentation is spot on and they would look really nice for a shower or fancy brunch. Next time I might try putting all the layers in a small trifle bowl to reduce the amount of assembly time. And I say next time because these will be happening again very, very soon. Enjoy!
- ½ cup lemon juice
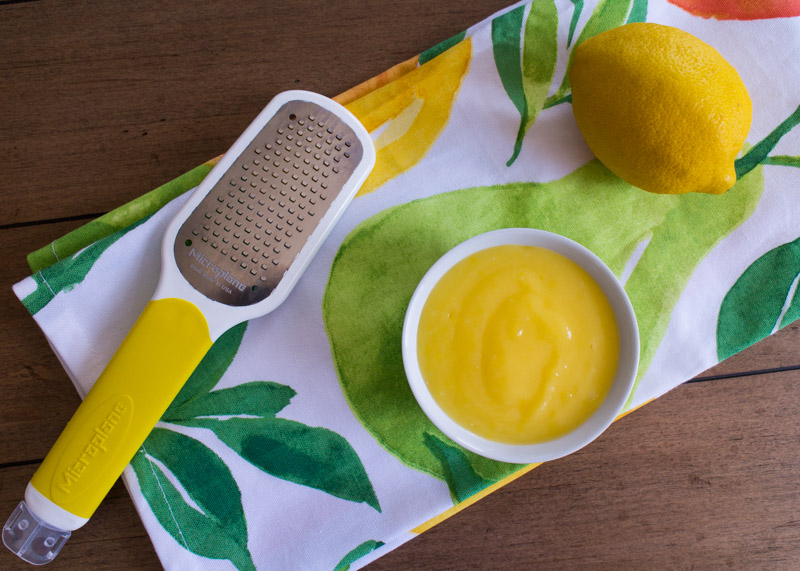
- 1 tablespoon lemon zest
- ½ cup sugar
- 3 large eggs
- 4 tablespoons unsalted butter, diced into small pieces
- 16 speculoos cookies, about half of an 8.8 ounce package
- 8 ounces reduced fat cream cheese, room temperature
- ½ cup cookie butter or speculoos spread
- ¼ cup sugar
- 8 ounces reduced fat Cool Whip
- 4 ounces low fat Cool Whip
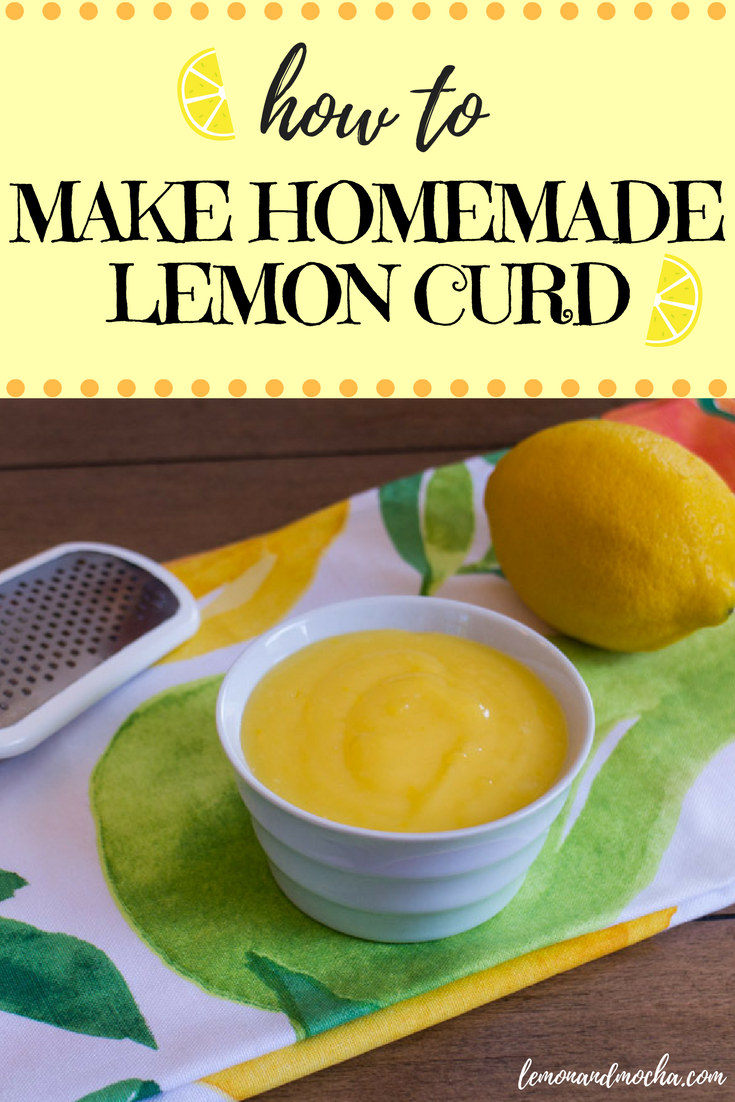
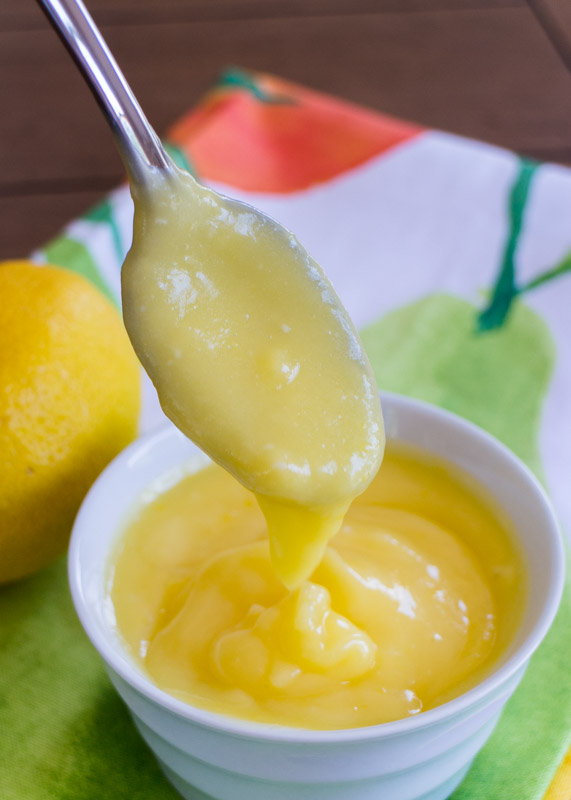
- In a medium saucepan, whisk together the lemon juice, lemon zest, sugar and eggs. Place the saucepan over medium-low heat and stir in the pieces of butter. Whisk the curd frequently until the curd is thick enough that it keeps the mark of the whisk when you touch it to the curd in the saucepan.
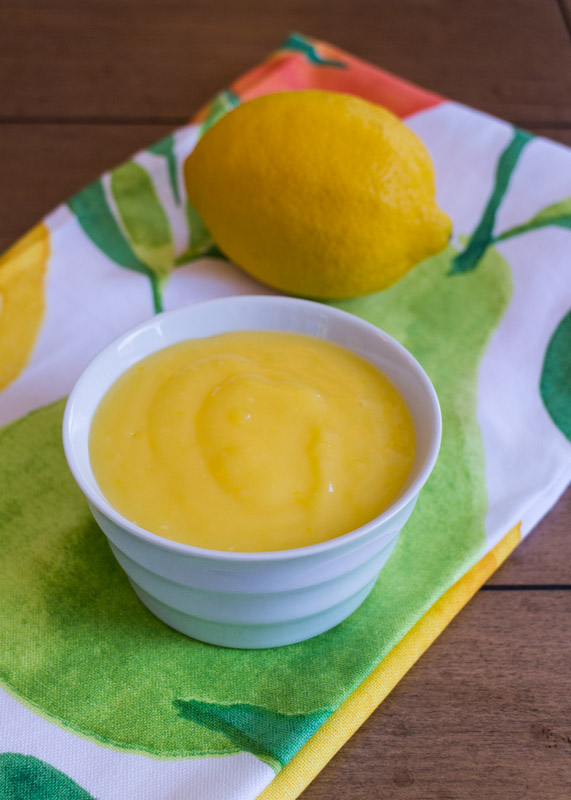
- Transfer the lemon curd to a small bowl to cool. If there are small lumps of egg you can push the curd through a fine mesh sieve, but I typically skip this step because it will also strain out the lemon zest, which adds a lot of flavor. Cover the surface of the lemon curd with a piece of plastic wrap so that it’s completely touching the curd. Place in the fridge to cool.
- In a food processor, pulse the cookies until you have crumbs. If you don’t have a food processor, carefully smash the cookies in a freezer bag with a rolling pin or meat mallet. Put in a bowl and set aside.
- In the bowl of a stand mixer or in a large bowl with a hand mixer, beat the cream cheese, cookie butter and sugar on medium speed until light and fluffy, scraping down the sides as needed. Add the Cool Whip and fold in until combined. Try not to eat it all and set aside.
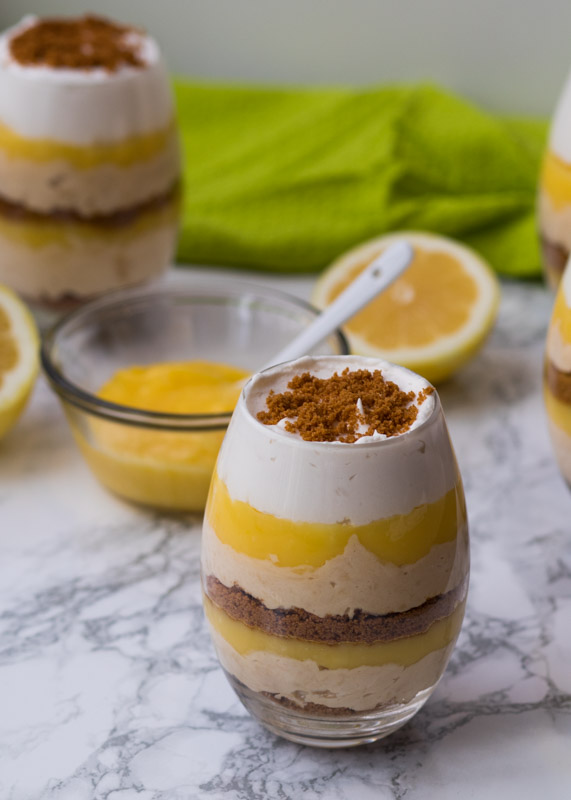
- Use parfait dishes or stemless wine glasses to layer the parfaits. Start with the cookie crumbs. It will depend on the size of your dish, but I used a couple spoonfuls. Then top with some of the cheesecake layer. You’re going to want the cheesecake layer to be the thickest layer (other than the Cool Whip on top). It takes a bit to get into a rhythm with these; I found if I used a spoon to push the cheesecake cream to touch the edge of the glass all around it stuck better and let me smooth it instead of it moving around with my spoon when I was trying to spread it. Next is the lemon curd layer. A little goes a long way; you don’t want it to overpower the cookie butter cheesecake. The layer looks thick in mine, but that was because I was trying to make sure it was visible it for the photos. Next top with another cookie crumb layer, then more cheesecake, then more lemon curd. Finally top with Cool Whip to fill the glass, smooth and sprinkle some cookie crumbs on top. Eat or cover with plastic wrap and store in the fridge until ready to serve.
Lemon curd from Sketches and Scribbles.