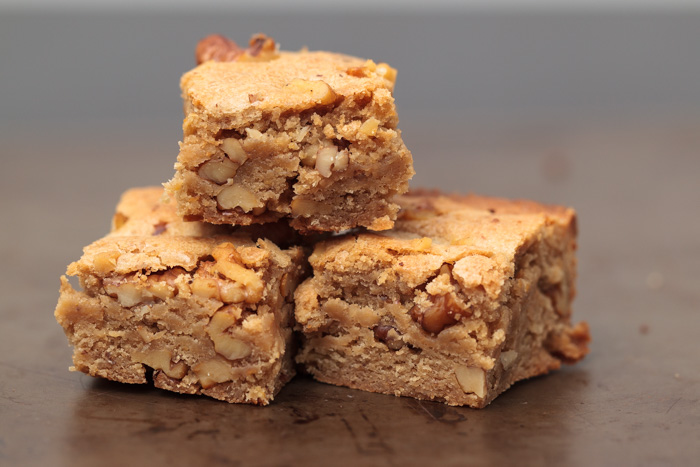
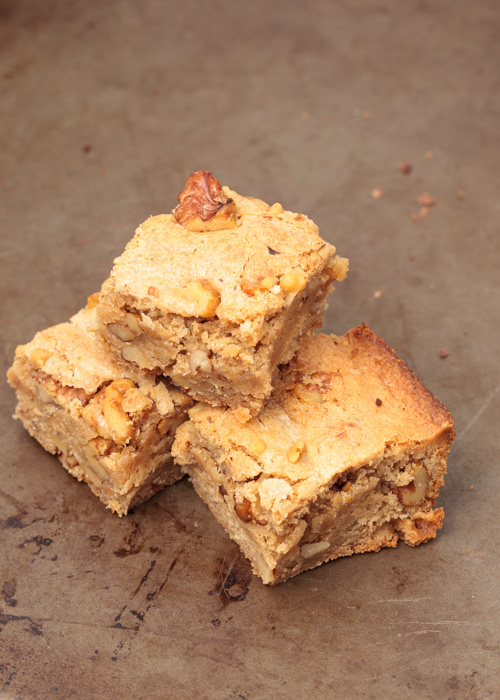
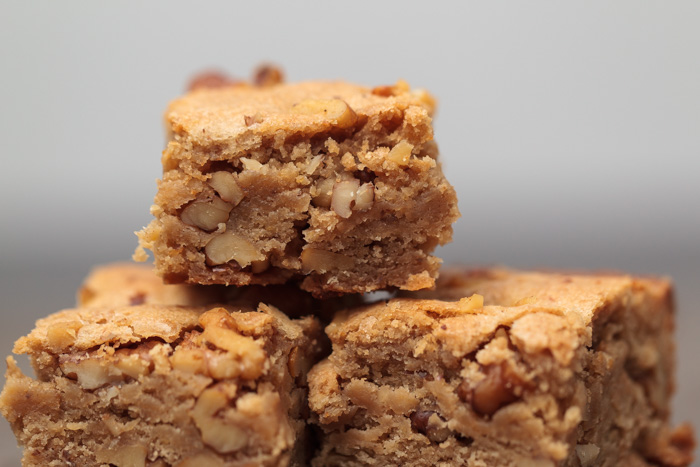
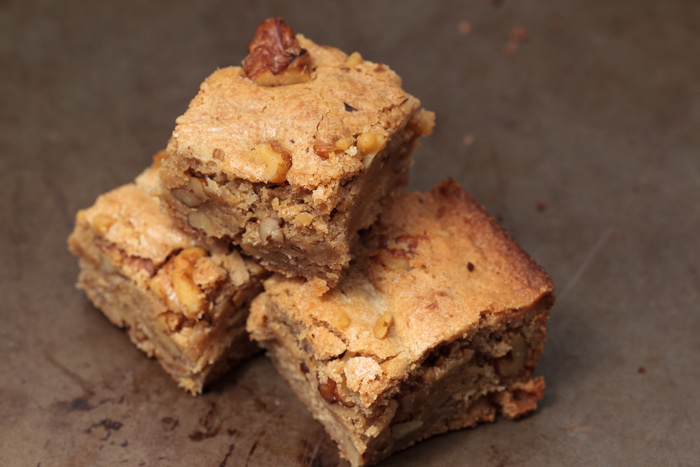
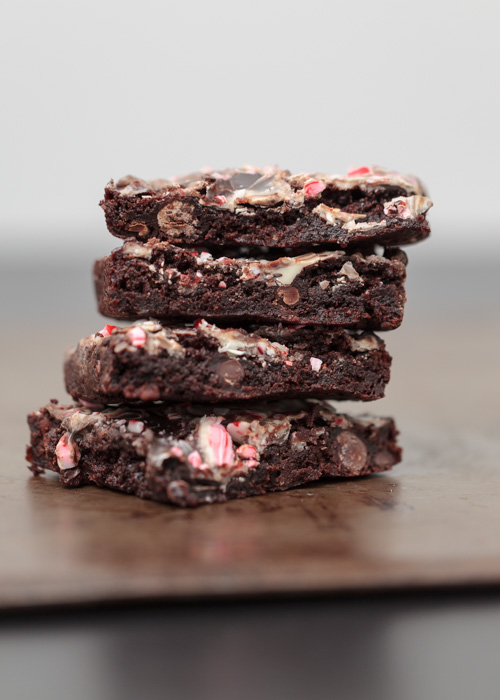
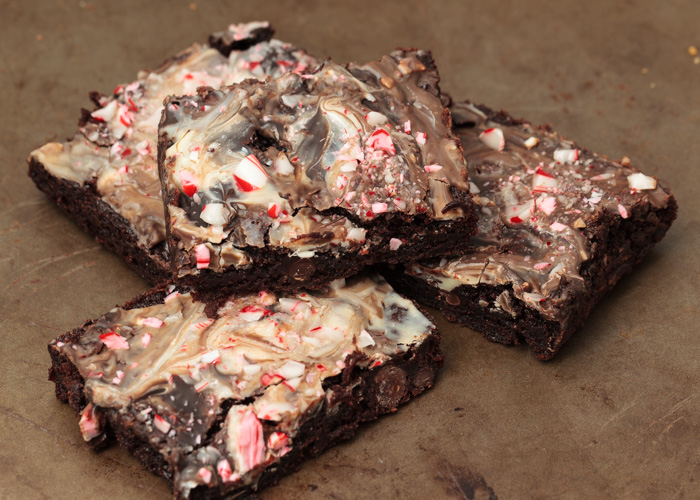
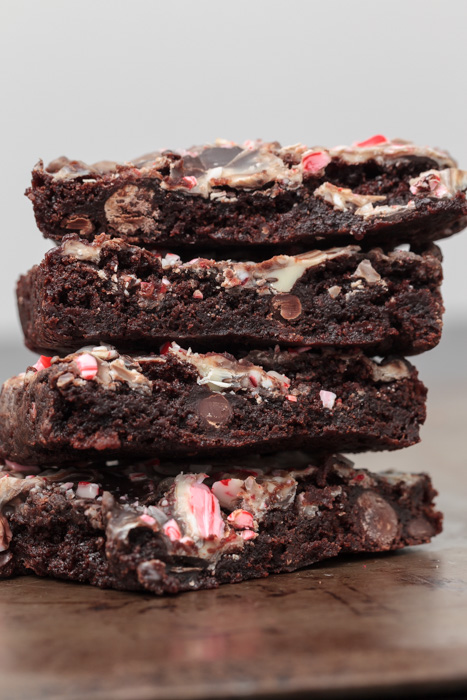
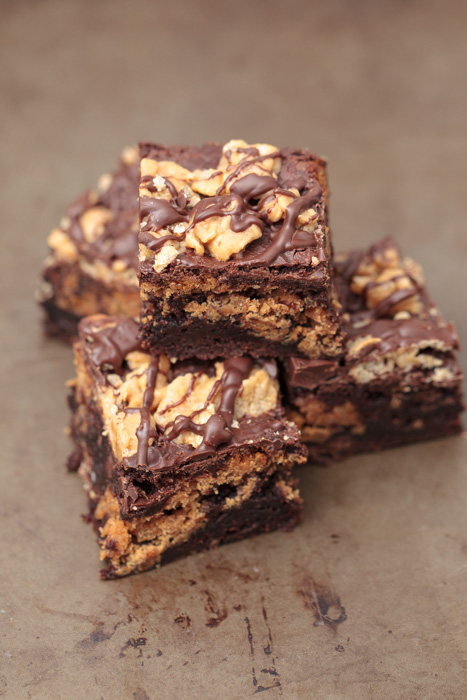
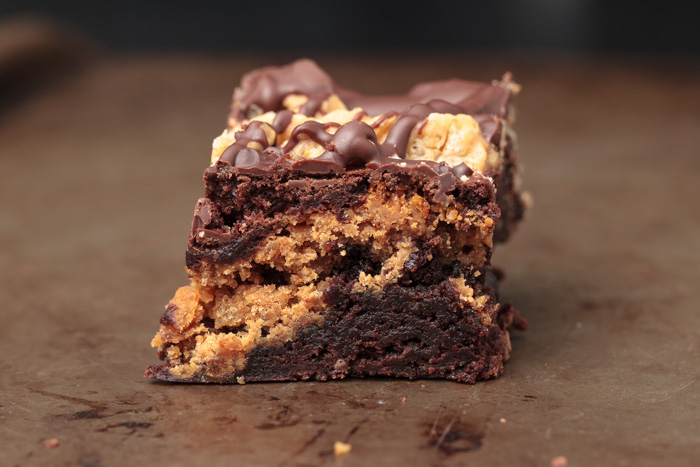
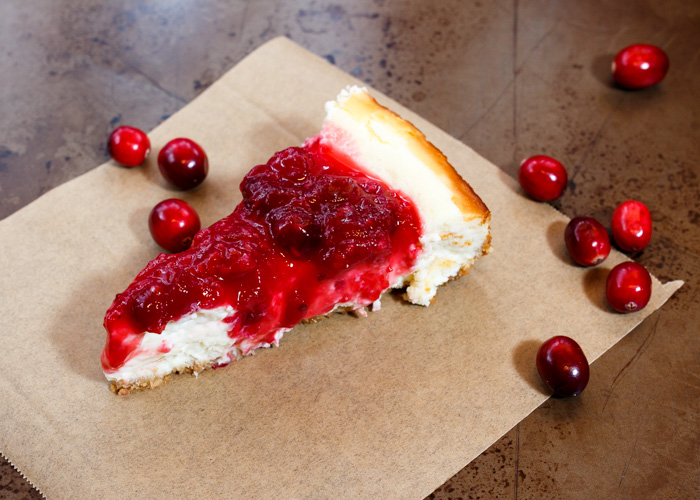
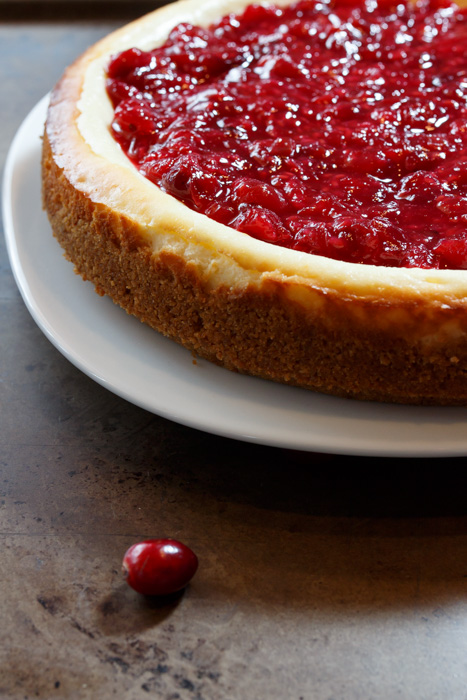
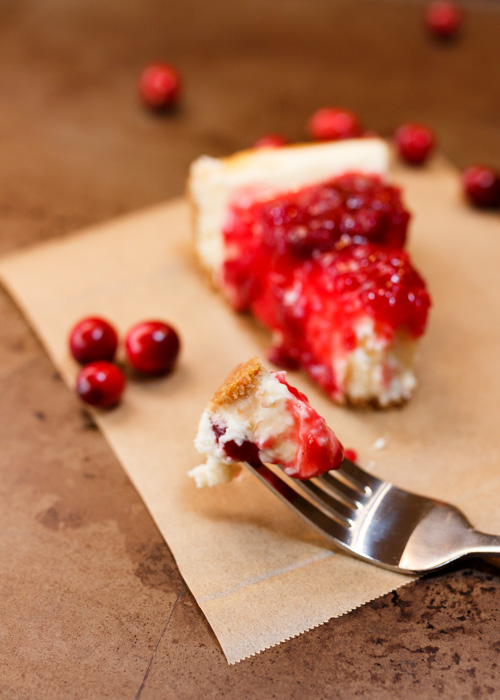
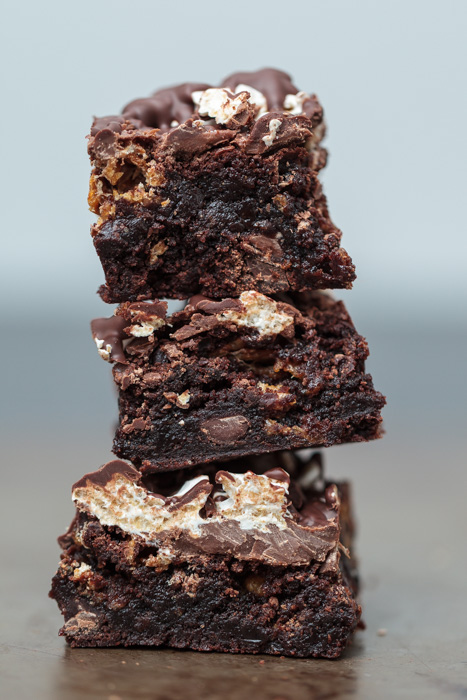
Marshmallow Crunch Chocolate Brownies
It was negative 1 degrees when I woke up in Boston this morning. Negative 1! Oh, and the “feels like” with wind chill was negative 19 degrees. Sounds toasty right? With cold temperatures across most of the country and countless reminders from your Facebook friends about how cold it is I figured we could all use a pick-me-up.
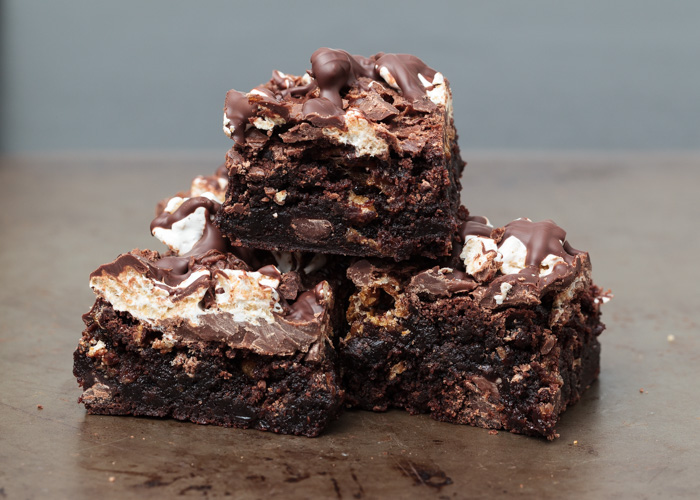
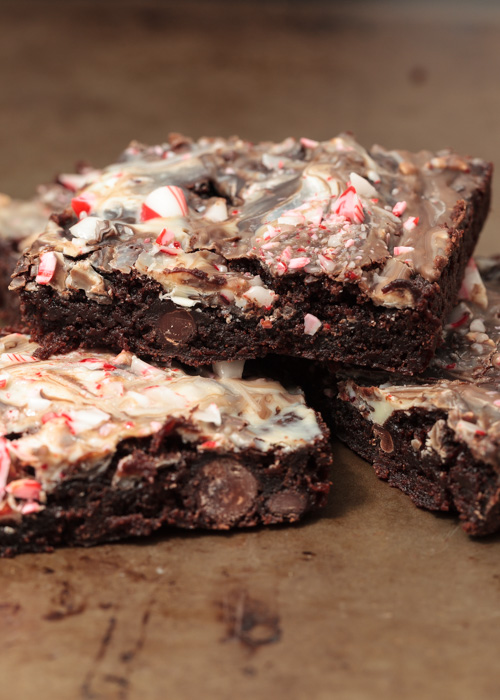
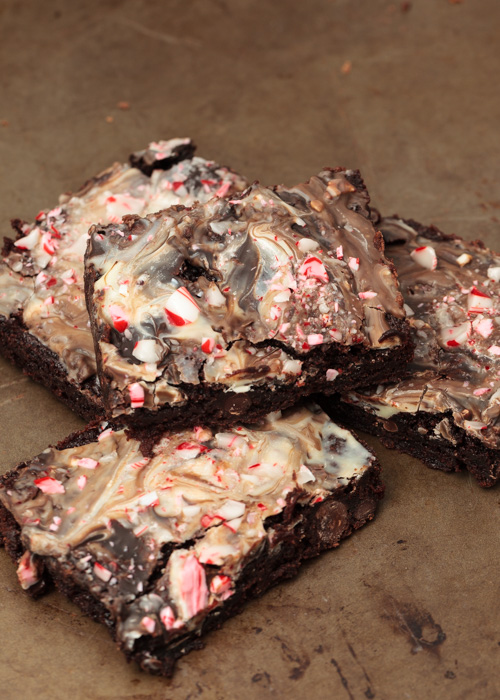
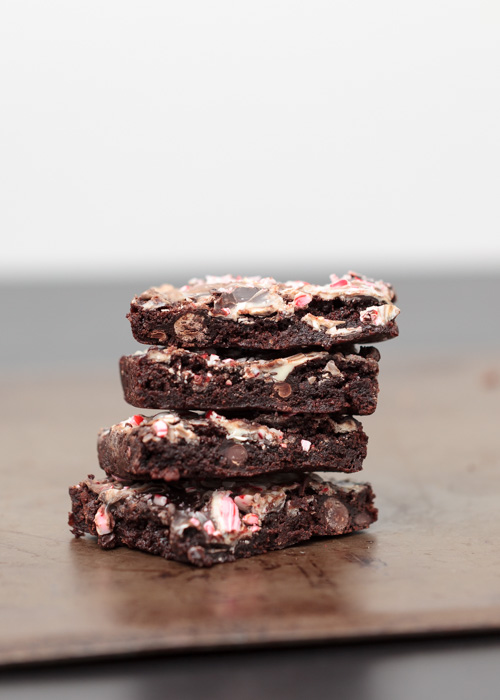
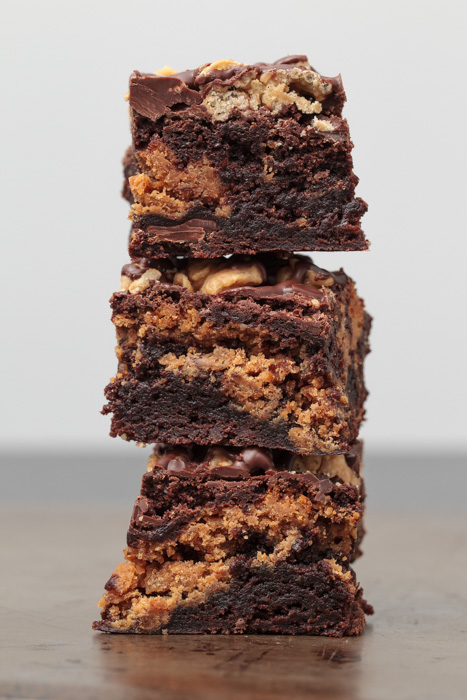
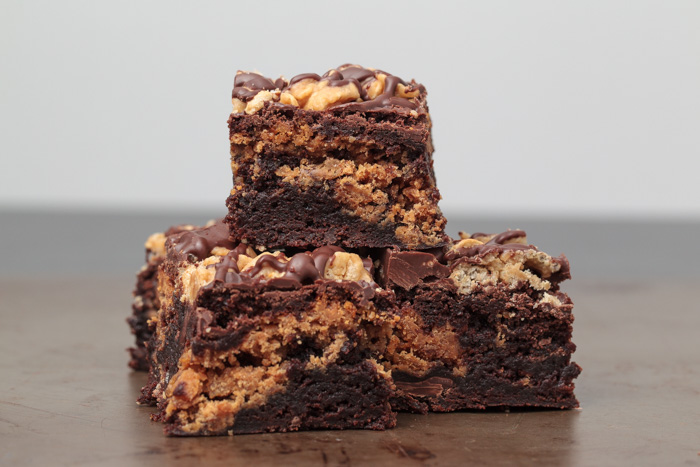
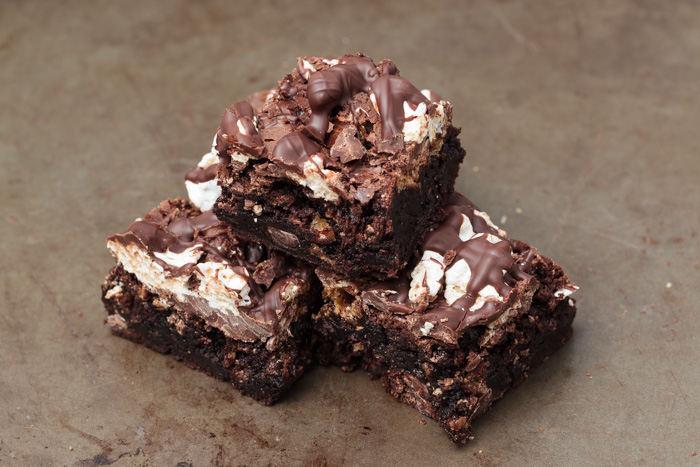
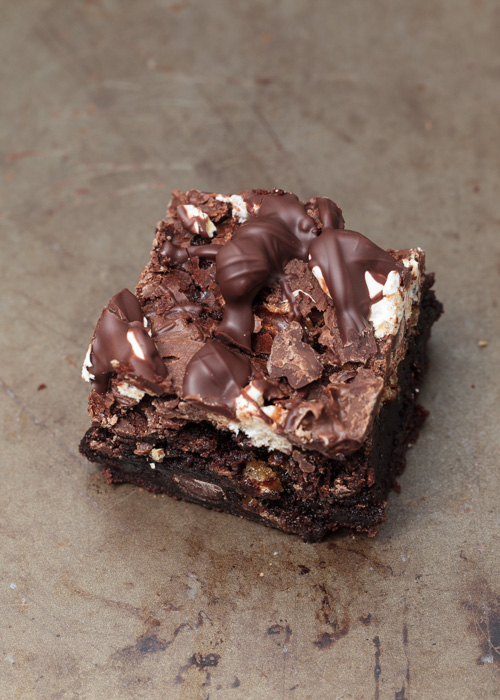
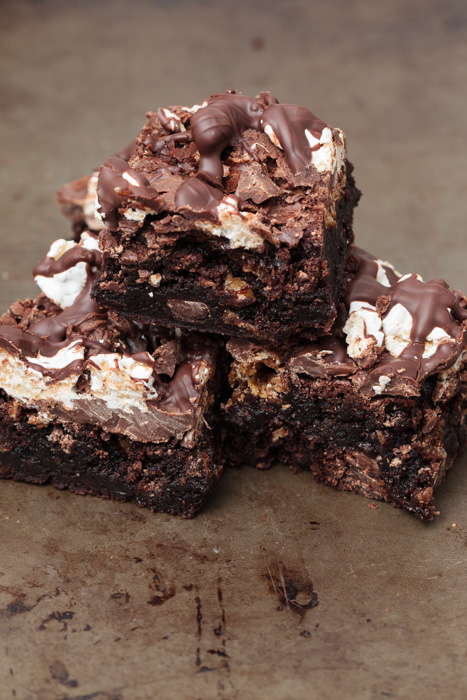
And what could bring a smile to your face better than a picture of decadent, gooey, chocolately brownies? Well, probably the actual brownies, but now you have the recipe for them!
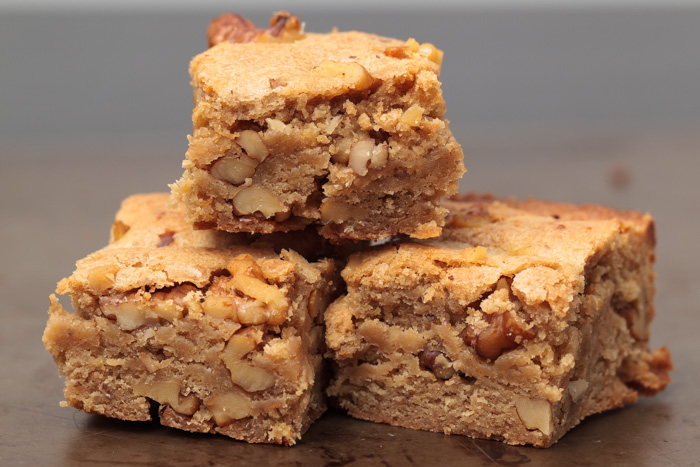
These brownies are nearly identical to the peanut butter crunch brownies I posted last month, but peanut butter is replaced with marshmallow. I had just finished baking the peanut butter crunch brownies when I spotted the big tub of marshmallow fluff in my baking cabinet and got inspired.
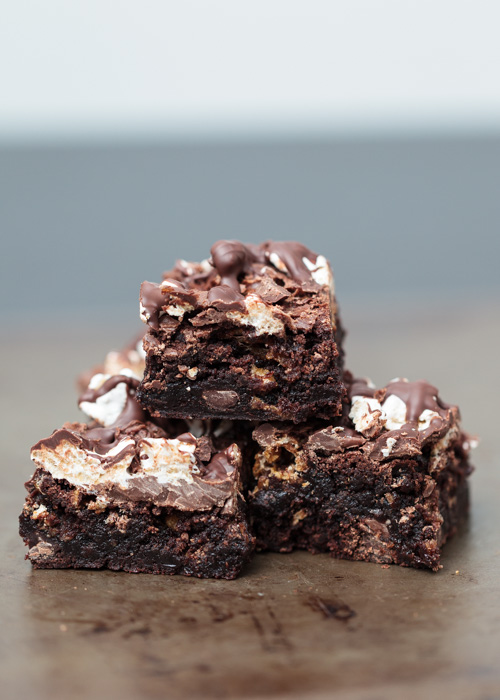
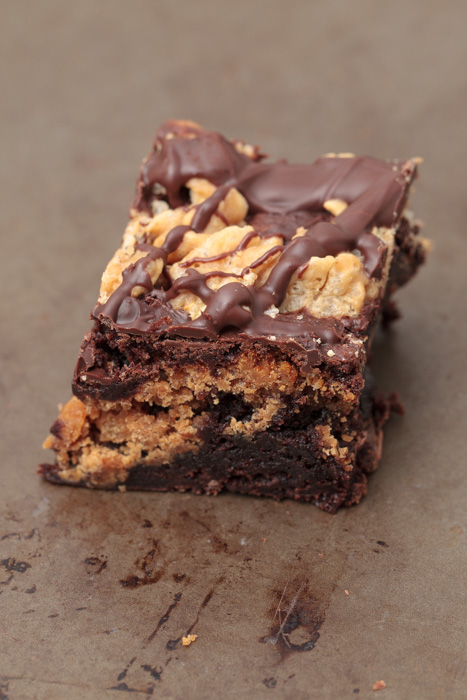
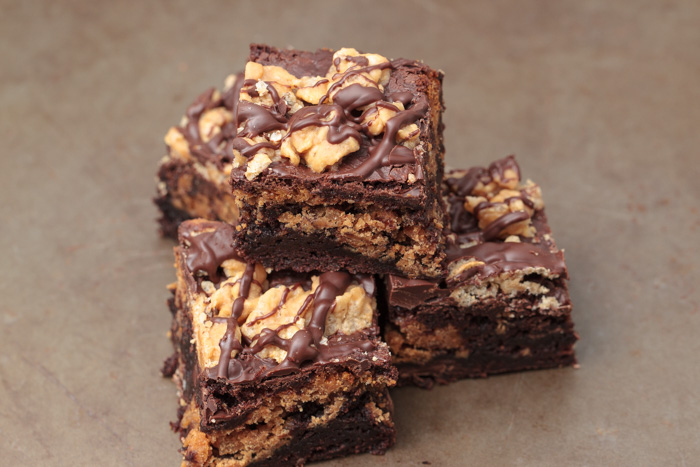
I love the way the Special K cereal gives the brownies a nice crunchy topping.
Also, just to make sure we are keeping count, this is part four of the Lemon & Mocha brownie series. Expect the fifth, final and most outrageous installment next month just in time for Valentine’s Day. In the meantime, treat yourself to some marshmallow crunch chocolate brownies!
- 1 batch brownie batter, enough for a 9 x 13 pan
- 1 ½ cup marshmallow fluff
- ¼ cup corn syrup
- 4 cups Special K, or similar cornflake cereal
- 1¾ cup chocolate chips, semisweet or milk, divided
- 2 teaspoons vegetable oil
- Preheat the oven to 350 degrees F. Grease a 9x13” pan and set aside.
- Prepare the brownie batter according to package directions. Pour half the brownie batter into the prepared pan.
- Put the Special K in a large bowl and set aside.
- Combine the marshmallow fluff and corn syrup in a small bowl. Heat in the microwave for 30 seconds. Stir and continue to heat in 30 second increments until the marshmallow mixture is smooth. Pour the marshmallow mixture over the Special K and carefully toss to fully coat.
- Evenly distribute ¾ of the marshmallow crunch mixture onto the brownie batter in the pan by dropping small clumps of the marshmallow crunch mixture right onto the batter. Pour on the other half of the brownie batter being sure to cover as much of the marshmallow crunch mixture as possible. It is okay if it doesn’t all get covered.
- Bake according to package directions. Be sure not to overbake as brownies will continue to cook once you remove them from the oven. I usually pull mine out 3-5 minutes before the package’s minimum baking time.
- As soon as the brownies are out of the oven, run a knife around the edges then evenly sprinkle 1 cup of the chocolate chips on top before covering the pan with tin foil so the chocolate can melt.
- Meanwhile, place the remaining chocolate chips and vegetable oil in a small bowl. Microwave for 30 seconds on half power then stir. Heat for 15 seconds on half power then stir. Continue until the chocolate is smooth.
- Remove the tin foil from the brownies and carefully spread the melty chocolate chips with a spatula in an even layer on top of the brownies. Top with the remaining marshmallow crunch mixture then drizzle with the melted chocolate. Refrigerate until the chocolate has hardened. Cut and serve.
Recipe adapted from Half Baked Harvest.