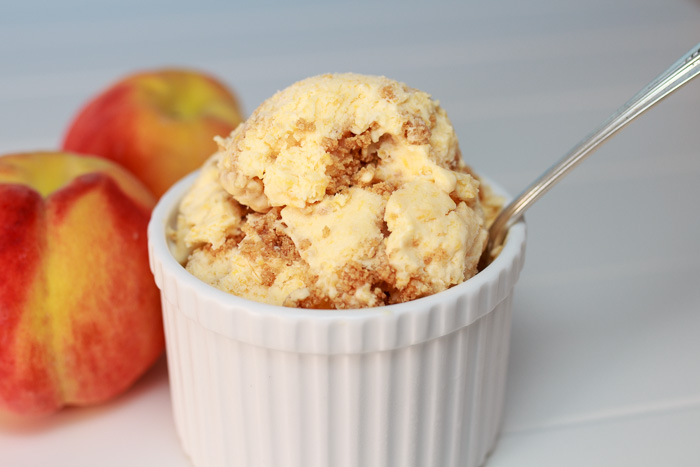
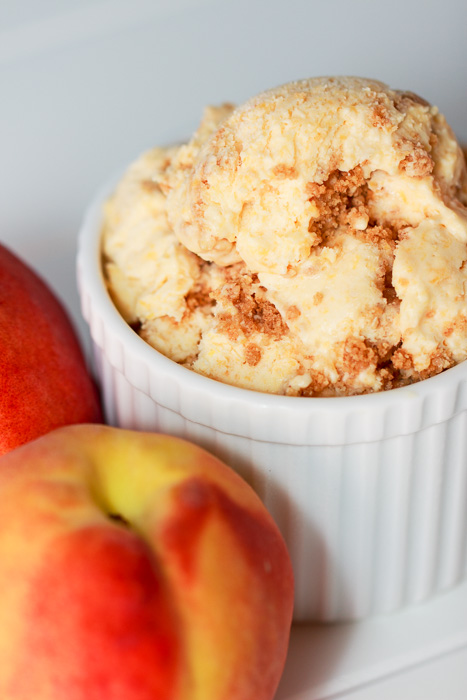
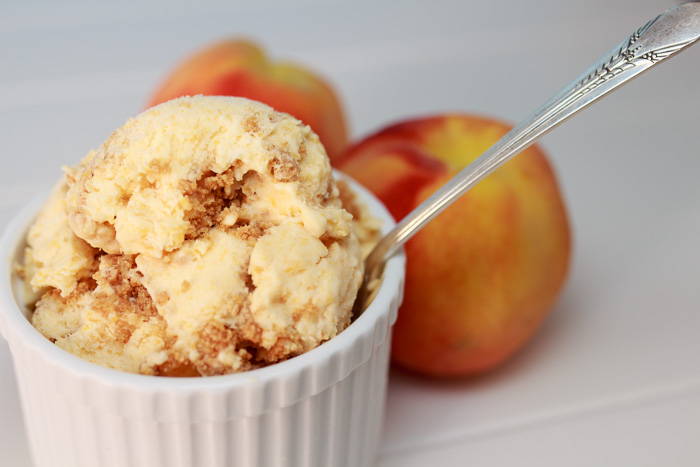
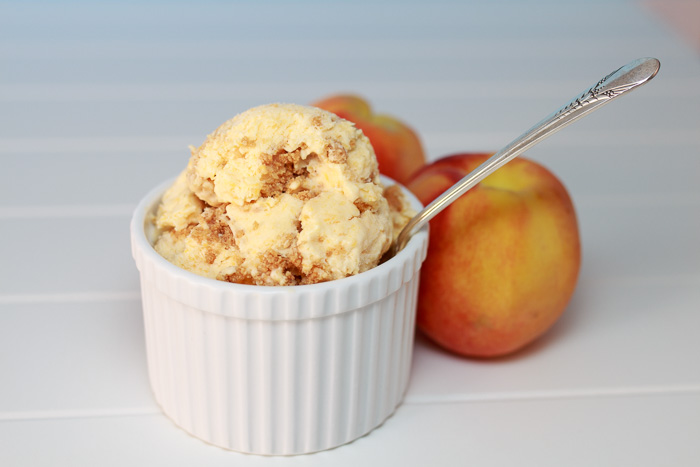
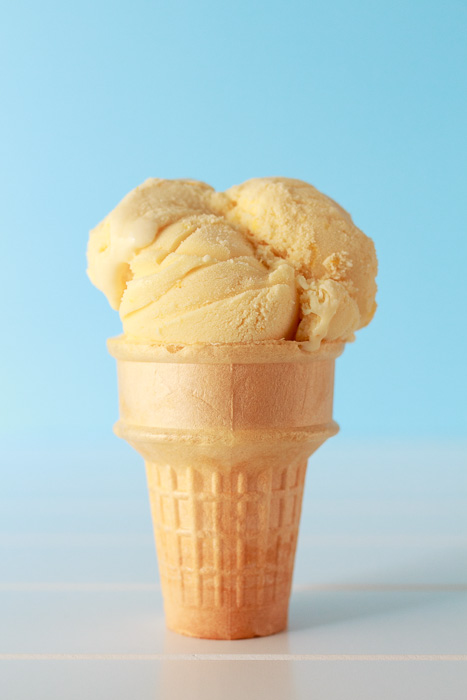
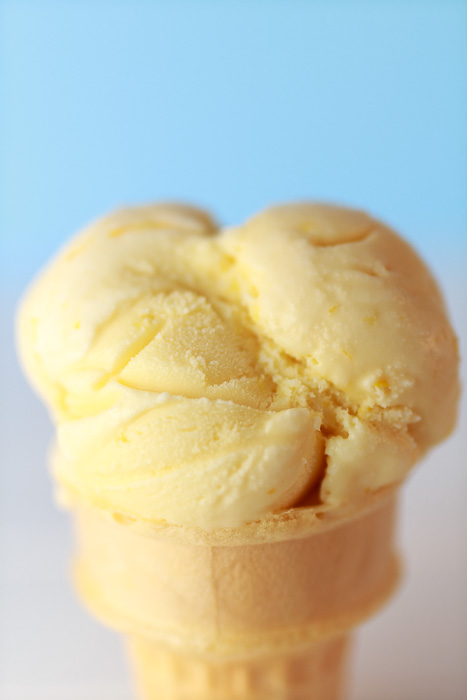
Orange-Vanilla Frozen Custard
Every summer my dad’s family gets together on the Delaware shore. I am always of course most excited to see all my family that I love so much. Followed by that, however, is having the tasty bites that I can only get down on the shore and associate with my many summers spent there. I read somewhere that food memories are some of your strongest memories. I read it, so it must be true.
I could fill up multiple months of blog posts with my family summer vacation food memories. Among the few standouts include eating dinner on the beach, my cousin and I obsessing over Dippin’ Dots, digging into a big cup of salty Thrasher’s french fries, waiting in huge lines for some Candy Kitchen Fudge, crunching away on a few precious pieces of Martin’s fried chicken, wondering how the tub of Fisher’s caramel popcorn is already so low, tons of cousins sharing the few fresh crabs we caught coated with Old Bay seasoning, and of course ordering midday Dairy Queen treats. Ok, I guess that was a bit more than a few, but I have difficulty controlling my food excitement sometimes all the time.
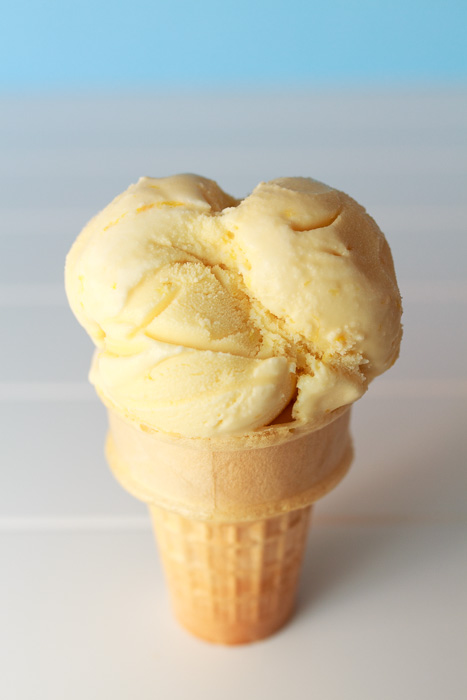
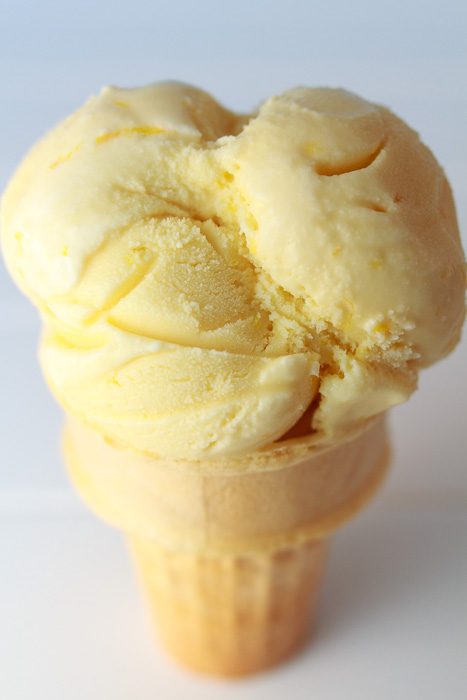
However, I saved one of the best for last: Kohr Bros Creamsicle Frozen Custard in a cake cone. There is nothing more refreshing than an ice cream at the beach and this orange and vanilla swirl custard is creamy and light. Frozen custard differs from ice cream in that it contains a higher egg yolk percentage leading to its creamier texture.
Now this is my favorite homemade ice cream I have made. Although I’m sure my strong associations with it make it taste just that much sweeter. What are your favorite family vacation food memories?
- 1½ cups whole milk
- 1 tablespoon cornstarch
- 3 large eggs
- 1 cup sugar
- ¼ teaspoon kosher salt
- 1½ cups heavy cream
- 2 teaspoons vanilla extract
- ⅔ cup frozen orange juice concentrate, thawed
- 4 teaspoons grated orange zest
- Place a fine mesh sieve over a large bowl and set aside.
- In a small bowl whisk together ½ cup of the milk and cornstarch until smooth.
- In a medium saucepan whisk together the eggs, sugar and salt. Once combined whisk in the cornstarch mixture and the remaining cup of milk. Whisk until smooth. Place the saucepan over low heat and cook the mixture while stirring until thick enough to coat the back of a spoon, about 8 minutes. Make sure the mixture never reaches a boil. Remove from the heat and pour through the fine mesh strainer into the large bowl.
- Place the large bowl in an ice bath. Slowly add the cream and continue to stir while sitting in the ice bath until cool.
- Once cool, remove from the ice bath, stir in the vanilla, orange juice concentrate and orange zest, then cover and chill in the fridge until cold.
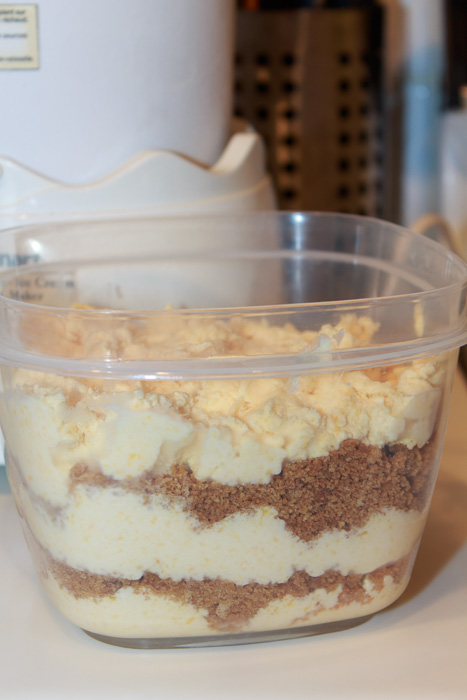
- Freeze in your ice cream maker according to manufacturer's instructions.
Recipe from June 2011 issue of Food Network Magazine.