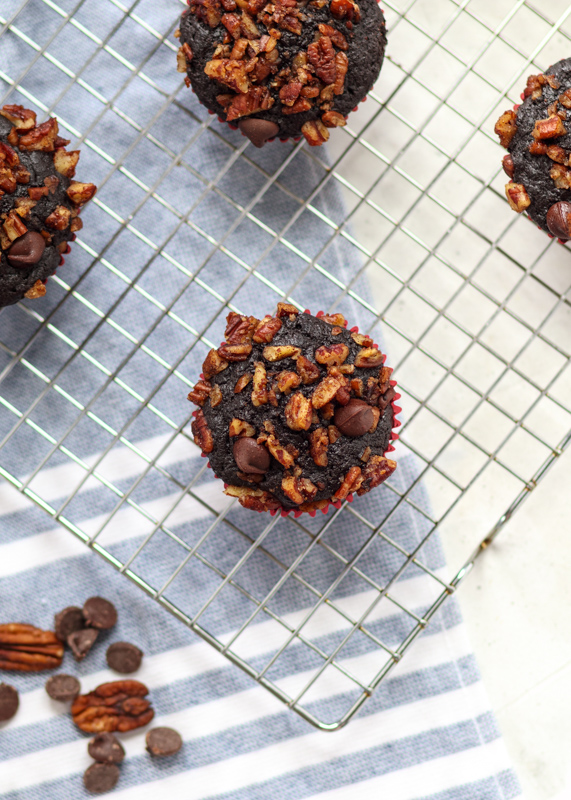
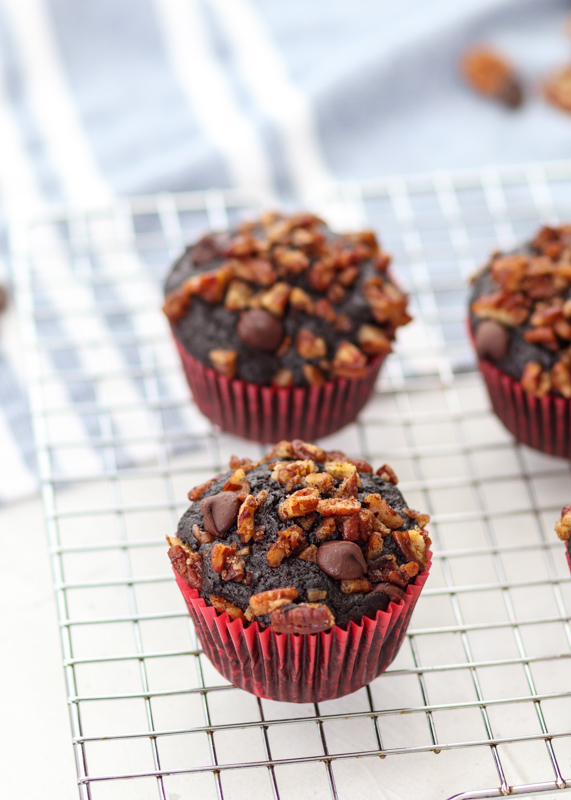
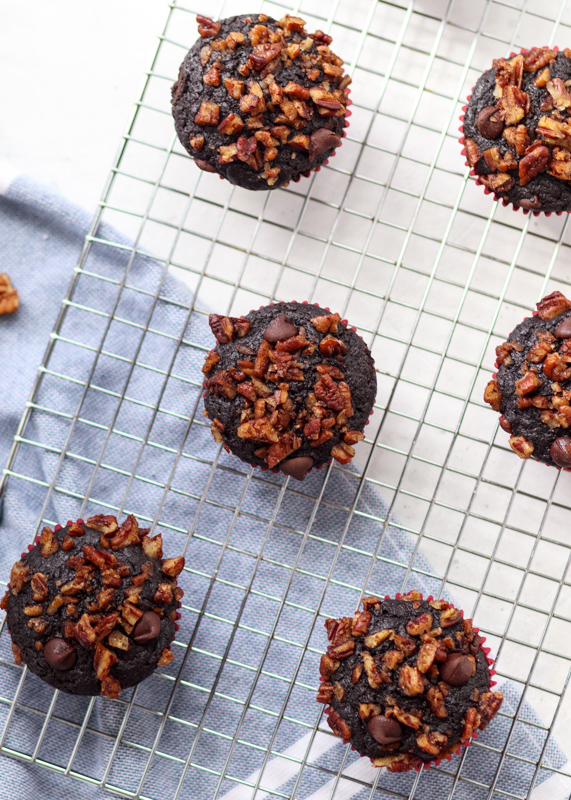
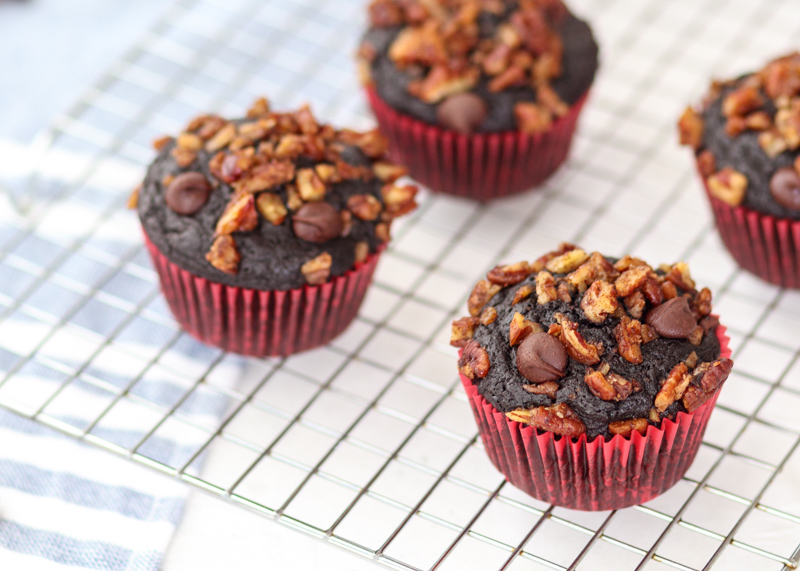
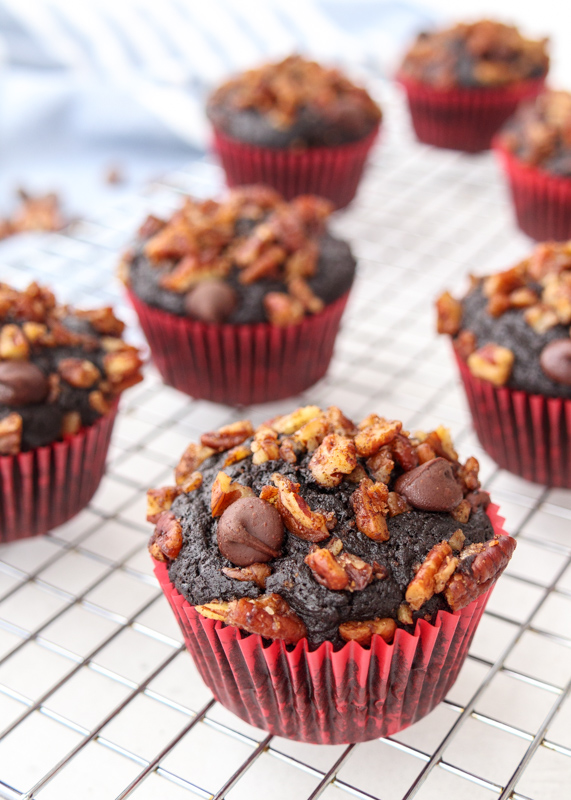
Double Chocolate Pecan Muffins
November already? I’m here to sweeten your Friday with these Double Chocolate Pecan Muffins! Another monthly muffin post, except there’s something different about this one. This is not the Food Network Magazine’s November muffin recipe. Theirs was a corn chestnut muffin that Matt and I could not get excited about so I made these Double Chocolate Pecan Muffins instead!
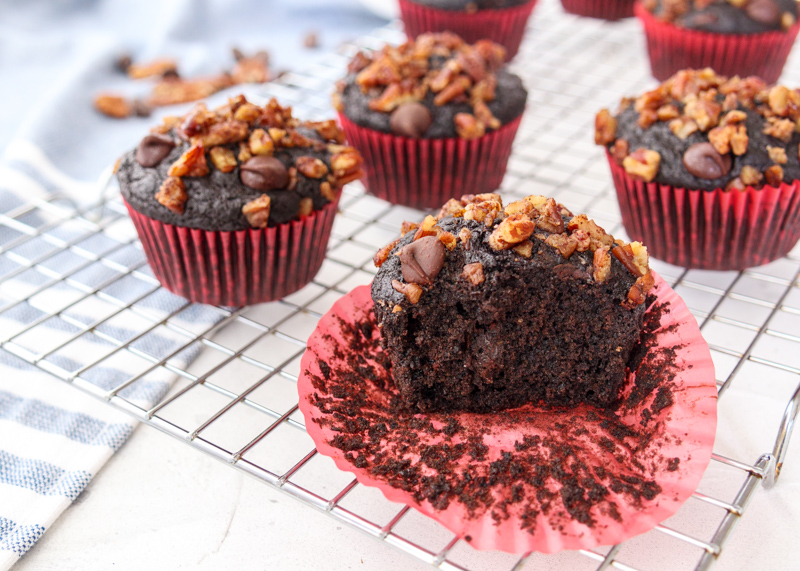
I used the base from February’s Double Chocolate Salted Caramel Muffins since they were extra chocolatey and moist. Then I add some cinnamon and brown sugar spiced pecans to the top that you can whip together in a small mixing bowl. The inspiration for these November muffins came from my love of chocolate pecan pie – see recipe for Mini Molten Chocolate Pecan Pies – but way easier and perfect for eating for breakfast.
There’s a few things I miss about college, but one of the biggest is their dining hall food – is that weird? Every once and a while Boston College would have slices of the most amazing chocolate pecan pie in to-go boxes and I always had to get it, and maybe a second one for my mini fridge. As you know I have a hard time parting with chocolate treats and I begrudgingly shared these muffins, but I’m glad I did because everyone really liked them! Also, because then I would have eaten them all so basically a win-win all around.
It’s also fitting to be posting these for the November Muffins since Diane’s birthday is later this month and my stepmom loves chocolate pecan pie – big emphasis on the chocolate! I hope you all love these muffins! I don’t like the sound of December’s muffin either so I have something in the works for that one, too. Think savory like March’s Irish Cheddar, Bacon and Potato Muffins – yum!
Did any of you make the Food Network Magazine’s November muffins? What did you think? Also, don’t forget to turn back your clocks this weekend. Fun fact – Japan hasn’t observed daylight savings time since 1951, but they are considered adopting it for the 2020 Olympic Games. Okay, that’s all I have for you today, happy Friday, friends!
- ¾ cup chopped pecans
- ½ tablespoon butter, melted
- 1 tablespoon brown sugar
- ½ teaspoon ground cinnamon
- ⅛ teaspoon ground nutmeg
- Pinch of salt
- 1½ cups all-purpose flour
- ¾ cup granulated sugar
- ½ cup unsweetened Dutch-process cocoa powder
- 2 teaspoons baking powder
- ¼ teaspoon salt
- ½ cup semisweet chocolate chips
- 2 large eggs
- 1 cup whole milk
- ½ cup vegetable oil
- Preheat the oven to 375 degrees F. Line a 12-cup cupcake pan with paper liners and set aside.
- In a small bowl, combine the chopped pecans, melted butter, brown sugar, cinnamon, nutmeg and pinch of salt. Set aside.
- In a large bowl, sift together the flour, sugar, cocoa powder, baking powder, baking soda, and salt. Add the chocolate chips and stir to combine.
- In a small bowl, whisk the eggs. Add the milk and vegetable oil then whisk until smooth. Pour the egg mixture into the flour mixture and stir until just combined.
- Evenly pour the batter into the prepared paper liners. Each muffin cup should be filled ⅔ to the top. Bake for 2 minutes then remove the muffin pan from the oven and working quickly, spoon some of the pecan mixture into the center of each muffin. Return the pan to the oven. Continue to bake for 16-20 more minutes, or until a toothpick inserted into the muffin comes out with just a crumb or two.
- Let the muffins cool in the pan for 5 minutes then move the muffins to a cooling rack until completely cooled.
Recipe from January/February 2018 issue of Food Network Magazine.
Some of the links above are affiliate links, which means I may receive a small commission for my referral. This does not affect the retail cost of the item. Thank you for supporting Lemon & Mocha!