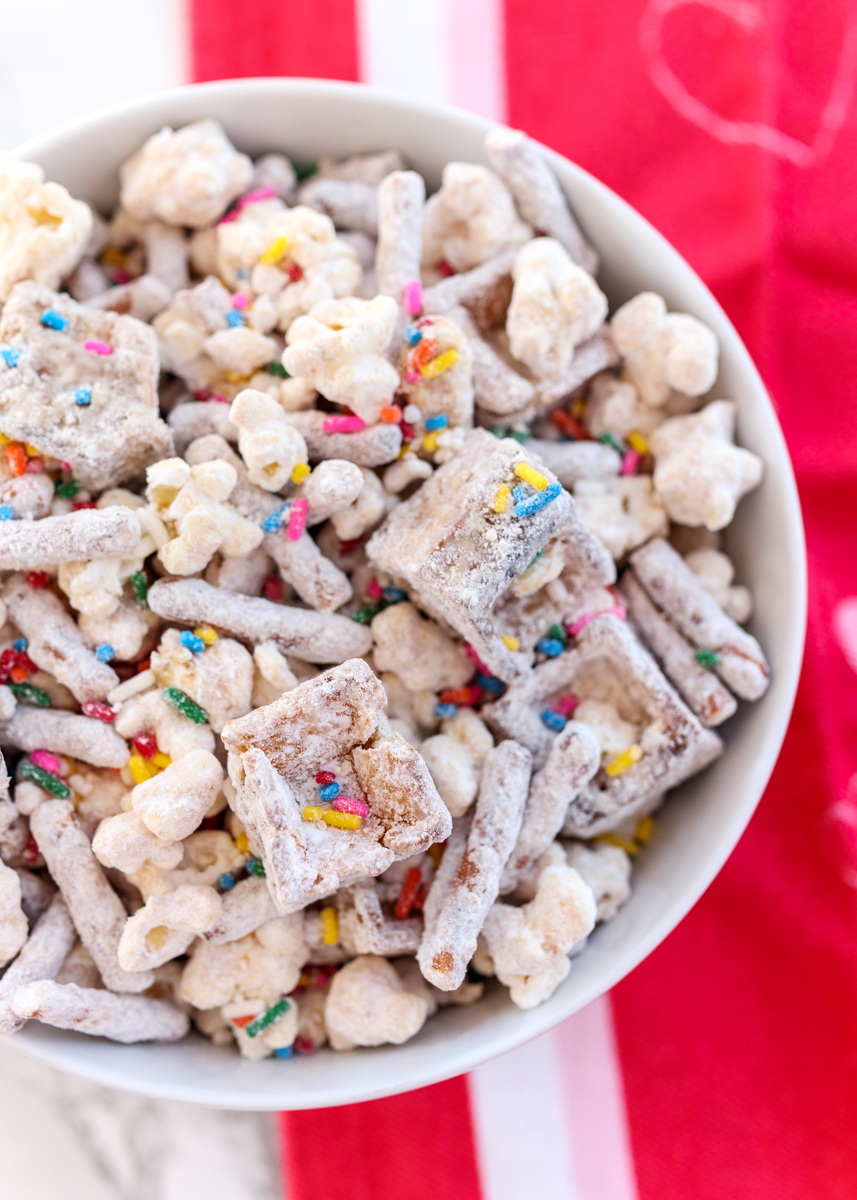
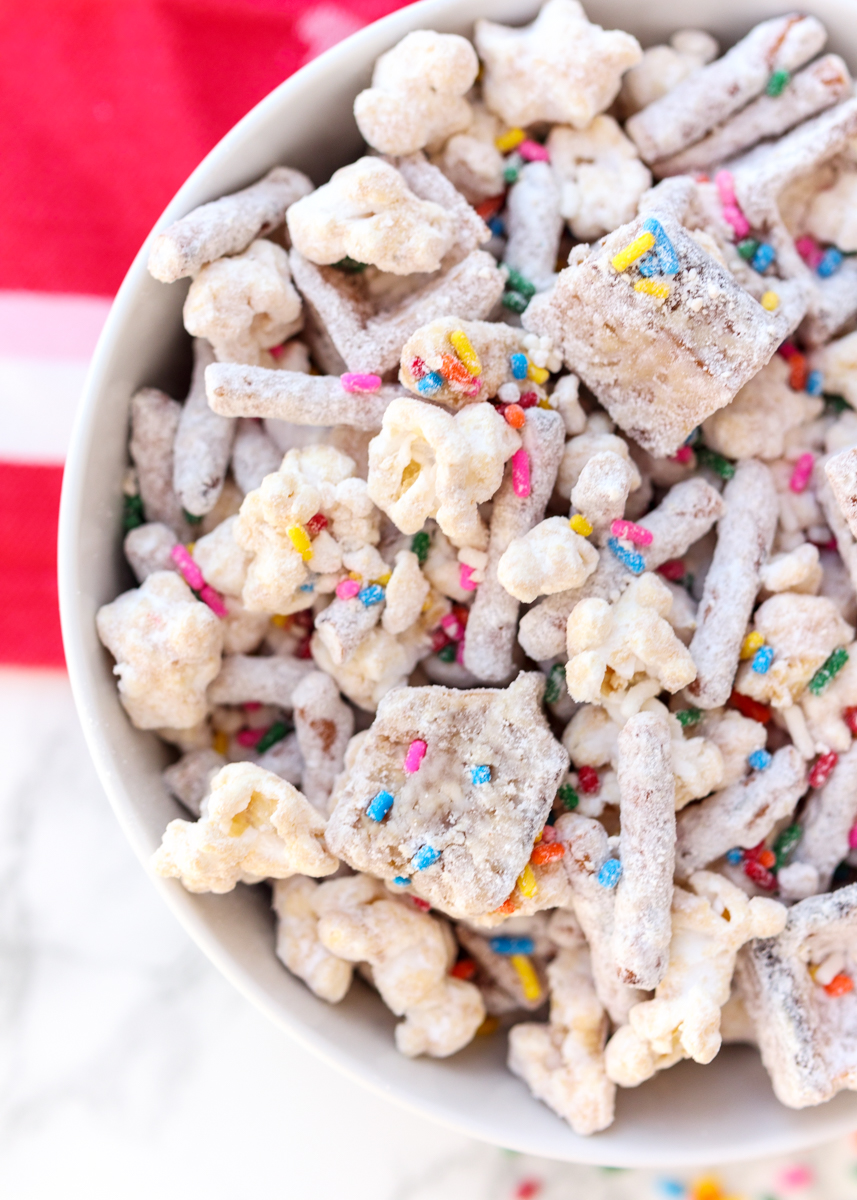
Browned Butter Rice Krispie Treats
I’m all about the easy desserts these days. You will understand why when you see the March cookies! One of the best quick and no-bake desserts are rice krispie treats. Last February, I posted my Chocolate-Dipped Browned Butter Rice Krispie Treats, which are these same treats, but dipped in chocolate and covered in Valentine’s Day sprinkles. I decided that these treats are so crispy, gooey and full of flavor that they deserved their own post.
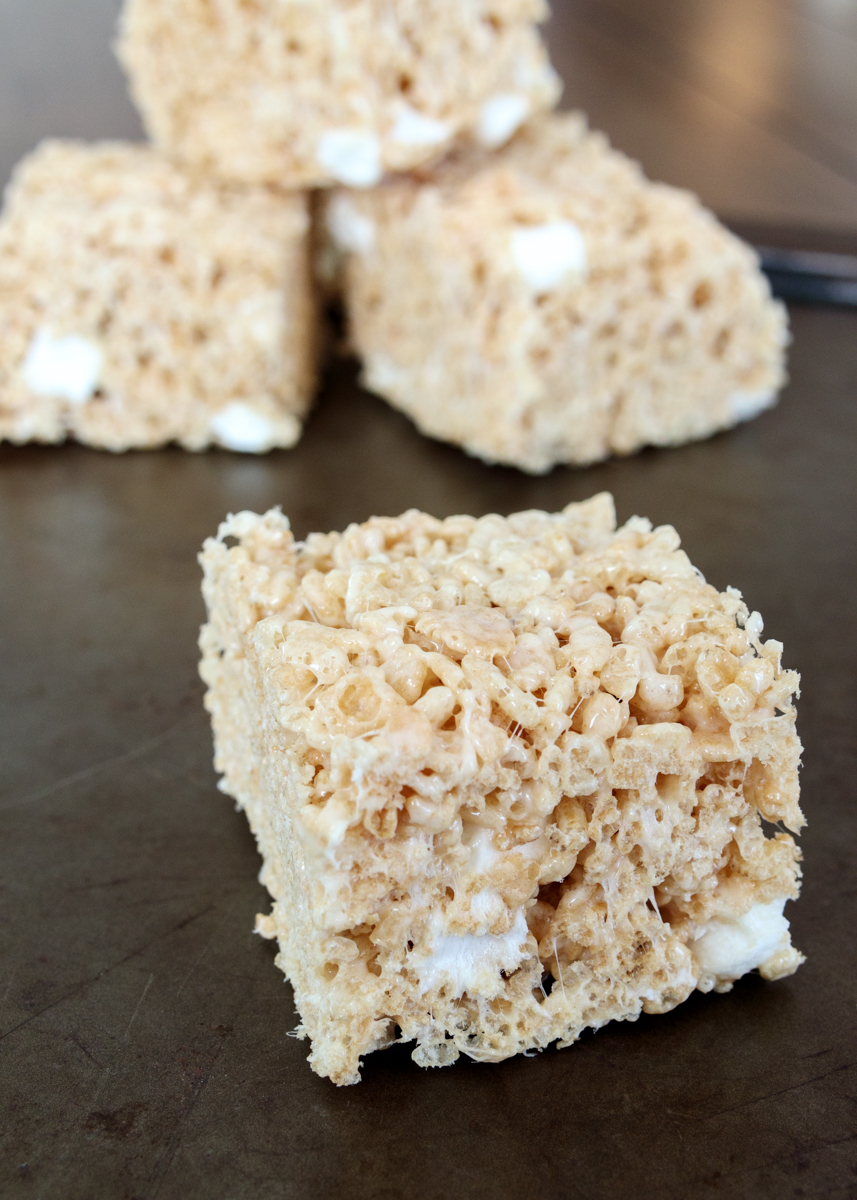
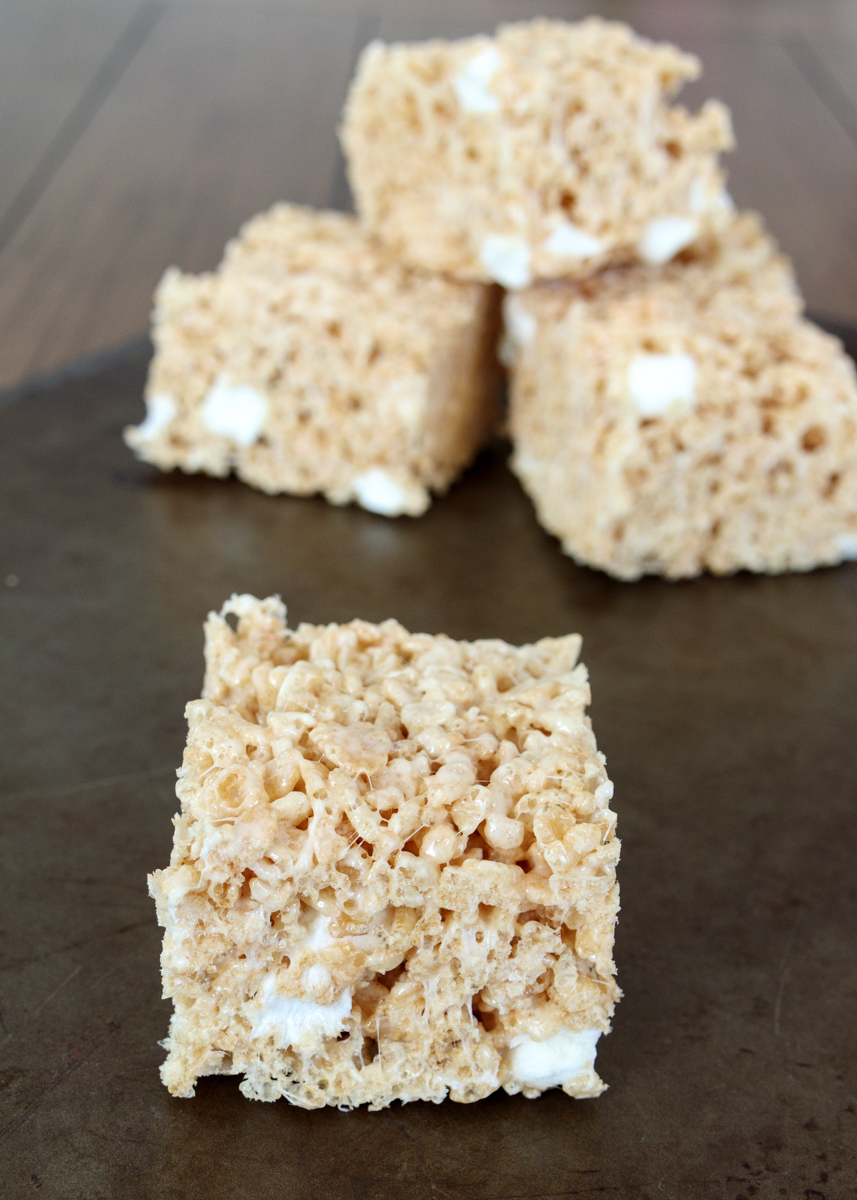
I find normal rice krispie treats to be very bland. Good thing these aren’t normal rice krispie treats! If you’ve made my Perfect Chocolate Chip Cookies then you know how much rich depth of flavor browned butter can add to a baked good and these krispie treats are no exception. If you’ve never browned butter before it’s really simple. You melt butter on the stovetop and then continue to cook the melted butter over medium heat until it becomes golden brown in color, which takes about 4 or so minutes. You will be able to smell it as well; it will smell lightly caramelized and have you swooning. Rice krispie treats require melted butter anyways so it only makes sense to go that one step further and add some flavor to the butter.
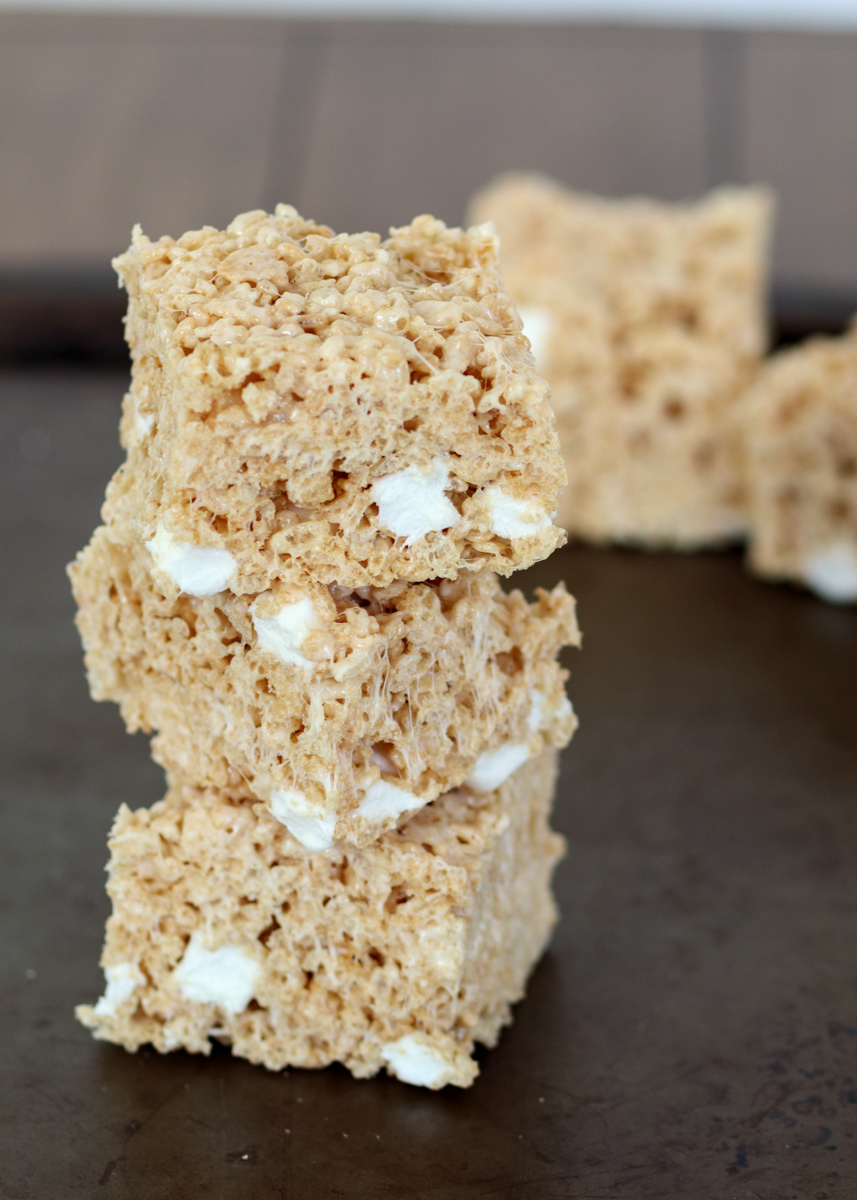
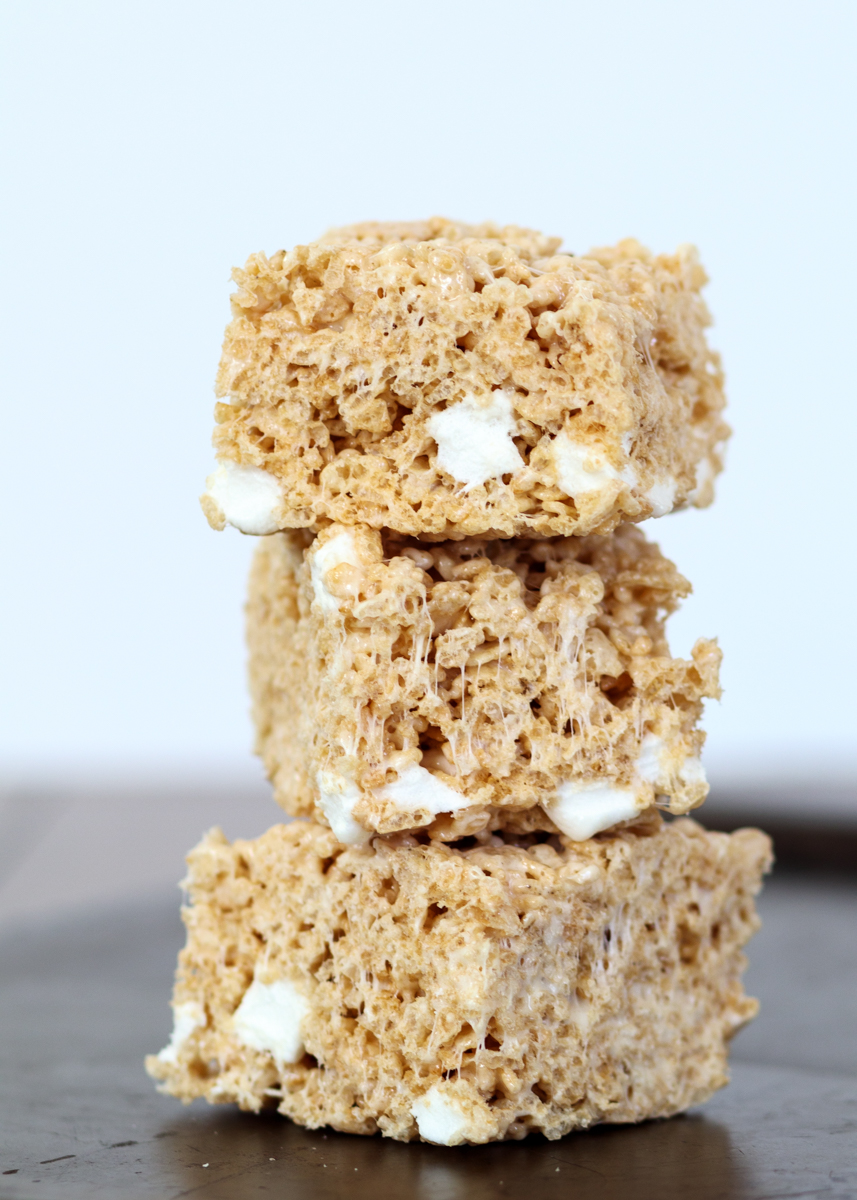
Typically when making rice krispie treats all the marshmallows get melted down, but I’ve left some mini marshmallows unmelted to create extra gooey pockets in the krispie treat. If we’re making a marshmallow treat we might as well go all out, right? Of course, if you really wanted to go extra all out you could take a cue from the Chocolate-Dipped Browned Butter Rice Krispie Treats. I’ll take either version, which is saying a lot about the flavor and texture of these Browned Butter Rice Krispie Treats since I’m so chocolate obsessed.

If you really want to make people’s mouths drop, follow the directions below for the jumbo-sized krispie treats! It makes a thick bakery style krispie treat like the ones pictured here that will have everyone thinking you bought them at your local bakery.
- 3 tablespoons butter
- 4¾ cups mini marshmallows
- 1 teaspoon vanilla extract
- ¼ teaspoon salt
- 6 cups Rice Krispies cereal
- Line a 13x9 pan or a 9x9 pan (see note) with nonstick aluminum foil and set aside.
- In a large pot big enough to fit all the cereal, melt the butter over medium heat. Continue to cook the butter, making sure to continuously swirl the pan, until the butter is golden brown in color, about 4 minutes. Lower the heat then add 4 cups of the marshmallows, stirring until melted. Remove from the heat and stir in the vanilla and salt.
- Add the cereal to the pot and gently stir until coated. Gently stir in the remaining ¾ cup of mini marshmallows. Pour the contents of the pot into the prepared pan and spread evenly. I used a small piece of wax paper to lightly press on the krispie treats in the pan to create an even-ish surface without pressing too hard (you don’t want the krispie treats to be dense). Let cool completely.
- Once cooled, remove the foil from the pan and cut the krispie treats with a sharp knife. Store at room temperature in an airtight container.
The krispie treats stay for a few days, but they taste best the same day.