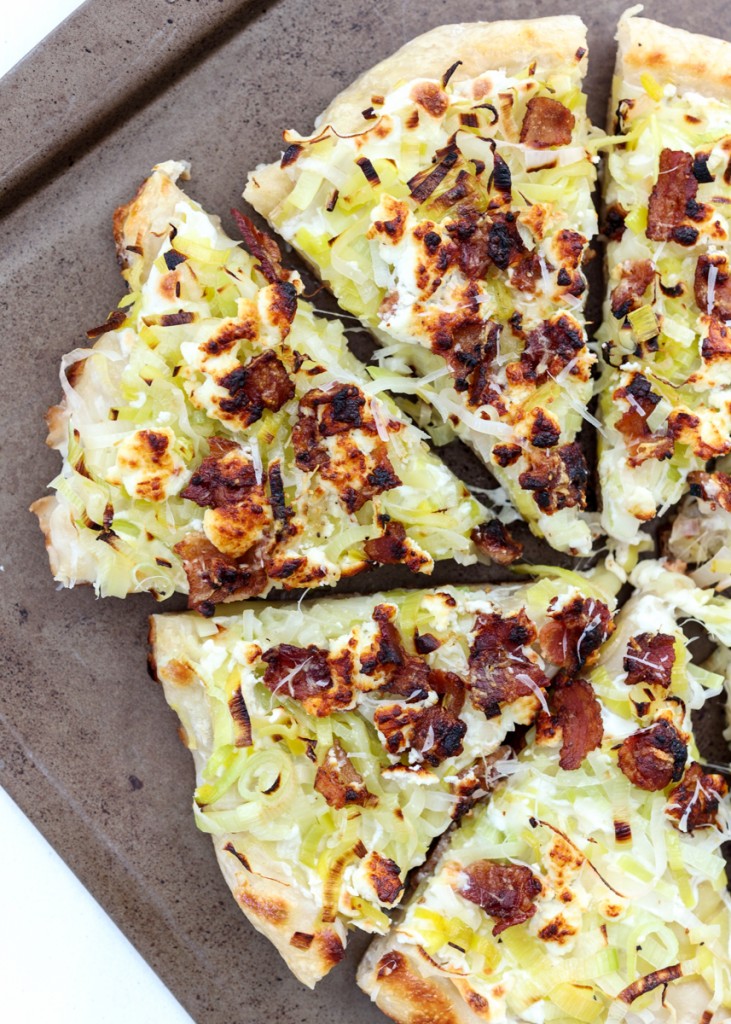
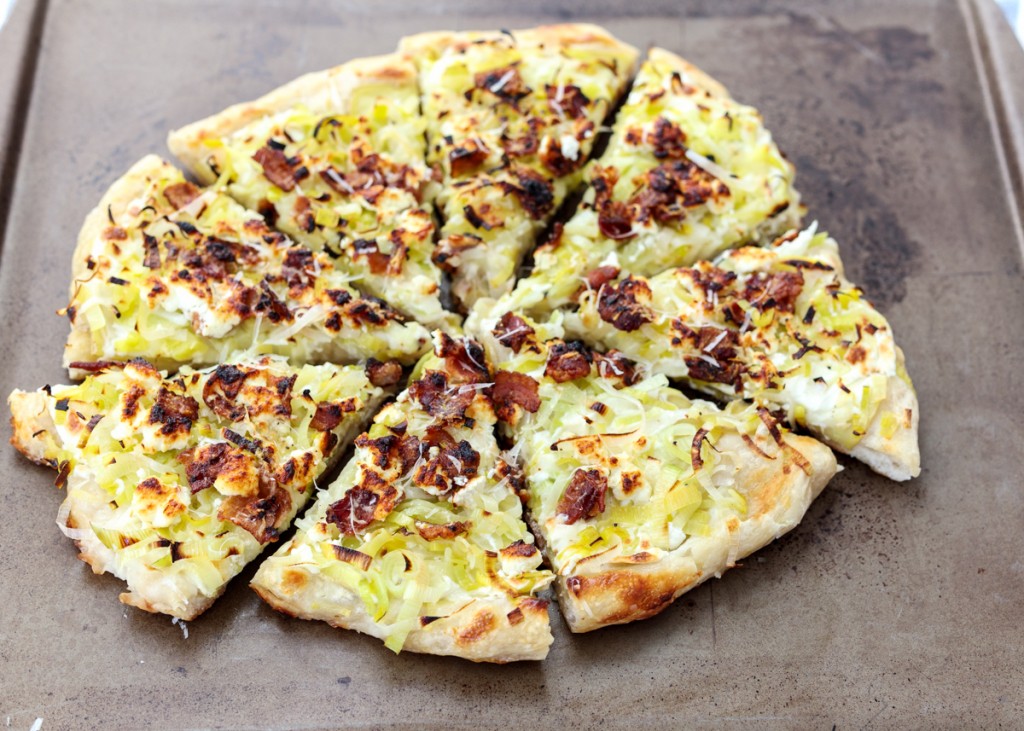
Potato, Leek and Bacon Pizza
Did you know that tomorrow is National Pizza Day? Woo hoo! This should really be a throwback Thursday post because this is the first pizza Matt and I ever made together back in 2010. Yes, we’ve been over this, I’m so food obsessed I can usually remember the exact time I made every recipe I’ve ever made for the first time.
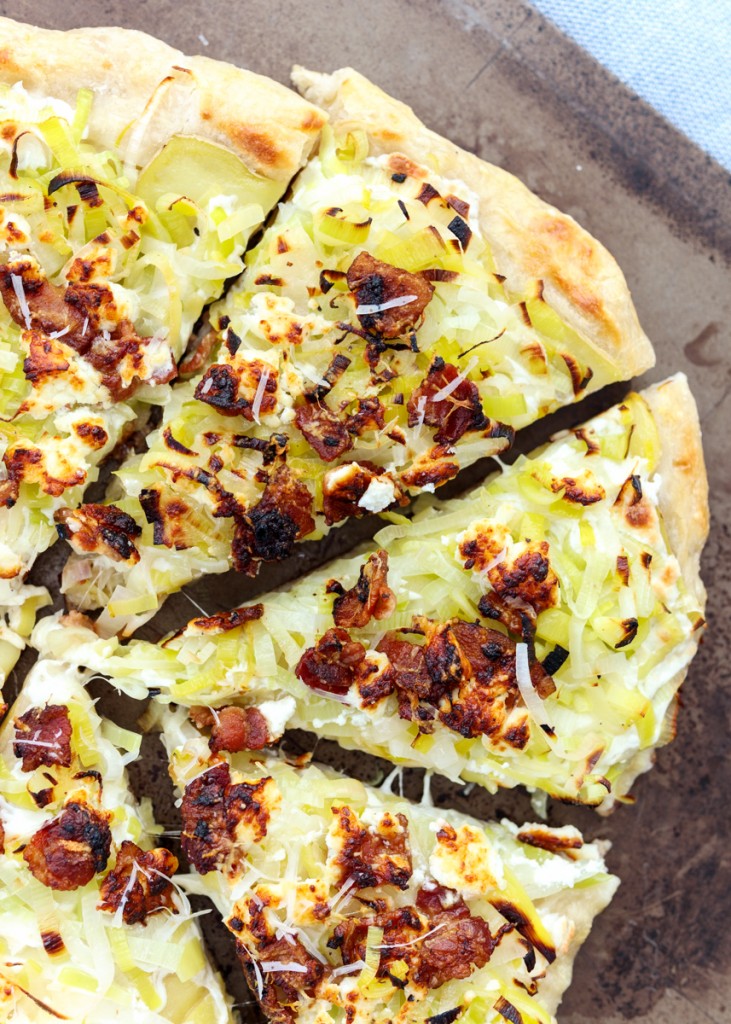
The recipe is from the first cookbook published by the Pioneer Woman, Ree Drummond, which is full of rich and indulgent meals and this pizza is no exception. This pizza has layers of thinly sliced potatoes, fresh mozzarella, crispy bacon, creamy goat cheese, leeks sautéed in bacon grease and some fresh Parmesan because why not? I did halve the amount of fresh mozzarella and reduce the amount of bacon and leeks because I found that I had lots of extra that wouldn’t even fit on my pizza.
Have you ever had potato on a pizza? It’s such a tasty and underrated topping. Matt’s favorite pizza to order from our local pizza shop is their potato, bacon and cheddar pizza so he was of course on board when I mentioned wanting to re-make the Pioneer Woman pizza recipe.
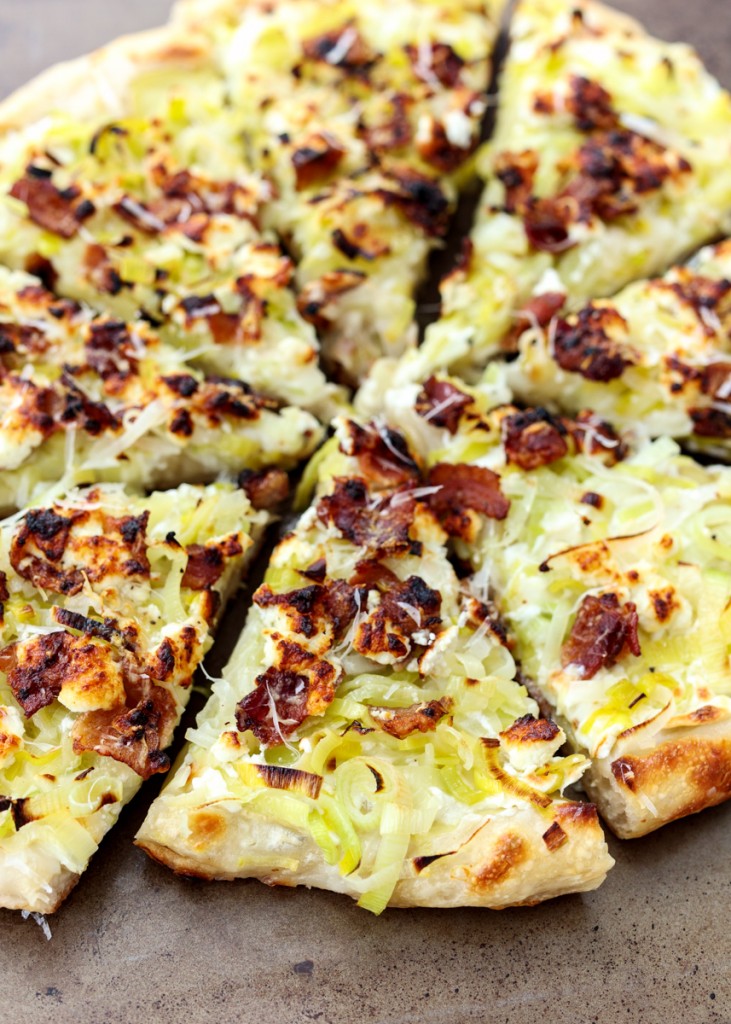
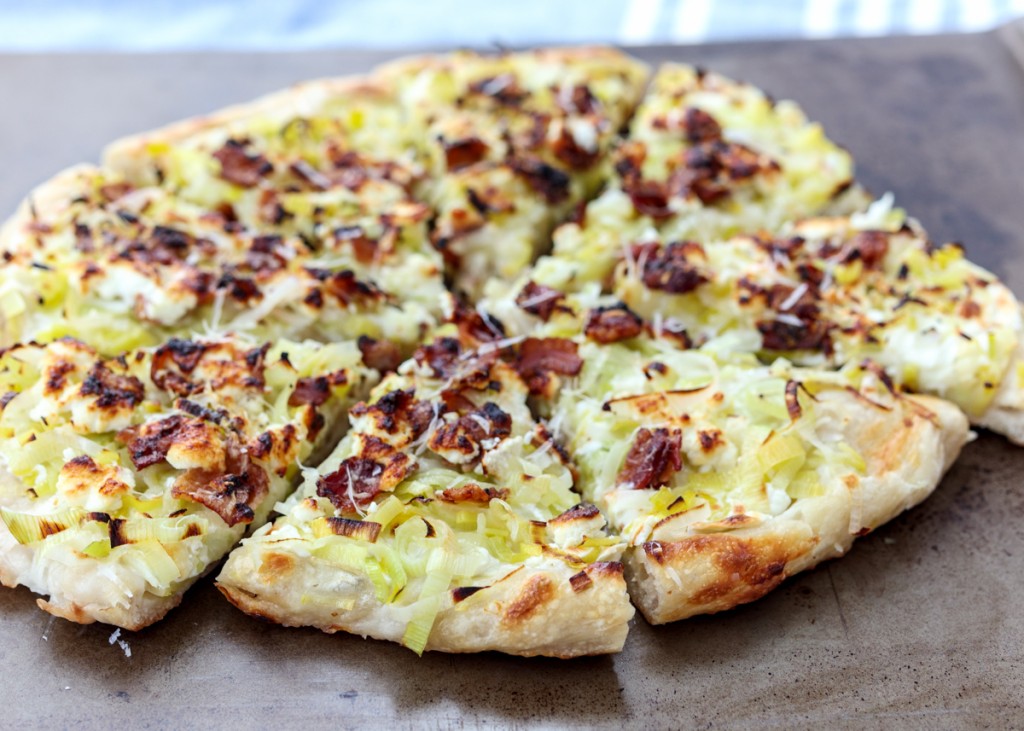
Potato, Leek and Bacon Pizza is the perfect balance of creaminess, saltiness and omg-give-me-another-slice-iness. Totally a thing. If you find yourself with some leftover leeks, I highly recommend making Kale and Walnut Pesto Pasta with Lemon Shrimp. Ah, I think I will forever be obsessed with that recipe! But back to this pizza and National Pizza Day!
If you’re looking for some more pizza inspiration I have a few recipes on here that are sure to bring your pizza night to the next level!

Mini Strawberry Balsamic Pizzas

Elote Pizza

Mini Eggplant Pizzas
- 5 slices bacon, chopped
- 1 large leek, cleaned and thinly sliced (see note)
- 16 ounces pre-made pizza dough, at room temperature for 20 minutes
- Cornmeal, for dusting the surface for the dough
- 5 small Yukon gold potatoes, sliced very thin
- 8 ounces fresh mozzarella cheese, sliced thin
- 4 ounces goat cheese
- Fresh grated Parmesan cheese and fresh ground black pepper for topping
- 1 egg, beaten (optional)
- Preheat your pizza stone in the oven at 475 or 500 degrees F for at least half an hour.
- While the pizza stone is preheating, cook the bacon and leeks. Heat the chopped bacon in a large skillet over medium heat until cooked, but not overly crispy. Remove the bacon from the pan using a slotted spoon and place on a plate lined with a paper towel. Safely pour the grease off the skillet, but do not wipe the pan clean. Over medium-low heat in the same large skillet, sauté the leeks until soft, about 3 minutes. Season with salt and pepper. Then set aside.
- If you are using a pizza peel, generously sprinkle your pizza peel with cornmeal. If you don’t have a pizza peel and are using a baking sheet, generously sprinkle your baking sheet with cornmeal. Stretch out the dough - the size depends on the size of your pizza stone. To help get it stretched out, I hold it and let it fall down. I continue doing this, rotating around as I do it so it stretches into an oblong shape. Now that it is most of the way stretched out, place it on the cornmeal surface, whether that is your pizza peel or baking sheet. Use a rolling pin or your hands to form it into the shape your want. Try to get an even thickness all the way around.
- Arrange the sliced potatoes on the pizza dough in a single layer, slightly overlapping. Next, layer the fresh mozzarella slices in a single layer, slightly overlapping. Then top with the leeks and cooked bacon. Crumble the goat cheese over top then add some fresh grated Parmesan and some fresh ground black pepper. If you want some color on your crust, lightly brush the beaten egg on the exposed crust. Carefully put the pizza in the oven on top of the pizza stone to cook for 9-10 minutes. If you are using a baking sheet, just put the baking sheet directly on top of the pizza stone.
Recipe adapted from The Pioneer Woman Cooks: Recipes from an Accidental Country Girl.
Some of the links above are affiliate links, which means I may receive a small commission for my referral. This does not affect the retail cost of the item. Thank you for supporting Lemon & Mocha!