Quinoa Pizza Bites
Happy Monday and happy December, everyone! I’m making the mistake of writing this post while I’m hungry and just thinking about these Quinoa Pizza Bites is making my stomach rumble! I should get up to go eat something, but I’m going to use it as motivation to finish writing this post!
I’m interrupting my Christmas and holiday dessert posts to bring you this Quinoa Pizza Bite recipe. Don’t worry, there’s plenty more chocolate and desserts to come, but today we’re all about this easy, cheesy and healthy-ish appetizer.
I love using pizza flavors in appetizers because they tend to be universally loved and nothing tastes better than some gooey cheese when you’re hungry.
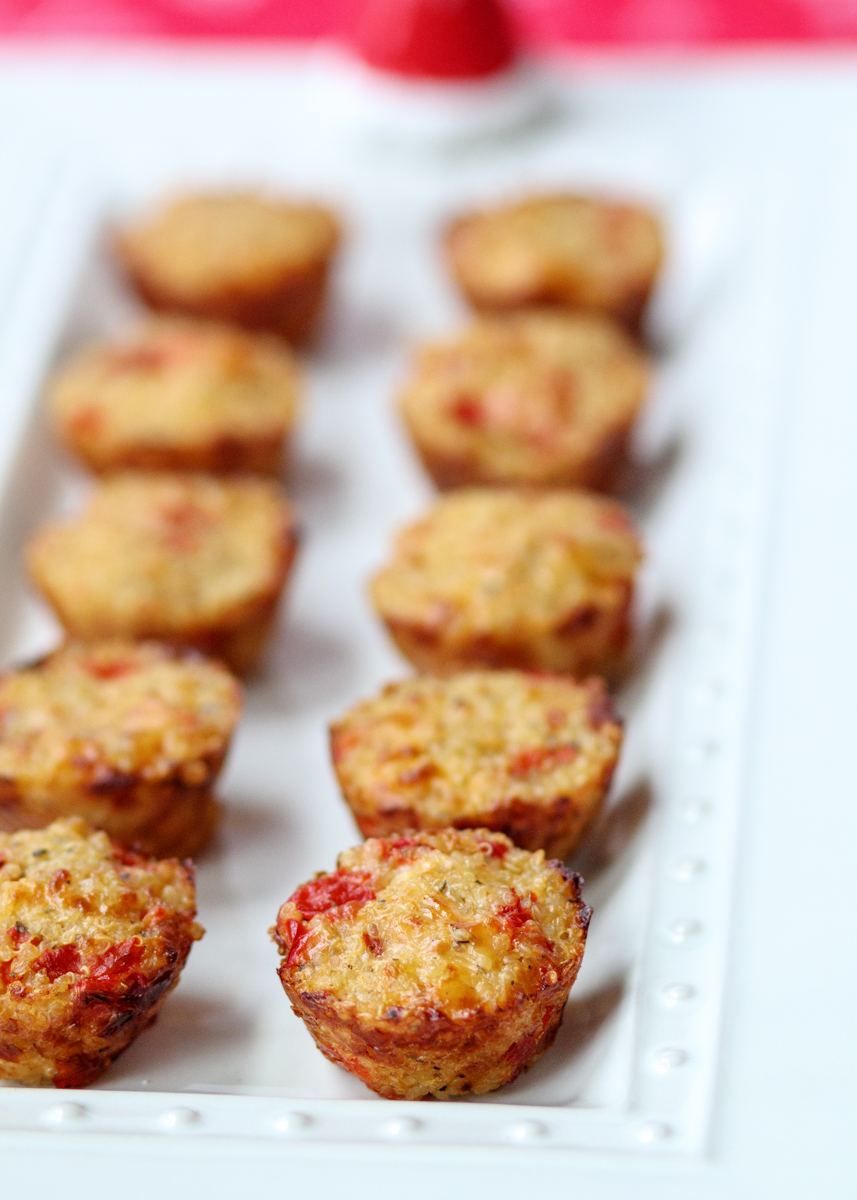
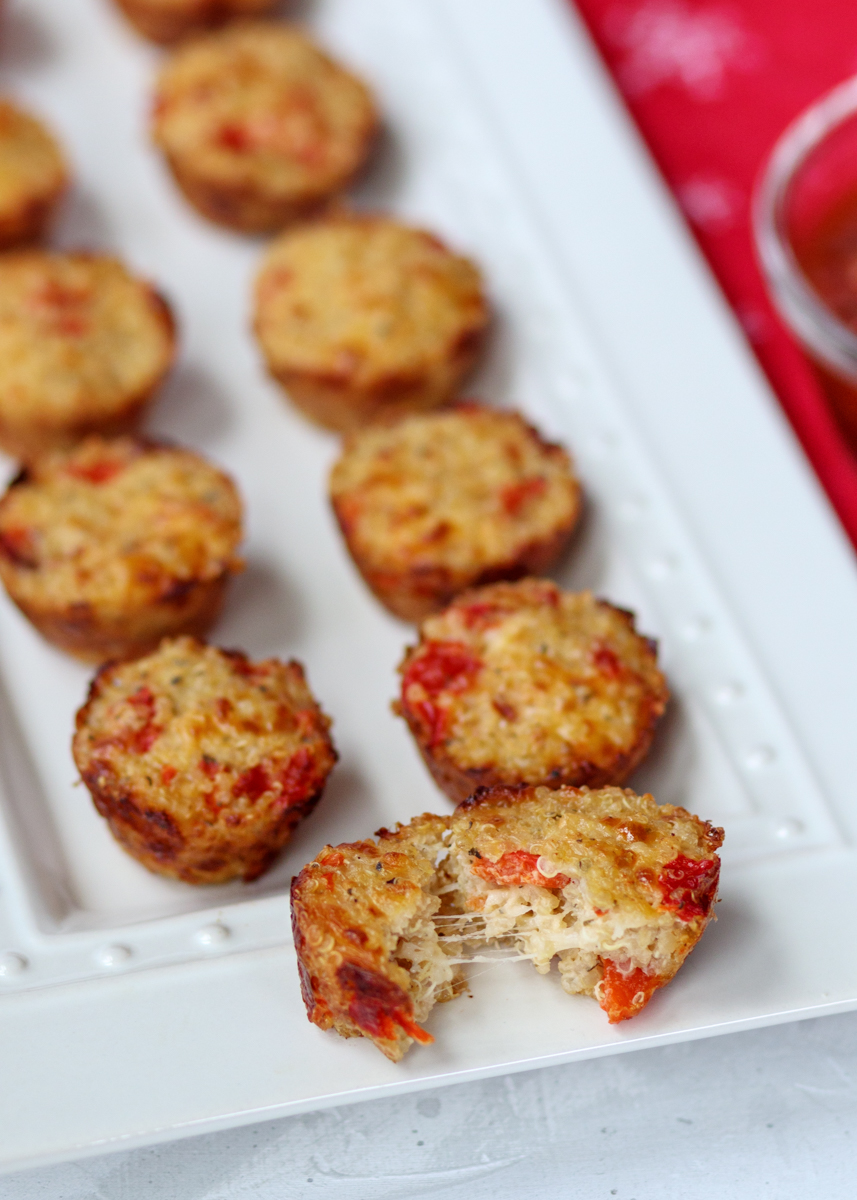
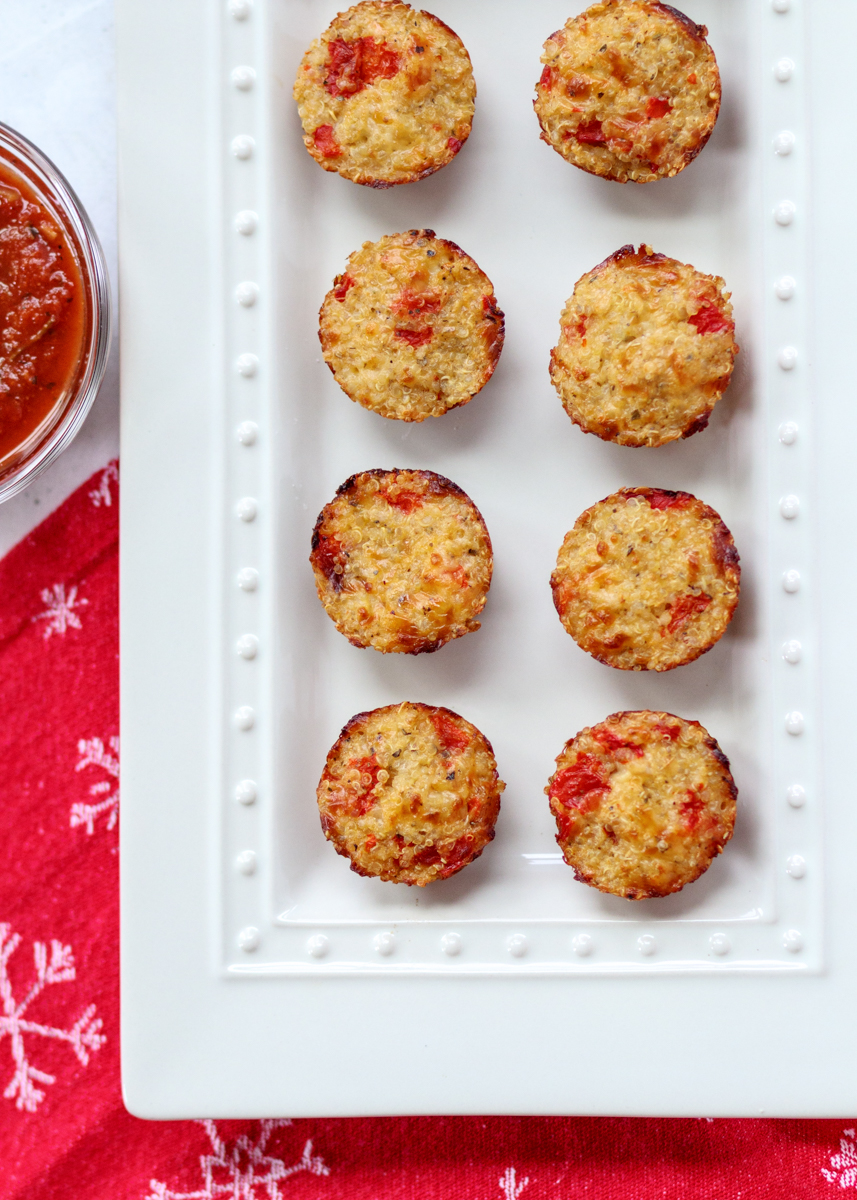
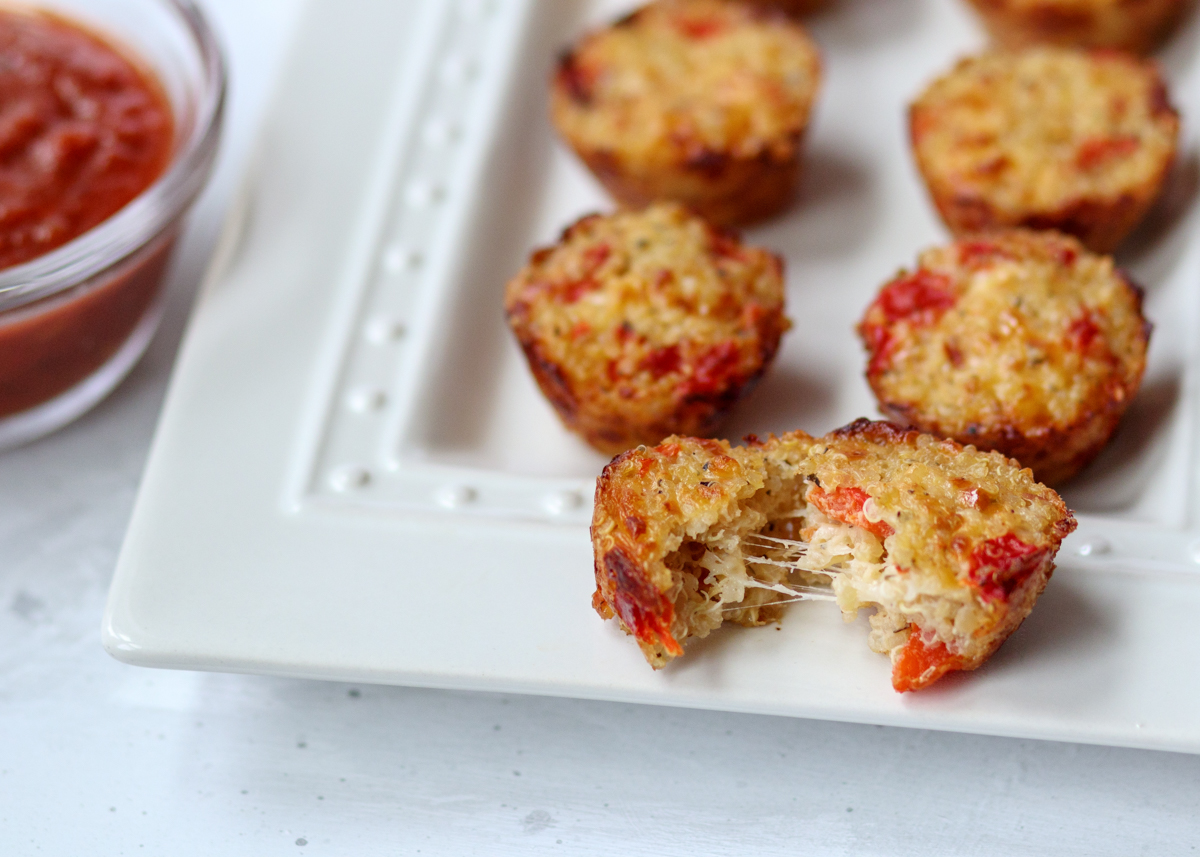
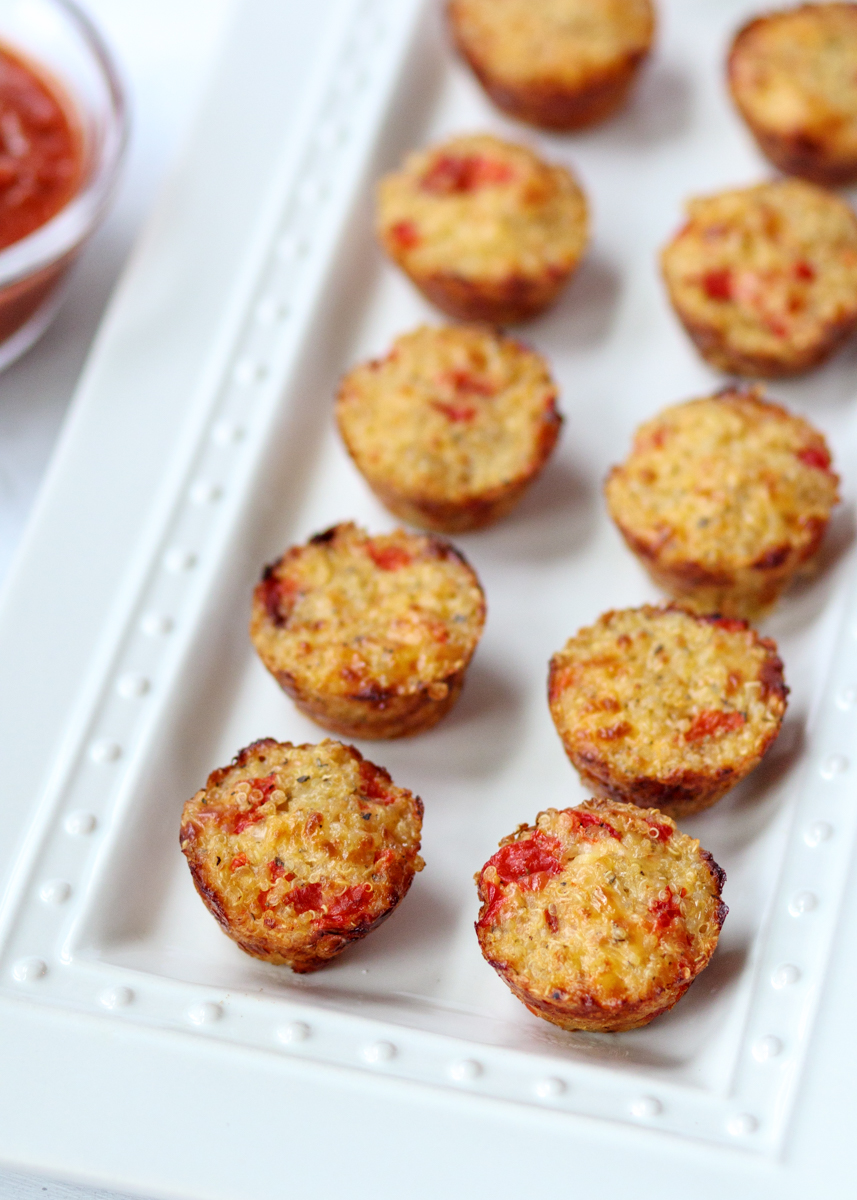
These little bites are made right in a mini muffin pan sprayed with nonstick spray so you can pop them right out and serve them hot. The base of the bite is some cooked quinoa. Mixed in with the quinoa is shredded mozzarella cheese, chopped roasted red peppers, grated Parmesan, an egg and some pizza seasonings. Don’t forget the marinara for dipping!
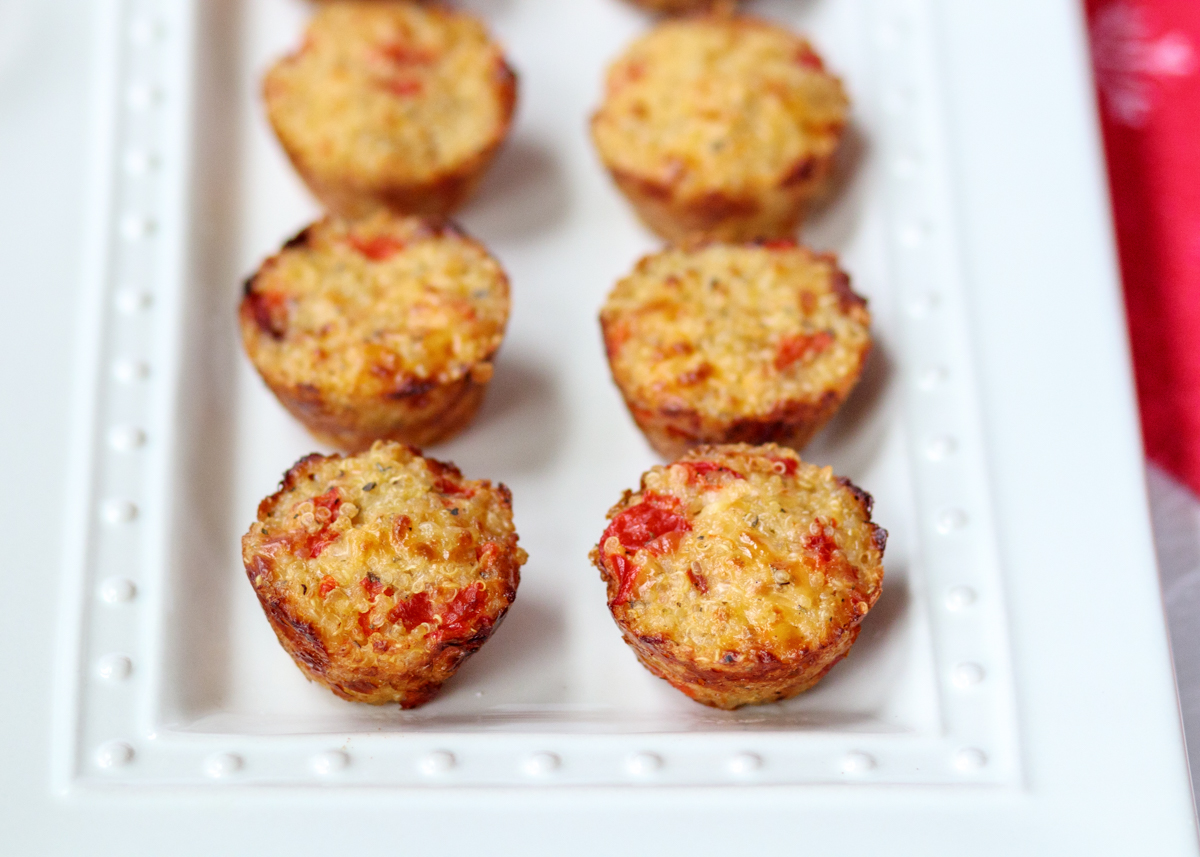
The outside gets really crispy and crunchy, while the inside stays fluffy from the quinoa. You can use whichever pizza topping you prefer for the inside; Matt and I love roasted red peppers on our pizza so that’s what I used. I was also trying to keep them healthier where I could, but if you weren’t concerned about keeping it healthy, cooked crumbled sausage or mini pepperonis would be really good in these as well.
It’s nice to have some crowd-pleasing go-to appetizers around the holidays whether you’re hosting, asked to bring an appetizer or have a holiday potluck to attend. Or, as I mentioned in the Leftover Turkey Pull-apart Sliders with a Maple Mayo and Cranberry Barbecue Sauce post, if you just want a Friday night snack. I have a few more tasty holiday appetizers to share with you this month, but in the meantime below are some of my favorites! Okay, now I’m off to go eat!
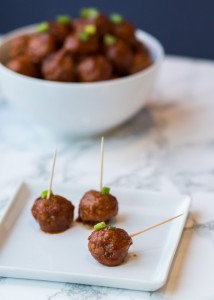
Best Slow Cooker Cocktail Meatballs
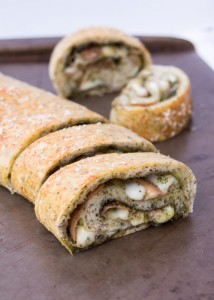
Cheesy Pesto Bread with Crispy Prosciutto
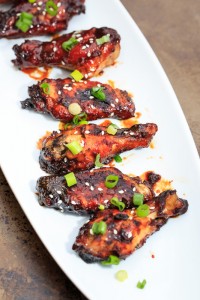
Sweet & Sticky Honey Baked Wings

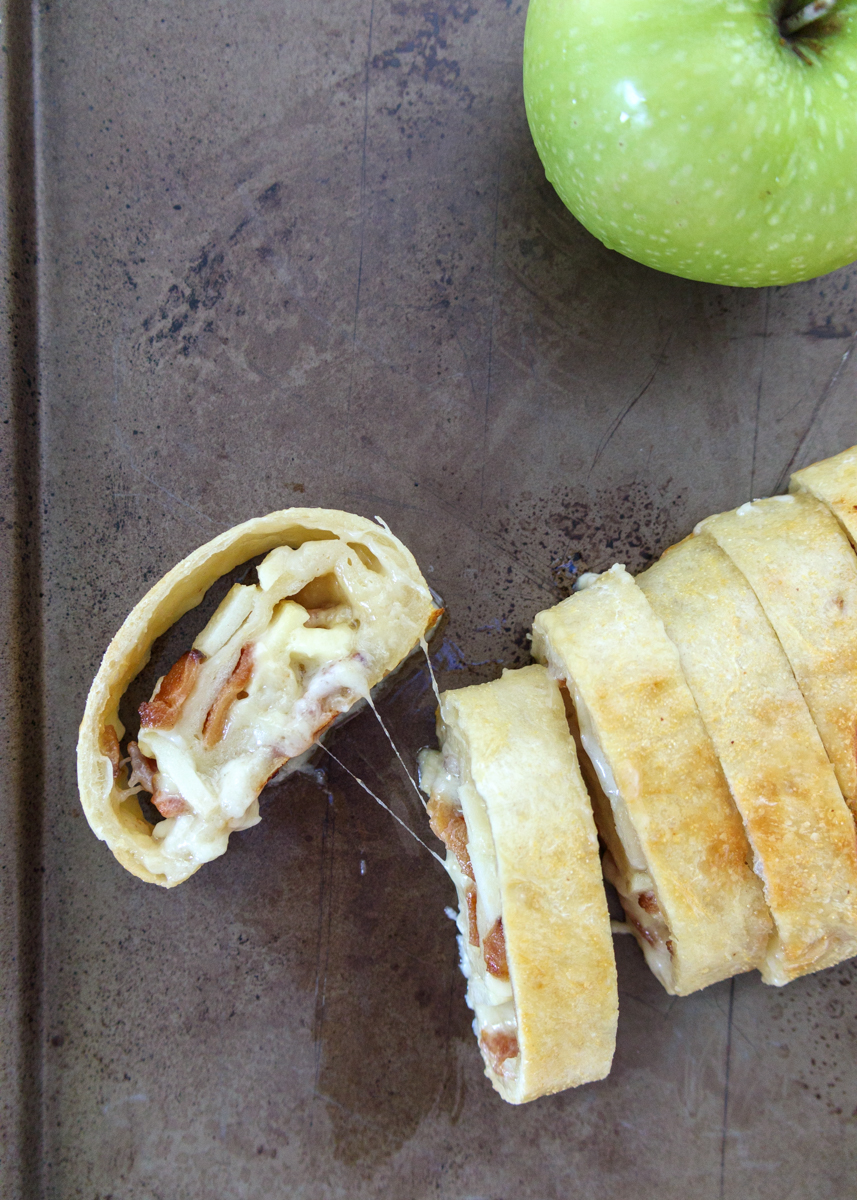
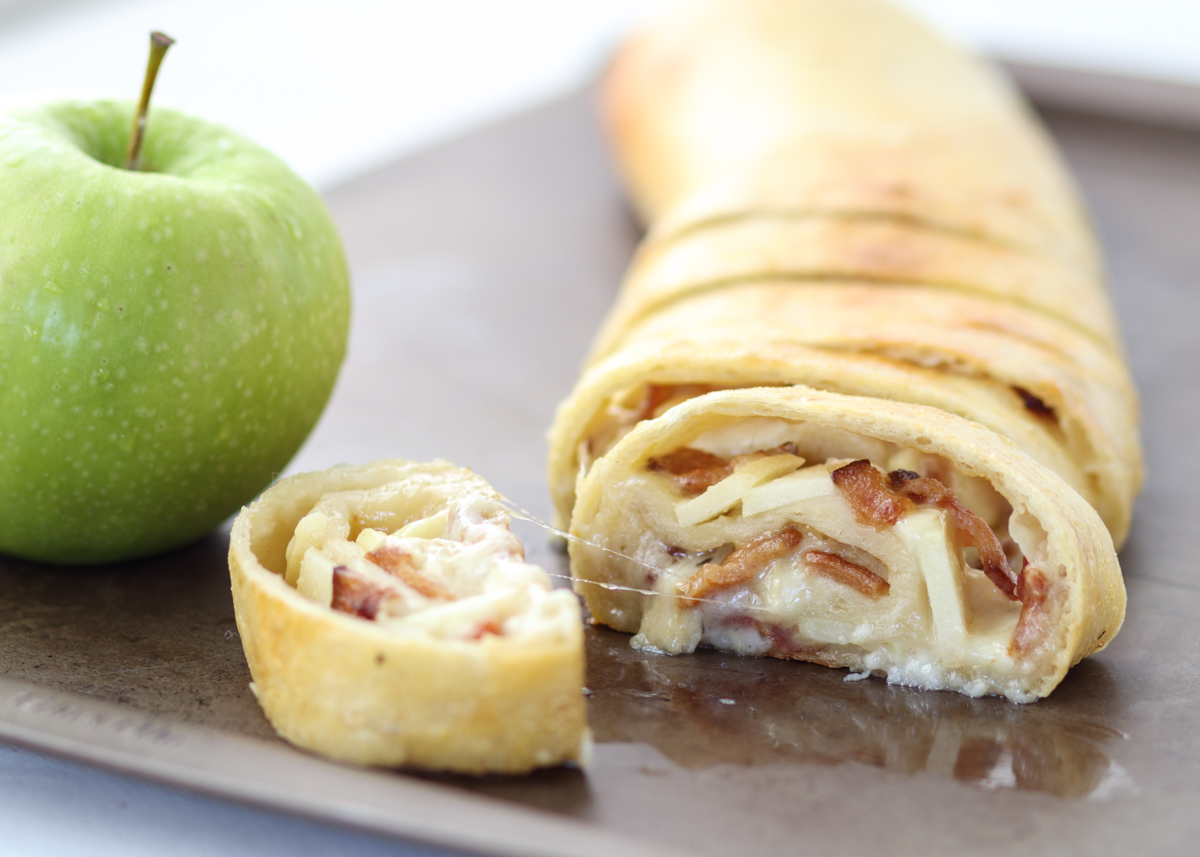
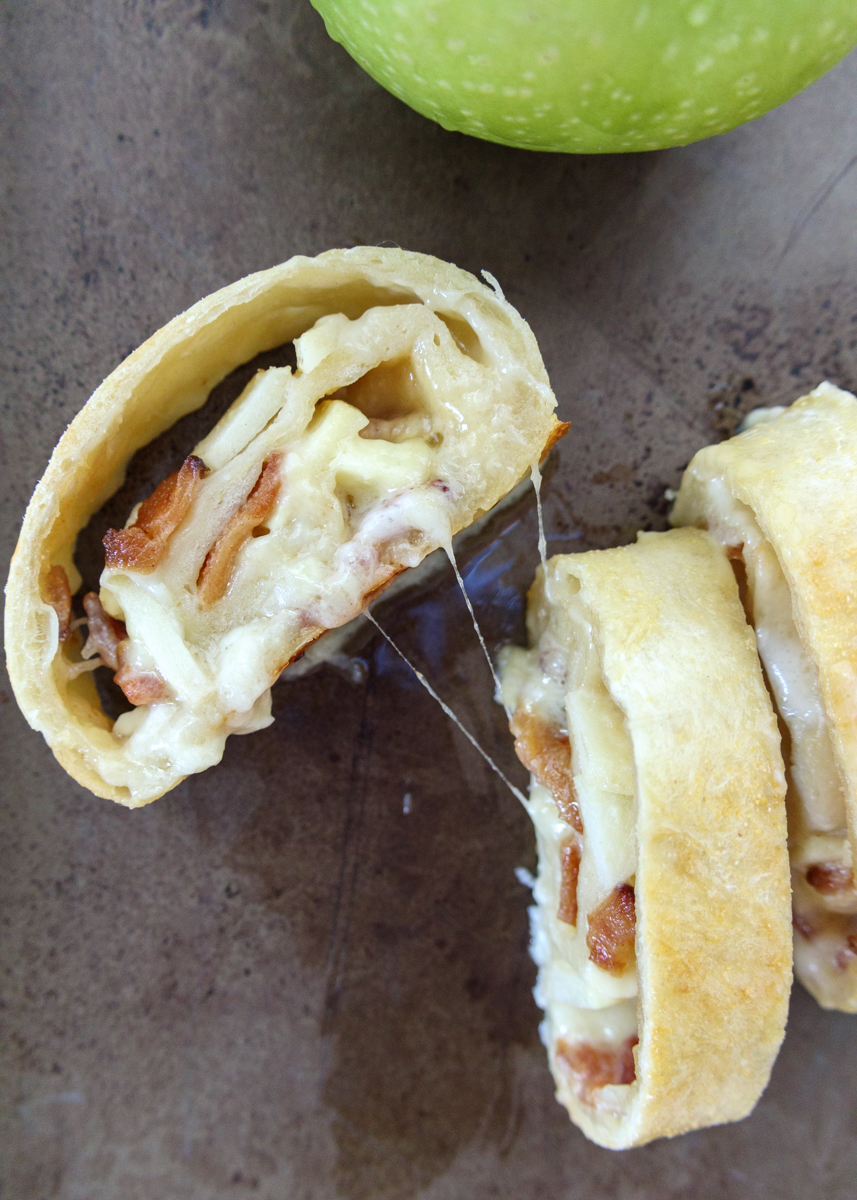
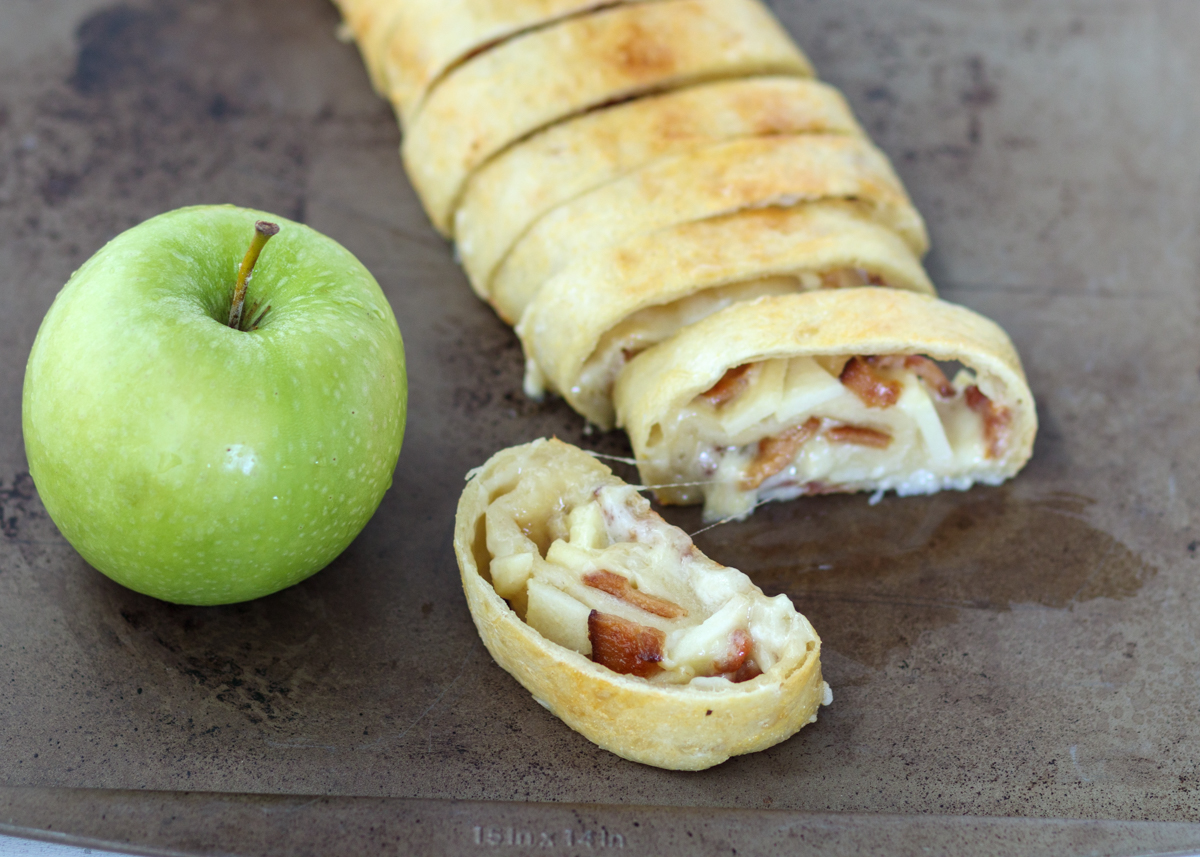
Apple, Bacon and Brie Bread
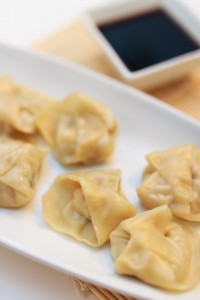
Aunt Jen’s Chicken Ginger Dumplings
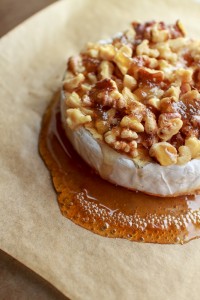
Honey Walnut Baked Brie
Caramelized Onion & Apple Dip
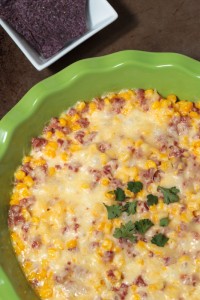
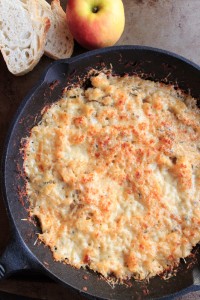
Cheesy Corn & Chorizo Dip
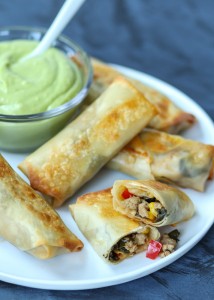
Southwest Turkey Baked Egg Rolls
- 1½ cup cooked quinoa, see note
- 1 cup shredded mozzarella cheese
- 1 cup chopped roasted red peppers, or other preferred topping
- ¼ cup fresh grated Parmesan cheese
- 1 large egg, beaten
- 1 teaspoon Italian seasoning
- ½ teaspoon garlic powder
- ½ teaspoon onion powder
- Marinara, for serving
- Preheat the oven to 400 degrees F. Spray a mini muffin pan with nonstick cooking spray
- Combine all the ingredients in a medium mixing bowl. Spoon the mixture into the muffin cavities. You will fill about 20. Make sure you press down to compact the mixture in each cavity.
- Bake for 18-20 minutes. Let cool for 5 minutes in the pan before eating. Gently use a spoon to help remove them from the pan if necessary.
Recipe from Live Well Bake Often.