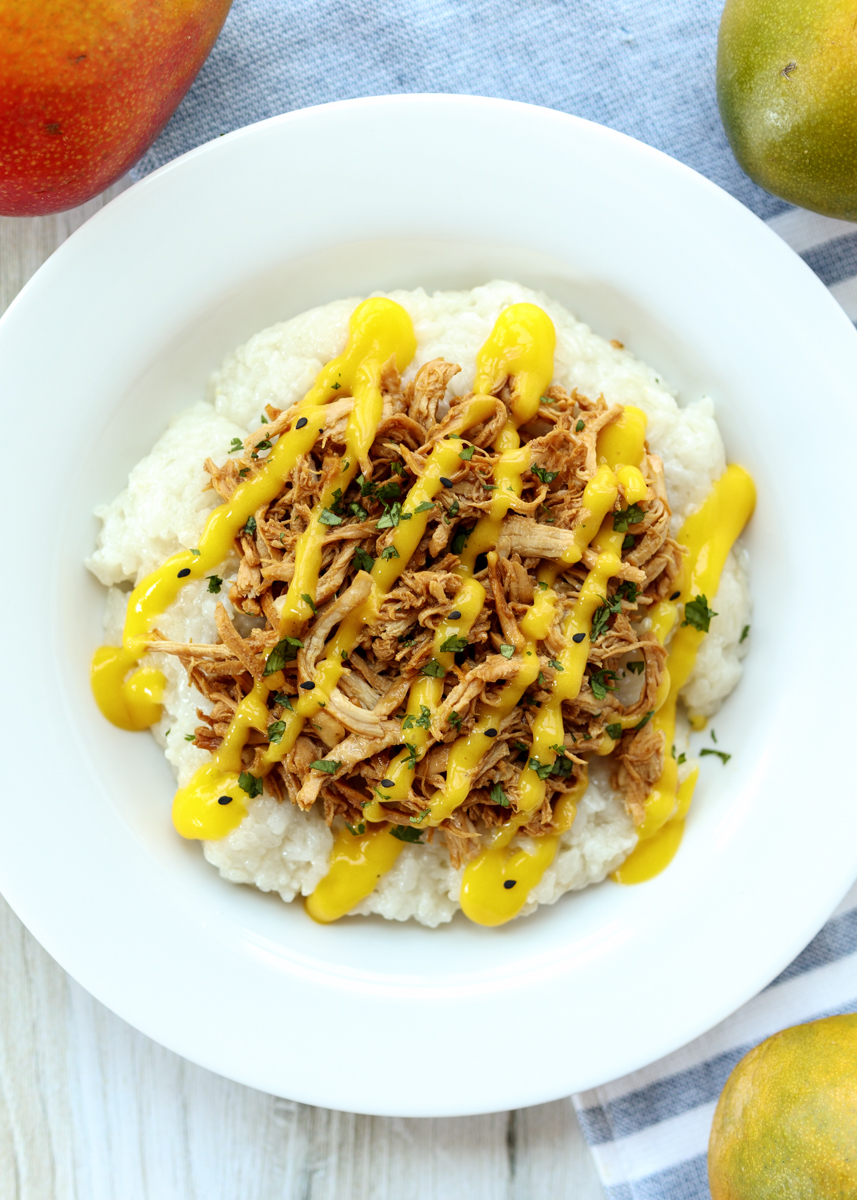
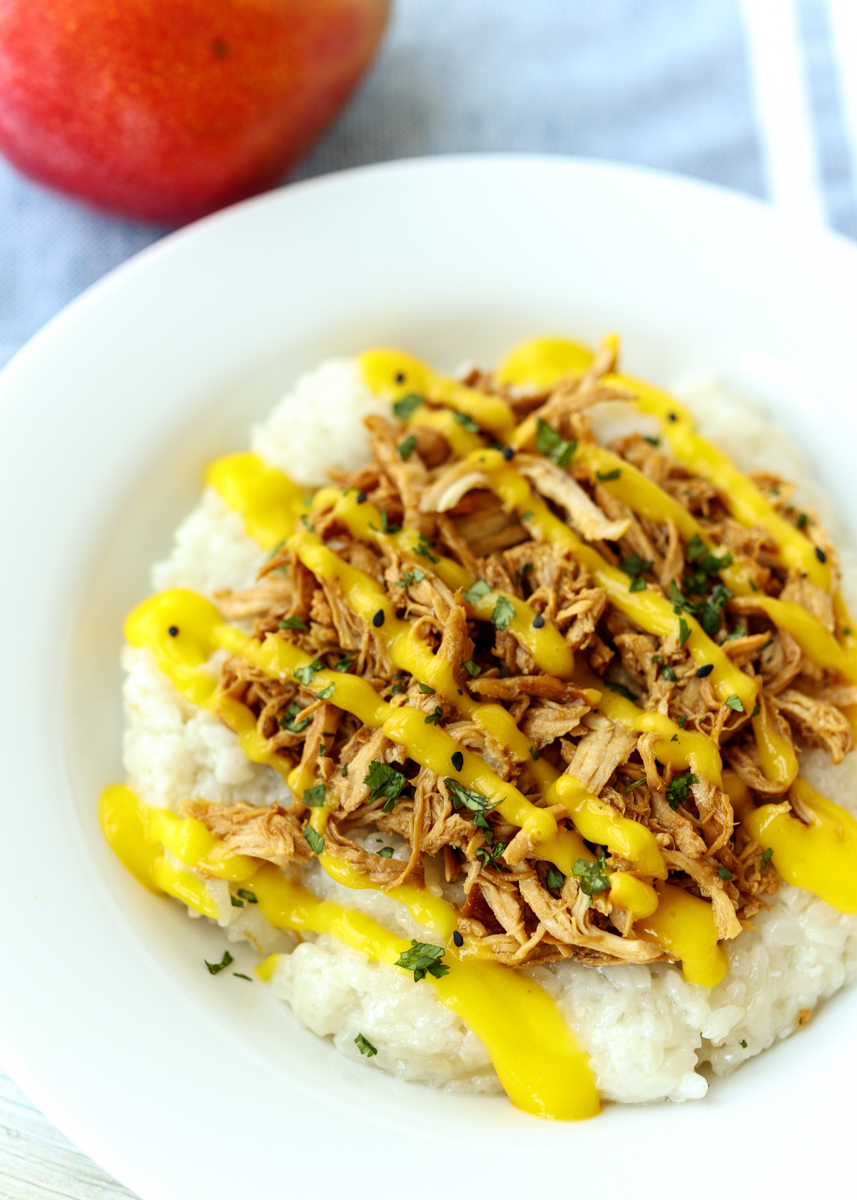
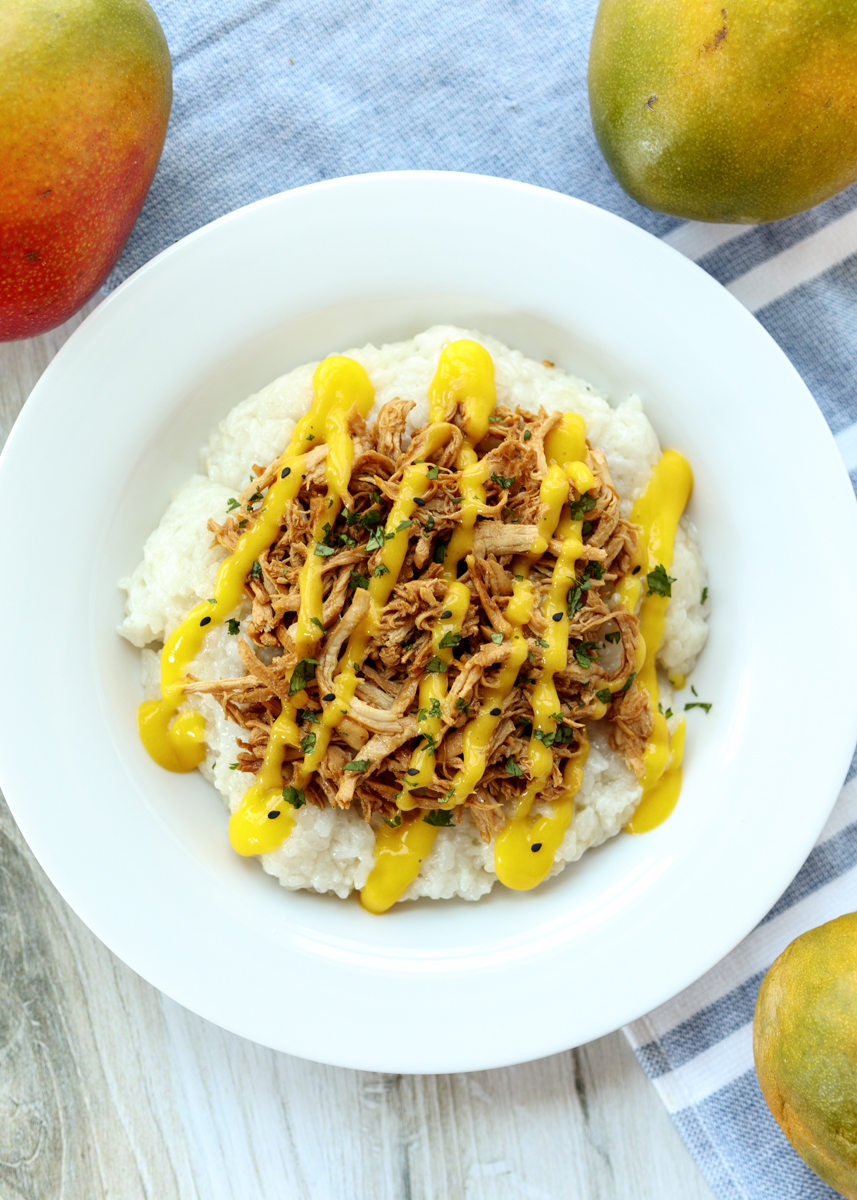
Chicken Coconut Sticky Rice Bowls with Mango Puree
Do you like cooking out of your comfort zone? To me, cooking out of my comfort zone is when I cook with an ingredient or technique I haven’t used before, or cooking something I normally only order at a restaurant. I usually resist it, but sometimes I take the chance and it’s not only easy, but crazy delicious.
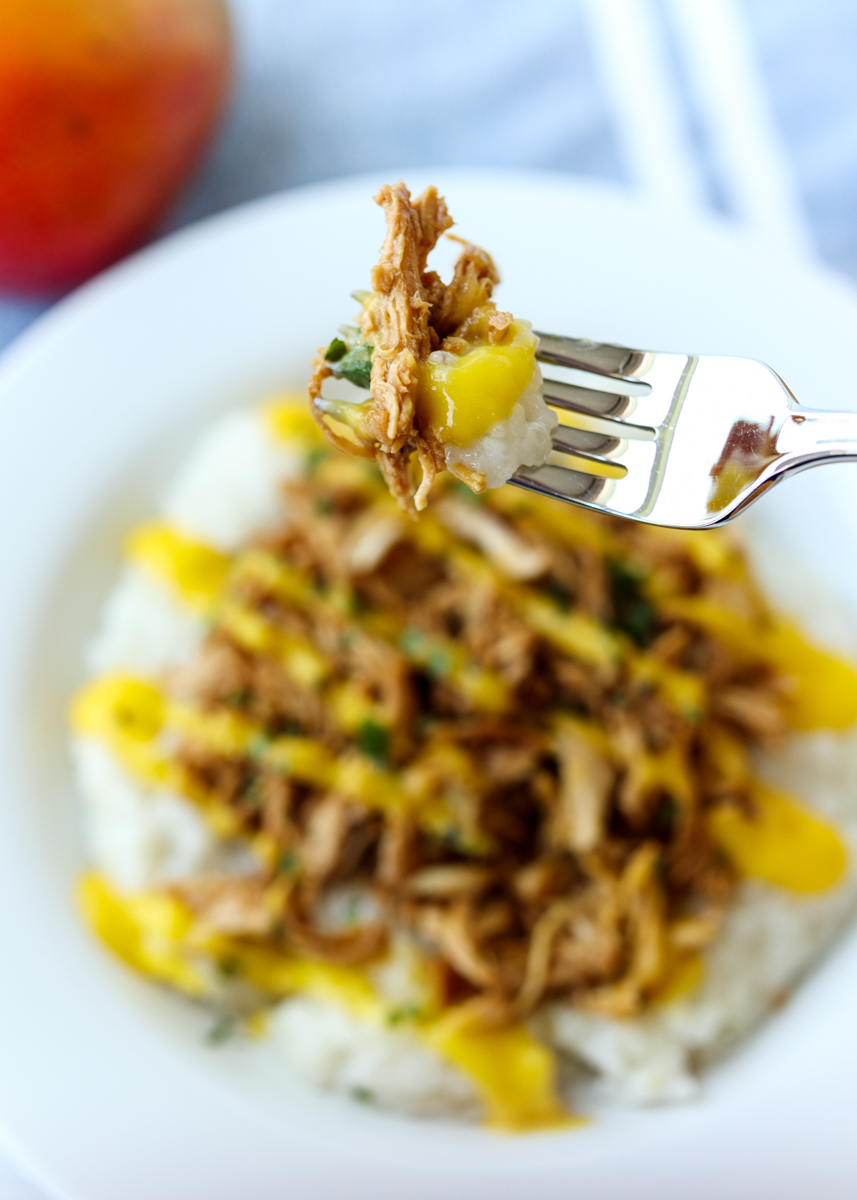
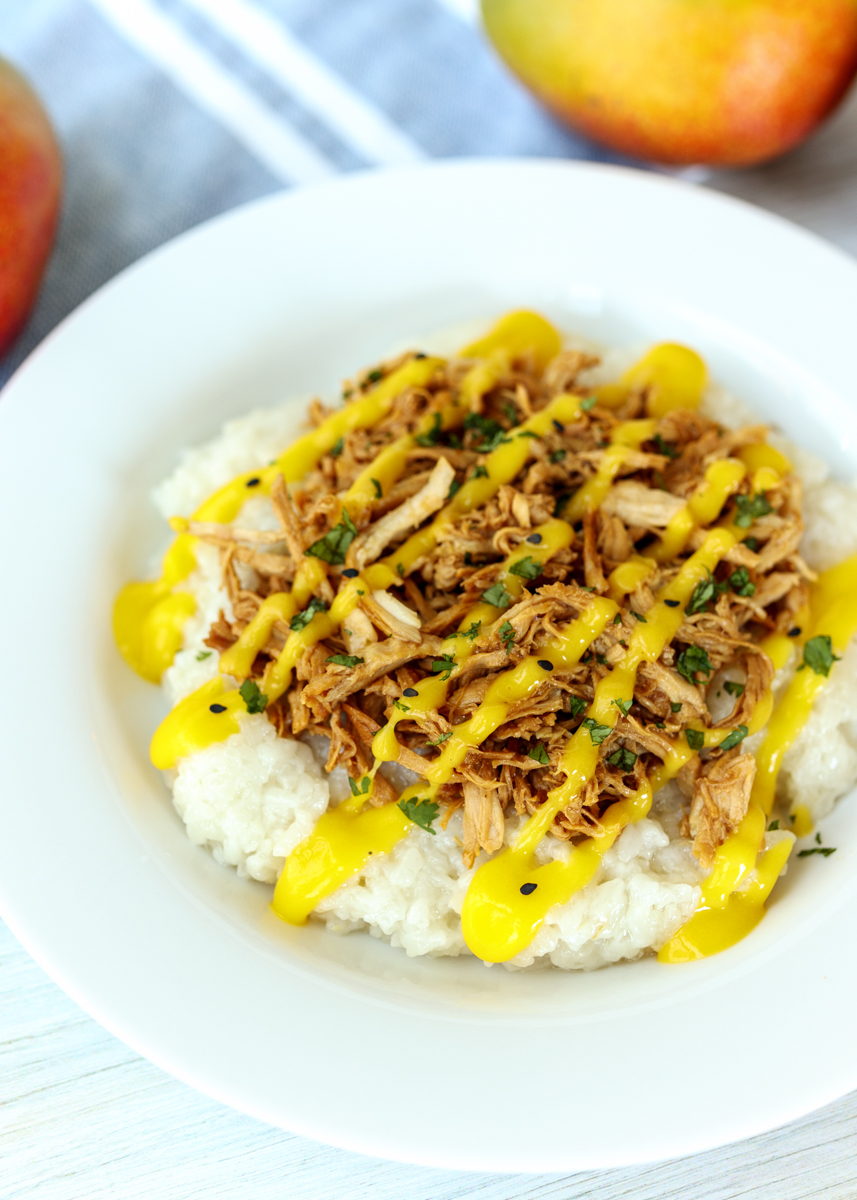
So what exactly is this meal? Creamy coconut sticky rice piled high with savory chicken and fresh mango puree. Each bite is like a comforting explosion of sweet and salty flavors balancing each other perfectly.
I’ve had sticky rice plenty of time at restaurants, but I’ve never thought to make it at home. Sticky rice is different than say sticky sushi rice; sticky rice, which is also called sweet rice or glutinous rice, is very, very sticky and a little sweet. Oddly, even though it is called glutinous rice there is no gluten in it. We’re cooking it in coconut milk so it soaks up all that creaminess and richness.

The chicken is cooked right in a skillet and the soy sauce adds a saltiness that pairs really well with the sticky rice. The final component is a simple mango puree. I say simple because it’s literally fresh (or thawed frozen) mangoes blended until smooth with a little salt and pepper.
You’re going to want to be very generous with your mango puree serving and make sure you drizzle it over every nook and cranny of your Chicken Coconut Sticky Rice Bowl. Matt couldn’t believe the sauce was just mango and proceeded to use the leftovers on everything he could find in the fridge. I hope you enjoy it as much as we did!
- 1 cup glutinous or sweet rice
- 1¼ cups water
- 1 large boneless skinless chicken breast
- 1 tablespoon vegetable oil
- 1 clove garlic, minced
- 1-inch piece ginger, grated
- 1 tablespoon hot sauce (I used Trader Joe’s Green Dragon Sauce)
- 3 tablespoons low sodium soy sauce
- 2 tablespoons sesame oil
- 1 14-ounce can unsweetened coconut milk
- 3 mangoes
- Salt and pepper
- Sesame seeds, for garnish
- Chopped cilantro, for garnish
- Soak the rice in the water for 30-60 minutes. Then, add the rice, soaking liquid and the coconut milk to a small medium saucepan. Bring to a boil, then reduce to low, cover halfway to allow steam to escape and simmer for 20 minutes or until the liquid is absorbed.
- While the rice is cooking, make the chicken. Season the chicken. Heat the vegetable oil in a skillet over medium-high heat then sear the chicken on both sides. Reduce the heat to low and add the garlic, ginger, hot sauce, soy sauce and sesame oil. Cover the skillet and continue to cook on low heat until the chicken reaches 165 degrees F, about 20 minutes. Remove the chicken from the pan, leaving the sauce. Shred the chicken then return to the sauce and mix well.
- While the chicken is cooking, make the mango puree. Peel and pit the mangoes. Puree in a high-speed blender with a little salt and pepper until smooth. To plate the meal, scoop some sticky rice into each bowl then top with the chicken, sesame seeds, chopped cilantro and plenty of mango puree.
Recipe adapted from Stuffed: The Ultimate Comfort Food Cookbook.
Some of the links above are affiliate links, which means I may receive a small commission for my referral. This does not affect the retail cost of the item. Thank you for supporting Lemon & Mocha!