Main Dishes

Chicken Piccata over Creamy Lemon Orzo
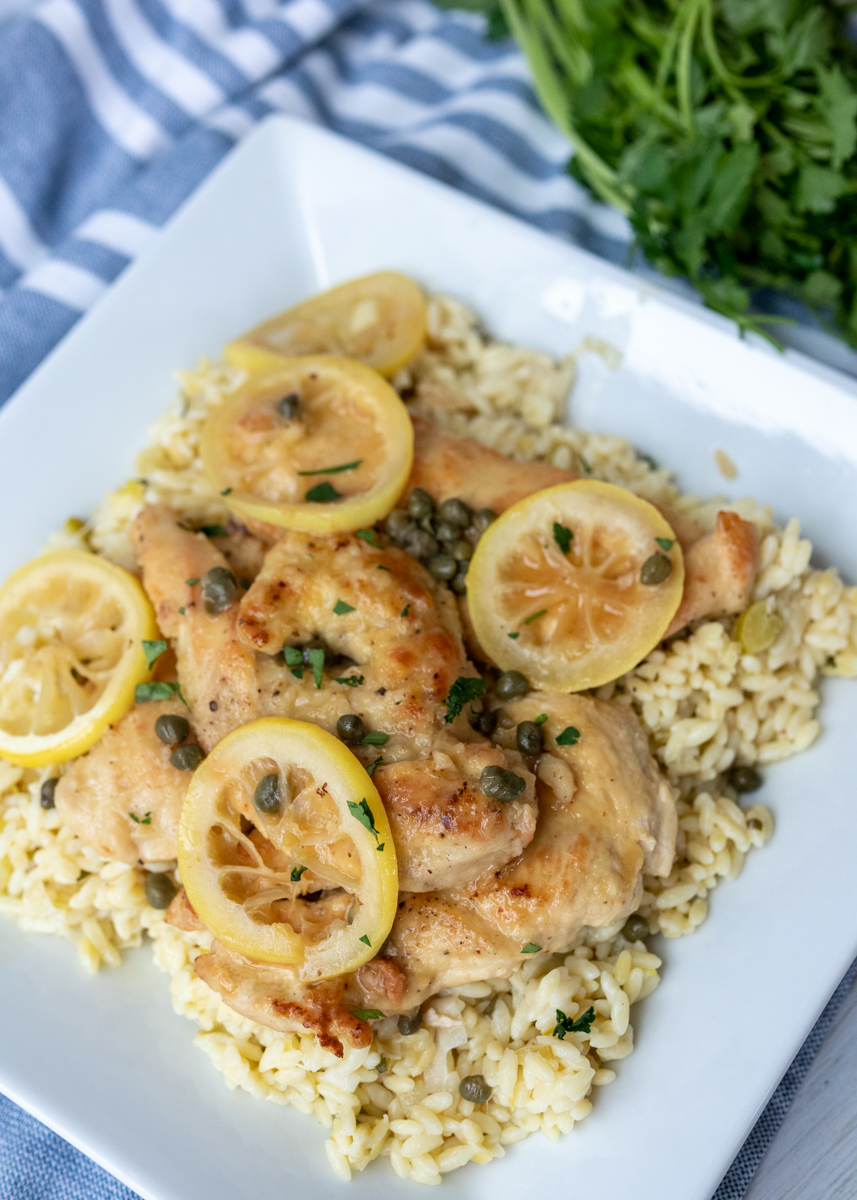
Chicken Piccata over Creamy Lemon Orzo  |  Lemon & Mocha

Dinner has arrived! While not quite as you still need to cook it, but this Chicken Piccata over Creamy Lemon Orzo is the perfect recipe for an easy and cozy meal that everyone will love. We’re sautéing chicken cutlets and coating them with a fresh lemon and caper sauce. The best part is that the juicy chicken cutlets are sitting over a warm orzo and leek dish that’s bursting with lemon flavor.
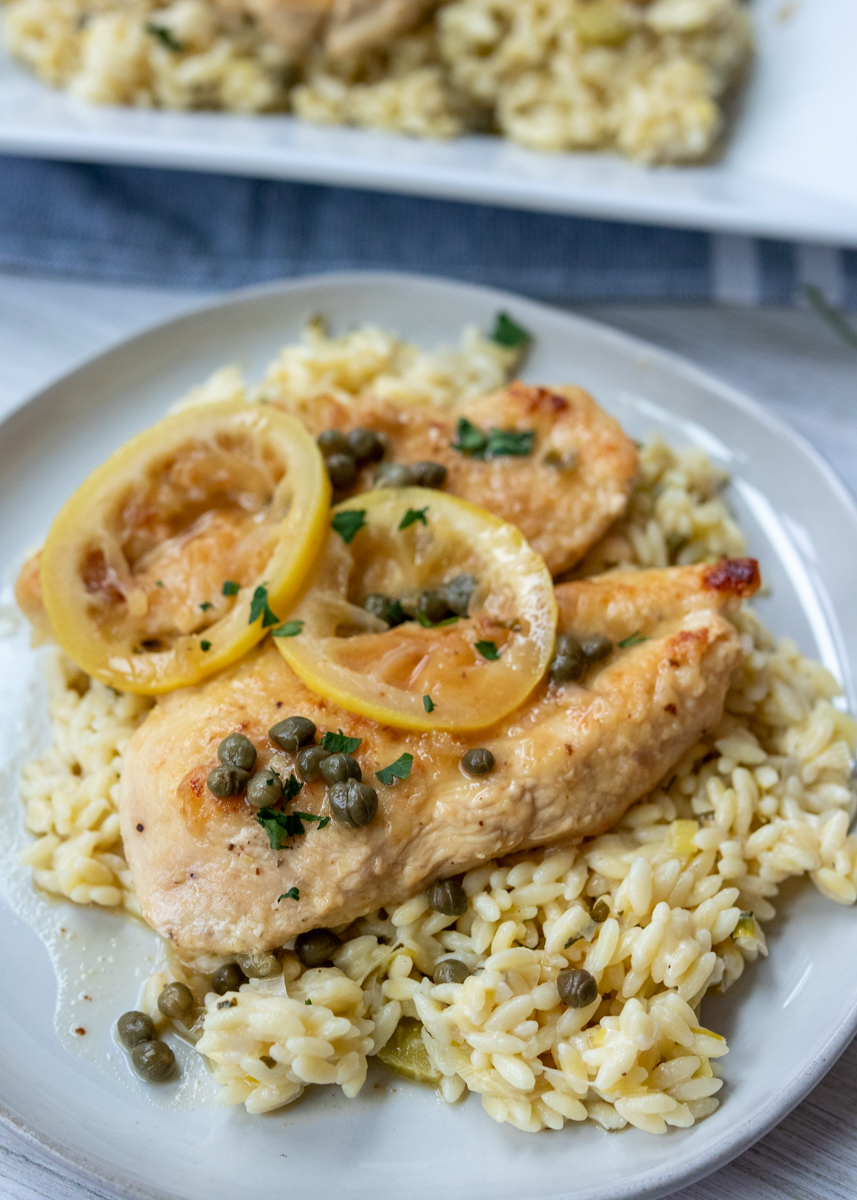
Chicken Piccata over Creamy Lemon Orzo  |  Lemon & Mocha

The smell of this meal cooking is going to have you sneaking bites off the stove. And by sneaking bites I mean scooping out a bowlful of the orzo and shoving it into your mouth like you haven’t eaten in five days.
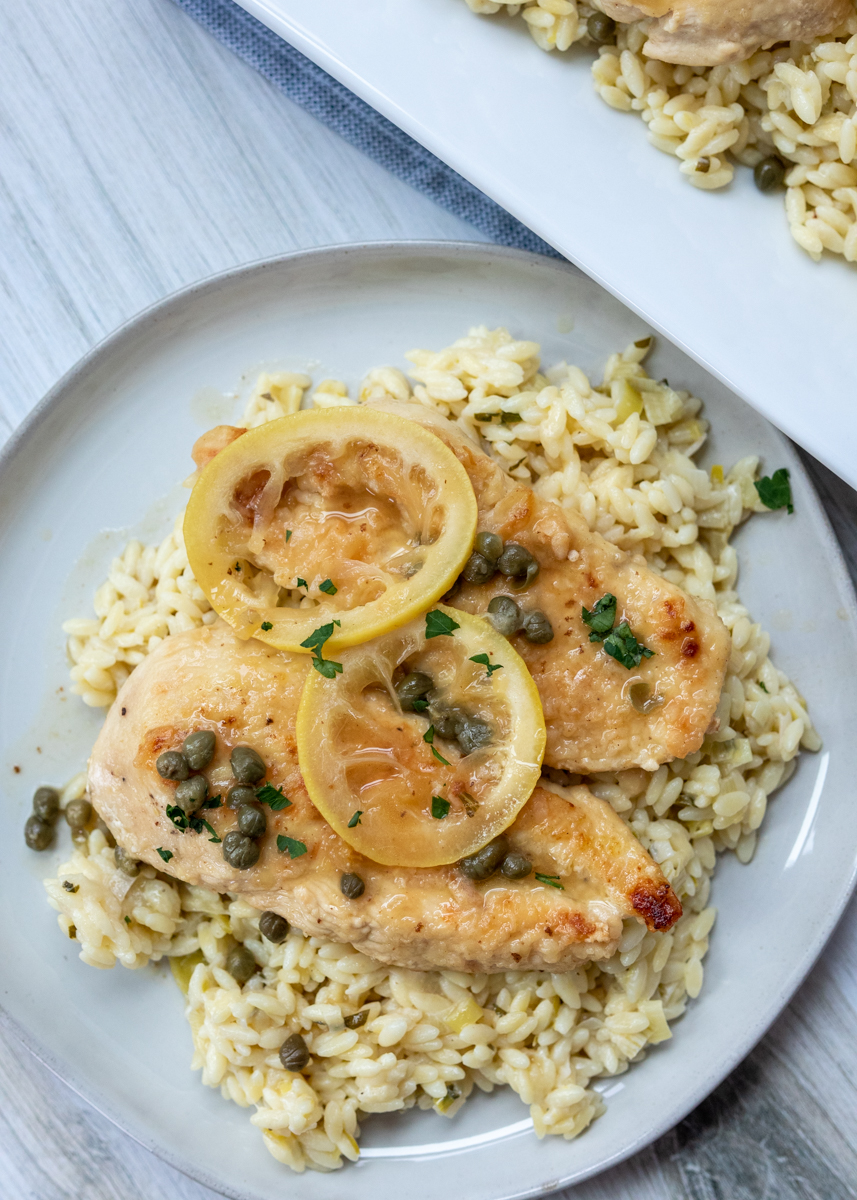
Chicken Piccata over Creamy Lemon Orzo  |  Lemon & Mocha

This is my favorite savory dish I’ve made in a while and I plan on making it many more times. It’s simple enough that I can whip it up for Matt and I on a weeknight, but I would also totally make this for company. Add in a green salad and your meal is complete!
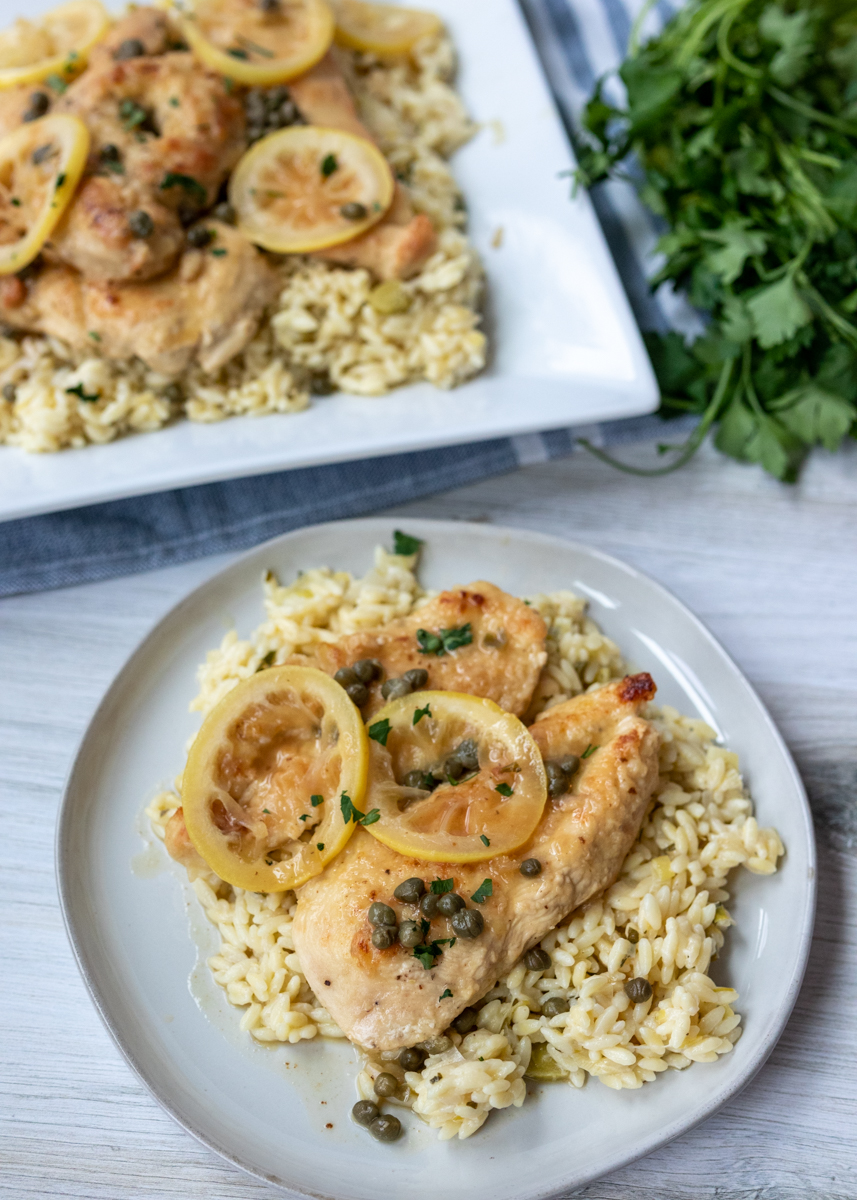
Chicken Piccata over Creamy Lemon Orzo  |  Lemon & Mocha

Matt and I like to have Valentine’s Day dinner at home, so if you’re like us and staying in tonight then I recommend making a quick trip to the store to get everything to make this Chicken Piccata over Creamy Lemon Orzo. Other than the bright lemon flavor, my favorite part of this dish is that it tastes rich and indulgent, but feels very light. You would never guess there’s less than two tablespoons of butter across all four servings!
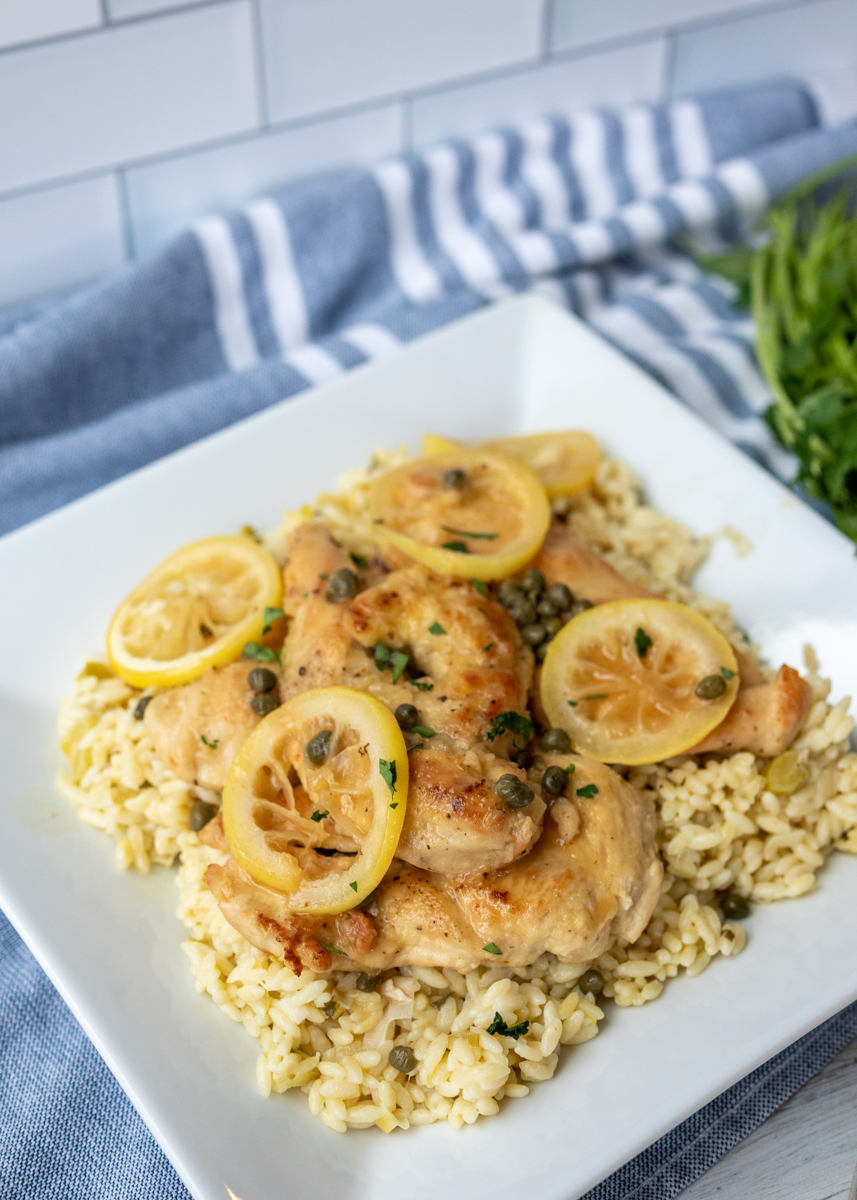
Chicken Piccata over Creamy Lemon Orzo  |  Lemon & Mocha

I hope you all enjoy this one and have a lovely Valentine’s Day weekend!
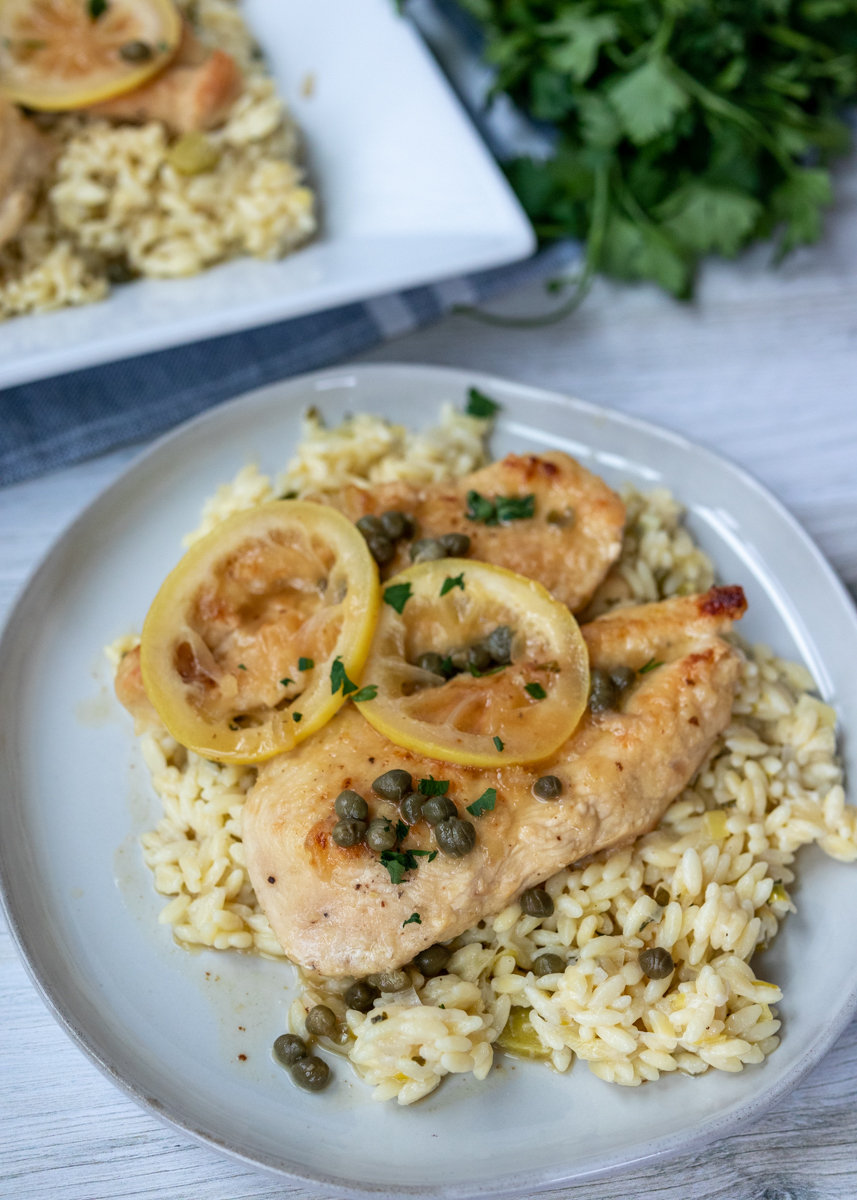
Chicken Piccata over Creamy Lemon Orzo  |  Lemon & Mocha

Chicken Piccata over Creamy Lemon Orzo
 
Yield: 4 servings
Ingredients
  • 4 boneless skinless chicken breasts, sliced in half lengthwise to have 8 cutlets
  • ½ cup all-purpose flour
  • 3 cups low sodium chicken broth, divided
  • 1 bay leaf
  • 1½ tablespoons butter, divided
  • 5 tablespoons olive oil, divided
  • 1 leek (white and light green parts), halved lengthwise and thinly sliced (see note)
  • 1 cup orzo
  • ¼ cup half and half
  • 1 clove garlic, minced
  • 3½ tablespoons lemon juice, divided
  • 3 tablespoons white wine
  • 2 tablespoons capers
  • 2 tablespoons chopped fresh parsley
  • Zest from ½ a lemon
Directions
  1. Season the chicken cutlets with salt and pepper. Add the flour to a shallow bowl then coat the chicken cutlets completely, shaking off the excess. Put aside until ready to use.
  2. In a small saucepan over medium heat or in the microwave, heat 2 cups of the chicken broth, ½ cup of water and the bay leaf until simmering.
  3. Melt ½ tablespoon of the butter and 1 tablespoon of the olive oil in a medium saucepan over medium heat. Add the sliced leeks and cook for 4 minutes, stirring occasionally. Add the orzo then season with salt and pepper. Add the warmed broth mixture and bring it to a simmer. Add the half and half then keep at a simmer, stirring occasionally, for 8-10 minutes, or until most of the liquid is absorbed.
  4. While the orzo is simmering, start the chicken. Heat 3 tablespoons of the olive oil in a large skillet over medium heat. Add the chicken and cook for 4-5 minutes per side, or until an internal temperature of 165 degrees F is reached. If your skillet is not big enough you will have to do this in two batches, just remove the pan from the heat and let cool slightly in between the batches. Remove the chicken once it’s been cooked and set aside.
  5. Heat 1 tablespoon of the butter and a tablespoon of the olive oil over medium heat in the skillet from the chicken. Sauté the garlic until fragrant, about 30 seconds, then add the remaining cup of the chicken broth, 3 tablespoons of the lemon juice and the white wine. Season with salt to taste. Whisk together and let come to a simmer. Add the capers. Add the chicken back to the skillet and let simmer for 5 more minutes.
  6. When the orzo is done, remove the bay leaf. Stir in the remaining ½ tablespoon of butter, parsley and lemon zest. Serve with the chicken and sauce poured overtop.
Notes
Leeks harbor a lot of dirt so they need to be cleaned really well. Add the sliced leeks to a medium mixing bowl filled with water to separate and move around so the dirt sinks to the bottom and the leeks stay floating on the top. Scoop the sliced leeks out with your hand and place in a colander to lightly drain before putting in the saucepan.

 Orzo recipe adapted from December 2019 issue of Food Network Magazine.

Recipe adapted from Eat This, Not That!.

Some of the links above are affiliate links, which means I may receive a small commission for my referral. This does not affect the retail cost of the item. Thank you for supporting Lemon & Mocha!

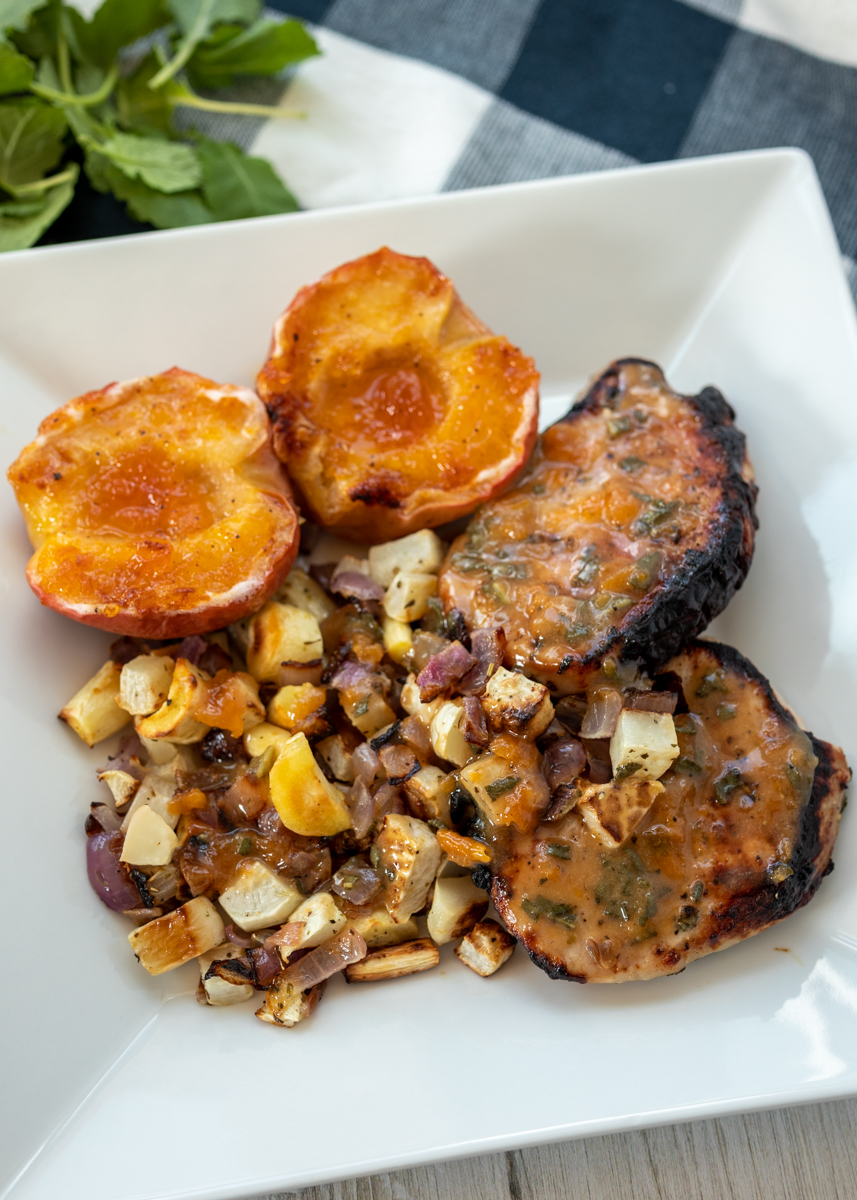
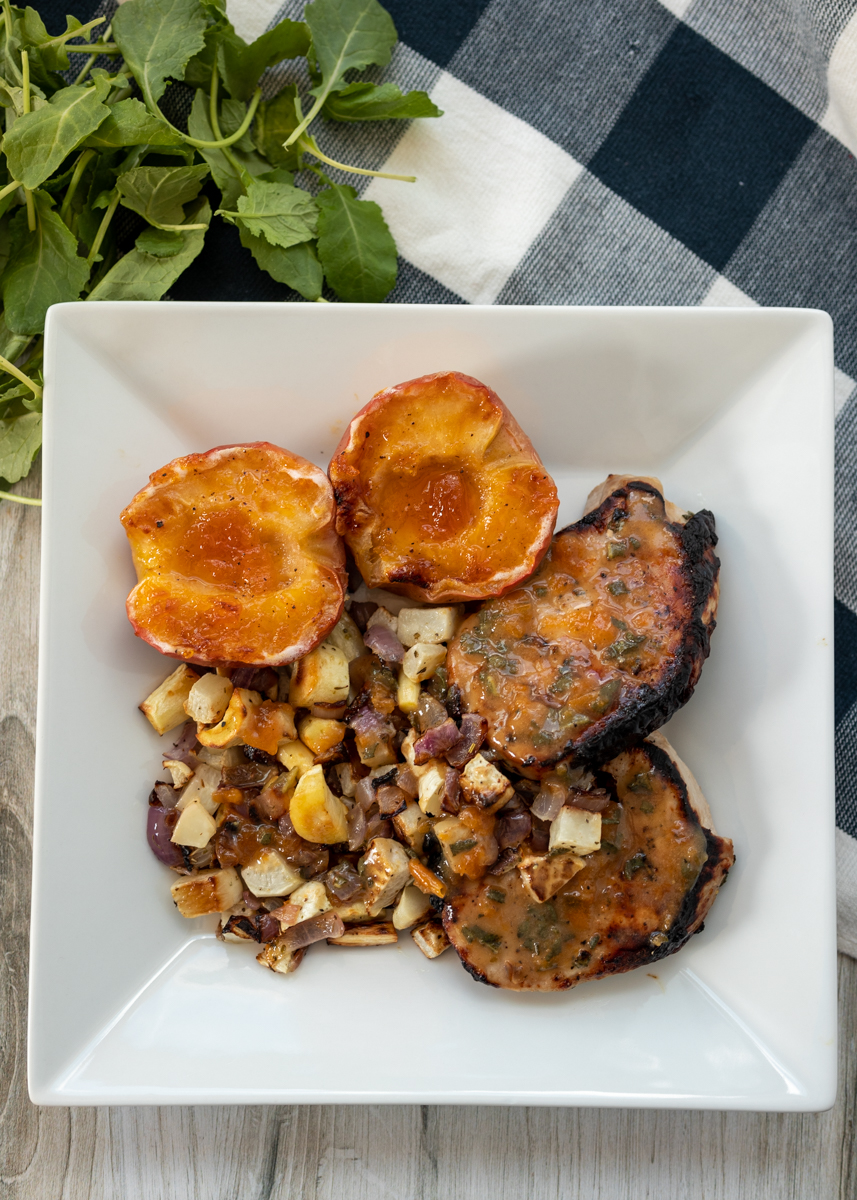
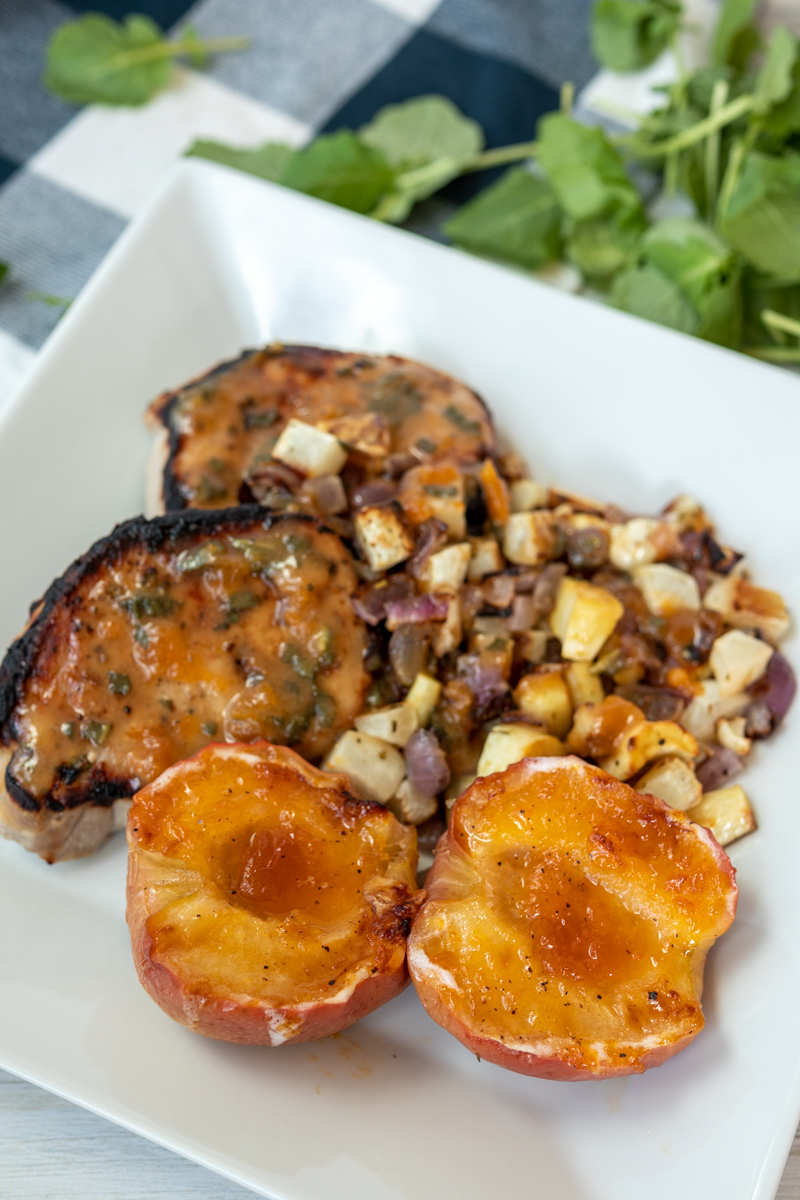
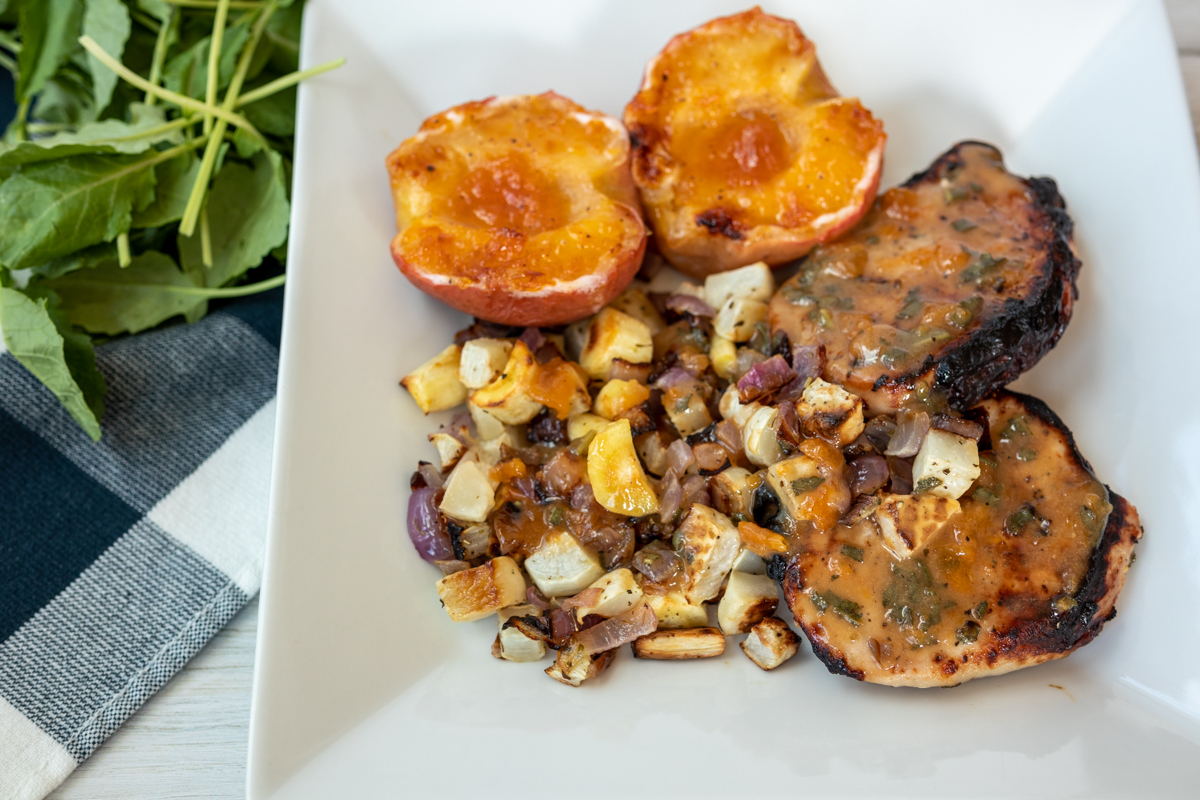
Pork Chops with Baked Apples, Parsnips and Turnips

Pork Chops with Baked Apples, Parsnips and Turnips  |  Lemon & Mocha

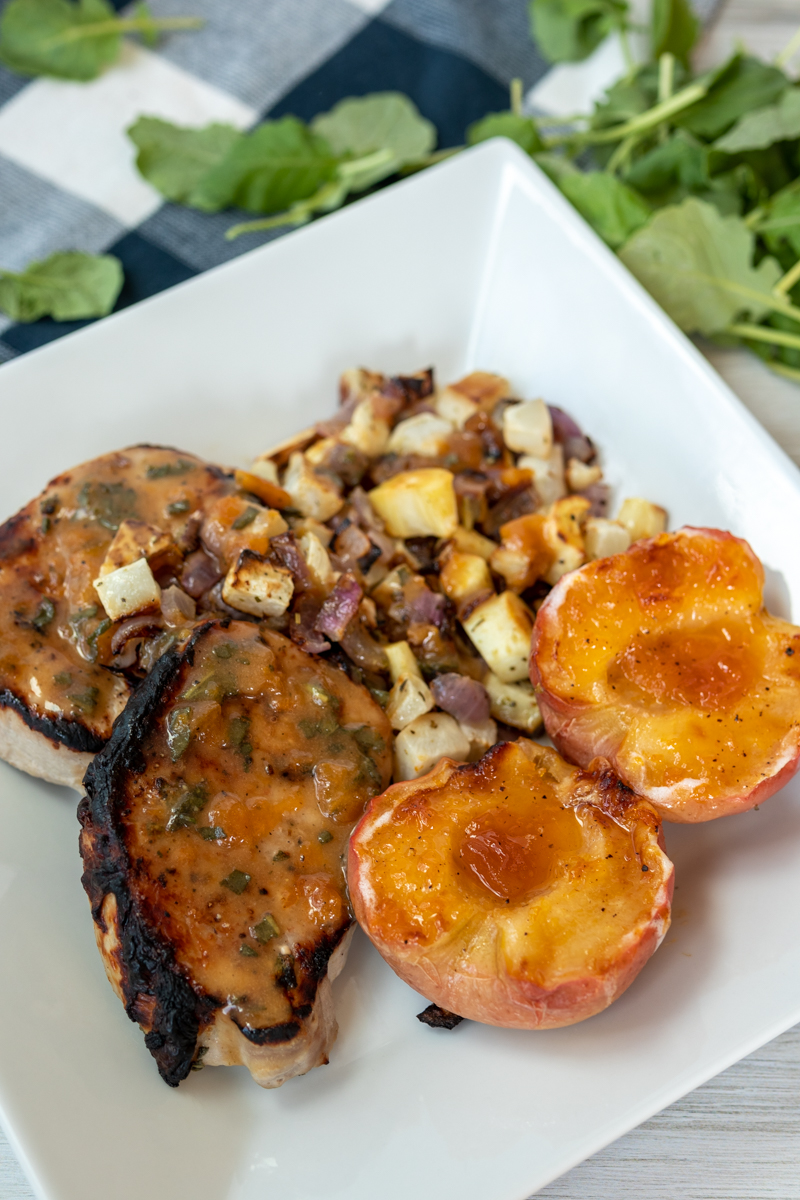
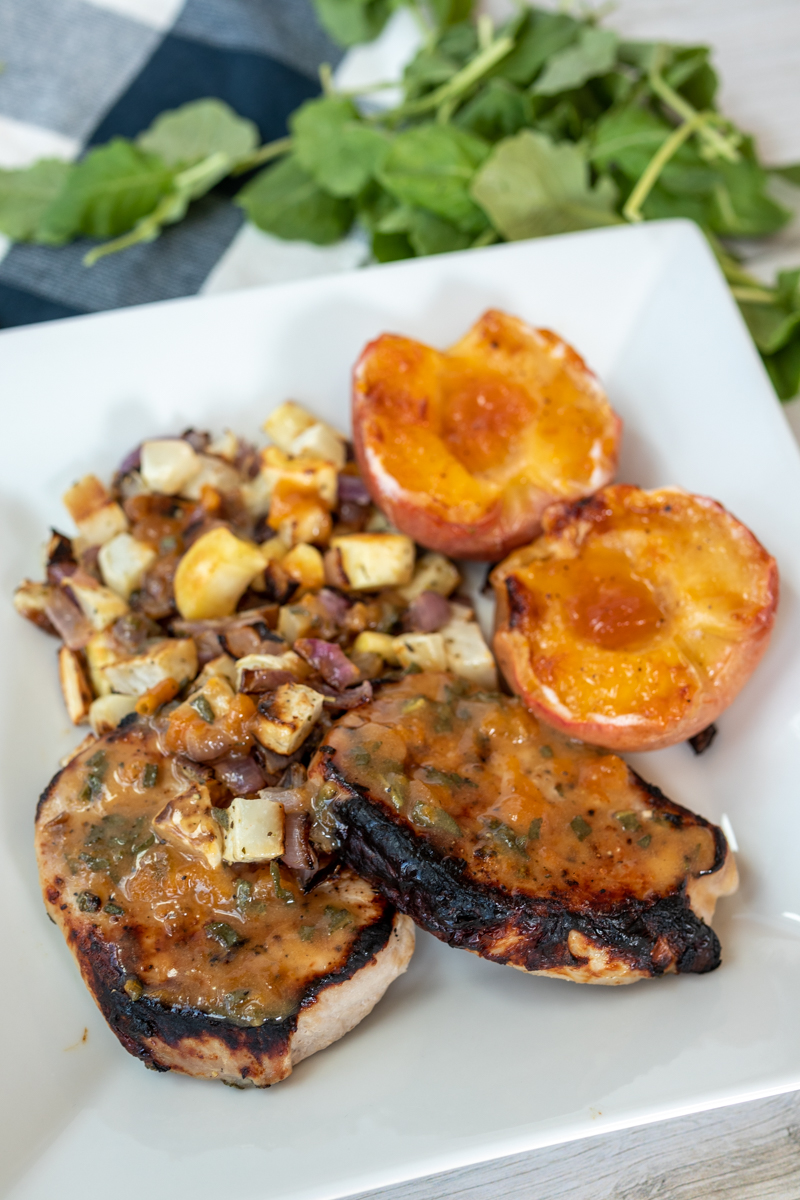
The concept of a “clean out the fridge” recipe is an interesting one because everyone has different items in their fridge. So, while this Pork Chops with Baked Apples, Parsnips and Turnips dish helped me clean out my fridge, it’s so delicious that I think it deserves its own trip to the grocery store!

Pork Chops with Baked Apples, Parsnips and Turnips  |  Lemon & Mocha

Right before Sam was born I was itching to try a new dinner recipe. I flipped through my recipe binders and came across this weeknight meal from the Food Network Magazine. I had bought pork chops with the intention of making the Skillet Balsamic Peach Pork Chops with Feta and Basil since Matt and I are obsessed, but this recipe for Pork Chops with Baked Apples, Parsnips and Turnips was much more seasonally appropriate. I also had leftover apricot preserves in the fridge from the Grilled Chicken with Apple and Mango Chutney and the Baked Brie Fruit and Nut Tartlets. The pork chops are marinated in the preserves, Worcestershire sauce and seasonings before being broiled.

Pork Chops with Baked Apples, Parsnips and Turnips  |  Lemon & Mocha

While the pork chops are flavorful and tender, the real standout are the baked apples slathered with apricot preserves and the roasted parsnip, turnip and red onion medley. I’ve baked apples into chips and I’ve baked them into dessert egg rolls, but I’ve never roasted whole apples. The apricot preserves brought a great brightness and sweetness to them that helped balance the savory flavors of the pork and root vegetables.

Pork Chops with Baked Apples, Parsnips and Turnips  |  Lemon & Mocha

And those root vegetables! I love a good roasted veggie and these parsnips, turnips and red onion chunks just melt in your mouth!

Pork Chops with Baked Apples, Parsnips and Turnips  |  Lemon & Mocha

This is a quick and easy dinner recipe that I’ll definitely be making all winter long. Enjoy!

Pork Chops with Baked Apples, Parsnips and Turnips  |  Lemon & Mocha

Pork Chops with Baked Apples, Parsnips and Turnips
 
Yield: 4 servings
Ingredients
  • 2 medium parsnips, peeled and cut into ½-inch pieces
  • 1 medium turnip, peeled and cut into ½-inch pieces
  • ½ red onion, cut into ½-inch pieces
  • 2 tablespoons olive oil
  • 1 teaspoon dried rosemary
  • 2 small apples, such as Gala, halved and seeded
  • ¼ cup apricot preserves
  • 1 teaspoon Worcestershire sauce
  • 1 teaspoon chopped fresh sage
  • 4 boneless pork loin chops, ½-inch thick
  • 1 tablespoon unsalted butter
  • Salt and fresh ground black pepper
Directions
  1. Preheat oven to 450 degrees F.
  2. Line a baking sheet with nonstick aluminum foil and place the parsnips, turnips and onion on it. Drizzle with the olive oil, toss, then sprinkle with the rosemary and season generously with salt and pepper. Place the apple halves, cut side up, on the baking sheet nestled between the veggies. Divide 2 tablespoons of the apricot preserves between the apple halves and brush over top then season lightly with black pepper. Roast for 20 minutes, or until the vegetables are soft. Turn the oven to broil and broil for 5 minutes, or until everything is golden brown.
  3. While the veggies are cooking, marinate the pork. In a shallow bowl or plastic container large enough to fit the pork, whisk together the remaining 2 tablespoons of apricot preserves, the Worcestershire sauce, sage and ½ cup water. Season with a little black pepper. Pierce the pork chips all over with a fork then add to the bowl and marinate for 10 minutes.
  4. Set a wire cooling rack into a rimmed baking sheet and place the pork chops on top, reserving the marinade. Season the pork chops with salt and pepper. Broil the pork chops for 4-5 minutes per side, or until they reach an internal temperature of 145 degrees F. Remove from the oven and let the pork rest while you finish the sauce.
  5. Pour the reserved marinade into a small saucepan and bring to a boil over medium-high heat. Continue to boil until thickened, about 3-4 minutes. Whisk in the tablespoon of butter until melted. Serve the pork alongside the vegetables and apples with the sauce drizzled over top.

 Recipe from January/February 2016 issue of Food Network Magazine.

Some of the links above are affiliate links, which means I may receive a small commission for my referral. This does not affect the retail cost of the item. Thank you for supporting Lemon & Mocha!

Freezer Friendly Easy Baked Chicken Nuggets

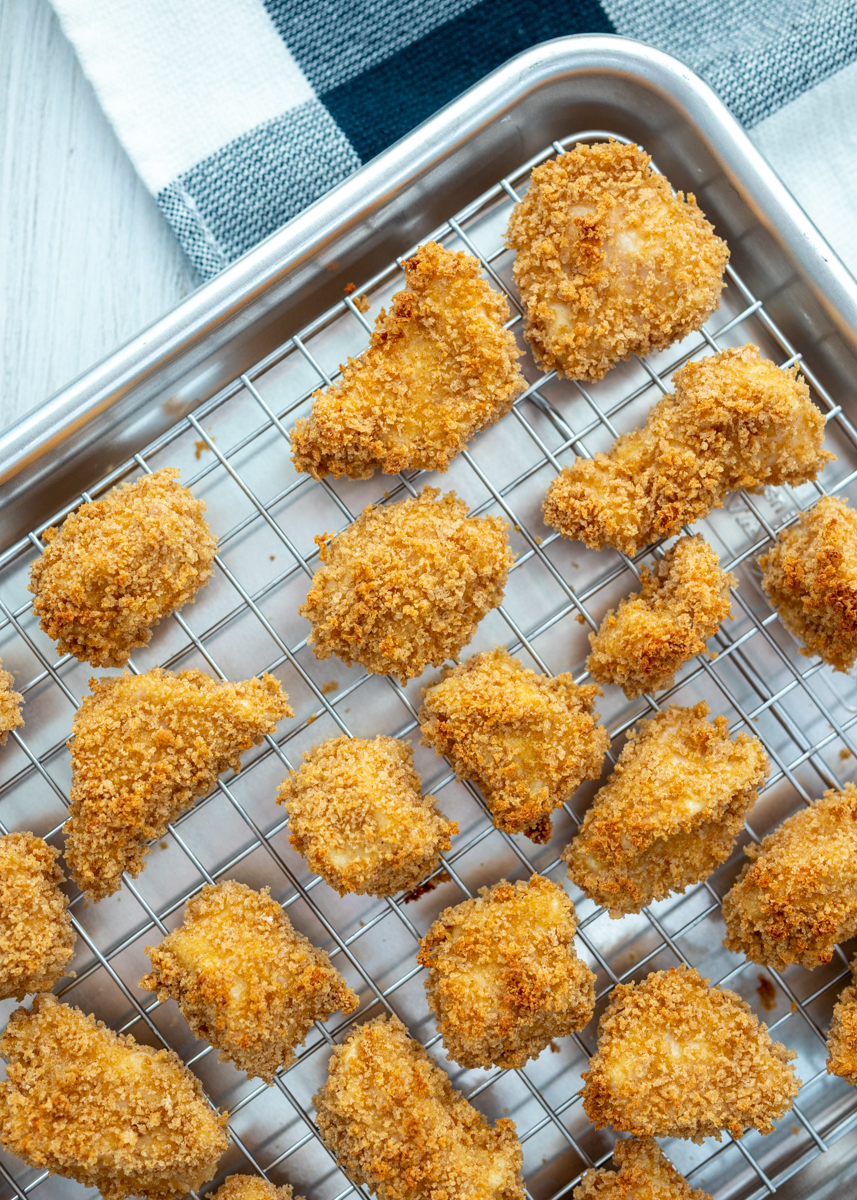
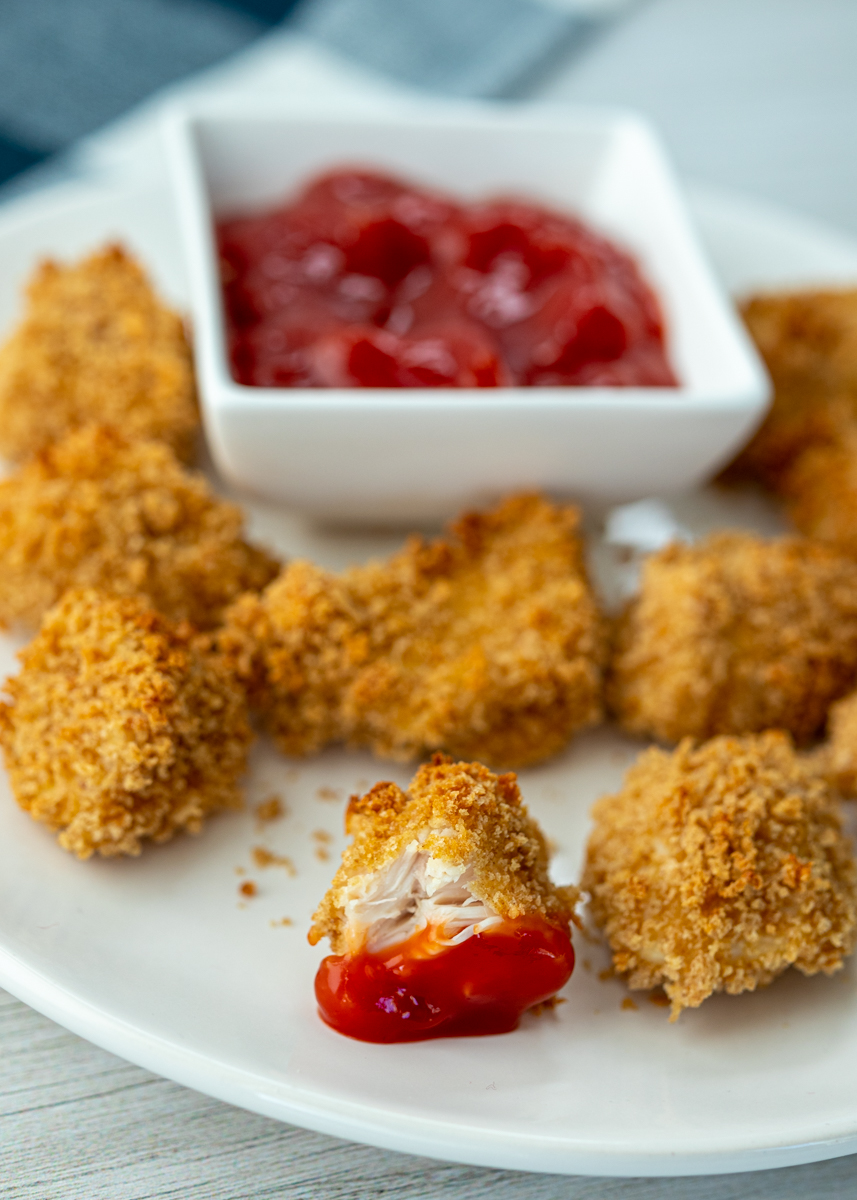
Freezer Friendly Easy Baked Chicken Nuggets  |  Lemon & Mocha

This is one of those simple recipes that I make regularly at our house and I’m finally getting around to sharing with you all. Whether you’re a kid or an adult it’s hard to beat a satisfying quick meal of crunchy chicken nuggets!

Freezer Friendly Easy Baked Chicken Nuggets  |  Lemon & Mocha

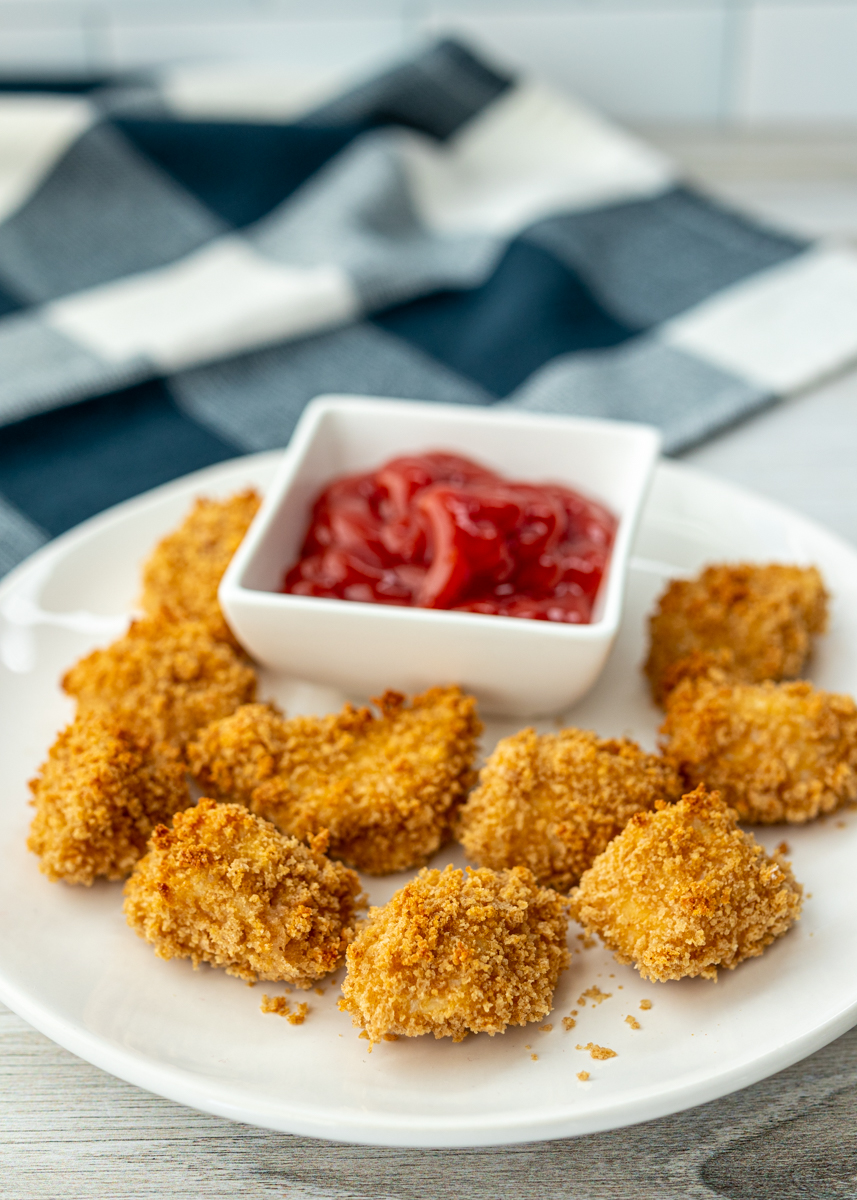
Although grocery stores are loaded with plenty of chicken nugget options, it’s super easy to make a batch of homemade chicken nuggets to stash in your freezer for quick lunches and weeknight dinners. Baking them ourselves is also healthier and cleaner eating since we’re using just four ingredients (if you don’t count the seasonings).

Freezer Friendly Easy Baked Chicken Nuggets  |  Lemon & Mocha

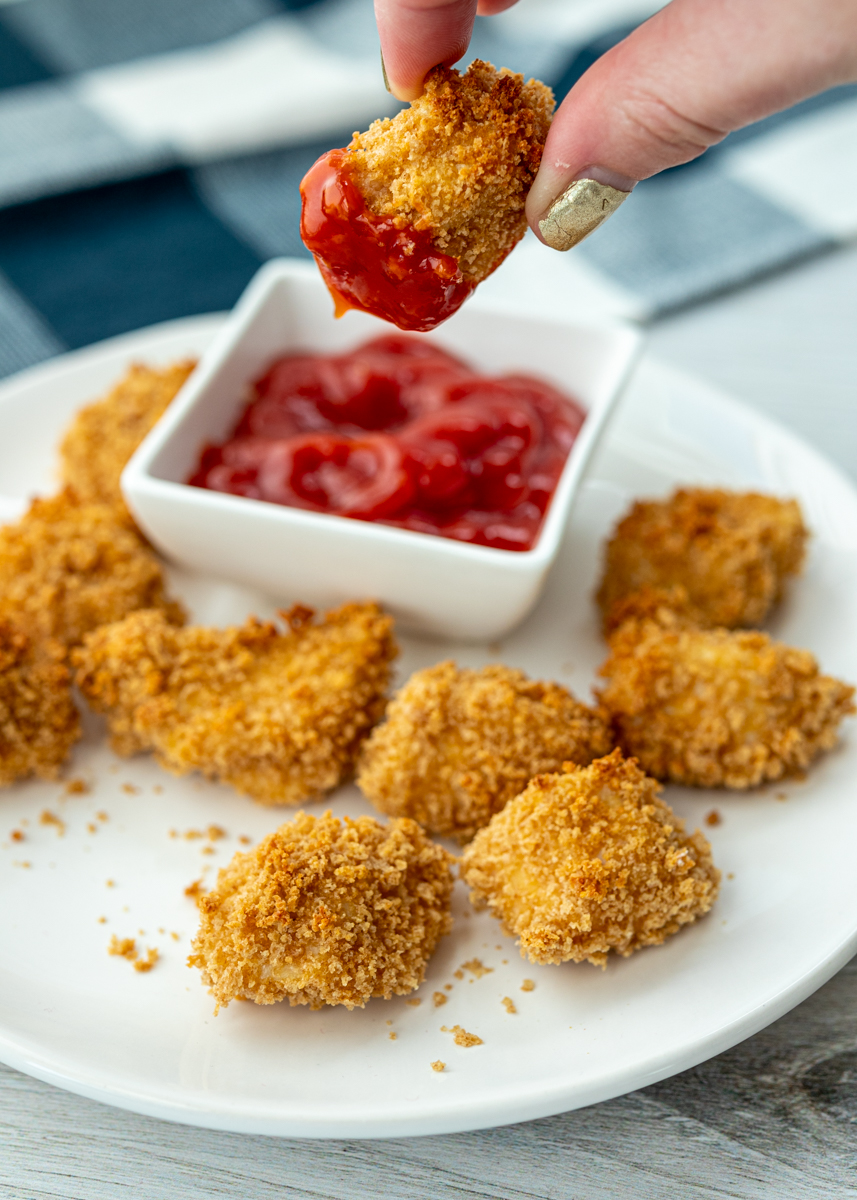
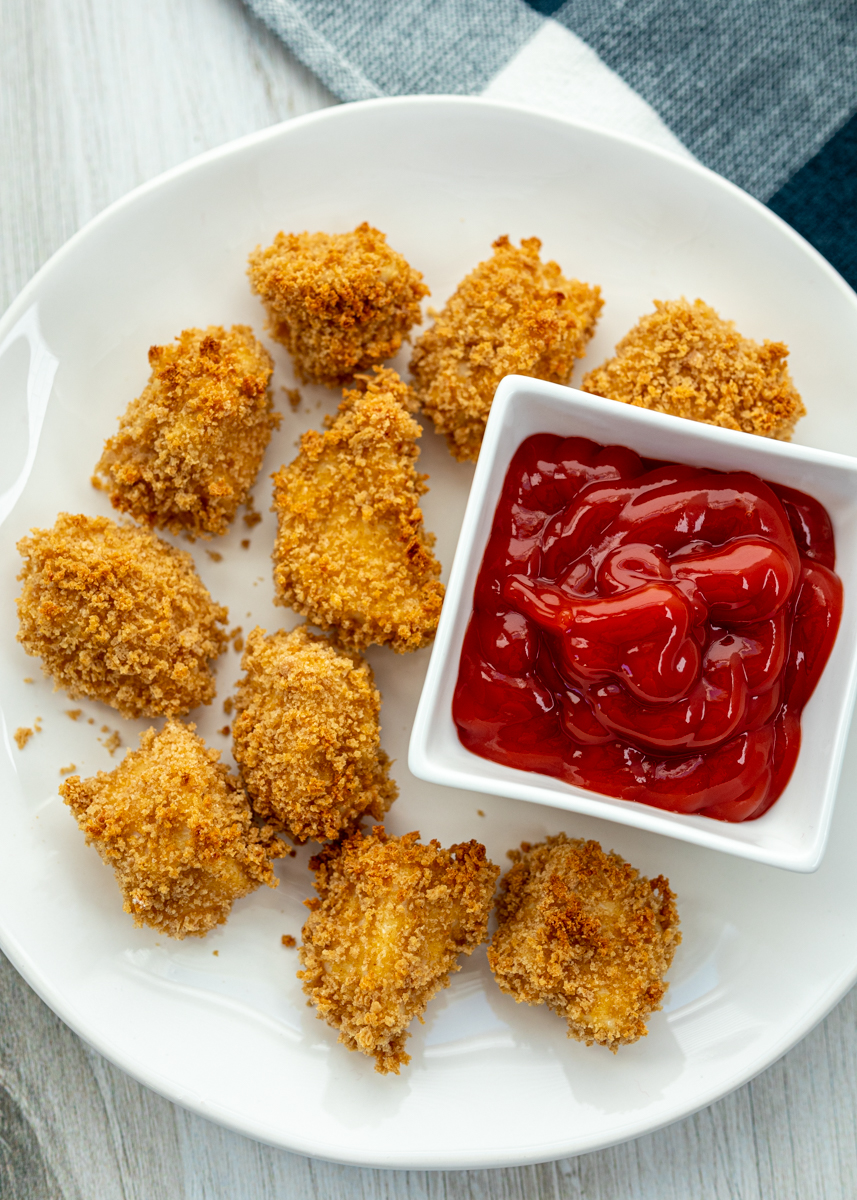
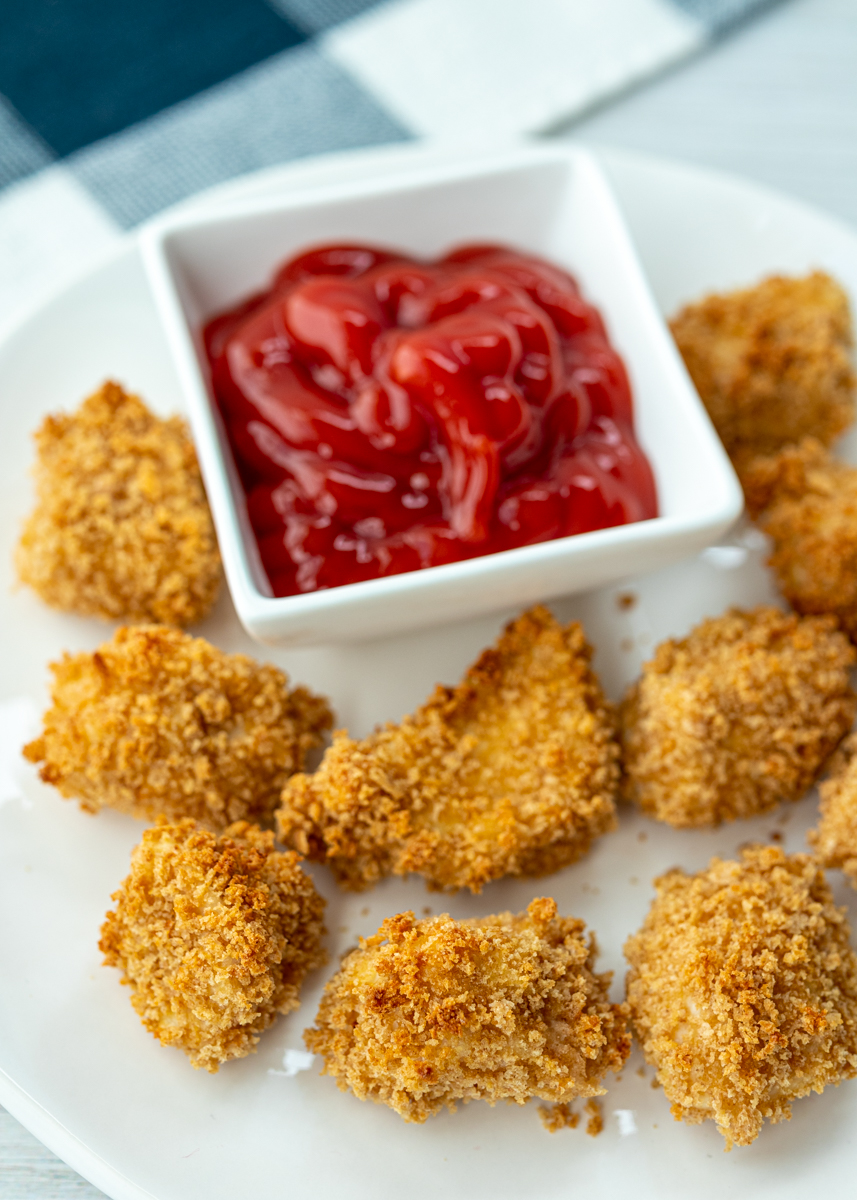
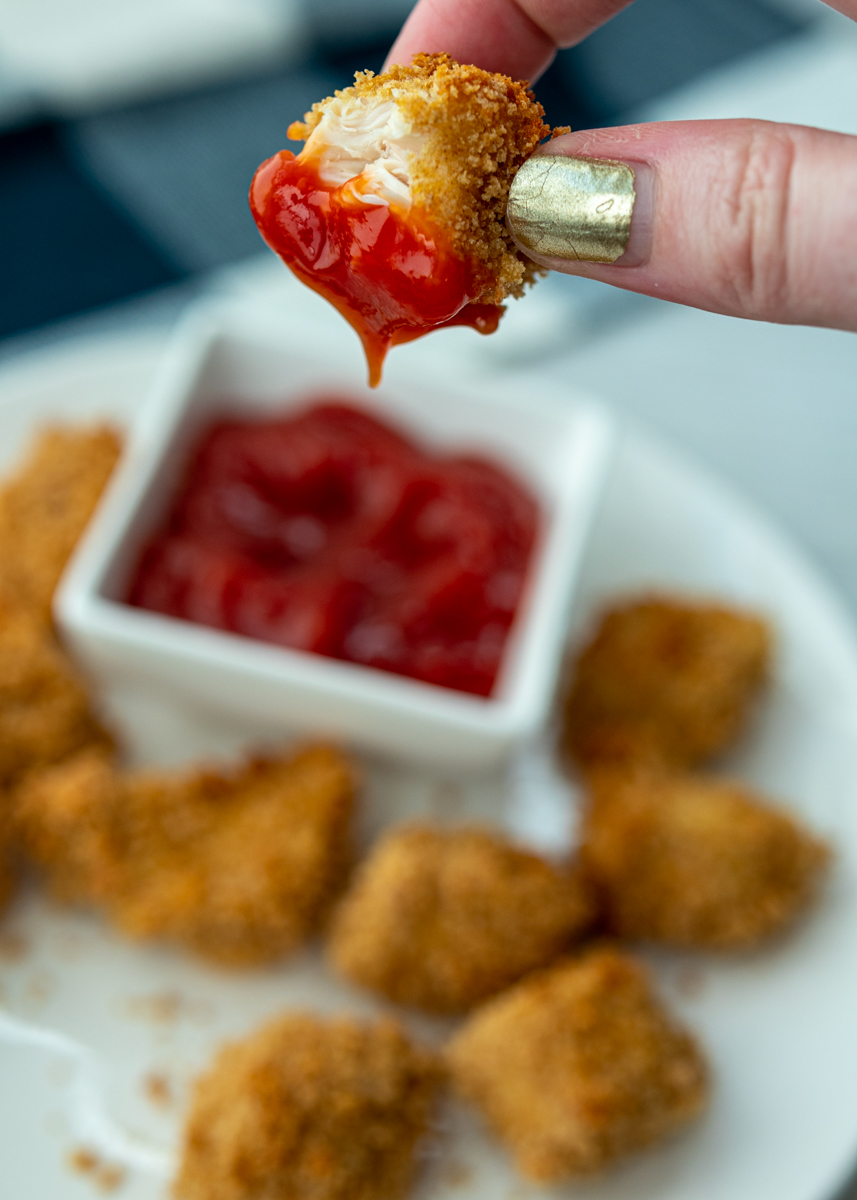
These little baked nuggets are crunchy, tender and ready for dipping into ketchup, honey mustard or whatever your preferred chicken nugget dipping sauce is! Now I’m sure most of you are curious about the crispiness and the freezing aspect so let’s dive right in.

Freezer Friendly Easy Baked Chicken Nuggets  |  Lemon & Mocha

Are the chicken nuggets crispy?

Yes! So, so crispy! The nuggets get cooked on a wire cooling rack set on a baking sheet. The reason we do this is that, much like an air fryer, it allows the heat from the oven to circulate all around the chicken nuggets. This ensures the whole nugget is crispy. The nuggets are also crispy from the whole wheat panko breadcrumbs. Panko breadcrumbs are bigger, flakier and airier than regular breadcrumbs, giving the coating a great crunch. I like using whole wheat panko breadcrumbs for the chicken nuggets because they’re a little healthier and because they have a nice golden color to them. If you use regular panko breadcrumbs the chicken nuggets will still taste just as good, but they will be very pale.

Freezer Friendly Easy Baked Chicken Nuggets  |  Lemon & Mocha

How do you freeze and reheat the chicken nuggets?

You can either freeze the chicken nuggets raw or cooked. I prefer to freeze them cooked to drastically cut down on reheating time since I make these for us to have as a quick meal. If you want to freeze the cooked chicken nuggets, let them cool completely then put in a freezer bag or freezer safe container. When you’re ready to reheat the cooked nuggets, bake in a 400 degree F oven until warm, about 10 minutes. No need to do the whole cooling rack/baking sheet thing for reheating; simply reheat on a baking sheet. Or, since they’re already cooked you could reheat them in the microwave for a super quick meal, but they will lose a lot of their crispiness. If you want to the freeze the nuggets raw, place the breaded nuggets on a parchment lined baking sheet then freeze until solid. Once frozen, place in a freezer bag or freezer safe container. To bake them raw from frozen, follow the same baking instructions, but you will have to add cook time to reach an internal temperature of 165 degrees F since you’re baking them from frozen.

Freezer Friendly Easy Baked Chicken Nuggets  |  Lemon & MochaFreezer Friendly Easy Baked Chicken Nuggets  |  Lemon & Mocha

Freezer Friendly Easy Baked Chicken Nuggets
 
Yield: 4 servings
Ingredients
  • 1 pound boneless skinless chicken breast, cut into cubes
  • 2 eggs
  • 1¼ cup whole wheat panko breadcrumbs
  • ¼ cup all-purpose flour
  • Salt, pepper and garlic powder for seasoning
Directions
  1. Preheat oven to 400 degrees F. Set a wire cooling rack over a baking sheet and spray with nonstick cooking spray. Set aside.
  2. Set up your breading station. In one shallow bowl, beat the eggs. Place the panko in a second shallow bowl. In a third shallow bowl, add the flour then season with salt, pepper and garlic powder.
  3. Bread the chicken nuggets. First, coat completely in the flour mixture, shaking off any excess. Then coat completely in the egg mixture, letting any excess drip off. Finally, coat completely in the panko mixture then place on the prepared wire rack. Repeat for the remaining chicken nuggets. I usually do about 6 pieces at a time. Bake the chicken nuggets for 20 minutes, or until they reach an internal temperature of 165 degrees F.
  4. If freezing, let the nuggets cool completely. Then store in a freezer bag or freezer safe container. When ready to eat, bake on 400 degrees F until warm, about 10 minutes.


Halloween Monster Turkey Burger Sliders

Halloween Monster Turkey Burger Sliders  |  Lemon & Mocha

Halloween is tomorrow! Yay! As I’ve mentioned on Lemon & Mocha numerous times before, I love Halloween! I have so many fun childhood memories of Halloween and I can’t wait to start making Halloween memories with our little guy on the way.

Halloween Monster Turkey Burger Sliders  |  Lemon & Mocha

We went back and forth on whether we should put up Halloween decorations with me being just a couple weeks away from my due date, but ultimately I just couldn’t not put them up, even though I felt a little crazy for doing it. Do you decorate your house for Halloween?

Halloween Monster Turkey Burger Sliders  |  Lemon & Mocha

I usually post a chocolatey treat for Halloween, but since Matt and I are up to our eyeballs with all the desserts I’ve been baking I busted out a cute savory treat instead.

Halloween Monster Turkey Burger Sliders  |  Lemon & Mocha

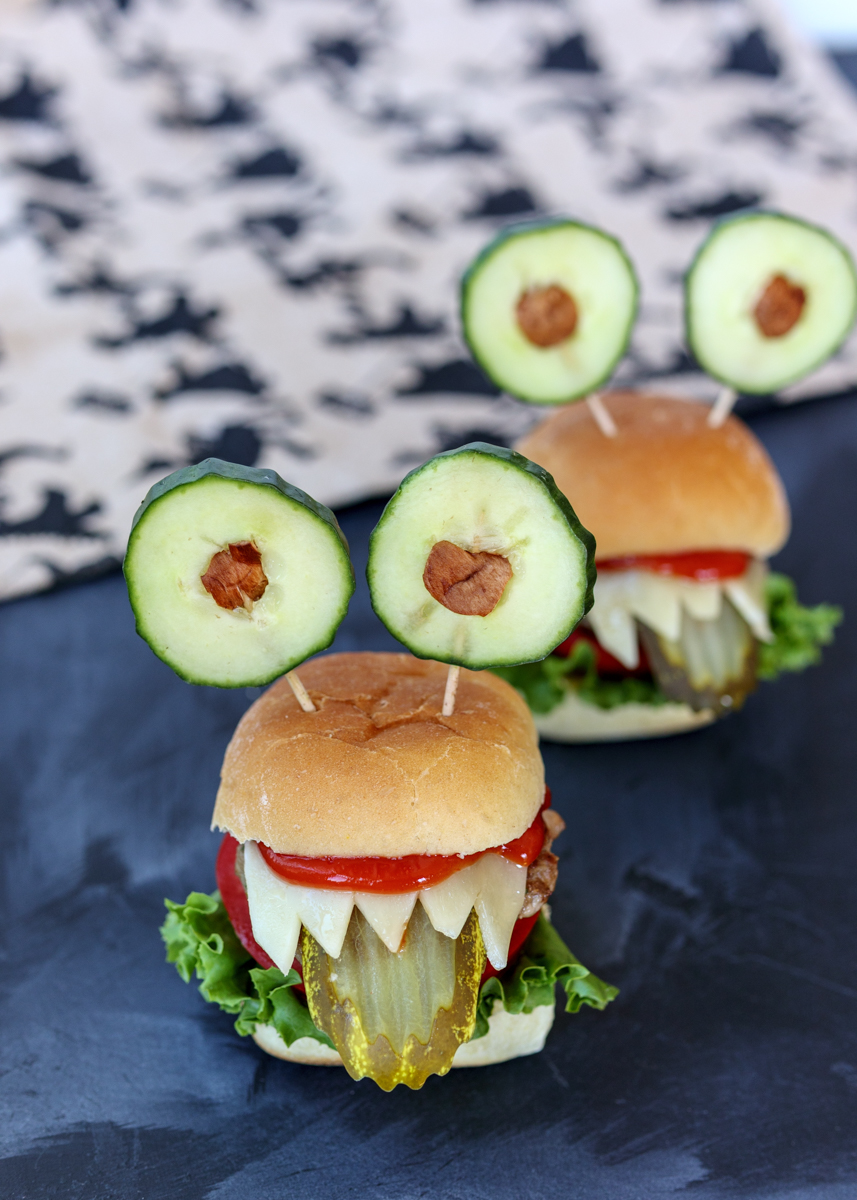
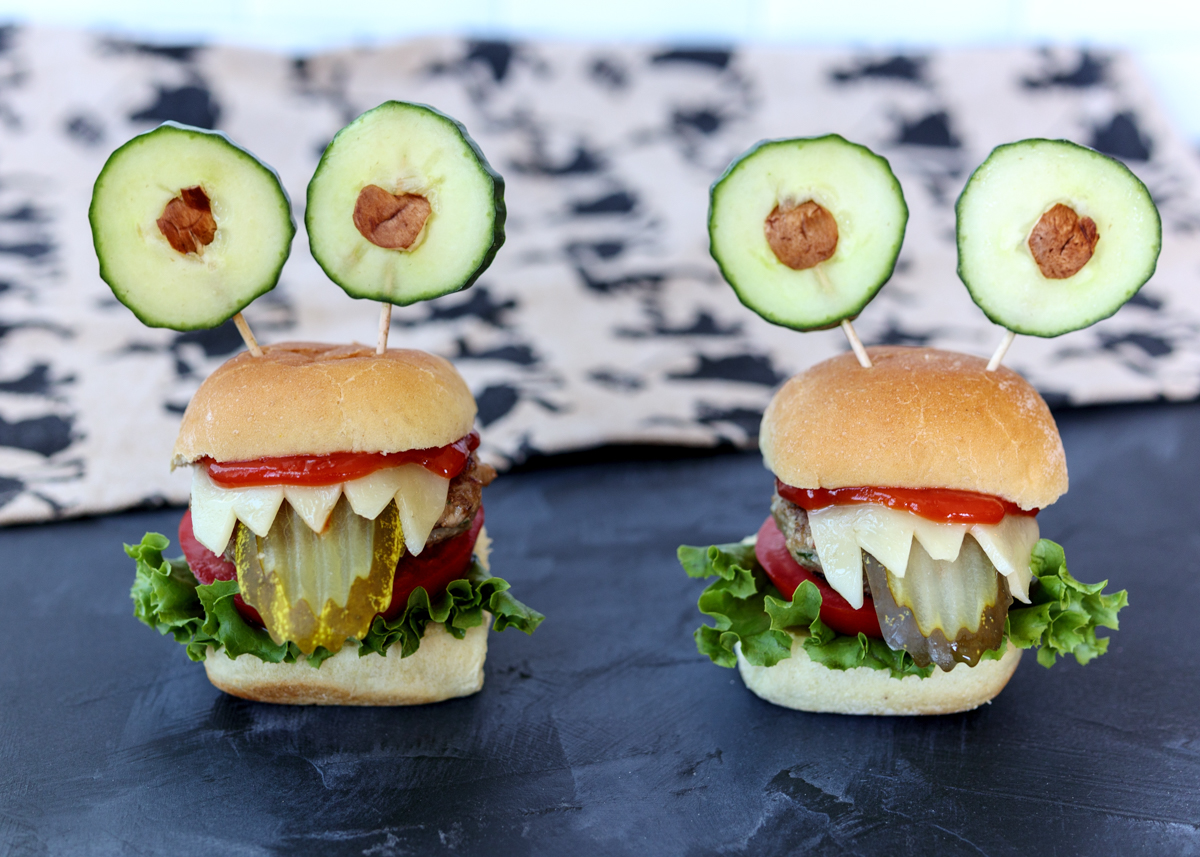
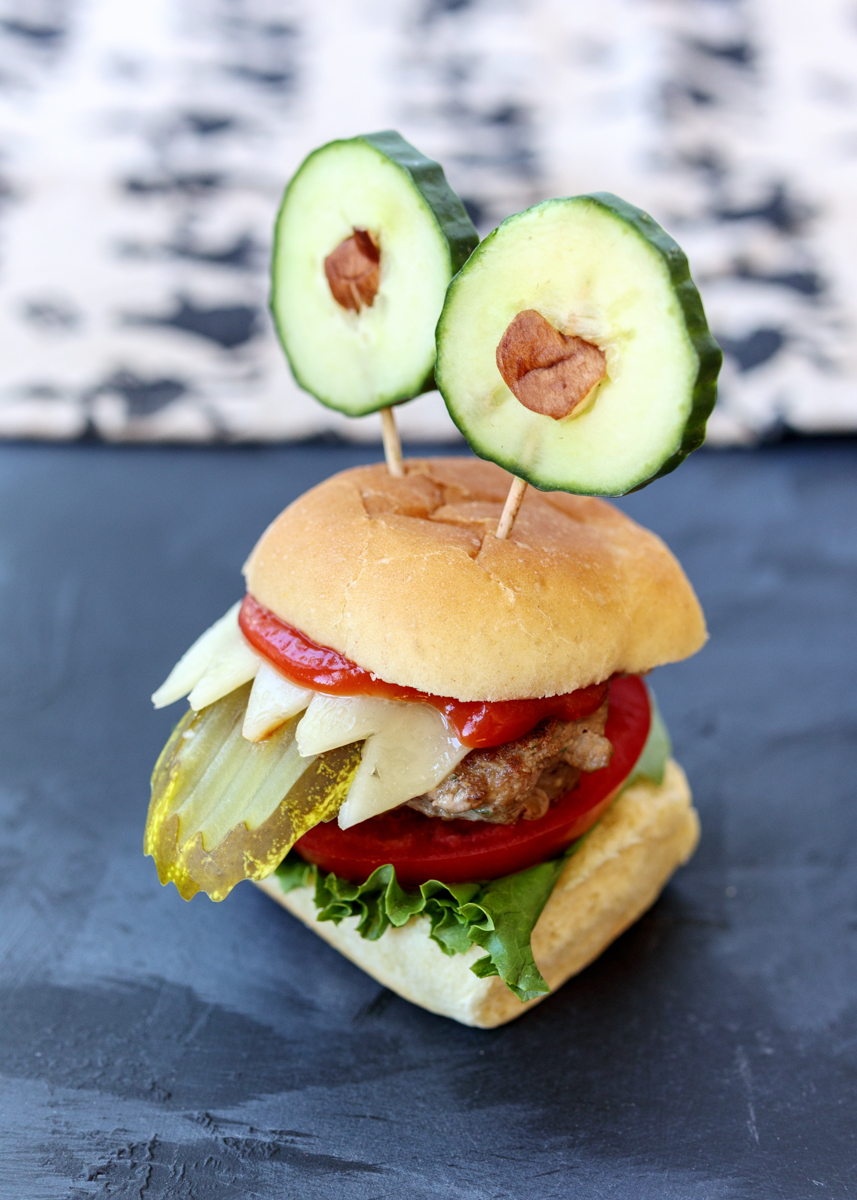
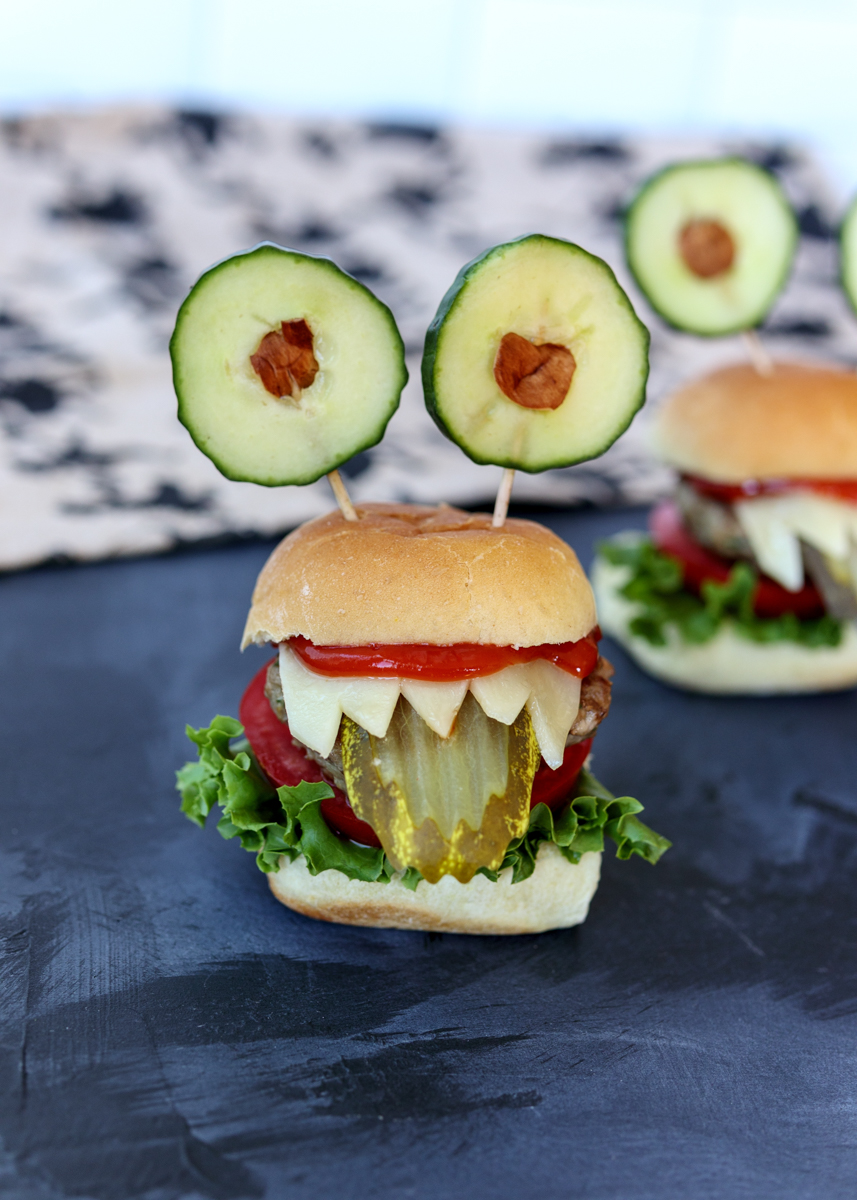
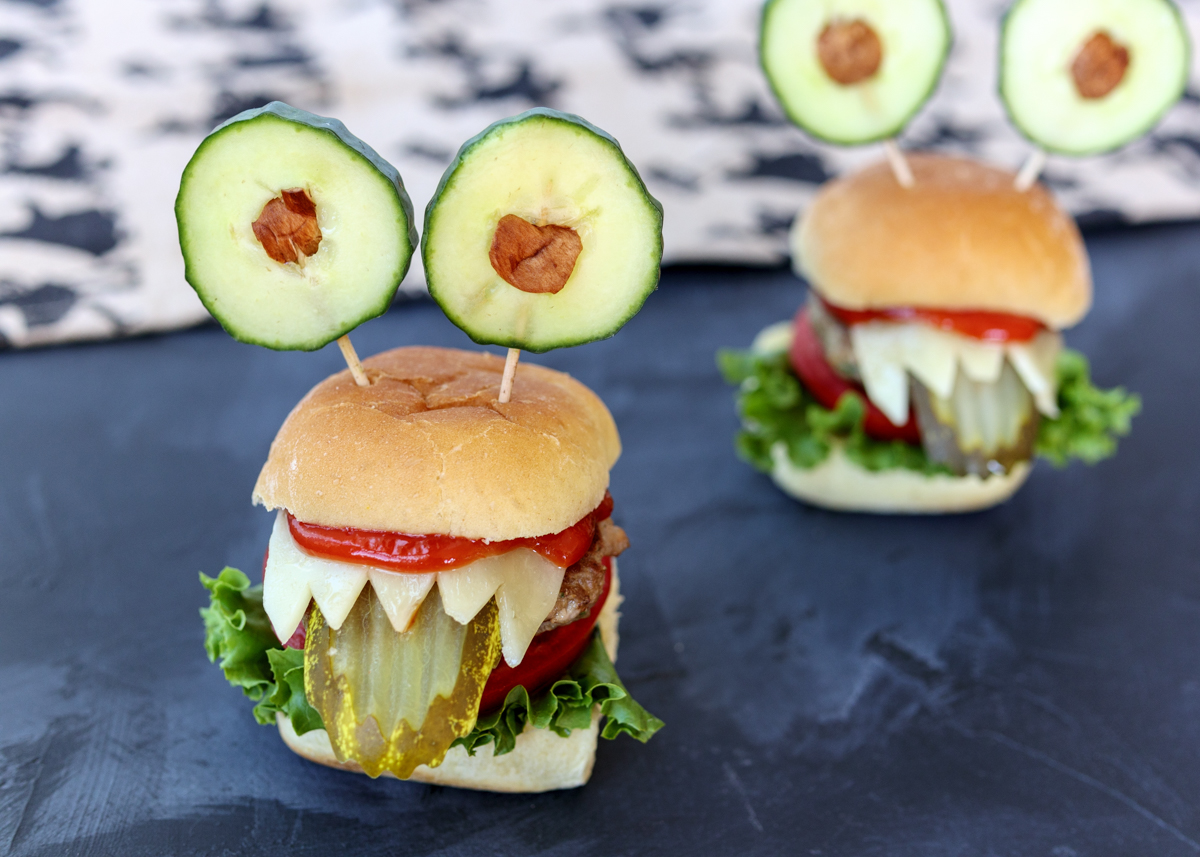
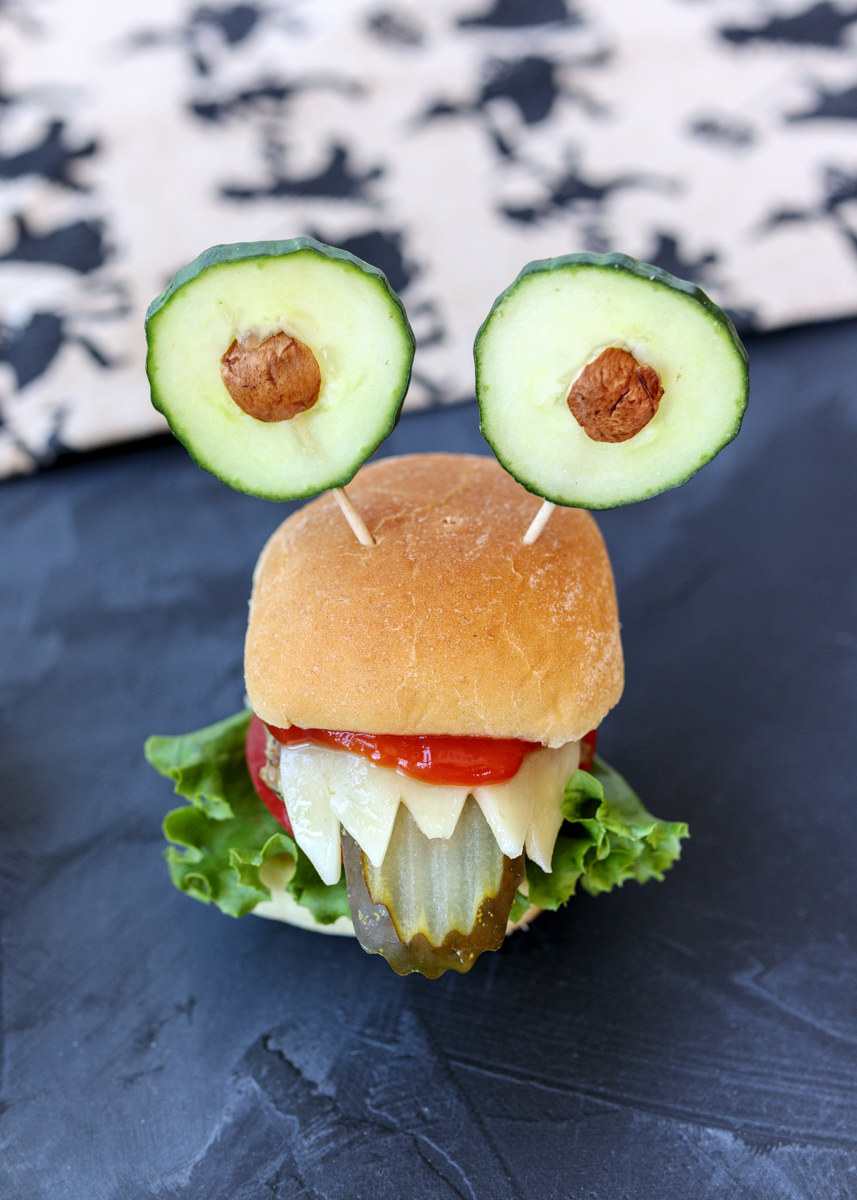
Turkey sliders have been fashioned into silly Halloween monsters, complete with cucumber eyeballs and pickle tongues! As fun as these Halloween Monster Turkey Burger Sliders are, they’re also so good! The turkey patties are juicy and packed with flavor because we’ve added a minced mixture of mushrooms, shallot and parsley to the ground turkey.

Halloween Monster Turkey Burger Sliders  |  Lemon & Mocha

Throw in a little olive oil, Worcestershire sauce and seasoning and then they are grilled or pan-seared to perfection. Since they’re so tiny they cook really quickly; just about four minutes on each side. Top it all off with some melty cheese and fresh veggies for a delicious dinner the whole family will love. Just don’t forget to cut pointy teeth marks into your sliced cheese! Happy Halloween, everyone!

Halloween Monster Turkey Burger Sliders  |  Lemon & Mocha

Looking for some more Halloween treat inspiration? I have a few recipes below to get you started:

Boozy Pumpkin Nutella Hot Chocolate  |  Lemon & Mocha

Boozy Pumpkin Nutella Hot Chocolate

Leftover Halloween Candy Chocolate Lasagna

Leftover Halloween Candy Chocolate Lasagna

Halloween Witch Chocolate Cupcakes

Halloween Witch Chocolate Cupcakes

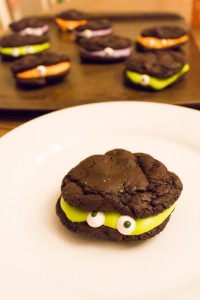
Chocolate Marshmallow Monster Cookie Sandwiches

Chocolate Marshmallow Monster Cookie Sandwiches

Halloween Witches' Cauldron Cupcakes

Halloween Witches’ Cauldron Cupcakes

Leftover Halloween Candy Cookies

Leftover Halloween Candy Cookies

Halloween Monster Turkey Burger Sliders
 
Yield: 4 servings
Ingredients
  • 5-6 cremini mushrooms, stems removed, plus more for eyes
  • ½ shallot
  • 3 tablespoons fresh parsley
  • 1 pound ground turkey, 90% lean
  • 2 tablespoons olive oil
  • 1 teaspoon Worcestershire sauce
  • 1 teaspoon salt
  • ¼ teaspoon ground black pepper
  • 1 English cucumber
  • 16 toothpicks
  • 4 slices deli cheddar or American cheese
  • 8 slider buns
  • 8 small pieces of romaine lettuce
  • 8 small slices of tomato
  • 4 pickle sandwich slices, cut in half
  • Ketchup
Directions
  1. Add the cremini mushrooms, shallot and parsley to a food processor. Process until finely chopped. If you don’t have a food processor, finely chop by hand.
  2. In a large bowl, combine the mushroom mixture, ground turkey, olive oil, Worcestershire, salt and pepper, being sure not to over-mix. Divide the mixture into 8 even portions and form into slider patties, roughly a little bigger than the size of your slider buns. Let patties set in the fridge, covered, for 30 minutes.
  3. While the patties are in the fridge, prep your monster eyes and cheese teeth. Slice the English cucumber so you have 16 rounds. The slices can be thin, but not so thin that you’ll have difficulty securing them with a toothpick. Use extra cremini mushrooms to cut out little circles that will be the center of the eyes. Carve a little round out of the center of an English cucumber slice the size of one of your mushroom eye centers. Stick the mushroom center into the hole in the cucumber and stick a toothpick up through the cucumber and the mushroom piece securing it in place. Repeat for the remaining 15 eyes. For the cheese teeth, cut each slice of cheese in half then cut little teeth points at the edge of each slice. Repeat until you have 8 cheese teeth slices.
  4. Lightly spray a grill pan or nonstick sauté pan with olive oil cooking spray and heat over medium-high heat. Cook the slider patties for 4 minutes on each side, or until they reach an internal temperature of 165 degrees F. Remove from the heat and add a cheese teeth slice to each slider so that the teeth prongs overhang a little.
  5. To assemble a slider, place a piece of lettuce on the bottom slider bun. Top with a tomato slice then the cheese-topped patty. Lift up the cheese a little to tuck the pickle half underneath so it sticks out like a tongue. Top with some ketchup then the top slider bun. Stick two cucumber toothpick eyeballs into the top. Repeat for the remaining sliders.


Light Baked Spaghetti

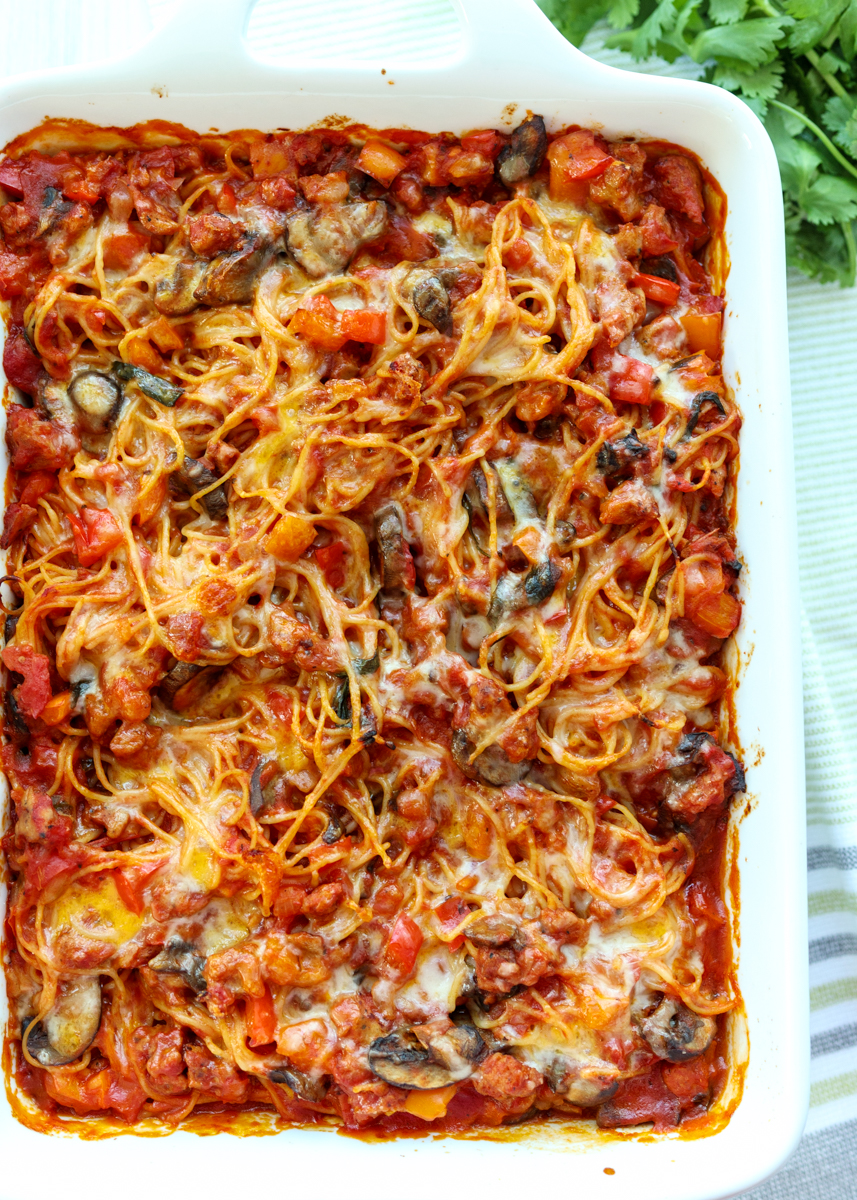
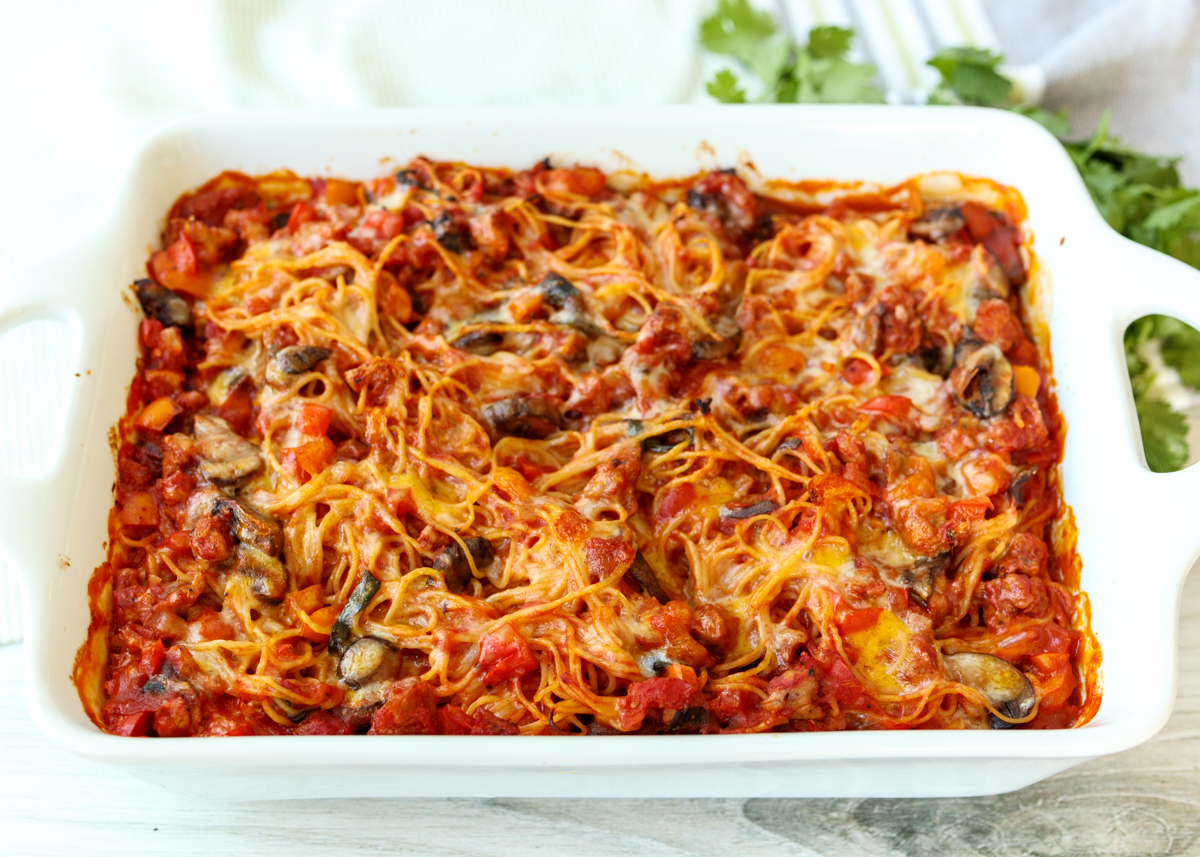
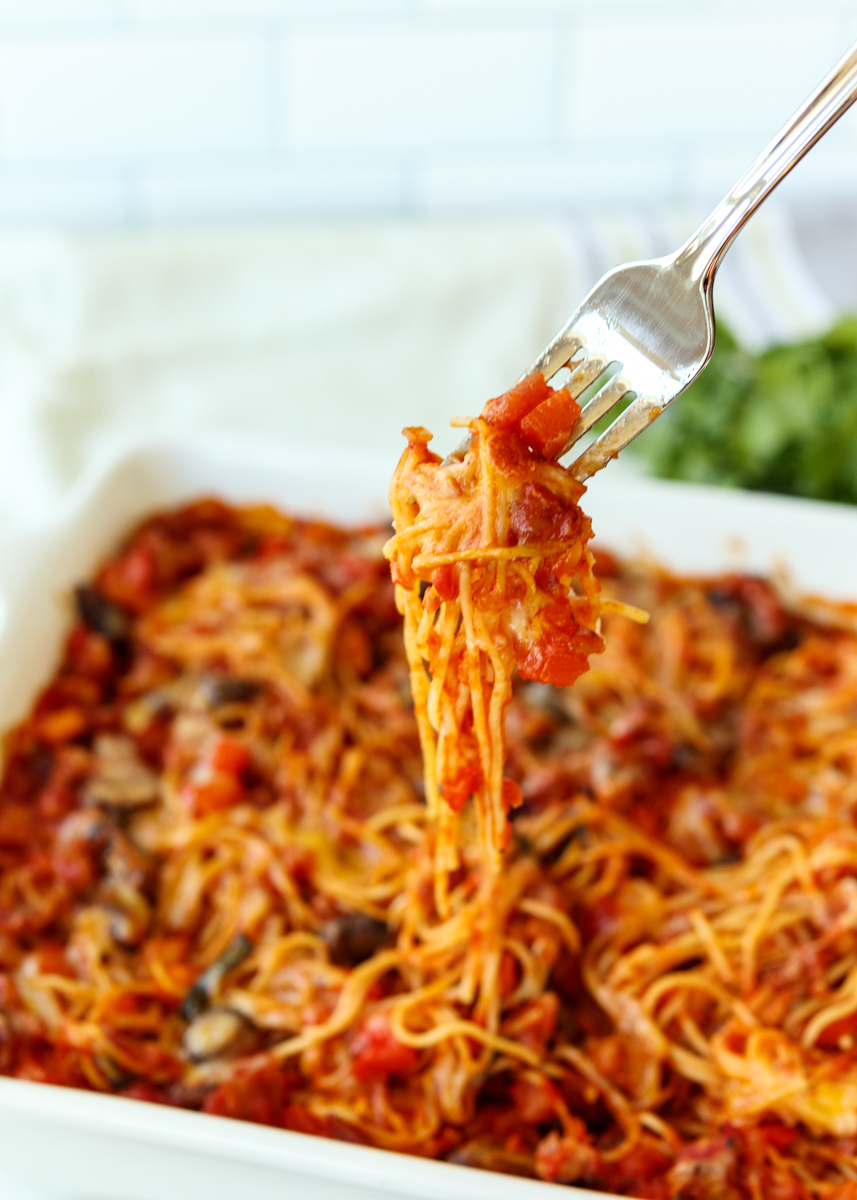
Light Baked Spaghetti  |  Lemon & Mocha

I love a good one dish meal. Not exactly a one pot meal since we’re cooking in a pot and a sauté pan on the stove before putting everything in a baking dish. But one dish where all the protein, veggies and starch are combined for an all-in-one meal deal.

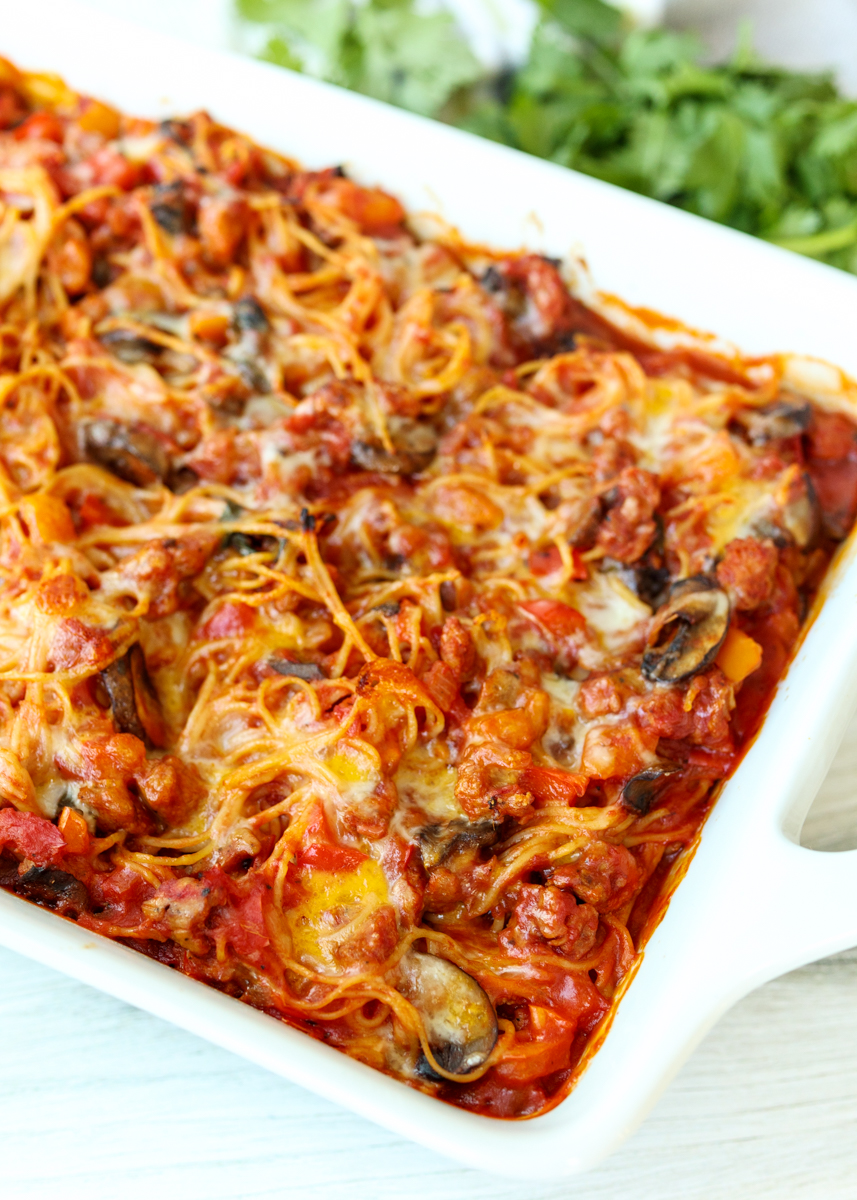
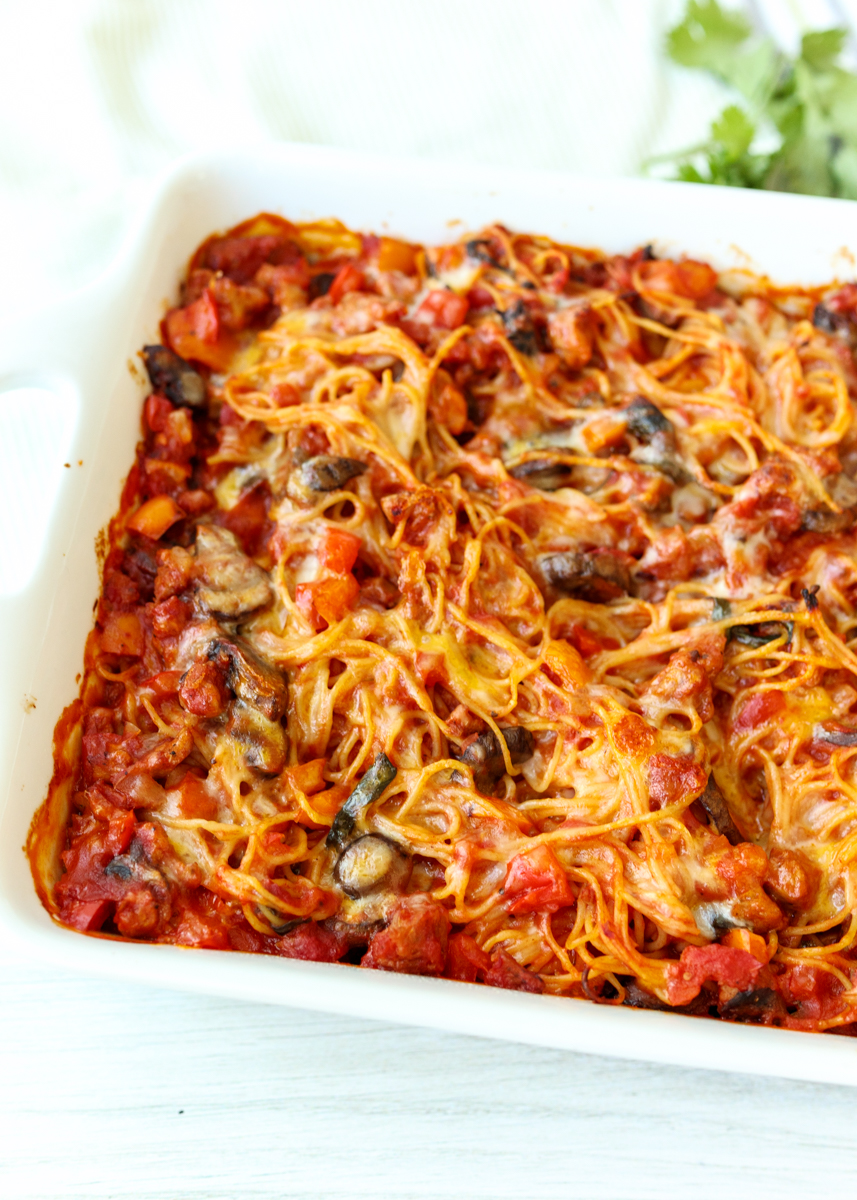
Light Baked Spaghetti  |  Lemon & Mocha

You’re probably sitting on your phone or computer thinking, um, Lauren, it’s called a casserole. But casseroles are usually cooked slowly in the oven, while this Light Baked Spaghetti is mostly cooked on the stovetop and then just baked a little extra in the oven to get warm and melt the cheeses.

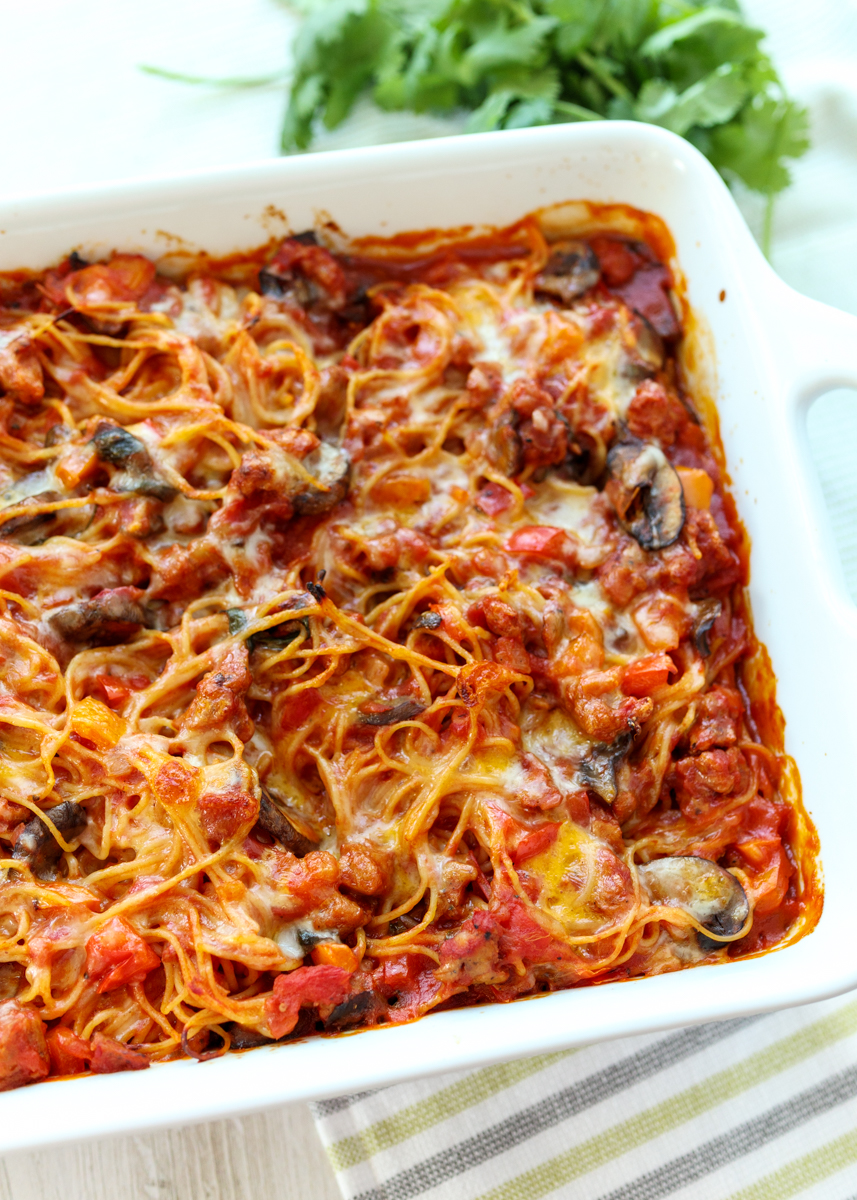
Light Baked Spaghetti  |  Lemon & Mocha

There’s so much goodness in this meal! It’s basically a hybrid of a spaghetti dinner and sausage, peppers and onions. We’ve loaded in angel hair pasta, a simple tomato and basil sauce, chicken sausage, sautéed mushrooms, peppers and onions and some gooey cheese.

Light Baked Spaghetti  |  Lemon & Mocha

You can use any type of chicken sausage you prefer. I used a sun-dried tomato and basil chicken sausage from Wegman’s and it was perfect. The original recipe calls for whole wheat pasta, which you can certainly use if you like it. Matt and I aren’t big fans of whole wheat pasta so instead I used Barilla Protein Plus.

Light Baked Spaghetti  |  Lemon & Mocha

Matt and I ate this Light Baked Spaghetti three nights in a row for dinner and we weren’t mad about it one bit. In fact, we missed it when it was all gone! I hope you all enjoy this baked pasta dish!

Light Baked Spaghetti  |  Lemon & Mocha

Light Baked Spaghetti
 
Yield: 6 servings
Ingredients
  • 8 ounces angel hair pasta, whole wheat or preferred type
  • 2 teaspoons olive oil
  • 1 small onion, finely chopped
  • 2 cloves garlic, finely chopped
  • 8 ounces chicken sausage, crumbled, see note
  • 2 bell peppers, stems removed and diced, see note
  • 8 ounces sliced cremini mushrooms
  • ½ teaspoon salt
  • ¼ teaspoon Italian seasoning
  • 1 28-ounce can crushed tomatoes
  • 1 cup fresh basil leaves, torn
  • ½ cup shredded part-skim mozzarella cheese
  • ½ cup shredded cheddar cheese
  • Cooking spray
Directions
  1. Bring a large pot of water to a boil then cook pasta according to package instructions for al dente, drain.
  2. Meanwhile, heat the olive oil over medium-high heat in a large nonstick skillet. Add the onion and cook until soft, about 5 minutes, stirring frequently. Add the garlic and cook until fragrant, about 1 minute. Add the crumbled chicken sausage and cook until browned, about 5 minutes. Add the mushrooms, salt and Italian seasoning. Cook until the veggies are tender, about 5 minutes.
  3. Add the crushed tomatoes, basil and ¾ cup of water. Bring to a boil. Reduce heat to medium-low and let simmer for 15 minutes. The sauce should be thickened slightly.
  4. While the sauce is simmering, preheat the oven to 375 degrees F. Spray a 9”x13” pan with cooking spray.
  5. When the sauce is done simmering, toss in the pasta until coated. Add half the pasta mixture to the baking dish. Sprinkle with half of each cheese then add the remaining pasta mixture on top. Sprinkle with the remaining cheese. Cover the baking dish with aluminum foil and bake for 20-25 minutes, removing the foil with 5 minutes left. If you want the top to be crunchier you can broil for a couple minutes at the end. Let sit 5 minutes before serving.
Notes
You can use any type of chicken sausage you prefer. Sweet Italian, roasted garlic or sun-dried tomato and basil are all great options. If your chicken sausages have thick casings that are able to be removed then remove them before crumbling. If the casings are soft and crumble along with the sausage then just do that instead.
You can use any type of bell peppers you prefer. I don’t like green peppers so I used 1 red pepper and 1 orange pepper.

 Recipe from January/February 2012 issue of Food Network Magazine.

Some of the links above are affiliate links, which means I may receive a small commission for my referral. This does not affect the retail cost of the item. Thank you for supporting Lemon & Mocha!