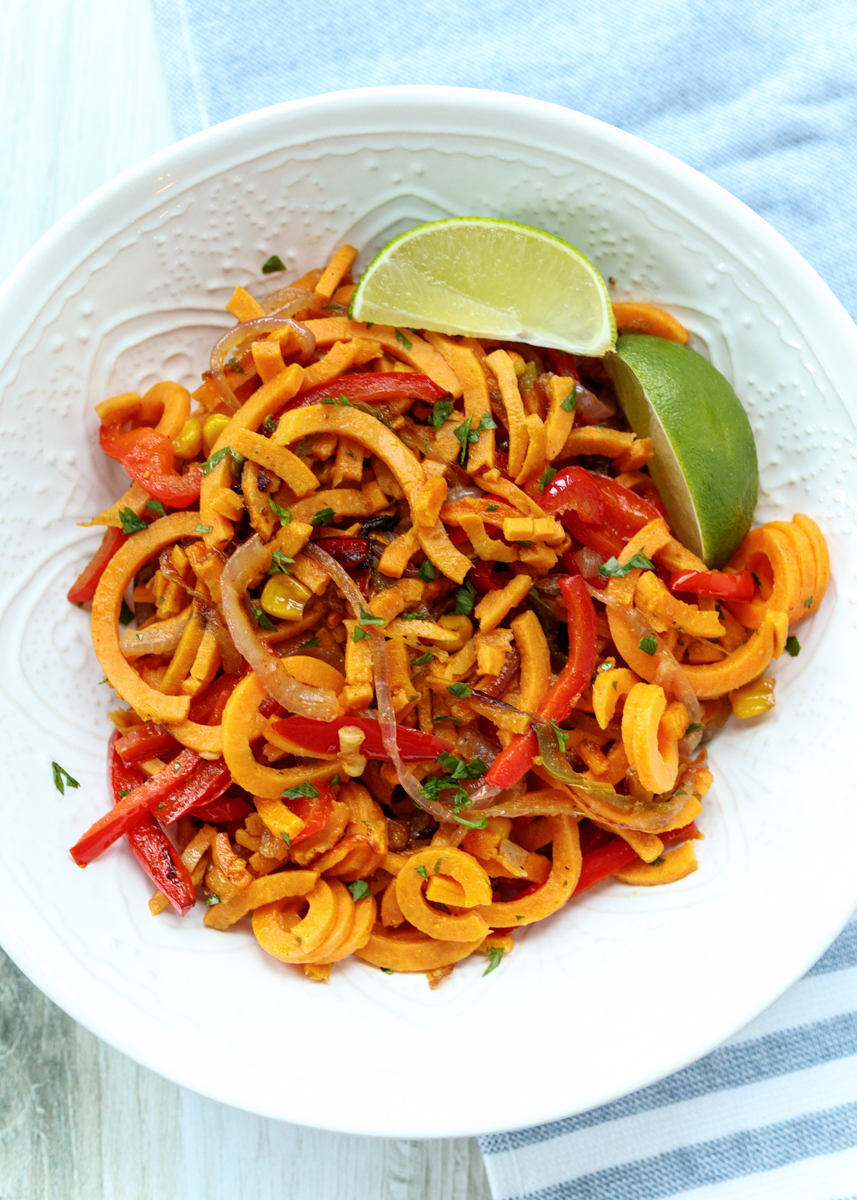
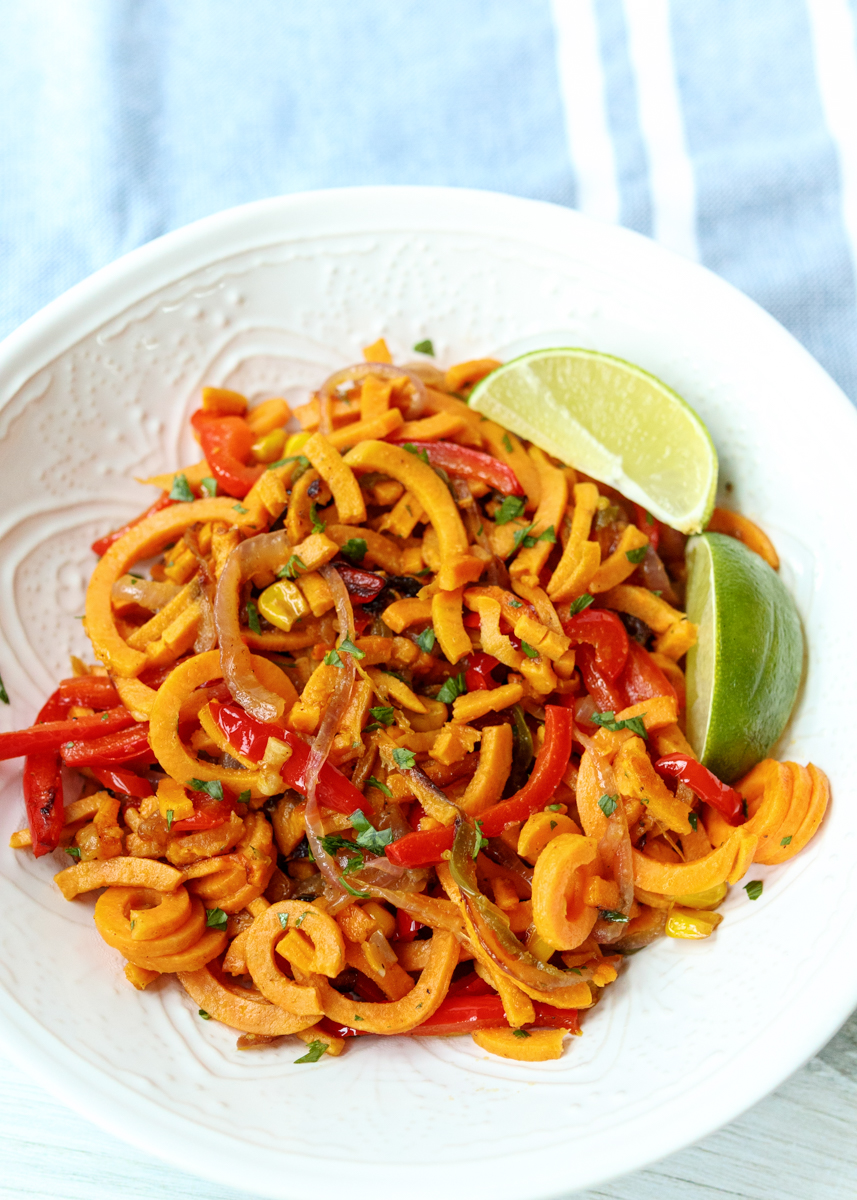
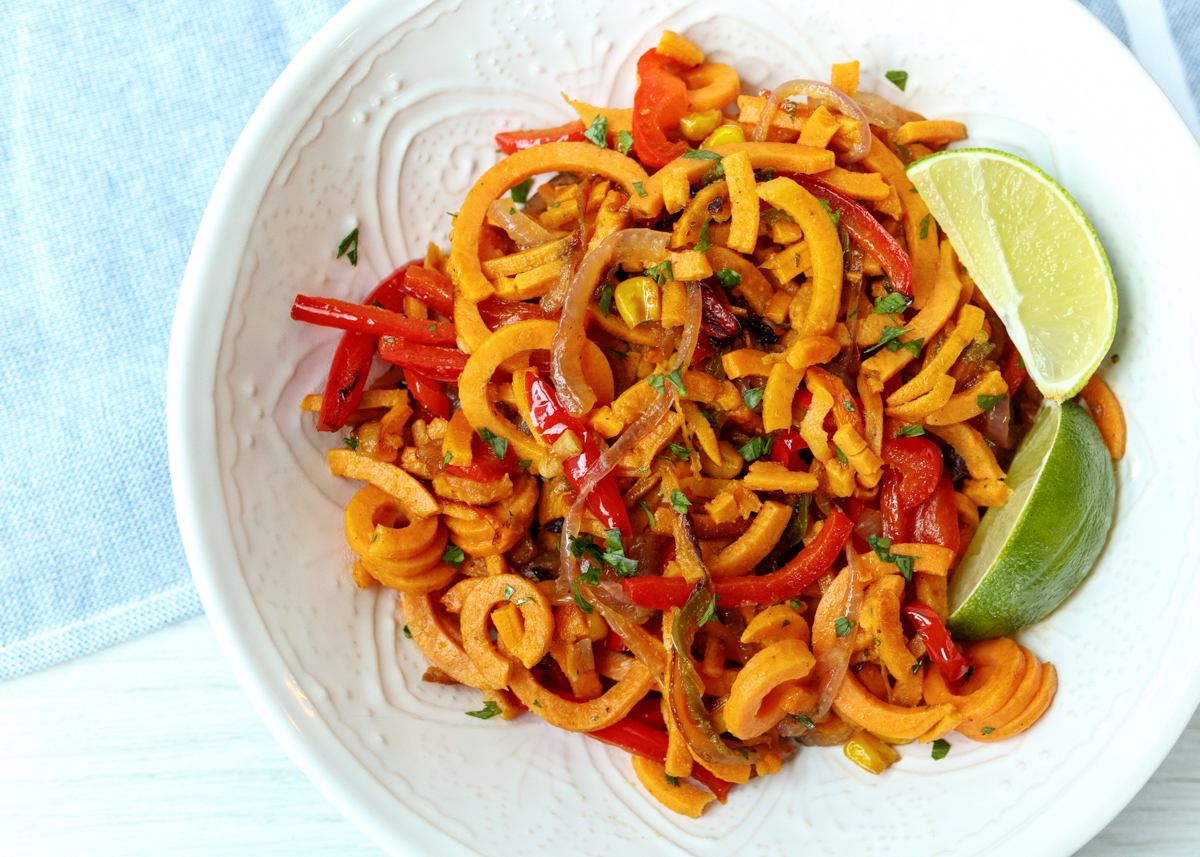
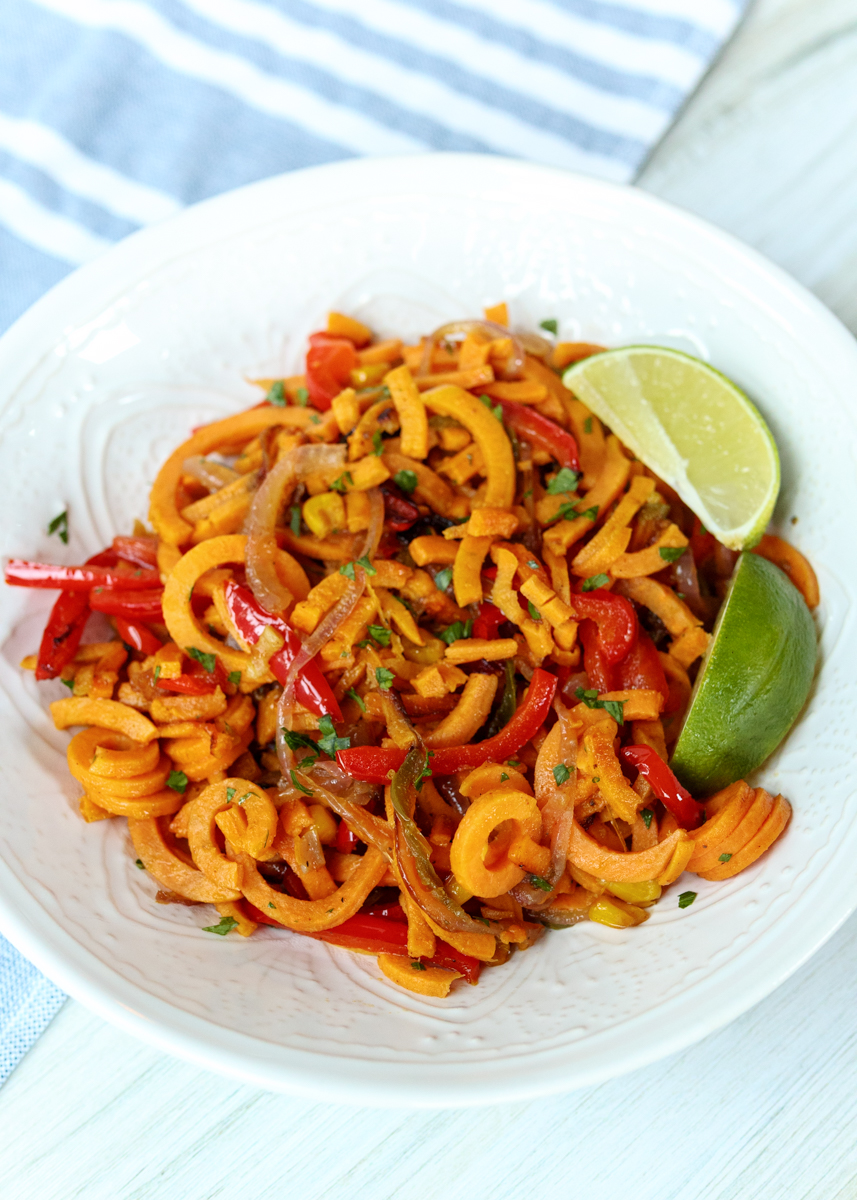
Southwestern Sweet Potato Noodles
Have you jumped on the spiralizing bandwagon yet? I’ve had the KitchenAid attachment for a couple years now and it makes spiralizing veggies so easy. Spiralized zucchini is my go-to, but I’ve also enjoyed baked spiralized french fries and roasted spiralized beets. I had yet to try spiralized sweet potatoes so I was excited when I came across this recipe for Southwestern Sweet Potato Noodles in my Food Network Magazine binder archives.
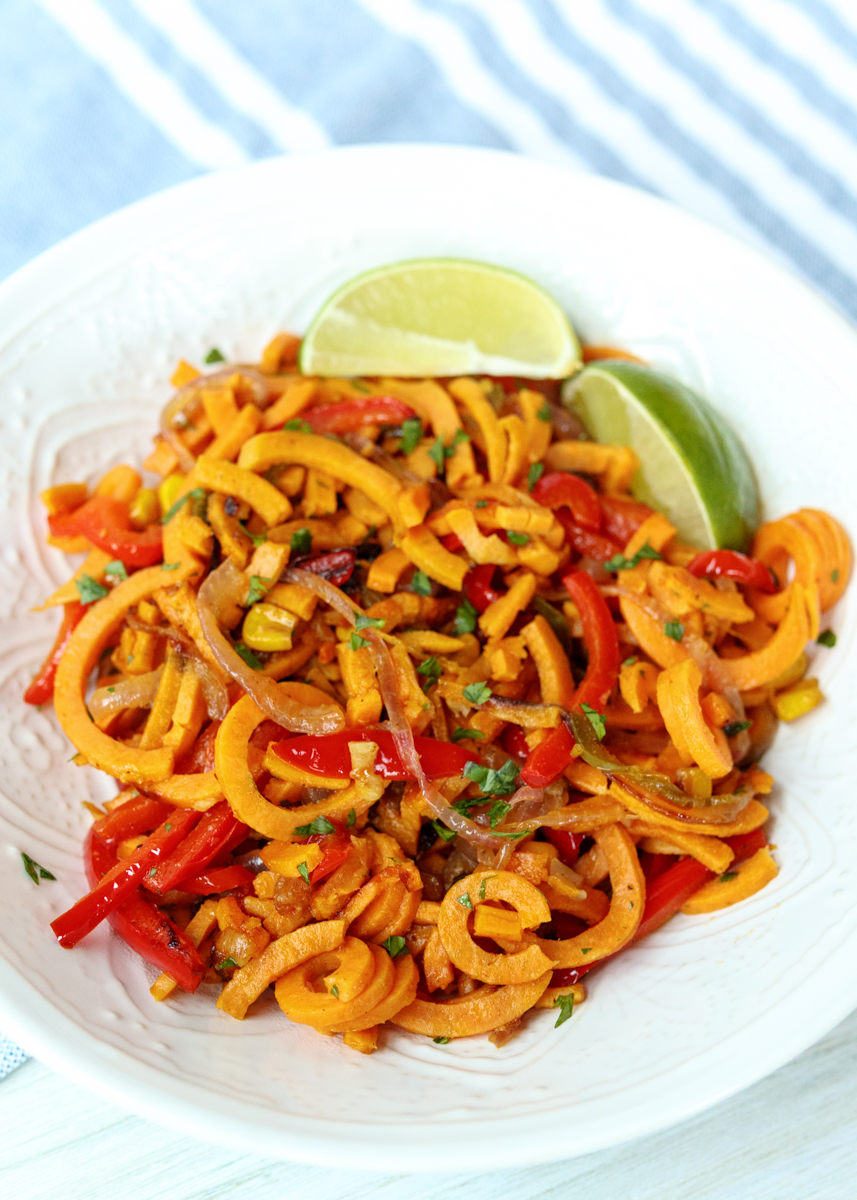
Once you have your sweet potato noodles, whether you spiralized them yourself or picked some up at the store, this is a quick one-pan meal. The sweet potato noodles get sautéed along with corn, bell pepper and onion. Smoky ground cumin, chili powder, ground coriander, fresh cilantro (or parsley if you dislike cilantro), and plenty of lime juice help give the dish it’s southwestern flair.
This is a vegetarian meal so have it for Meatless Monday alongside a small salad, or add a protein of your choice. Matt and I liked it left vegetarian, but I think it would also be great with some chicken sausage or sliced steak on top.
When you’re sautéing the sweet potatoes, use the time in the recipe below as a gauge. It will greatly depend on the thickness of your sweet potato noodles. The original recipe photo showed really thin noodles, almost shaved, and I could tell since the cook time they had listed was way too short for my much thicker noodles. You want them cooked through, but still with a little structure to them, otherwise they’ll taste mushy. Also, another note about the recipe is that if you’re looking for some extra zing with these noodles try adding a little zest from the lime. Enjoy!
- 3 tablespoons olive oil, divided
- 3 small sweet potatoes (about 1¼ pounds), peeled
- ½ cup frozen corn
- 1 small red onion, halved and thinly sliced
- 1 red bell pepper, stem removed and thinly sliced
- 1 jalapeño, thinly sliced into rounds (see note)
- 3 cloves garlic, minced
- ¾ teaspoon ground cumin
- Up to ¾ teaspoon chili powder, depending on preference
- ½ teaspoon ground coriander
- ½ cup fresh cilantro, roughly chopped
- Juice of 1 lime, plus wedges for serving
- Heat 2 tablespoons of the olive oil over medium-high heat in a large nonstick skillet. Add the sweet potato noodles, season with salt and pepper and cook until tender, about 5-7 minutes, stirring occasionally. Remove from the pan.
- Add the frozen corn to the pan and let get slightly charred, stirring occasionally. Add the remaining tablespoon of olive oil (plus more if needed), the red onion, bell pepper and the jalapeño. Season with salt and pepper. Cook until slightly charred then add the garlic, cumin, chili powder and ground coriander. Cook for 1 minute then add the sweet potato noodles back to the pan. Cook until warm then remove from the heat. Add the cilantro and lime juice. Toss, season with salt and pepper and serve with the lime wedges.
Recipe adapted from April 2017 issue of Food Network Magazine.
Some of the links above are affiliate links, which means I may receive a small commission for my referral. This does not affect the retail cost of the item. Thank you for supporting Lemon & Mocha!