Main Dishes

Creamy Mustard Roasted Fish
Creamy Mustard Roasted Fish  |  Lemon & Mocha

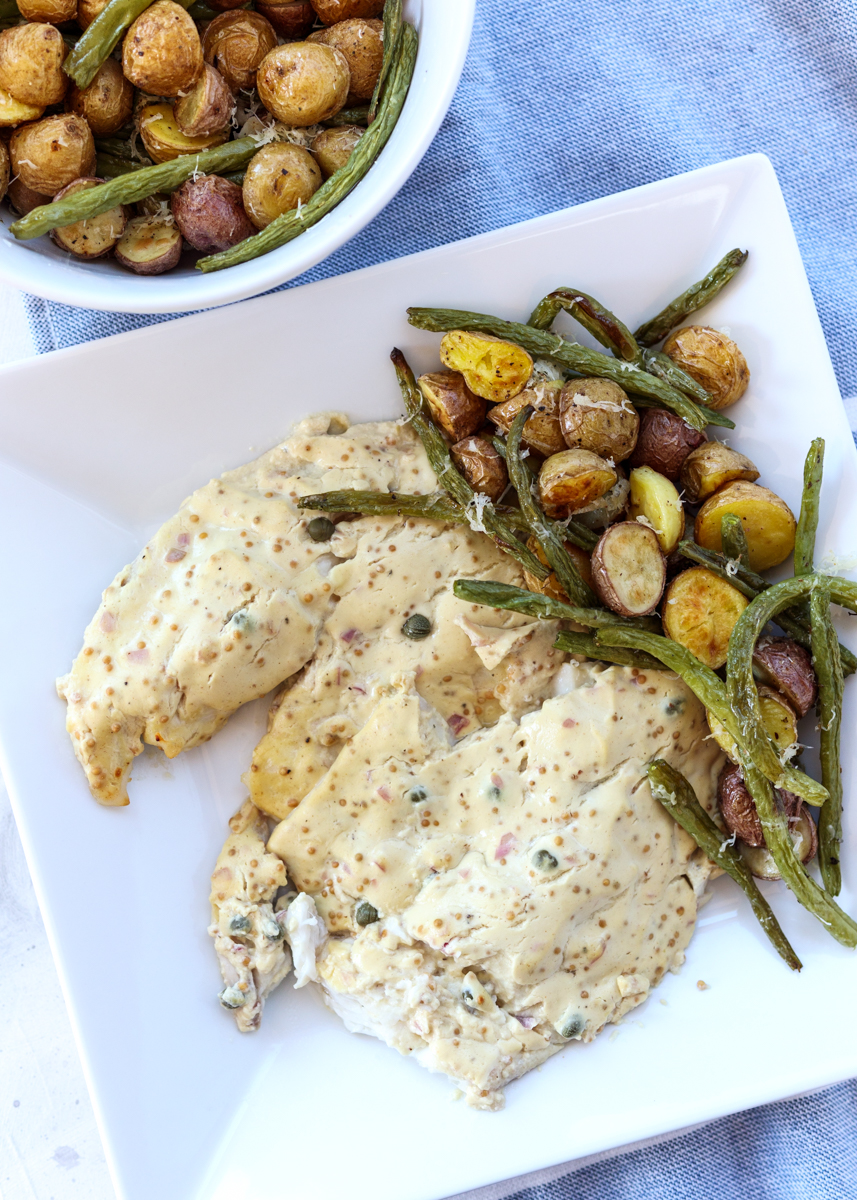
Would you believe me if I told you this recipe got Matt to eat tilapia? Of course you believe me otherwise this would be a pretty bad story if it wasn’t true! While I’m busy going through my cookbooks that I have yet to make anything from I’m also focusing on sharing recipes with you all that I have made and enjoyed from my cookbooks over the years, like Giada’s Breakfast Bulgur with Warm Berries and Ree Drummond’s Potato, Leek and Bacon Pizza. Add to the list Ina Garten’s Creamy Mustard Roasted Fish. Can you tell I’m a Food Network fan?
Creamy Mustard Roasted Fish  |  Lemon & Mocha

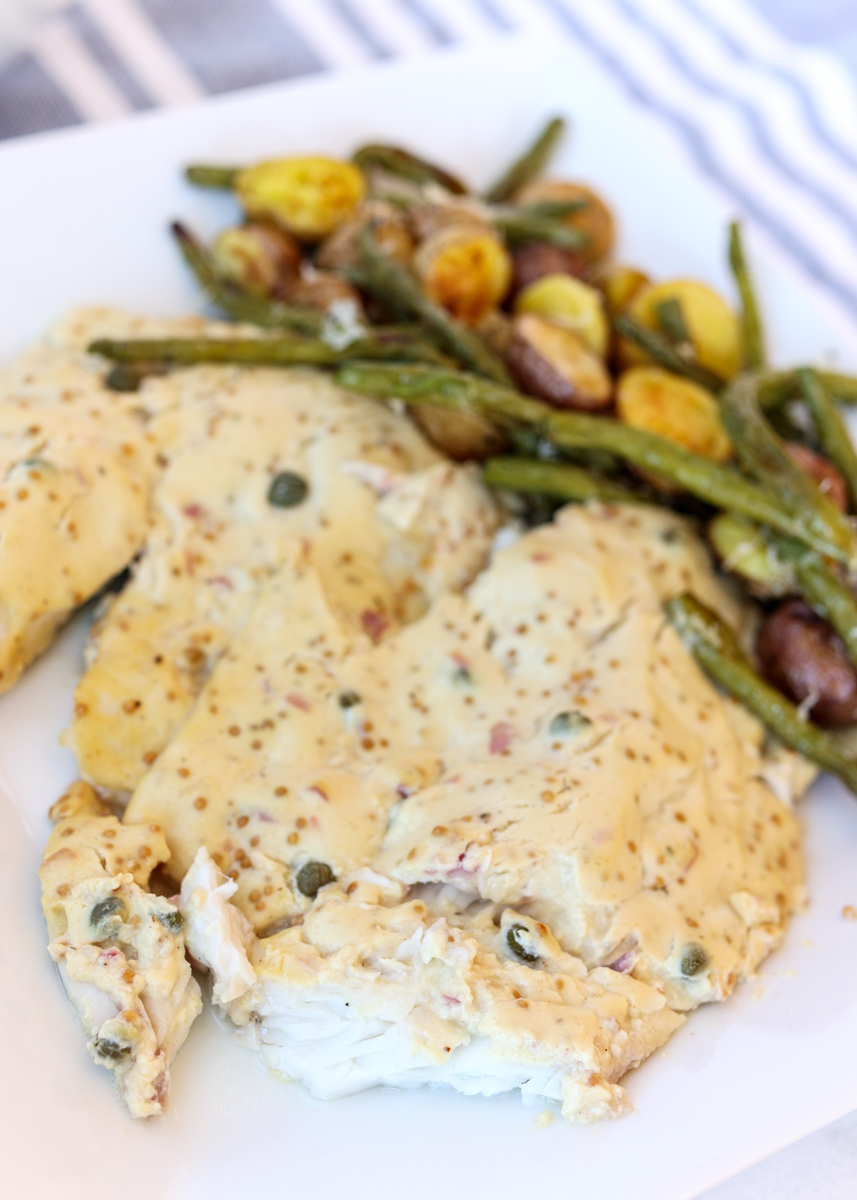
As I’ve mentioned before, I’m continually trying to find cooked fish recipes that Matt enjoys. Sushi is another story; he can now out-eat me on sashimi! Many years ago I wanted to make us some cooked fish and thought this creamy mustard sauce just might do the trick. It worked! Between the mustard, shallot and capers, the sauce is full of punchy flavors that keep the tilapia from tasting “fishy.”
Creamy Mustard Roasted Fish  |  Lemon & Mocha

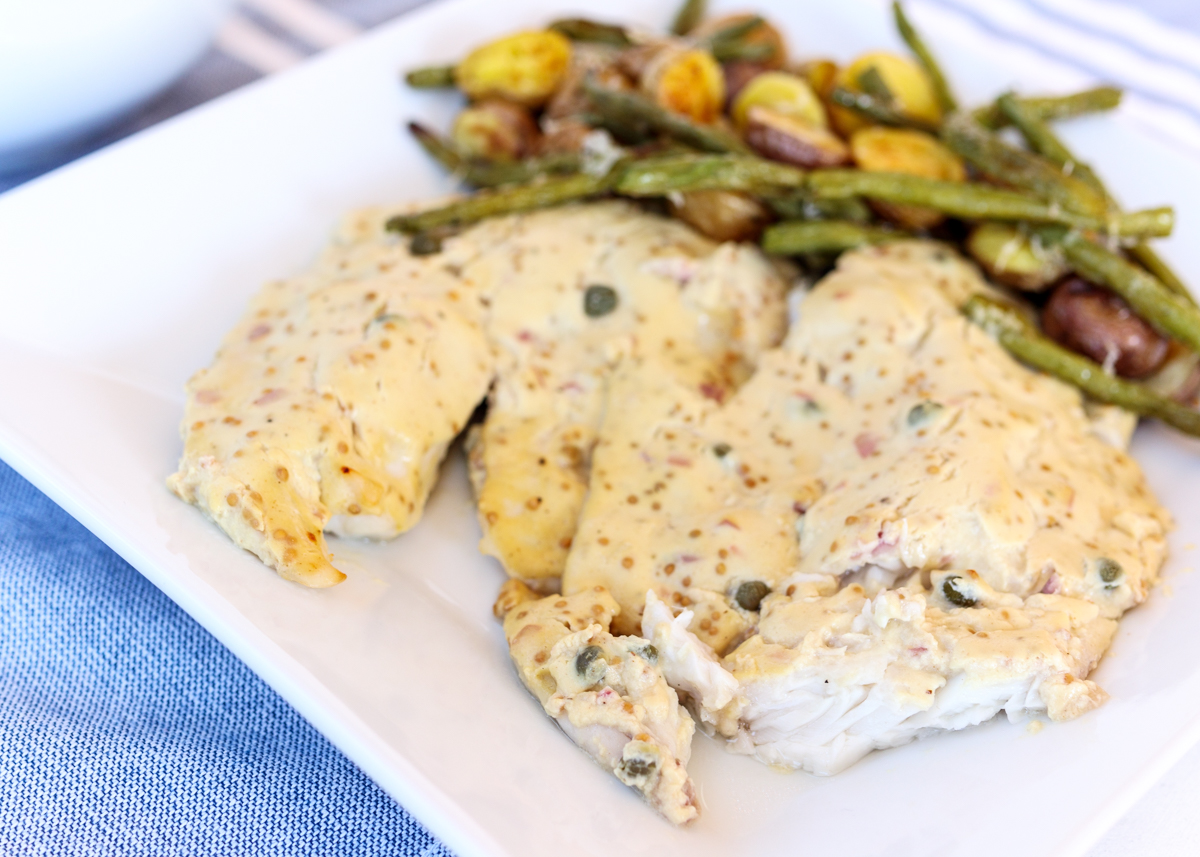
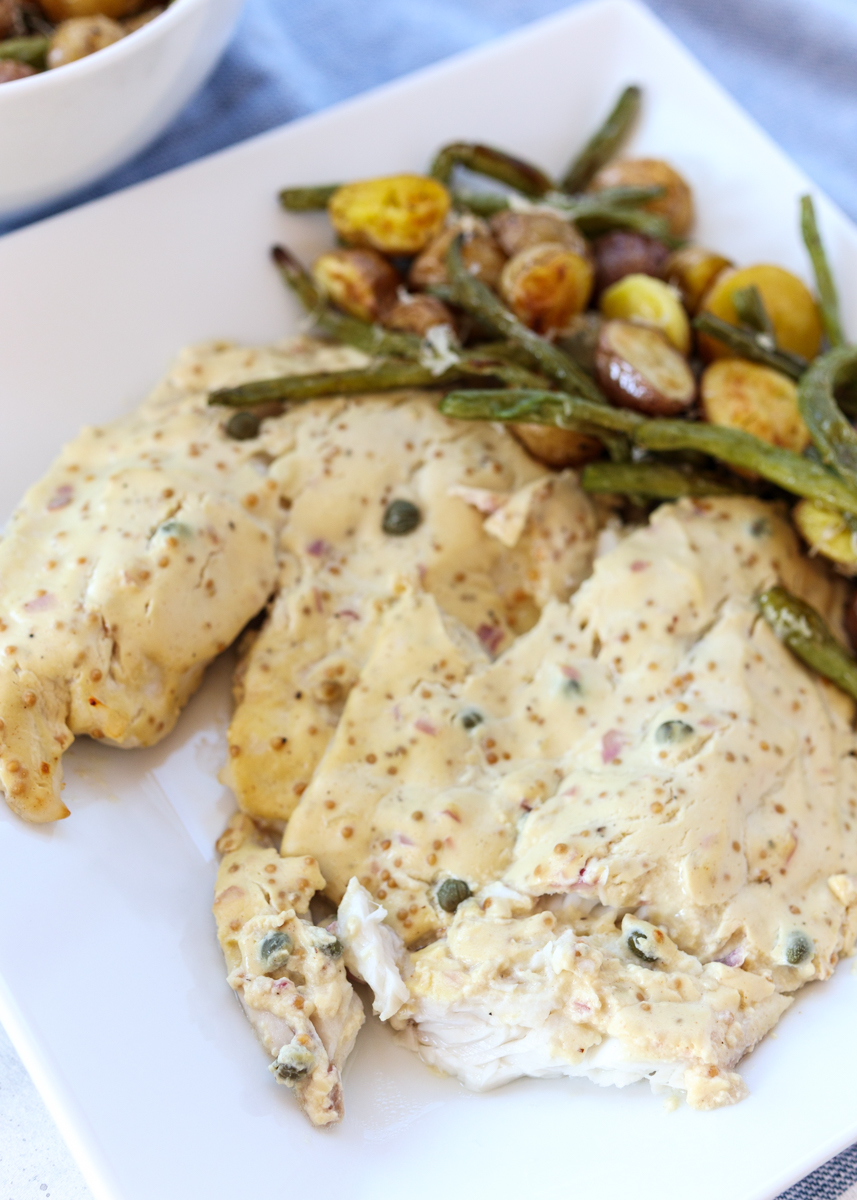
The original recipe from Barefoot Contessa uses crème fraîche to achieve the creamy and slightly sour sauce that pairs so well with the sharp mustard. Crème fraîche is delicious, but it can also be very rich and fattening. Instead, I used my new favorite recipe trick: cauliflower puree! I blended cooked cauliflower florets with plain Greek yogurt to mimic the thickness and creaminess of the crème fraîche. That was combined with the mustard, mustard seeds, shallots and capers for a perfect sauce to be poured over the white fish before baking it.
Creamy Mustard Roasted Fish  |  Lemon & Mocha

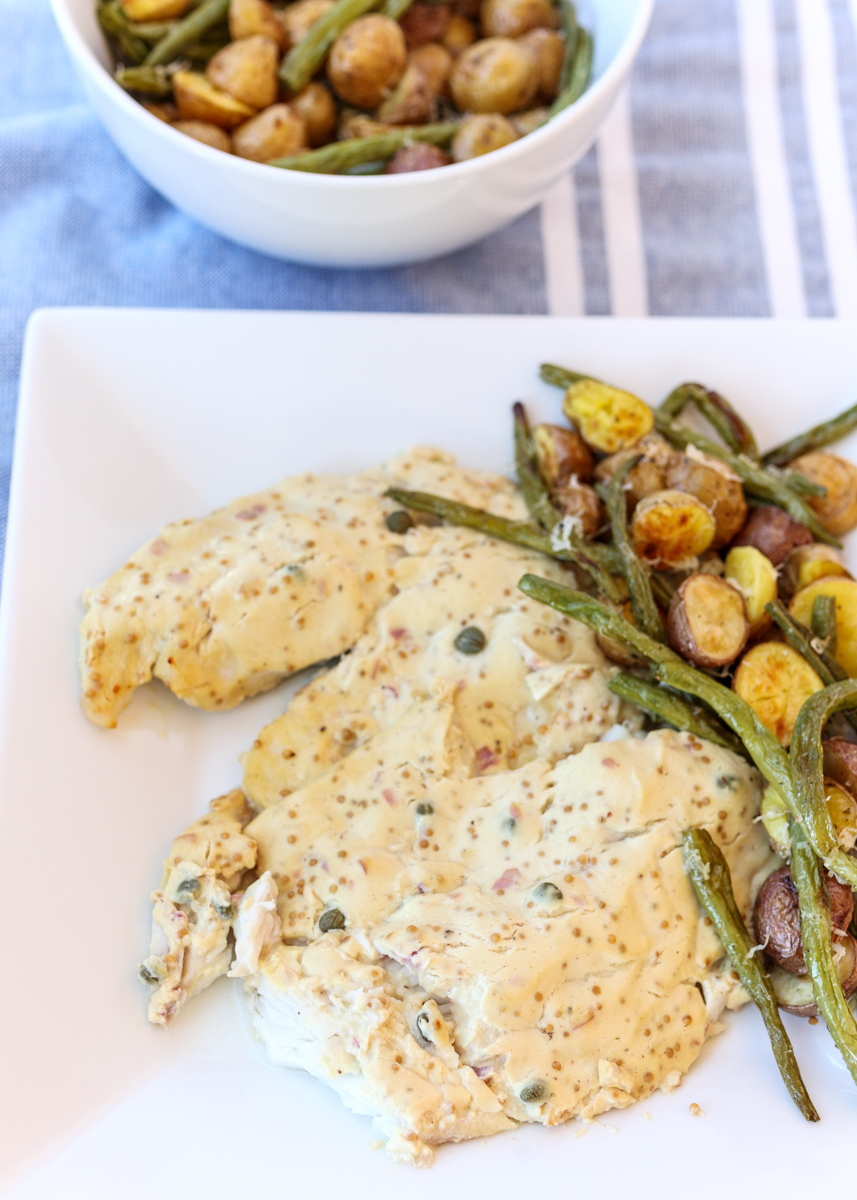
Although the flavor of the sauce is awesome, the best part is that it keeps the tilapia incredibly flaky and moist. I served this dish alongside the Sheet Pan Parmesan Roasted Green Beans and Baby Potatoes and Matt was a happy camper. Who would have thought one day Matt would happily eat tilapia for dinner?! Thanks, Ina!
Creamy Mustard Roasted Fish  |  Lemon & Mocha

Creamy Mustard Roasted Fish
 
Yield: 4 servings
Ingredients
  • 1 cup cauliflower florets (about 8 medium-large florets)
  • ⅔ cup water
  • 5 ounces nonfat Greek yogurt
  • 3 tablespoons mustard
  • 2 tablespoons minced shallots
  • 1 tablespoon mustard seeds
  • 2 teaspoons drained capers
  • 4 tilapia fillets
  • 1 teaspoon salt
  • ½ teaspoon ground black pepper
Directions
  1. Preheat oven to 425 degrees. Line a baking pan large enough to fit the fish fillets with nonstick aluminum foil or parchment paper and set aside.
  2. Add the water and cauliflower florets to a saucepan. Bring to a boil then cover, reduce heat to low and simmer for 10 minutes. Drain the liquid then puree the cauliflower with the Greek yogurt until smooth. Combine the cauliflower-yogurt puree, mustard, minced shallots, mustard seeds and drained capers in a small mixing bowl.
  3. Place the tilapia fillets on the prepared baking pan. Season with the salt and pepper. Spoon the mustard sauce over the fish completely. Bake until the thickest part of the fish flakes, about 10-15 minutes. When it’s done broil for 1 minute.

Recipe adapted from Barefoot Contessa Back to Basics.
Some of the links above are affiliate links, which means I may receive a small commission for my referral. This does not affect the retail cost of the item. Thank you for supporting Lemon & Mocha!

Winter Pesto Pasta

Winter Pesto Pasta  |  Lemon & Mocha

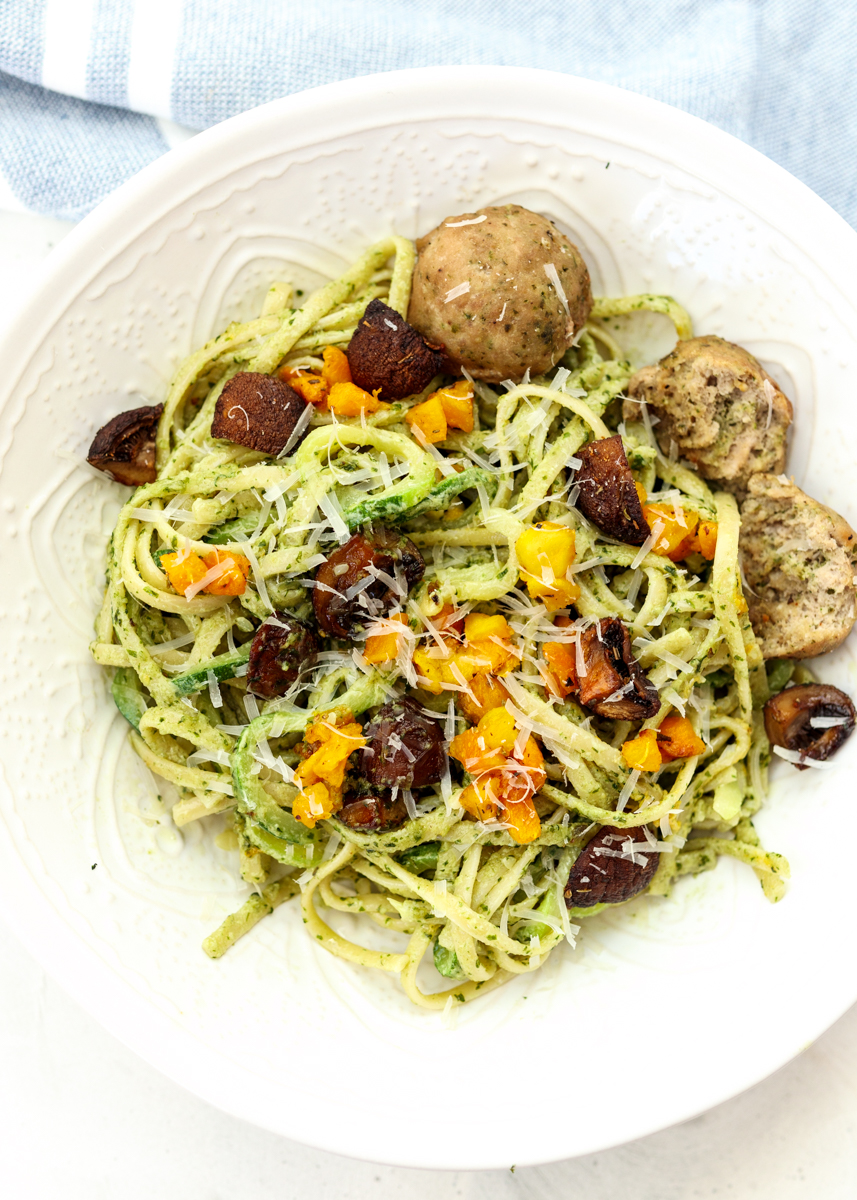
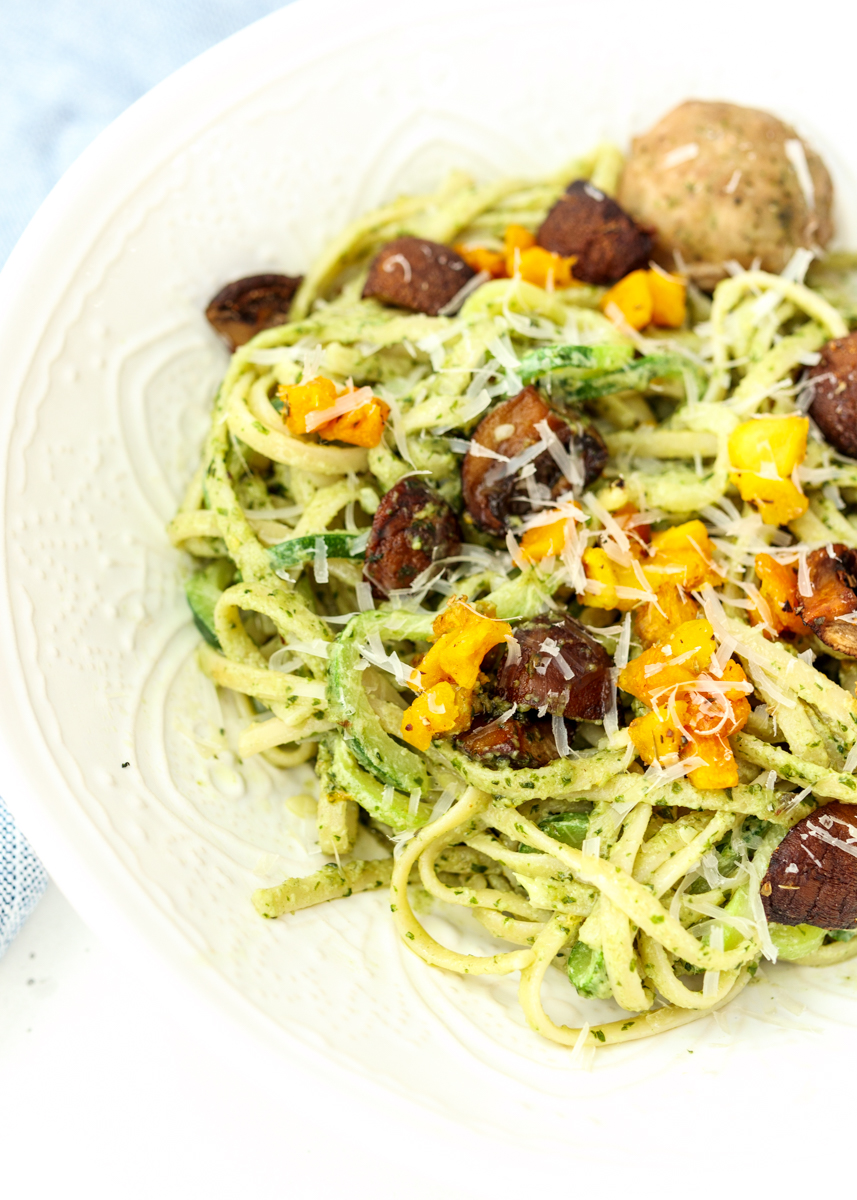
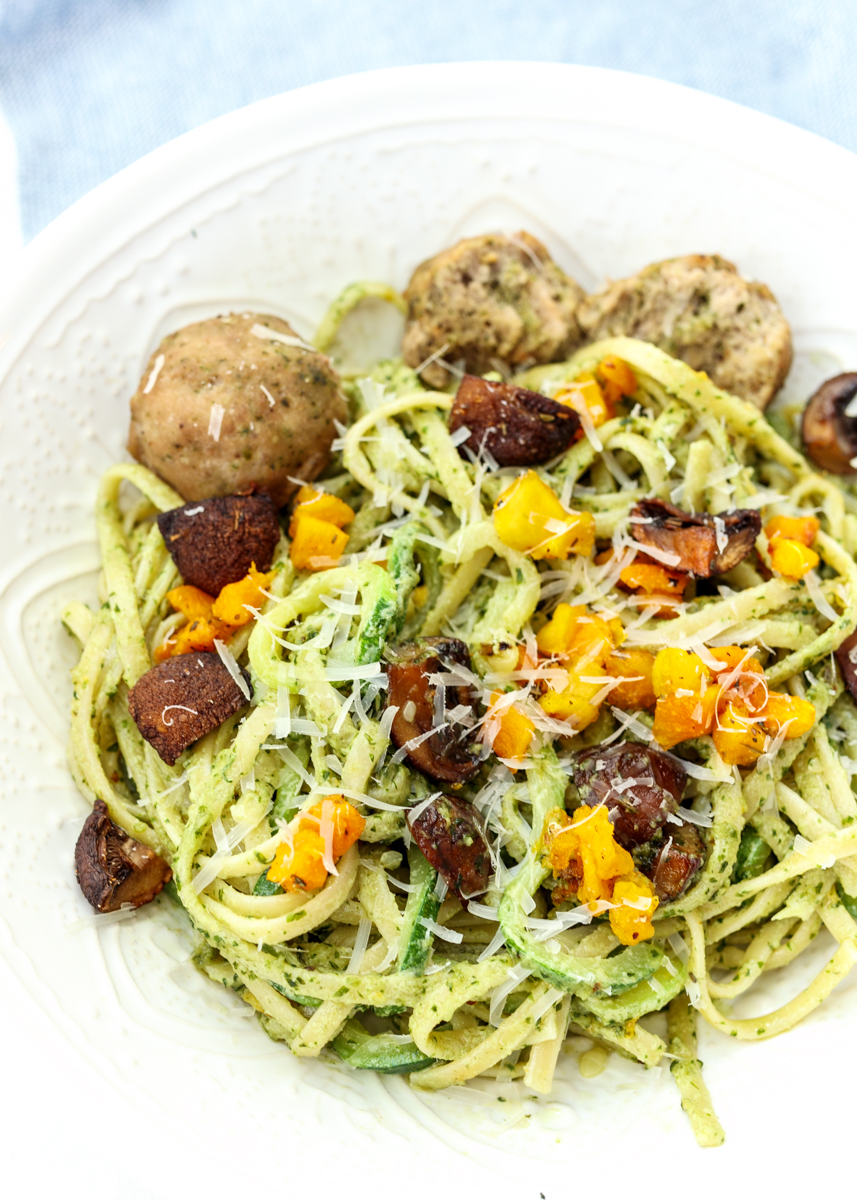
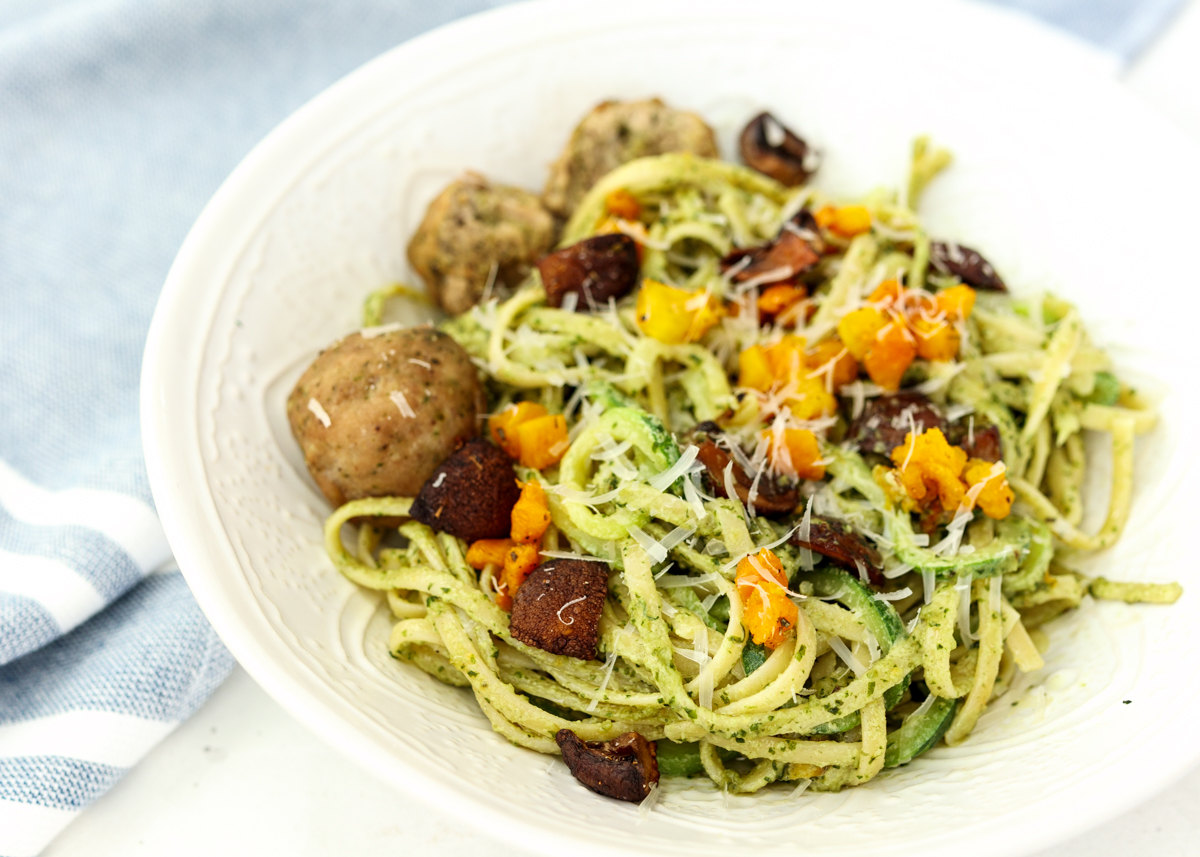
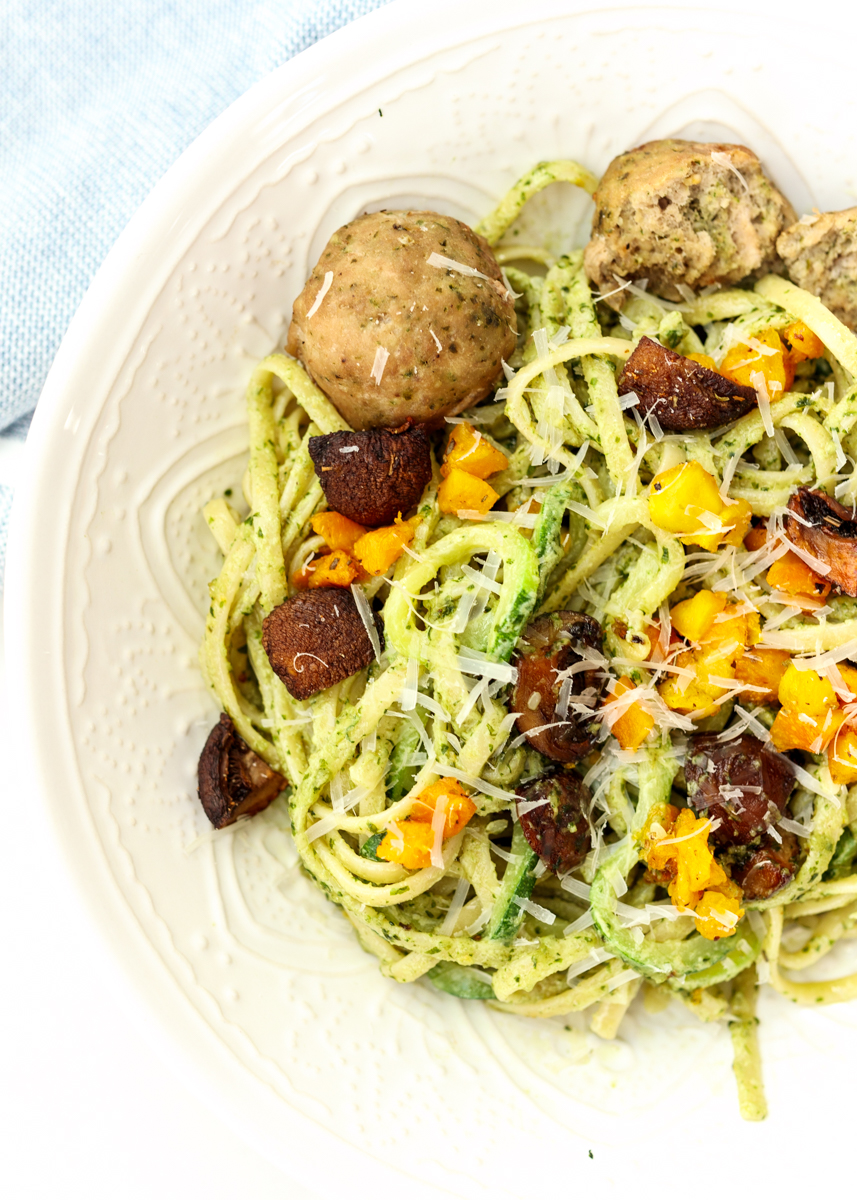
Winter Pesto Pasta is a cozy dish loaded with roasted butternut squash and mushrooms that is sure to warm you up during these chilly winter days. Whenever Matt and I are craving pasta I like to load it up with lots of veggies and I love the ease and the taste of roasted vegetables, especially in the wintertime.

Winter Pesto Pasta  |  Lemon & Mocha

I also used a mix of spaghetti and zucchini noodles to sneak in even more vegetables. You can spiralize the zucchini yourself or pretty much every grocery store now sells spiralized vegetable noodles. The best part is that you just throw them into the water when the pasta is almost done cooking so it could not be easier to add zucchini noodles into your pasta dishes. You could keep the meal vegetarian, but I served it alongside my Baked Pesto Turkey Meatballs – love those!

Winter Pesto Pasta  |  Lemon & Mocha

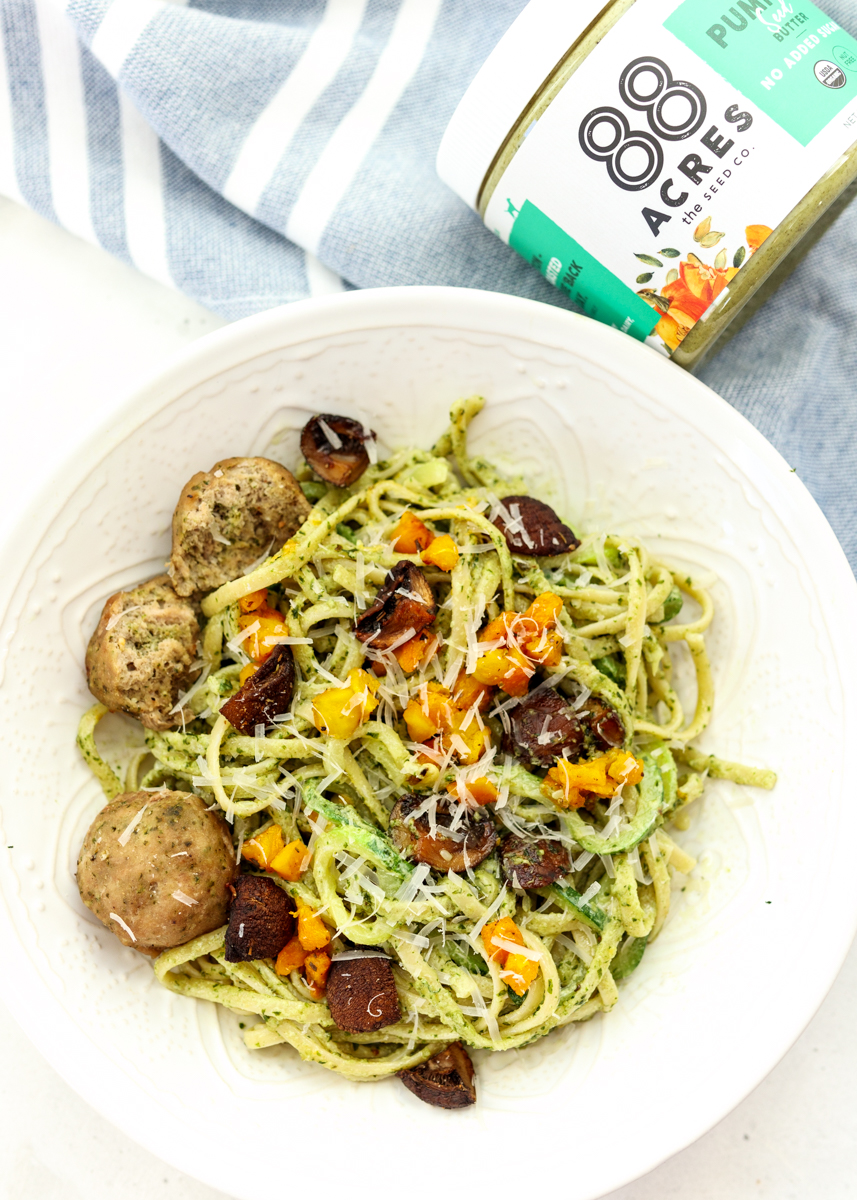
The star of the whole dish, though, is the quick and easy homemade pesto. I love tomato sauce, but we are both way more into pesto around here. My favorite seed butter company, 88 Acres, which is a local Massachusetts company, sent me some of their new products to try in exchange for sharing them on Instagram. The exchange didn’t involve my blog at all; I’m purely sharing this here because their new product prompted me to discover my new favorite homemade pesto hack.

Winter Pesto Pasta  |  Lemon & Mocha

Instead of grinding down seeds or nuts to use in the pesto, I just used some of their new no-sugar added pumpkin seed butter. I combined the pumpkin seed butter, basil, Parmesan, garlic powder, a little olive oil and some salt to taste. It was creamy, flavor-packed and saved me from having to buy pricey pine nuts.

Winter Pesto Pasta  |  Lemon & Mocha

I’m excited to try this new hack with other seed butters! I would recommend using one that has no-sugar added though to avoid adding sugar to your pesto. You could also try making this pesto with roasted pumpkin seeds and adding more olive oil, which I’m sure would be really good, too. Do you like experimenting with different types of pesto or do you have a go-to one you make all the time?

Winter Pesto Pasta  |  Lemon & Mocha

Winter Pesto Pasta
 
Yield: 2 servings
Ingredients
  • 1 cup small diced butternut squash
  • 6 medium whole cremini mushrooms, stems removed and quartered
  • 2½ tablespoons olive oil, divided
  • ¼ teaspoon dried oregano
  • ¼ teaspoon garlic powder, divided
  • ⅛ teaspoon salt
  • 4 ounces spaghetti
  • 1 cup fresh basil
  • 2 tablespoons no-sugar added pumpkin seed butter
  • 2 tablespoons fresh grated Parmesan, plus more for topping
  • 1 zucchini, zoodled
  • Baked Pesto Turkey Meatballs, optional
Directions
  1. Preheat the oven to 400 degrees F. Line a baking sheet with nonstick aluminum foil or parchment paper and place the butternut squash cubes and quartered mushrooms in a single layer. Toss the veggies with ½ tablespoon of olive oil then sprinkle with ¼ teaspoon dried oregano, ⅛ teaspoon garlic powder, ⅛ teaspoon salt and some fresh ground black pepper. Roast the veggies for 25 minutes, or until tender and slightly caramelized, tossing once halfway through baking.
  2. Cook the spaghetti according to the package instructions. When the spaghetti is 2 minutes away from being done, toss in the zucchini noodles. Drain the spaghetti and the zucchini noodles together once tender in a colander.
  3. While the water is coming to a boil for the pasta, make the pesto. Combine the basil, Parmesan, pumpkin seed butter, the remaining 2 tablespoons of olive oil, ⅛ teaspoon garlic powder and salt to taste in a food processor. Add more olive oil if needed, about 1 tablespoon more. Pulse until smooth.
  4. When the spaghetti and zucchini noodles have been drained, add them back to the pot along with the pesto, butternut squash and mushrooms. Toss to combine. Serve with fresh grated Parmesan on top and baked pesto turkey meatballs, if desired.


Potato, Leek and Bacon Pizza

Potato, Leek and Bacon Pizza  |  Lemon & Mocha

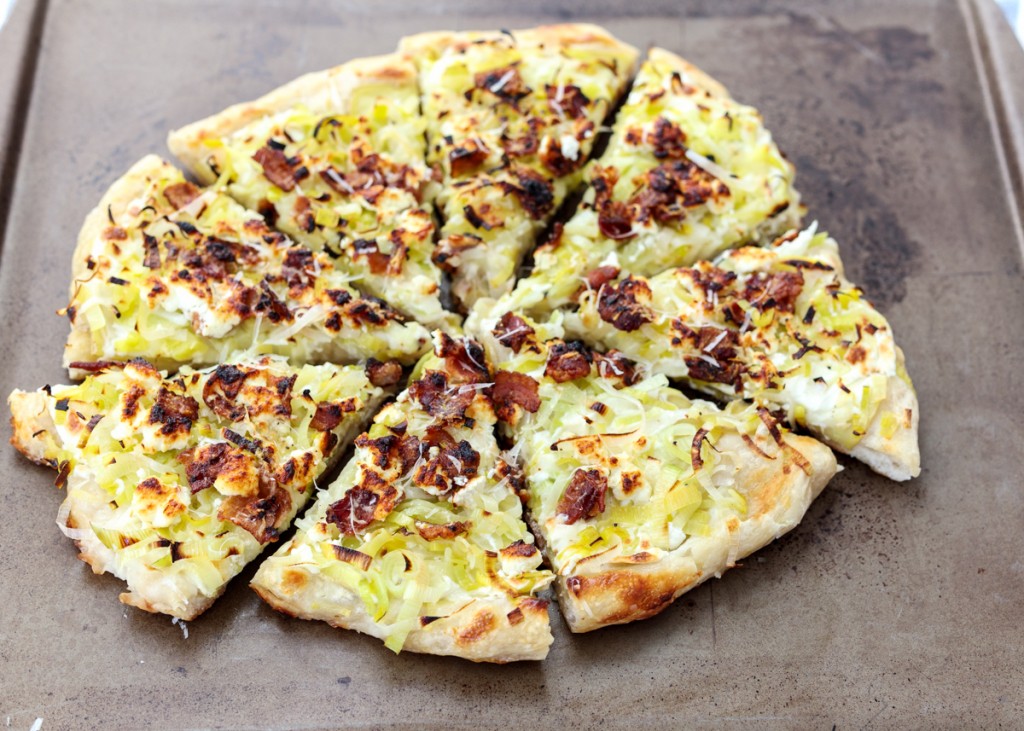
Did you know that tomorrow is National Pizza Day? Woo hoo! This should really be a throwback Thursday post because this is the first pizza Matt and I ever made together back in 2010. Yes, we’ve been over this, I’m so food obsessed I can usually remember the exact time I made every recipe I’ve ever made for the first time.

Potato, Leek and Bacon Pizza  |  Lemon & Mocha

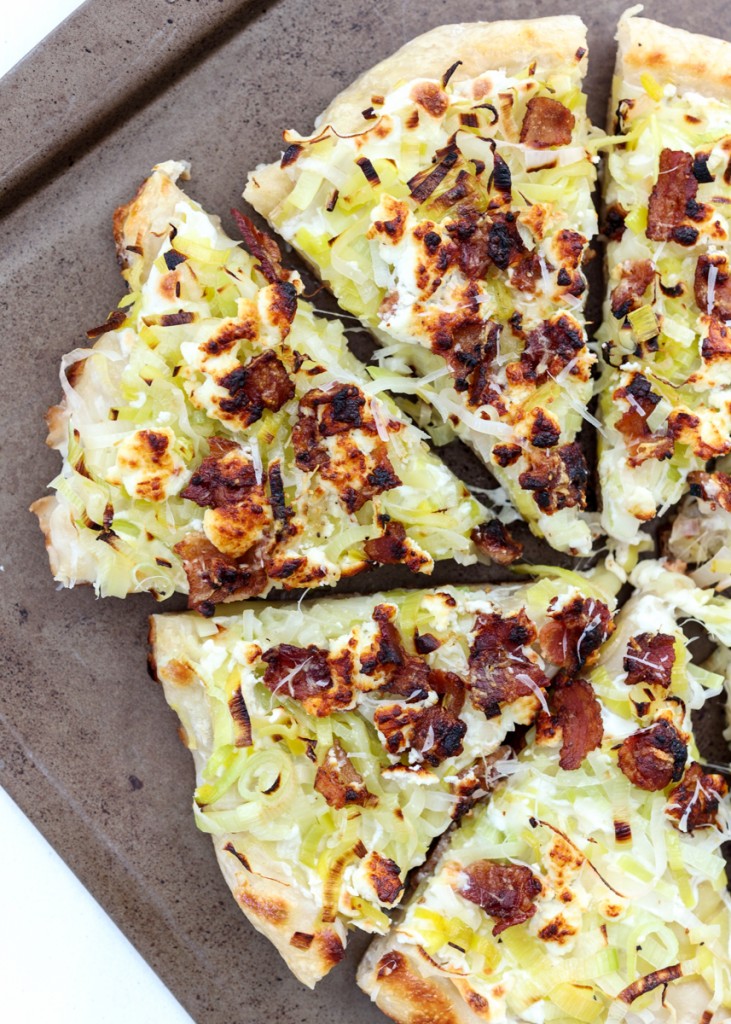
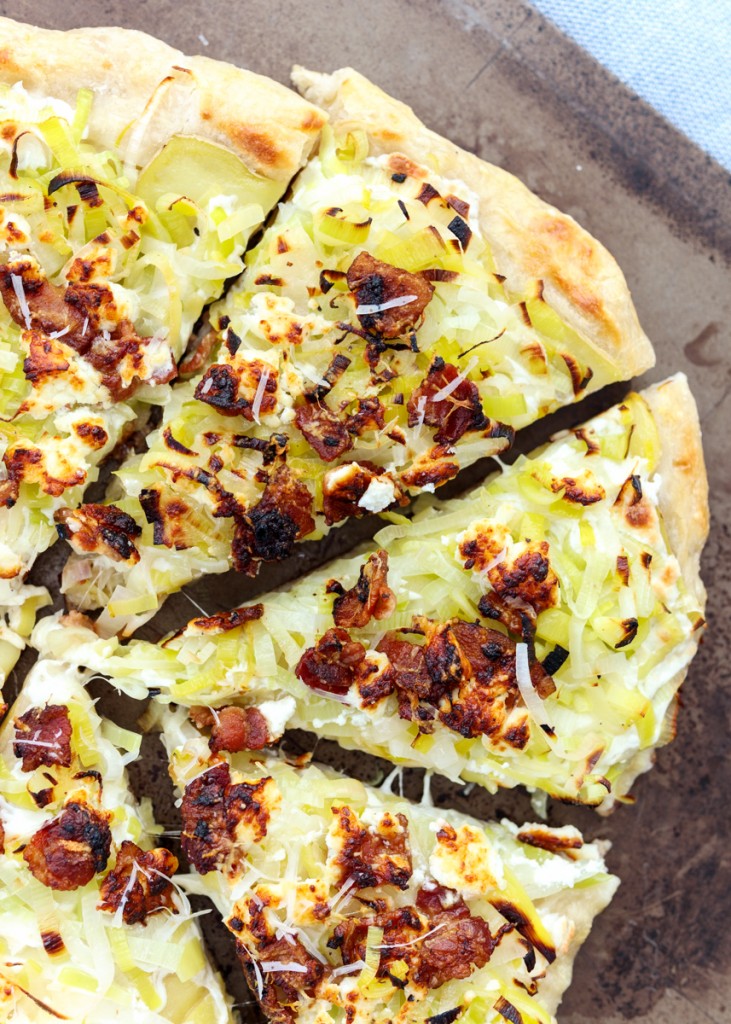
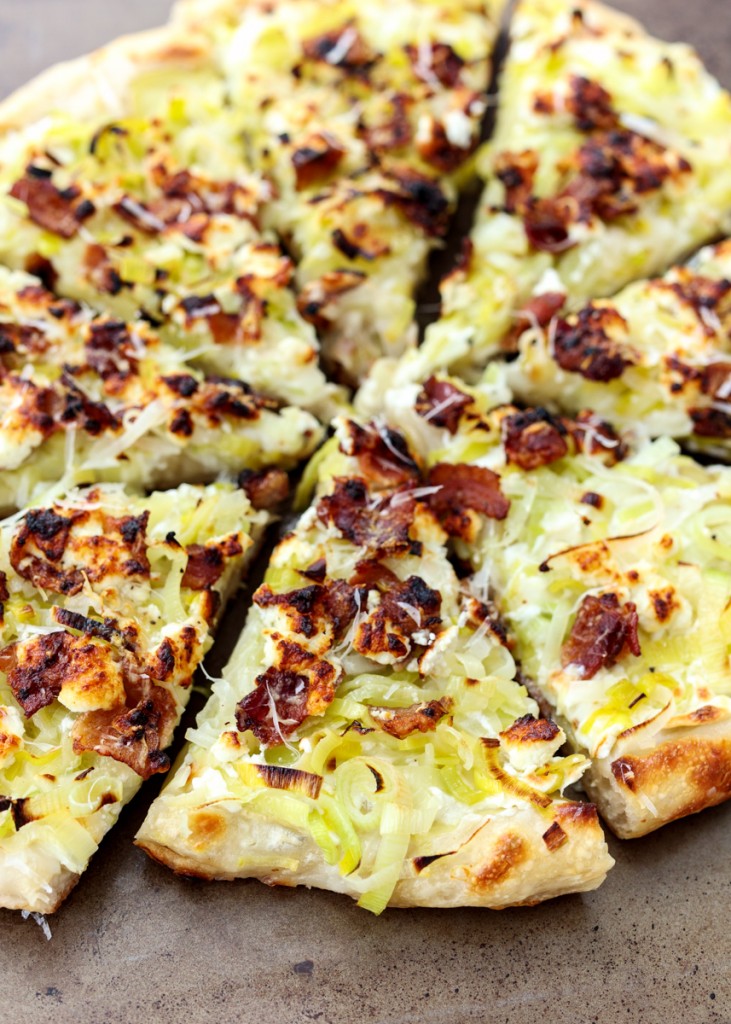
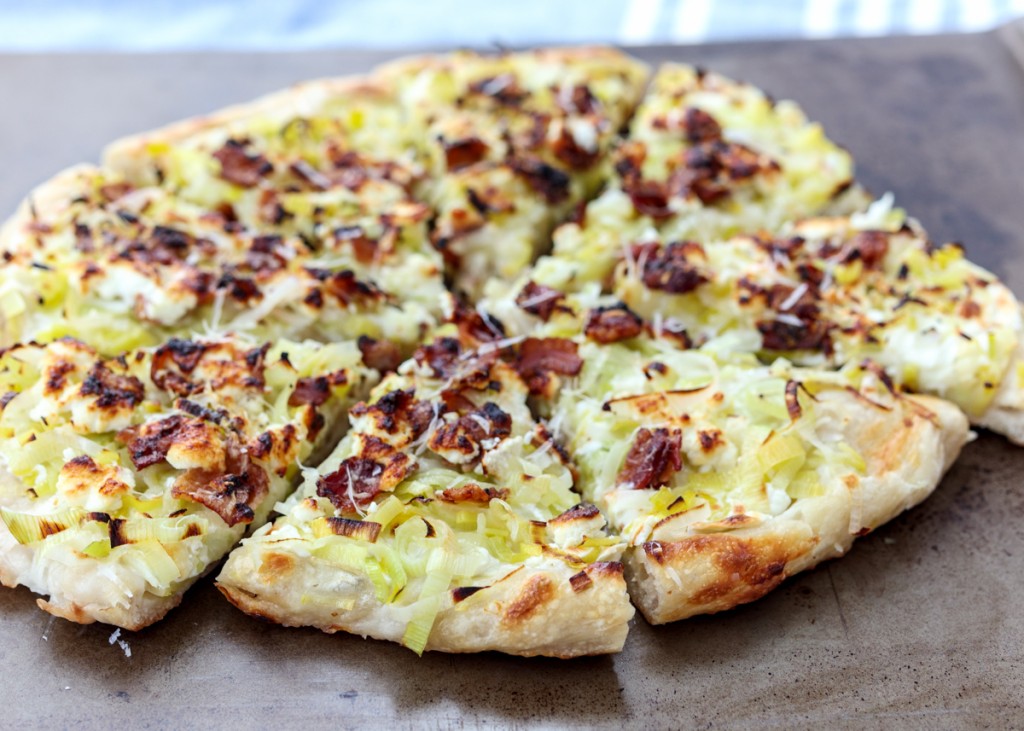
The recipe is from the first cookbook published by the Pioneer Woman, Ree Drummond, which is full of rich and indulgent meals and this pizza is no exception. This pizza has layers of thinly sliced potatoes, fresh mozzarella, crispy bacon, creamy goat cheese, leeks sautéed in bacon grease and some fresh Parmesan because why not? I did halve the amount of fresh mozzarella and reduce the amount of bacon and leeks because I found that I had lots of extra that wouldn’t even fit on my pizza.

Potato, Leek and Bacon Pizza  |  Lemon & Mocha

Have you ever had potato on a pizza? It’s such a tasty and underrated topping. Matt’s favorite pizza to order from our local pizza shop is their potato, bacon and cheddar pizza so he was of course on board when I mentioned wanting to re-make the Pioneer Woman pizza recipe.

Potato, Leek and Bacon Pizza  |  Lemon & Mocha

Potato, Leek and Bacon Pizza is the perfect balance of creaminess, saltiness and omg-give-me-another-slice-iness. Totally a thing. If you find yourself with some leftover leeks, I highly recommend making Kale and Walnut Pesto Pasta with Lemon Shrimp. Ah, I think I will forever be obsessed with that recipe! But back to this pizza and National Pizza Day!

Potato, Leek and Bacon Pizza  |  Lemon & Mocha

If you’re looking for some more pizza inspiration I have a few recipes on here that are sure to bring your pizza night to the next level!

Mini Strawberry Balsamic Pizzas

Mini Strawberry Balsamic Pizzas

Elote Pizza

Elote Pizza

Mini Eggplant Pizzas

Mini Eggplant Pizzas

Potato, Leek and Bacon Pizza
 
Yield: 8 medium slices
Ingredients
  • 5 slices bacon, chopped
  • 1 large leek, cleaned and thinly sliced (see note)
  • 16 ounces pre-made pizza dough, at room temperature for 20 minutes
  • Cornmeal, for dusting the surface for the dough
  • 5 small Yukon gold potatoes, sliced very thin
  • 8 ounces fresh mozzarella cheese, sliced thin
  • 4 ounces goat cheese
  • Fresh grated Parmesan cheese and fresh ground black pepper for topping
  • 1 egg, beaten (optional)
Directions
  1. Preheat your pizza stone in the oven at 475 or 500 degrees F for at least half an hour.
  2. While the pizza stone is preheating, cook the bacon and leeks. Heat the chopped bacon in a large skillet over medium heat until cooked, but not overly crispy. Remove the bacon from the pan using a slotted spoon and place on a plate lined with a paper towel. Safely pour the grease off the skillet, but do not wipe the pan clean. Over medium-low heat in the same large skillet, sauté the leeks until soft, about 3 minutes. Season with salt and pepper. Then set aside.
  3. If you are using a pizza peel, generously sprinkle your pizza peel with cornmeal. If you don’t have a pizza peel and are using a baking sheet, generously sprinkle your baking sheet with cornmeal. Stretch out the dough - the size depends on the size of your pizza stone. To help get it stretched out, I hold it and let it fall down. I continue doing this, rotating around as I do it so it stretches into an oblong shape. Now that it is most of the way stretched out, place it on the cornmeal surface, whether that is your pizza peel or baking sheet. Use a rolling pin or your hands to form it into the shape your want. Try to get an even thickness all the way around.
  4. Arrange the sliced potatoes on the pizza dough in a single layer, slightly overlapping. Next, layer the fresh mozzarella slices in a single layer, slightly overlapping. Then top with the leeks and cooked bacon. Crumble the goat cheese over top then add some fresh grated Parmesan and some fresh ground black pepper. If you want some color on your crust, lightly brush the beaten egg on the exposed crust. Carefully put the pizza in the oven on top of the pizza stone to cook for 9-10 minutes. If you are using a baking sheet, just put the baking sheet directly on top of the pizza stone.
Notes
To prepare the leeks: Trim off the dark green parts and discard. Trim off the root end and discard. Thinly slice. Leeks harbor a lot of dirt so special care needs to be taken to remove all the grit. Fill a large bowl with cold water and add the sliced leeks. Swirl and rub the leeks with your hands to dislodge any dirt. The dirt will sink to the bottom of the bowl so remove the leek pieces with a slotted spoon or your hands and set to drain in a colander. Shake off and lightly pat dry before putting in the skillet.

Recipe adapted from The Pioneer Woman Cooks: Recipes from an Accidental Country Girl.
Some of the links above are affiliate links, which means I may receive a small commission for my referral. This does not affect the retail cost of the item. Thank you for supporting Lemon & Mocha!

Thai Peanut Shrimp and Broccoli

Thai Peanut Shrimp and Broccoli  |  Lemon & Mocha

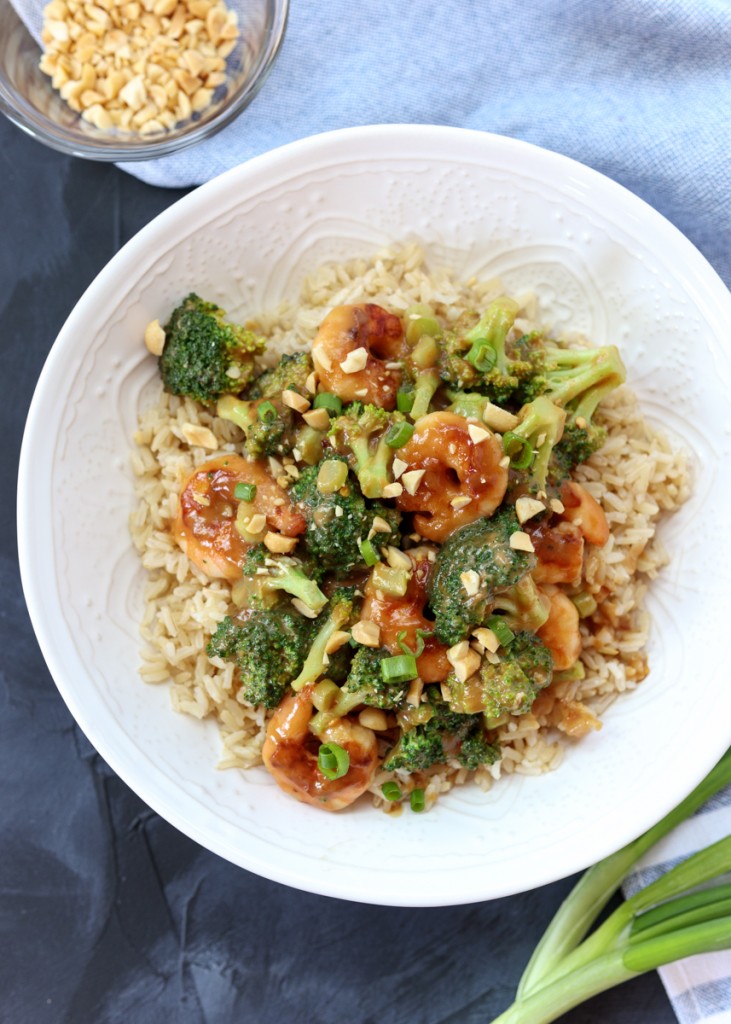
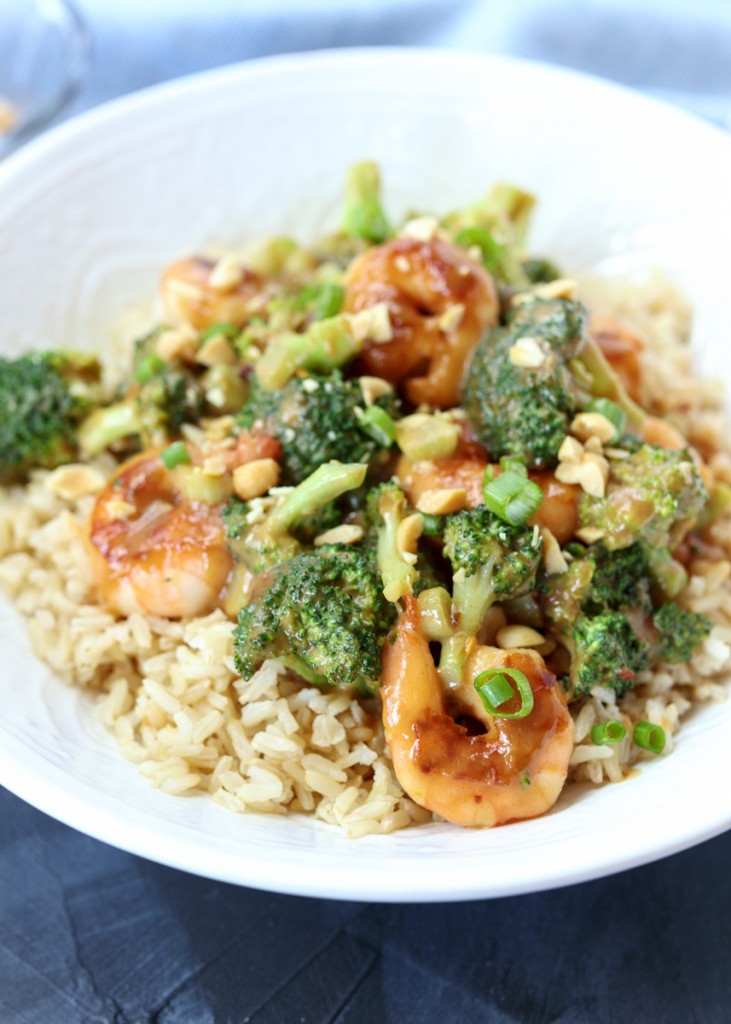
See? I told you the healthy recipes would be back! Although I can’t say the same for what I have scheduled for next week. Last week when I posted the Roasted Acorn Squash with a Thai Peanut Sauce I started thinking about that creamy, salty and tangy peanut sauce. More specifically, about how it was so good that I needed to come up with other recipes I could drizzle it all over!

Thai Peanut Shrimp and Broccoli  |  Lemon & Mocha

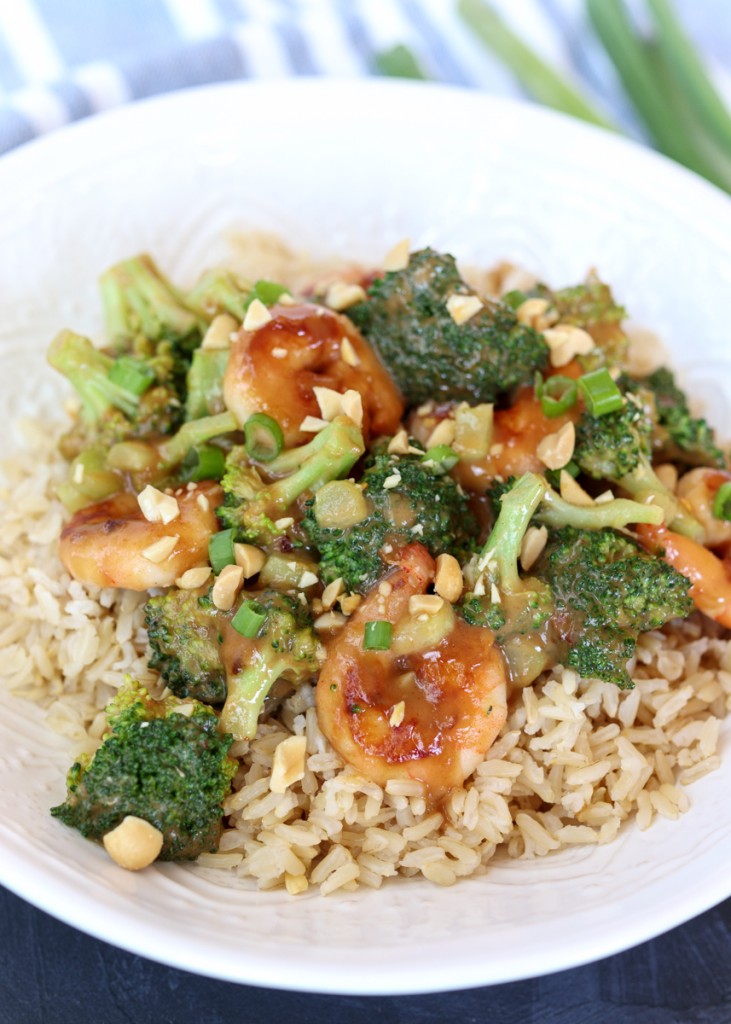
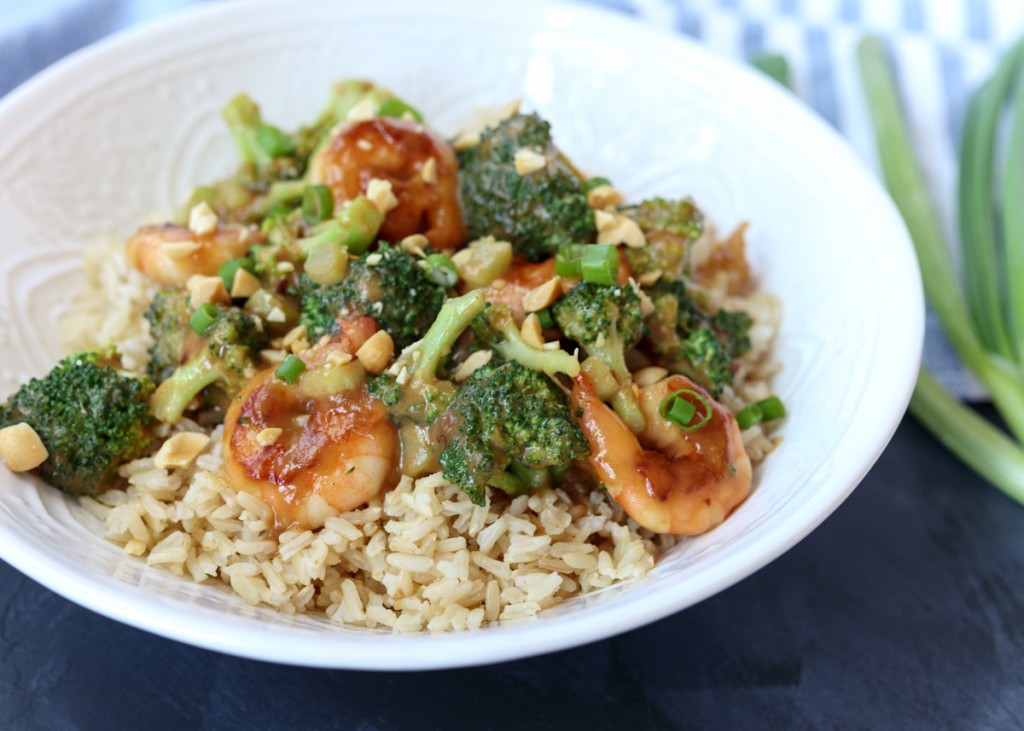
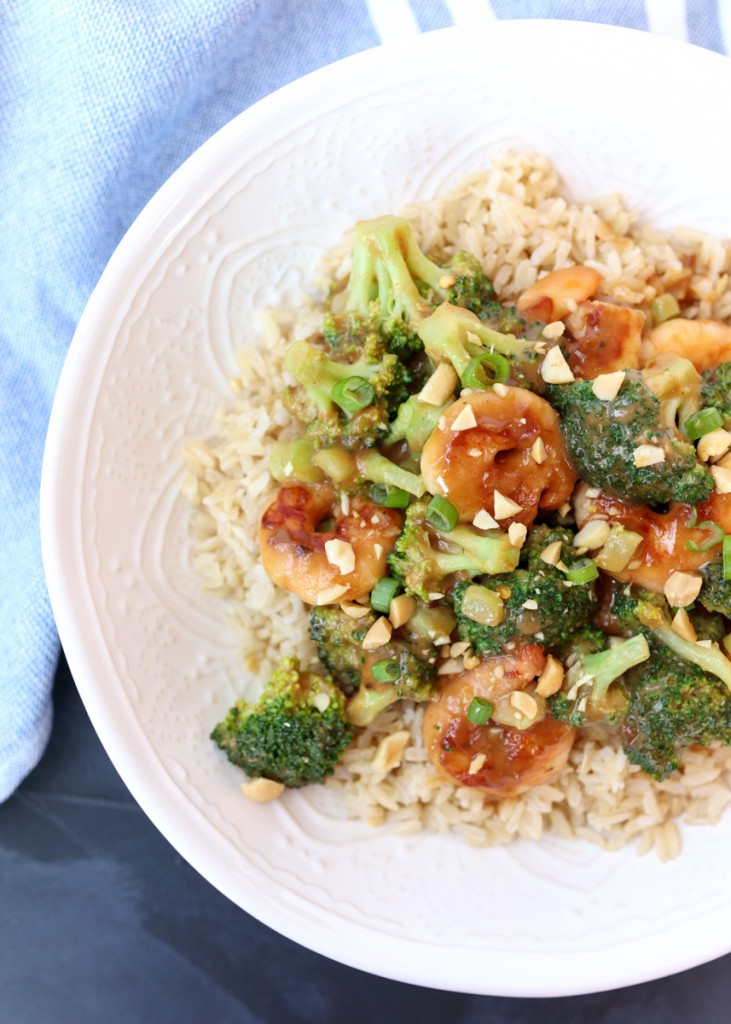
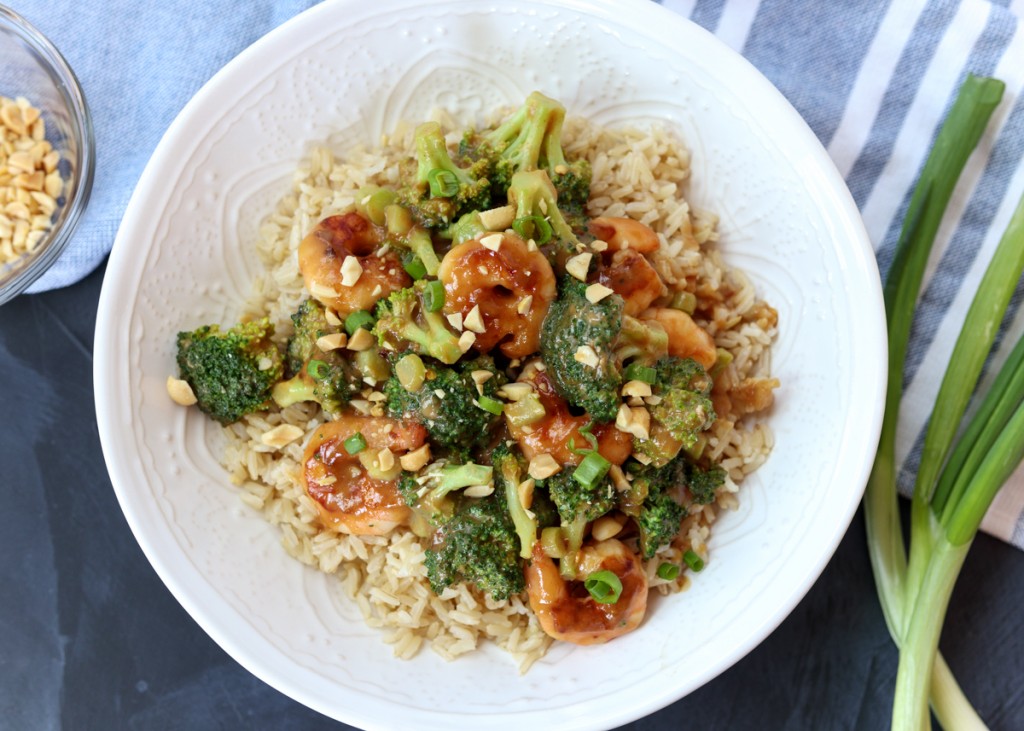
My mind immediately went to a stir fry so here we are staring at this drool-worthy Thai Peanut Shrimp and Broccoli. This dish came out exactly like I was hoping. The broccoli and shrimp are tender and slightly crispy, but of course the star is that creamy peanut sauce. Pour the whole thing over some brown rice, add some chopped peanuts and scallions and you are in weeknight dinner heaven.

Thai Peanut Shrimp and Broccoli  |  Lemon & Mocha

To make the broccoli for this stir fry I used the steam-sautéed method. Remember that old post? You lightly sauté some garlic and broccoli then add some water and cover the pan so the broccoli finishes cooking by steaming right in the skillet. It cooks the broccoli really quickly while also adding some char and flavor that is missing with traditional steamed broccoli. I also peel and chop the broccoli stalks so that I’m using every bit of the broccoli, but you can feel free to omit this step if you would prefer just to use broccoli florets.

Thai Peanut Shrimp and Broccoli  |  Lemon & Mocha

The shrimp get a quick sear with three minutes on each side before it’s time for the simple peanut sauce made from peanut butter, coconut aminos, light coconut milk, maple syrup, lime juice, ground ginger and a little red pepper flakes. This whole dish is incredibly quick to throw together, which is the beauty of stir fry meals.

Thai Peanut Shrimp and Broccoli  |  Lemon & Mocha

When Matt and I were in our old apartment and would both get home from work late, stir fries were usually a twice a week regular in our rotation. I love this Thai Peanut Shrimp and Broccoli stir fry because the peanut sauce is a nice change from the classic soy sauce base that was usually our go-to. I hope you all enjoy this one! Happy Friday!

Thai Peanut Shrimp and Broccoli  |  Lemon & Mocha

Thai Peanut Shrimp and Broccoli
 
Yield: 2 servings
Ingredients
  • 1 tablespoon plus 1 teaspoon olive oil, divided
  • 1 clove garlic, thinly sliced
  • 1 head broccoli, cut into bite sized florets; stalks peeled, diced and kept separate
  • 2½ tablespoons water
  • ¼ cup creamy peanut butter (I used Jif)
  • 2 tablespoons coconut aminos
  • 2 tablespoons light coconut milk
  • 1 tablespoon maple syrup
  • 1 tablespoon lime juice
  • ¼ teaspoon ground ginger
  • ⅛ teaspoon red pepper flakes, plus more to taste
  • 12 large shrimp, peeled and de-veined
  • 2 tablespoons chopped peanuts
  • 2 tablespoons chopped scallions
  • Salt and pepper
Directions
  1. Heat a tablespoon of the olive oil in a large skillet (that has a lid, but don’t use the lid yet) over medium heat. Add the garlic. When the garlic starts to sizzle, add the diced broccoli stalks and cook for 1 minute. Add the florets and cook for 3 minutes, stirring occasionally. Add the water, cover the skillet and reduce the heat to low. Steam the broccoli for 5 minutes, until tender and the water has steamed off.
  2. While the broccoli is cooking, make the peanut sauce. Whisk the peanut butter, coconut aminos, light coconut milk, maple syrup, lime juice, ground ginger and red pepper flakes in a small mixing bowl until well combined.
  3. When the broccoli is done, remove from the skillet. Heat the remaining teaspoon of olive oil in the skillet over medium-high heat. Once hot, add the shrimp, being sure not to move the shrimp once you place them in the skillet. Season the shrimp with salt and pepper and sear for 3 minutes, flip and sear for another 3 minutes. Reduce the heat to low. Add the broccoli and sauce to the skillet. Stir until combined then remove from the heat. Serve the shrimp and broccoli over brown rice and top with the chopped peanuts and scallions.
Notes
Substitutions: If you can’t use coconut aminos, you can try swapping in low sodium soy sauce. You might need to increase the amount of maple syrup. If you can’t use light coconut milk, substitute water.


Skinny Chicken Broccoli Rice Casserole

Skinny Chicken Broccoli Rice Casserole  |  Lemon & Mocha

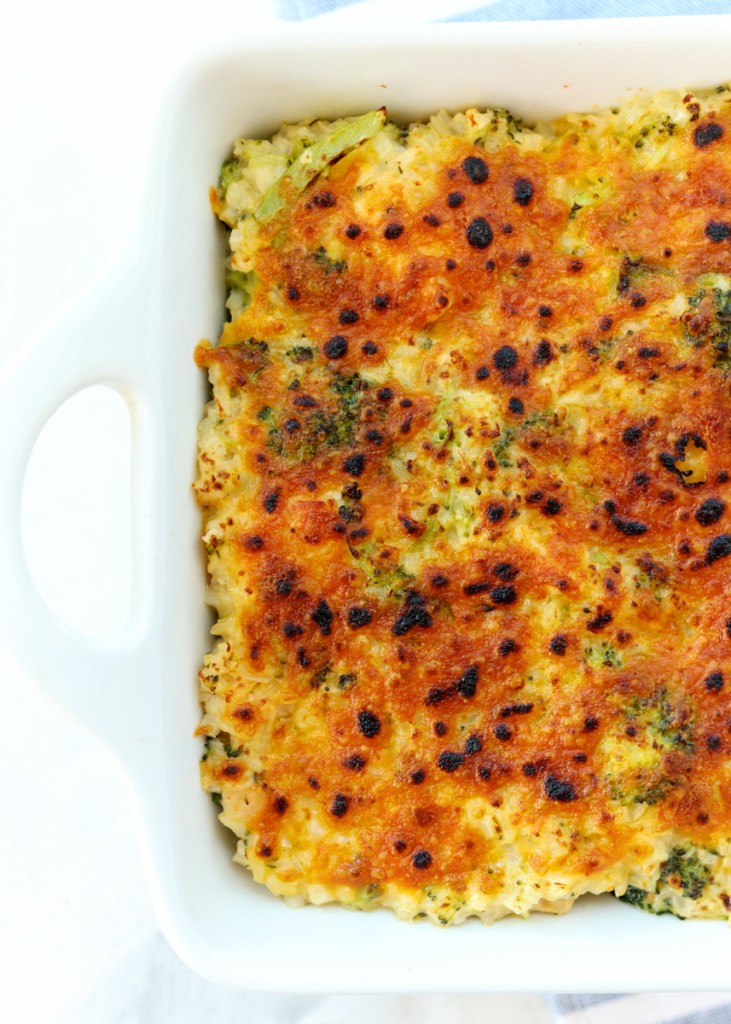
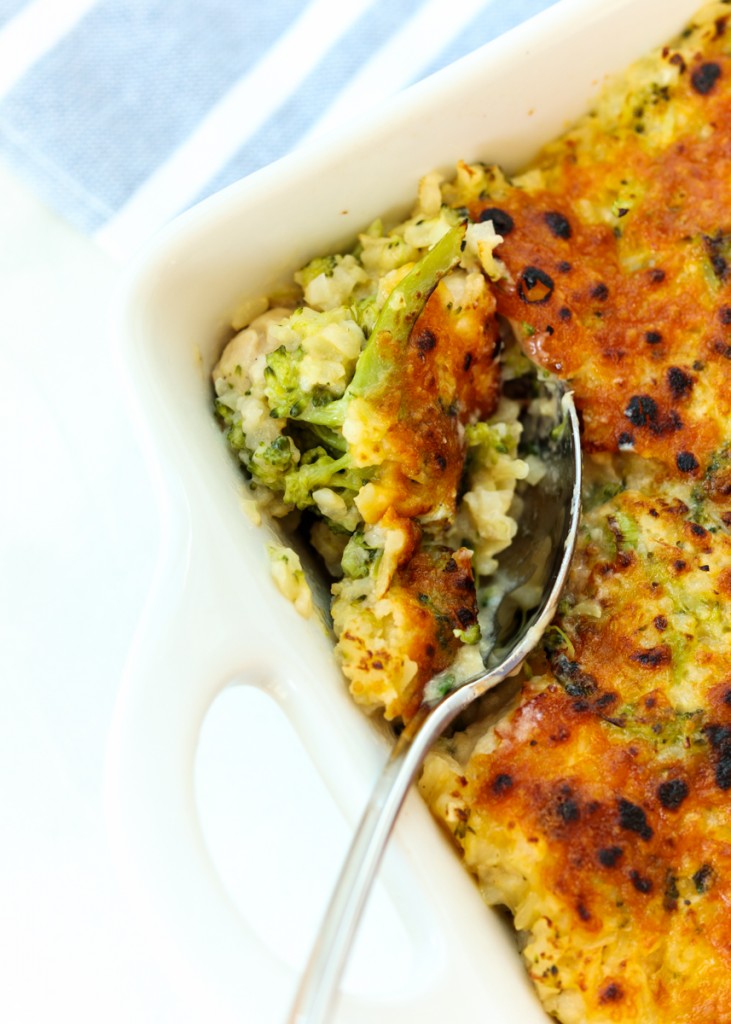
Skinny Chicken Broccoli Rice Casserole, my heart you have stole! Your greatness rivals a crispy egg roll. When eating you for dinner I lose self control! Sadly, after the last bite I was hard to console. Sorry for that, but I’m so excited about this dish that the only way I could express myself was through song. That’s normal right?

Skinny Chicken Broccoli Rice Casserole  |  Lemon & Mocha

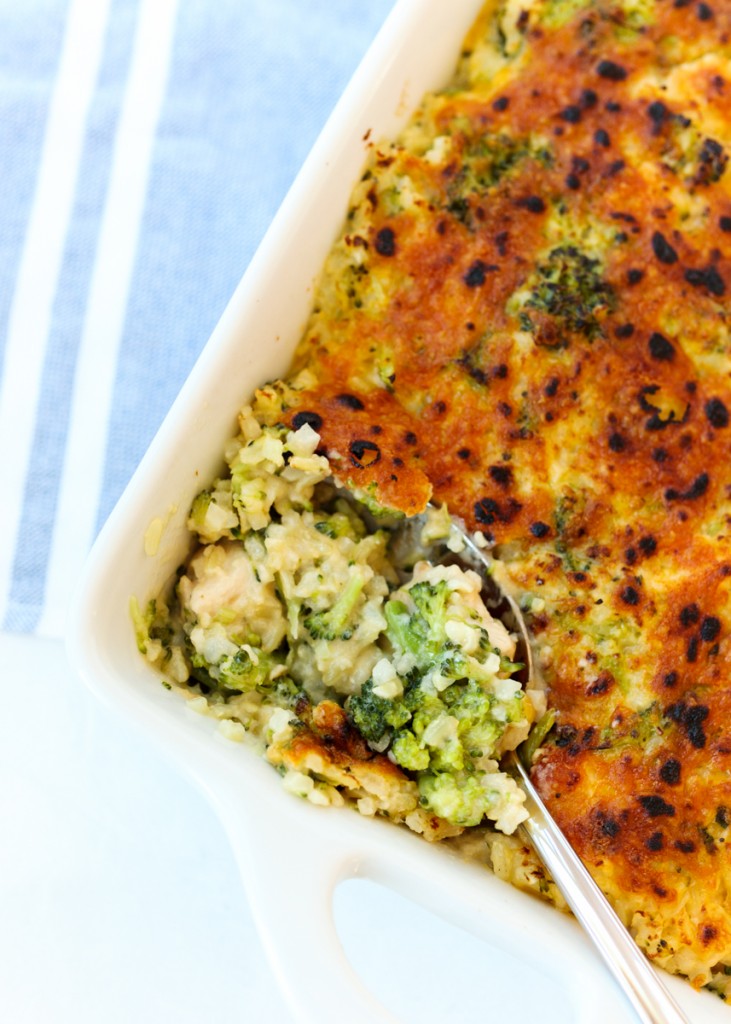
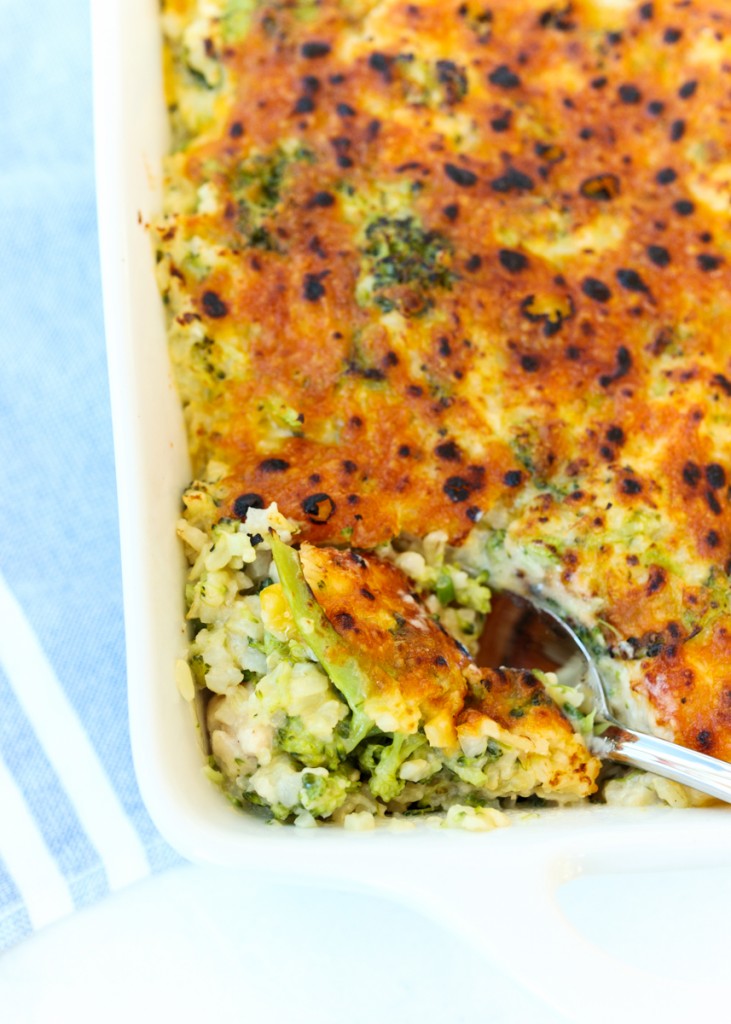
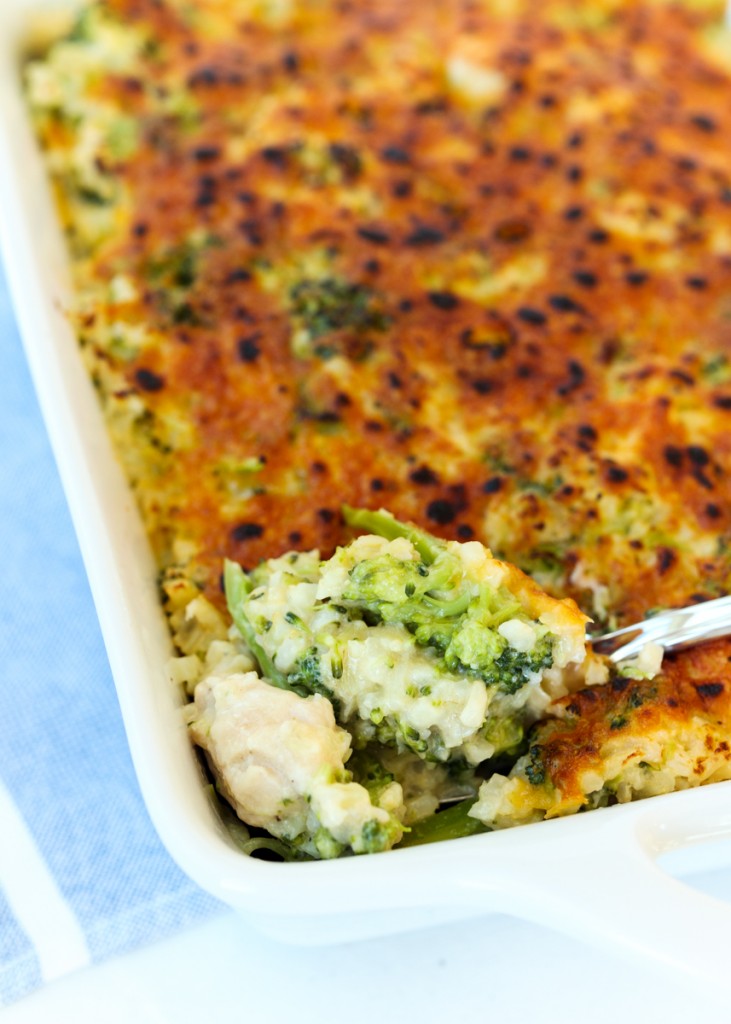
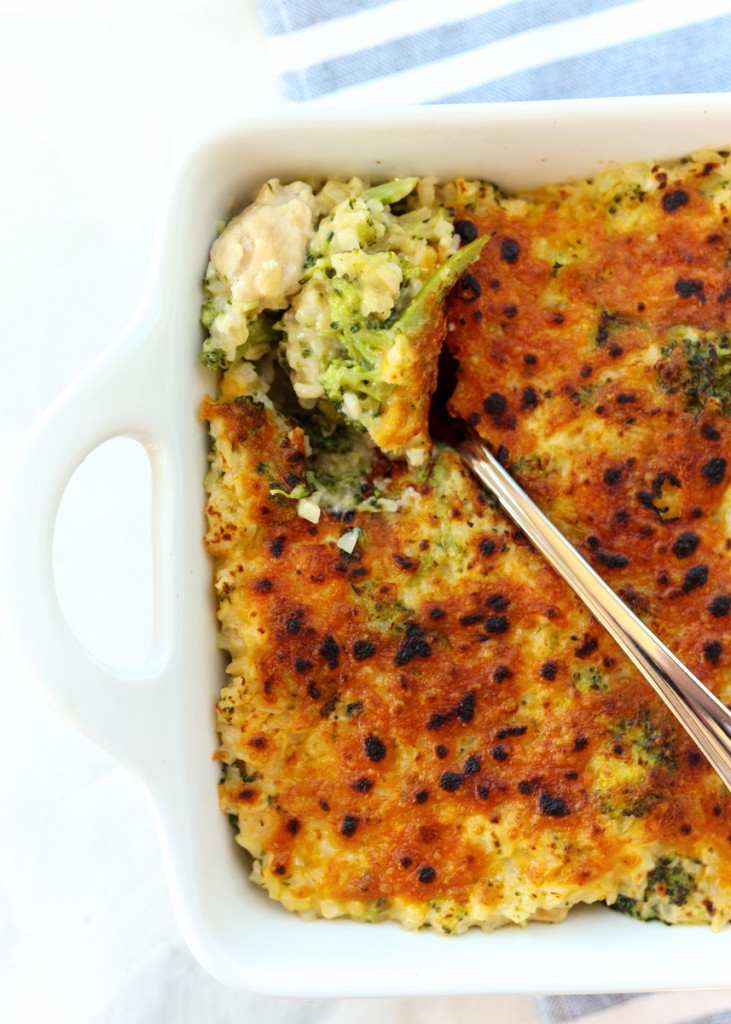
I first made this Skinny Chicken Broccoli Rice Casserole just last week and Matt and I were hooked after one bite. It’s creamy, cheesy and full of comforting flavors. Plus, this healthy dinner dish is guilt-free! I swapped all the rice for a combination of half brown rice and half riced cauliflower. This half and half mix is great because you still get the hearty and chewy texture of the rice, while adding more vegetables and lightness with the tender riced cauliflower. You could always do all cauliflower rice or all brown rice if you prefer.

Skinny Chicken Broccoli Rice Casserole  |  Lemon & Mocha

The broccoli has been doubled, which is perfect since Matt and I love broccoli. Each serving gives you a full cup of broccoli meaning you get some tender broccoli bits in every cheesy bite. The dish has also been lightened with nonfat milk and low-fat sour cream, although you can use Greek yogurt instead of the sour cream if you would like.

Skinny Chicken Broccoli Rice Casserole  |  Lemon & Mocha

Every night Matt kept questioning if I was making up that it was a healthier dish since it’s so creamy and delicious! It’s incredible how cheesy it tastes, even though there’s only 1/4 cup of cheddar per serving.

Skinny Chicken Broccoli Rice Casserole  |  Lemon & Mocha

I’m sure this freezes well, although we never got around to trying it since we gobbled it all up! I did, however, sauté the chicken pieces ahead of time then freeze them so when I knew I wanted to make this dish I put the cooked chicken pieces in the fridge overnight to thaw and they were ready to pop into the casserole. I can imagine kids loving this dish so I’m sure this will be a family favorite for years and years to come. Enjoy!

Skinny Chicken Broccoli Rice Casserole  |  Lemon & Mocha

Skinny Chicken Broccoli Rice Casserole
 
Yield: 8 servings
Ingredients
  • 2 cups chicken broth
  • 1 cup brown jasmine rice
  • 2 heads broccoli florets, about 8 cups
  • 16 ounces boneless skinless chicken breasts, cut into bite size pieces
  • 3 cups riced cauliflower
  • 2 cups nonfat milk
  • 1½ tablespoons all-purpose flour
  • 8 ounces shredded sharp cheddar cheese, about 2 cups
  • ⅓ cup light sour cream
  • ¼ teaspoon salt
  • ¼ teaspoon fresh ground black pepper
  • ¼ teaspoon garlic powder
  • 2 scallions, chopped
  • Salt and pepper for seasoning
  • Cooking spray
Directions
  1. If you have a rice cooker with a steamer basket, see note. Otherwise, bring broth to a boil in a large pot (big enough to fit all the broccoli eventually). Add the rice, cover, reduce heat to low and let simmer for 30-35 minutes or until rice is tender. When the rice is 5 minutes away from being done, put the broccoli in the pot and cover to steam. Try not to let too much steam out while you’re doing this or the broccoli will need to stay in there longer. Once the broccoli is tender, remove pot from the heat and add the contents to a large mixing bowl. Rinse and wipe the pot.
  2. Spray a skillet with cooking spray then heat over medium-high heat. Add the chicken and season with salt and pepper. Cook for 5-7 minutes, turning and flipping occasionally. When they’ve reached an internal temperature of 165 degrees F, add the chicken to the large mixing bowl and wipe the skillet. Lightly spray the skillet with cooking spray again and cook the cauliflower rice until tender. It should only take a couple minutes; if you are using frozen riced cauliflower it usually says to sauté until there’s no more liquid. Remove from the skillet and add to the large mixing bowl.
  3. Heat the milk in the pot from the rice over medium heat until warm then whisk in the flour. Continue to whisk occasionally until thick, about 7-10 minutes, then remove from the heat. Add ¾ of the shredded cheese (about 1½ cups) and whisk until melted. Add the sour cream, ¼ teaspoon salt, ¼ teaspoon black pepper, ¼ teaspoon garlic seasoning and whisk until smooth. Pour into the large mixing bowl. Add the chopped scallions to the mixing bowl then stir until well combined.
  4. Lightly spray a 9x13” pan with cooking spray. Add the contents of the mixing bowl and spread to an even layer. Sprinkle the remaining cheese (about ½ cup) on top. Broil until the cheese is melted; watch carefully because it melts very quickly. Let sit 5 minutes before serving.
Notes
Substitutions: You can use any fat percentage of milk you prefer. You can substitute plain nonfat or low-fat Greek yogurt for the sour cream.
Rice and Broccoli: I made it the way specified above for testing purposes since not everyone has a rice cooker, but for all future times I make this I will just use my Breville Risotto Plus to cook the rice and steam the broccoli at the same time since it’s quicker and the rice comes out perfect every time.

Recipe adapted from Iowa Girl Eats.