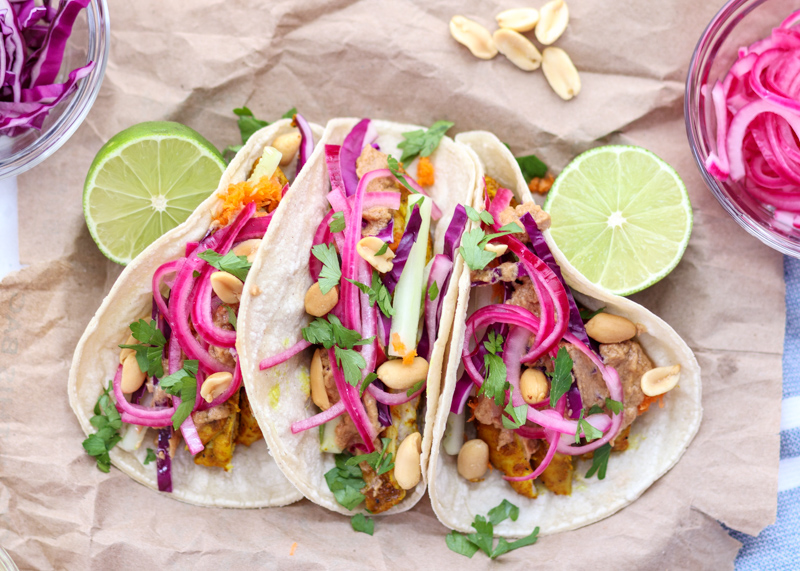
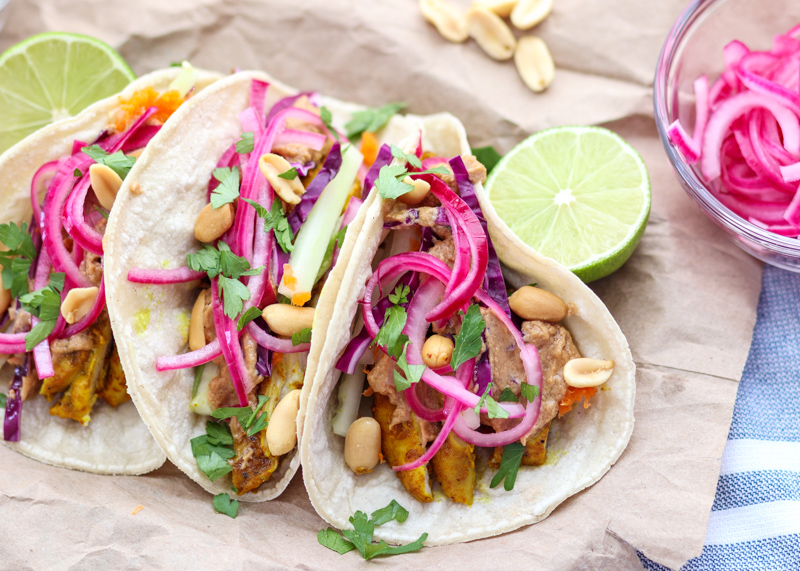
Thai Peanut Chicken Tacos
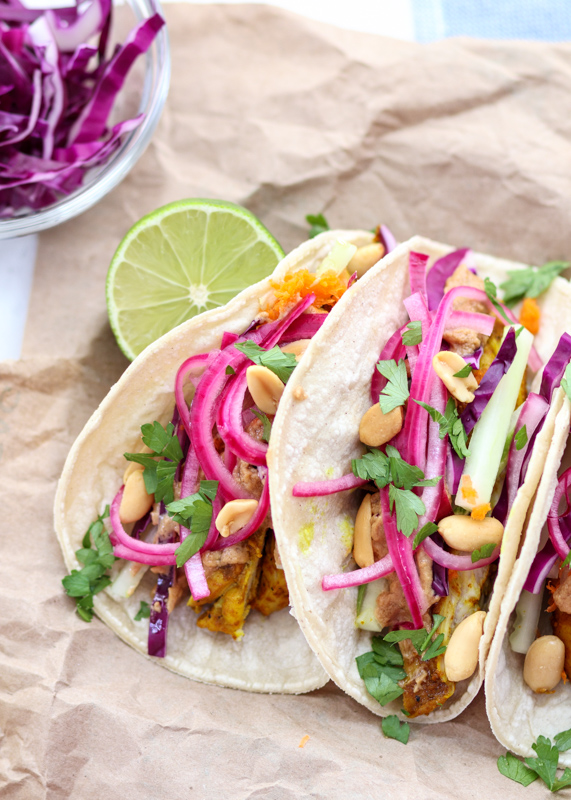
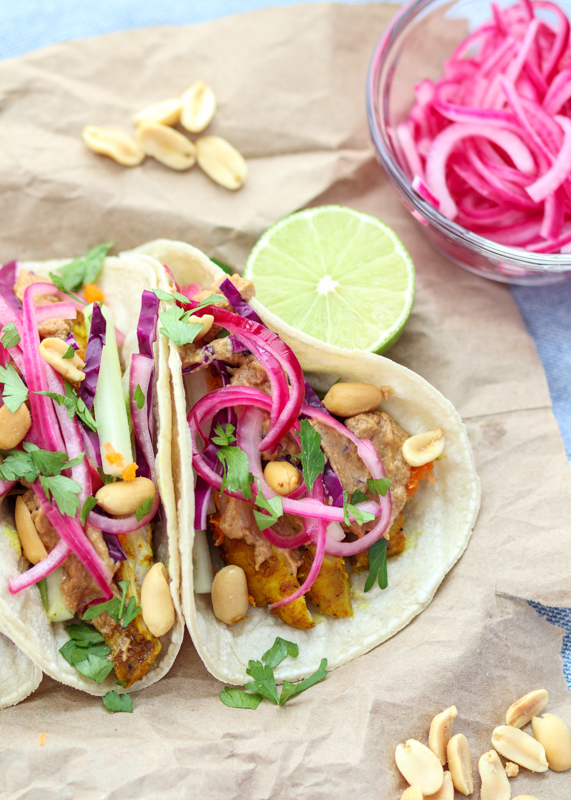
Did you know that tomorrow is National Taco Day? I have zero idea who decided Thursday, October 4th should be National Taco Day instead of a Tuesday, but maybe they just wanted people to celebrate tacos twice this week instead of stacking the celebrations. It also seems a little odd to have National Taco Day in October instead of some spring or summer date when tacos seem to be more on people’s menus, but I am definitely not complaining. Just curious. I’m especially not complaining because it prompted me to create these outrageous Thai Peanut Chicken Tacos! Spiced chicken thighs are layered inside warm tortillas along with some cabbage, cucumber and carrots before being drizzled with an Asian peanut sauce. The tacos are then topped with chopped peanuts and pickled red onions.
The initial inspiration for doing a Thai flavored taco smothered in peanut sauce came from my favorite burrito chain, Boloco. You might remember them from my New England Harvest Salad post, where I even mentioned their Bangkok Thai burrito. I knew if peanut sauce could work so well in a burrito that it would easily translate to tacos. Even though the easy microwave peanut sauce, similar to the sauce for the Sesame Peanut Noodles with Chicken, is delicious, the real star is the marinated chicken thighs. Lately I’ve been experimenting with spices I’m not as familiar with, such as turmeric and coriander, and Matt and I have surprised ourselves by being really into all the dishes I’ve tried so far. I also have been using chicken breasts for all my recipes for so long that I forgot how succulent and juicy chicken thighs can be.

The chicken only needs to marinate for one hour or it can be left overnight if you want it ready when you come home from work. The spiced chicken thighs get baked in the oven for about 18 minutes and after sampling a bite it was really hard to save all the chicken for the tacos and not dive right in. The seasonings along with the lime juice and zest have such a good balance of citrus, nuttiness and warmth, without being spicy. Unless you want it spicy and then you can certainly kick up the chili powder.
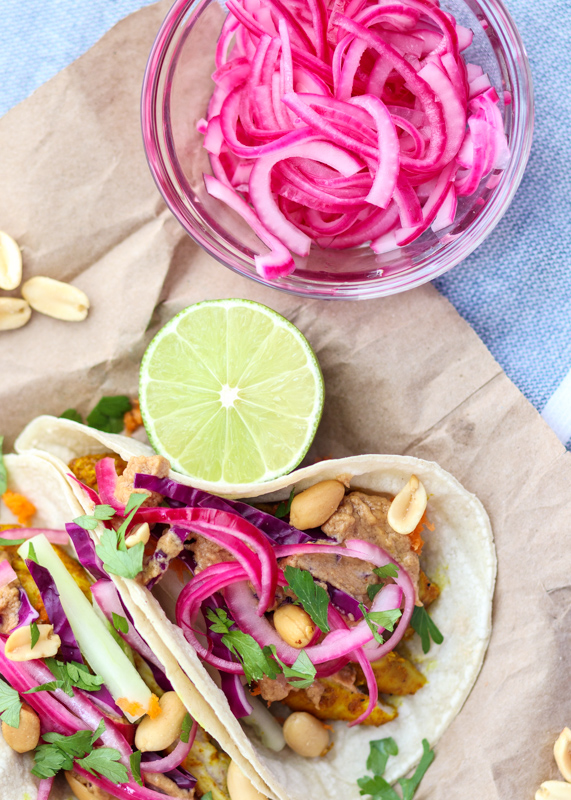
Another element in this recipe that I totally took from Boloco is the pickled red onions. Pickled red onions are sweet, vinegary, crunchy and have a very subtle onion flavor. They’re also bright pink and really amp up most burrito or taco combinations. The recipe here is for quick pickled red onions so all you need to do is heat apple cider vinegar, water, sugar and salt before pouring over the thinly sliced red onions to let them sit for one hour. That’s it! It’s so simple I’m shocked I don’t pile pickled red onions on every dish I make.
All together this taco has a winning combination of savoriness, acidity and sweetness and I am declaring it definitely worthy of being enjoyed on National Taco Day – and all subsequent Taco Tuesdays!
- 3 tablespoons lime juice
- ¼ cup plus 2 tablespoons creamy peanut butter
- 1½ tablespoons soy sauce
- 1 tablespoon water
- 1½ teaspoons sesame oil
- ½ cup water
- ¼ cup apple cider vinegar
- 1½ teaspoons sugar
- 1 teaspoon salt
- ½ red onion, thinly sliced
- 1 clove garlic, minced
- 1 tablespoon lime juice
- 1 tablespoon olive oil
- 1½ teaspoons ground cumin
- 1½ teaspoons ground turmeric
- 1½ teaspoons ground coriander
- ½ teaspoon ground ginger
- ⅛ to ¼ teaspoon chili powder (depending on spice tolerance)
- 1 teaspoon salt
- ¼ teaspoon ground black pepper
- Zest from ½ lime
- 1 pound boneless skinless chicken thighs
- 8 6-inch tortillas, warmed
- ½ cup sliced red cabbage
- ½ cup matchstick cut cucumber (see note)
- ½ cup shredded carrot
- ¼ cup chopped fresh parsley or cilantro
- ¼ cup chopped peanuts
- Combine the lime juice, peanut butter, soy sauce, water and sesame oil in a small bowl. Microwave for 45 seconds and stir until smooth.
- Combine the water, apple cider vinegar, sugar and salt in a small saucepan over medium heat. Stir until the sugar dissolves then remove from the heat.
- Place the sliced red onions in a bowl then pour the vinegar mixture over top. Let sit at room temperature for 1 hour.
- In a container or bowl large enough to hold the marinating chicken, combine the minced garlic, lime juice, olive oil, cumin, turmeric, coriander, ginger, chili powder, salt, black pepper and lime zest. Add the chicken thighs and toss until they’re fully coated. Marinate the chicken for at least one hour (it is safe to marinate for as long as overnight if you would prefer).
- You can grill or bake the chicken. See the recipe note for grilling instructions. To bake the chicken, preheat the oven to 350 degrees F. Line the baking sheet with nonstick aluminum foil then place the chicken in a single layer. Bake the chicken for 18-20 minutes, or until they reach an internal temperature of 165 degrees F. Let the chicken rest for a couple minutes then slice.
- Top each warmed tortilla with the sliced chicken, red cabbage, cucumber, carrot, parsley and peanuts, dividing between the 8 tacos. Top each taco with some pickled red onions then drizzle each taco with the peanut sauce.
To grill the chicken: Heat a grill to medium-high heat. Grill the chicken for 4-5 minutes per side, until they reach an internal temperature of 165 degrees F. If you want to make sure you don’t overcook your chicken, you could grill them until they reach just over 160 degrees F and then allow for some carryover cooking. This is when the chicken continues to cook after it’s been removed from the grill. Temp it after a few minutes and make sure it has risen to 165 degrees F.