Perfect Chocolate Chip Cookies

This post was originally published on 5/20/2014. It has been updated with new photos and content.

Perfect Chocolate Chip Cookies  |  Lemon & Mocha

I would be surprised if there is anyone who doesn’t have some sort of special memory related to chocolate chip cookies. They are just one of those foods that tend to remind you of home and comfort. My memory has to do with my grandma, as most of my food memories do. She was known throughout my family and friend group as having delicious chocolate chip cookies, so much in fact that they were dubbed “Babu Cookies.” (Side note: we call my grandma Babu, which is short for Babushka, or grandmother in Russian).

Perfect Chocolate Chip Cookies  |  Lemon & Mocha

The best part was that there was always a batch of them somewhere in the house. Whether they were stocked in the freezer or a fresh batch was sitting warm and gooey on the cooling racks in the kitchen, Babu made sure we never were lacking chocolate chip cookies. I have not been able to perfect the Babu cookie as I remember it, slightly cakey and chewy, and part of that is probably because the memories associated with some foods can tend to elevate them in your mind. So instead, after much practice in the kitchen I now make my own delicious chocolate chip cookies.
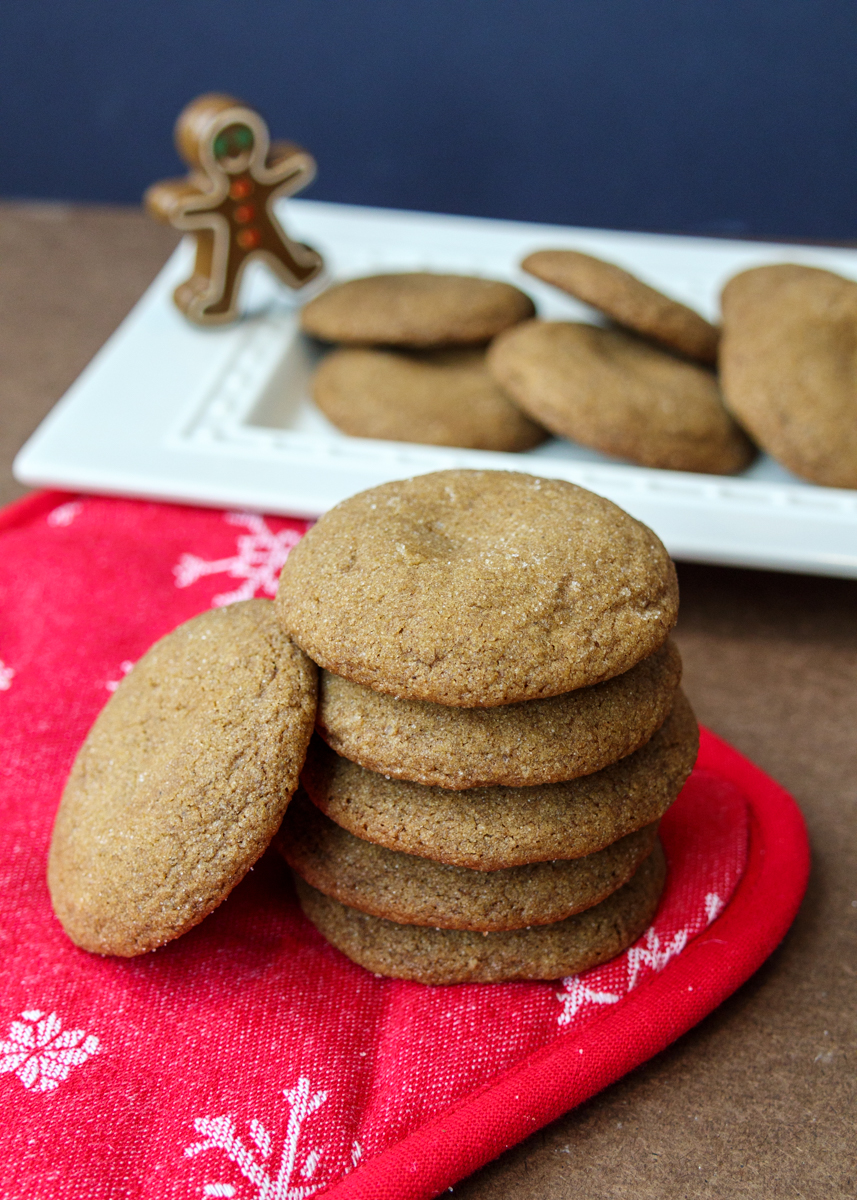
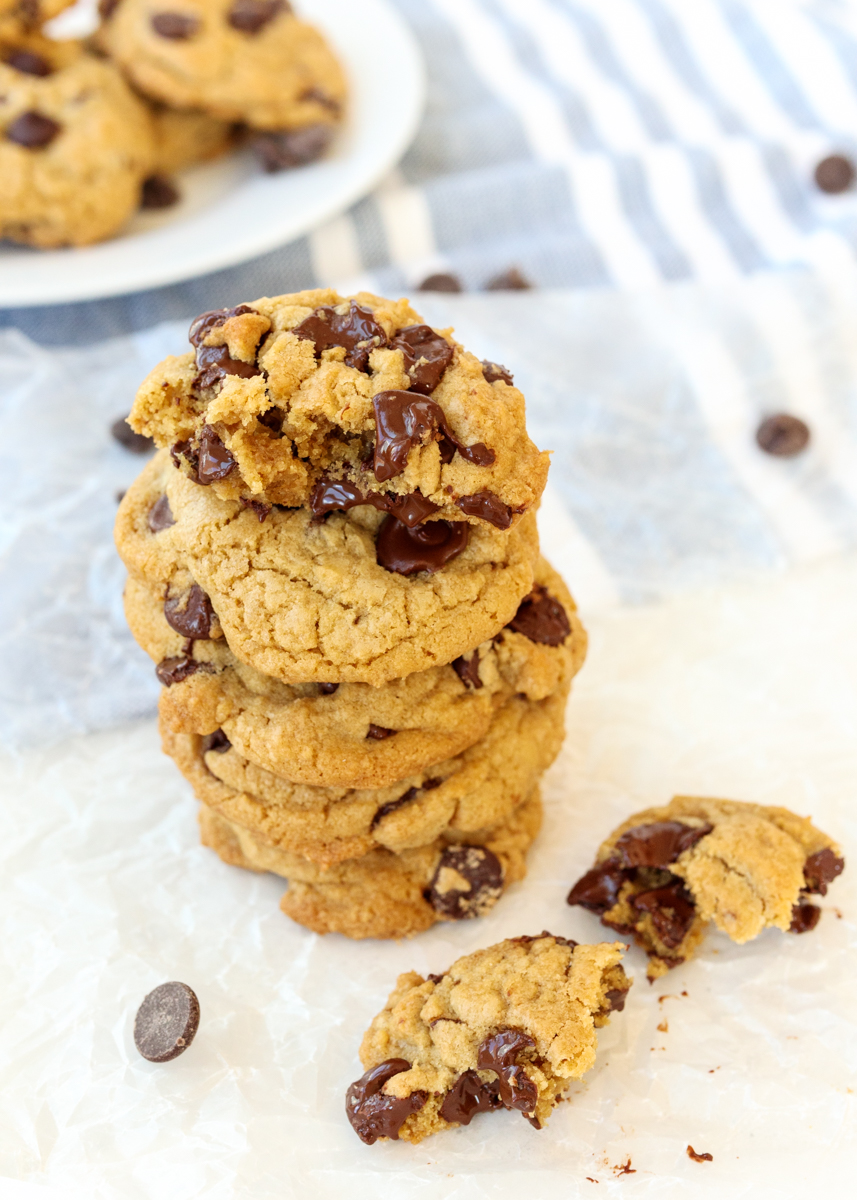
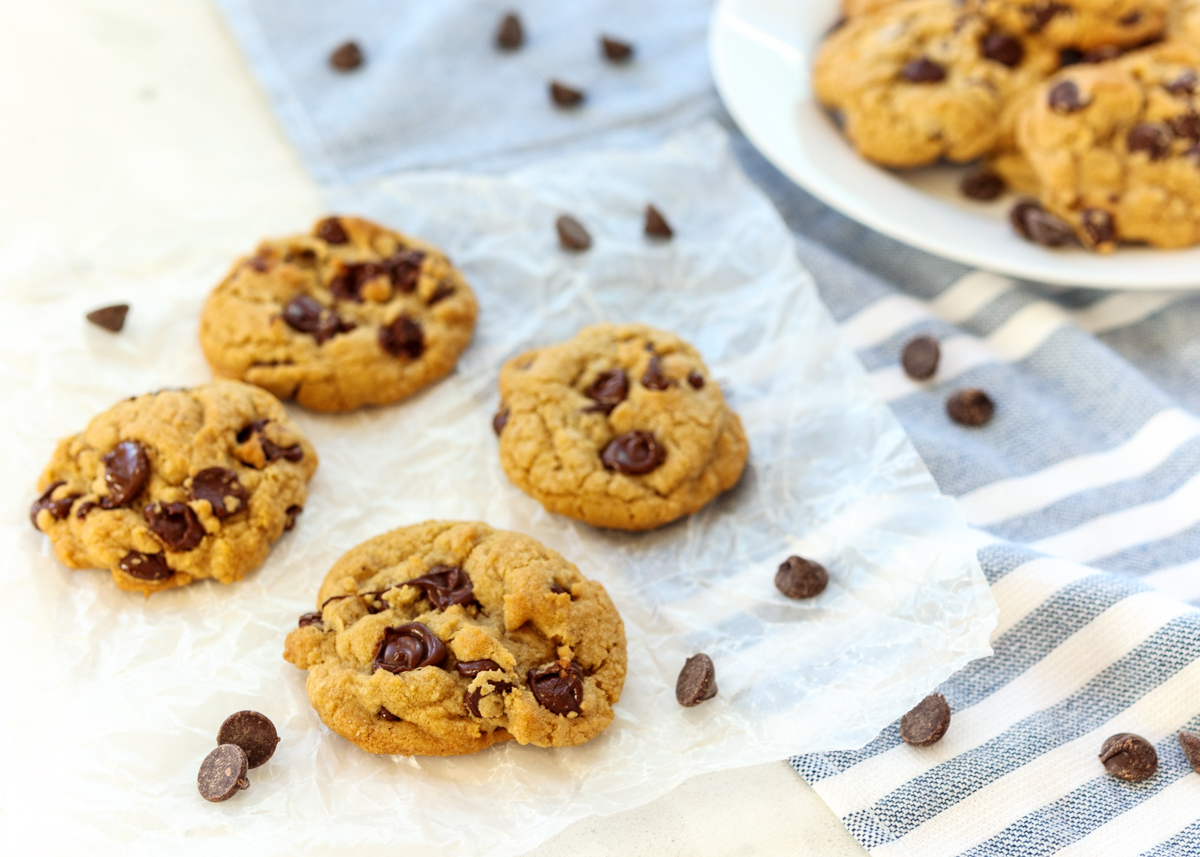
Perfect Chocolate Chip Cookies  |  Lemon & Mocha

Although I’m ice cream obsessed and having a very close relationship with my Perfect Chocolate Cupcakes, my favorite dessert is a chocolate chip cookie. If I’m going to be specific though, my absolute favorite dessert is my Perfect Chocolate Chip Cookies. I know, it sounds so egotistical, which is not me at all, but they are my ideal chocolate chip cookie. Chewy, soft, rich flavor and loaded with chocolate chips. They are also my favorite cookies to bake because there’s no resting time for the dough! This is ideal for whenever you are having a cookie craving, which is my usual state of being.

Perfect Chocolate Chip Cookies  |  Lemon & Mocha

Chewy Texture

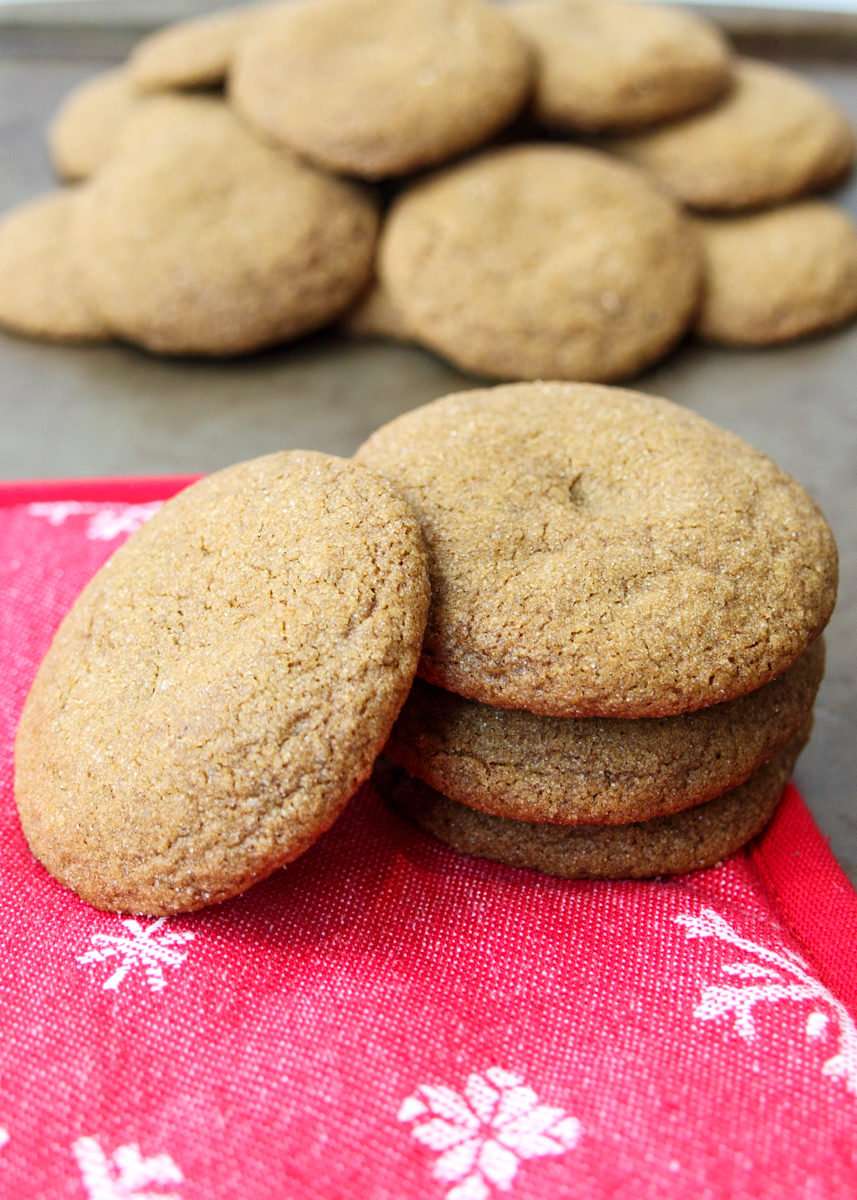
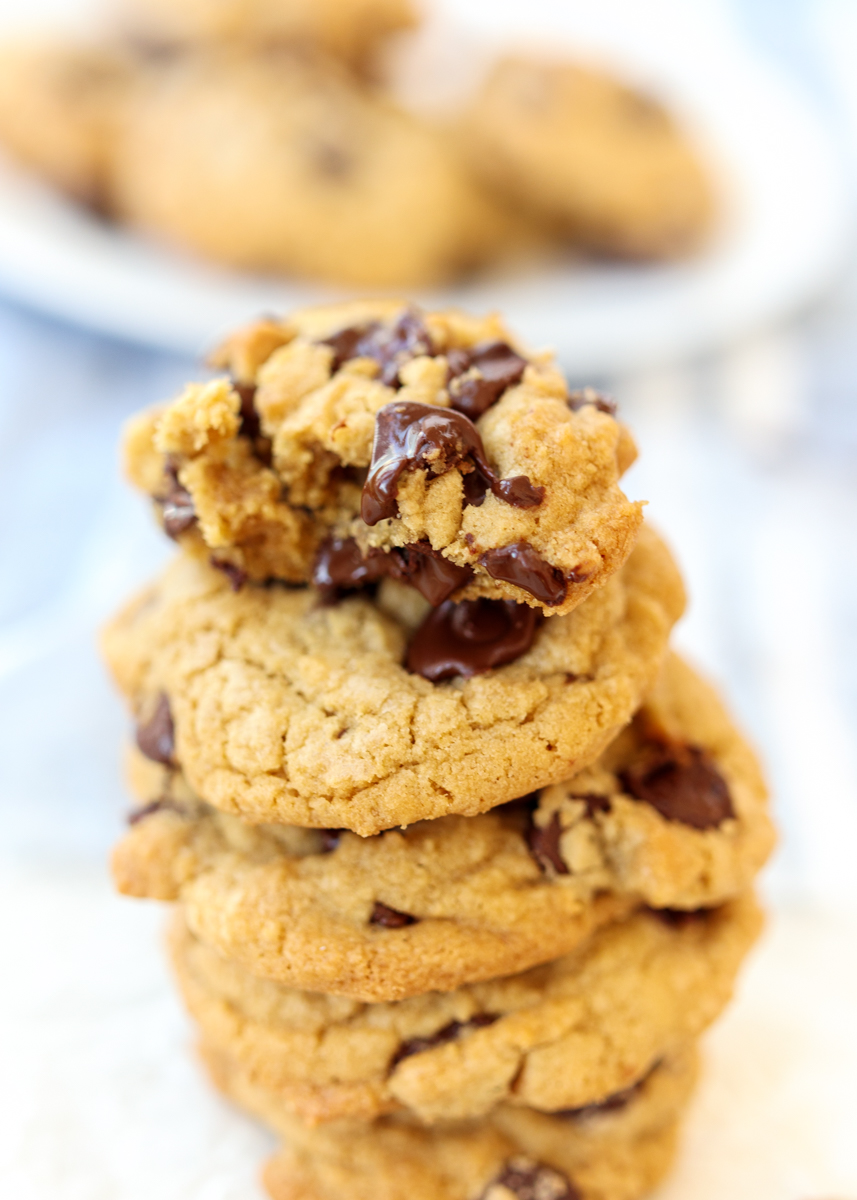
Having a higher percentage of brown sugar rather than granulated sugar, as well as an additional egg yolk, is what gives the cookies that chewy texture. Now, the secret with these cookies is that they are actually Browned Butter Chocolate Chip Cookies.
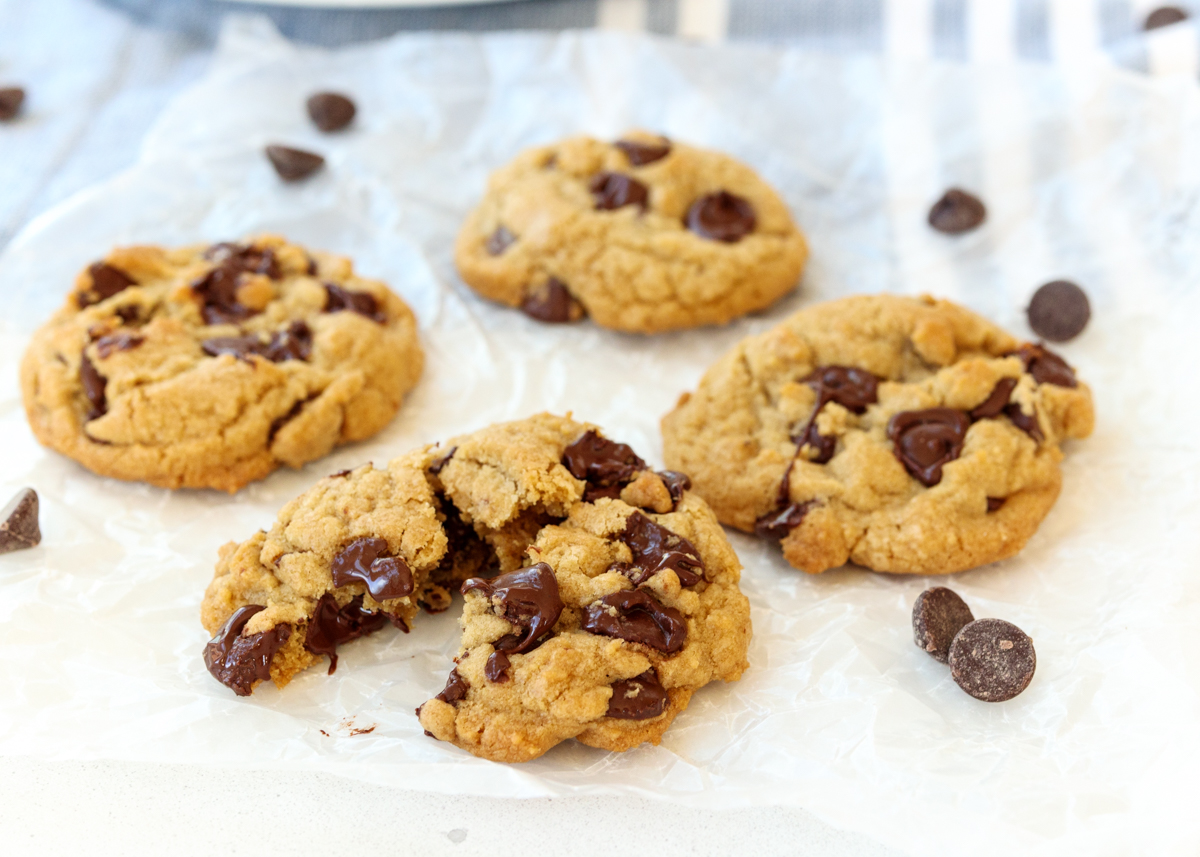
Rich Flavor

Browning the butter gives them a rich, deep flavor, and as an added bonus you don’t have to remember to let your butter come to room temperature!

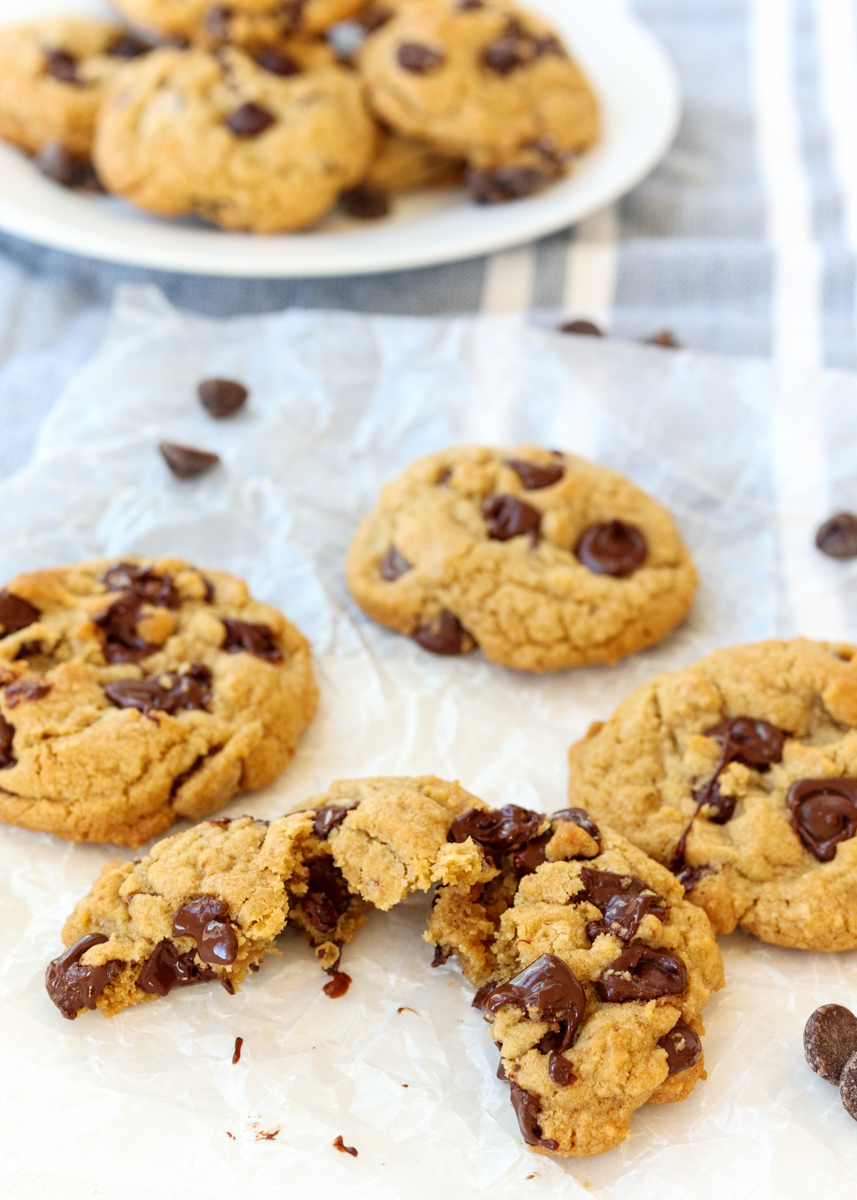
Loaded with Chocolate

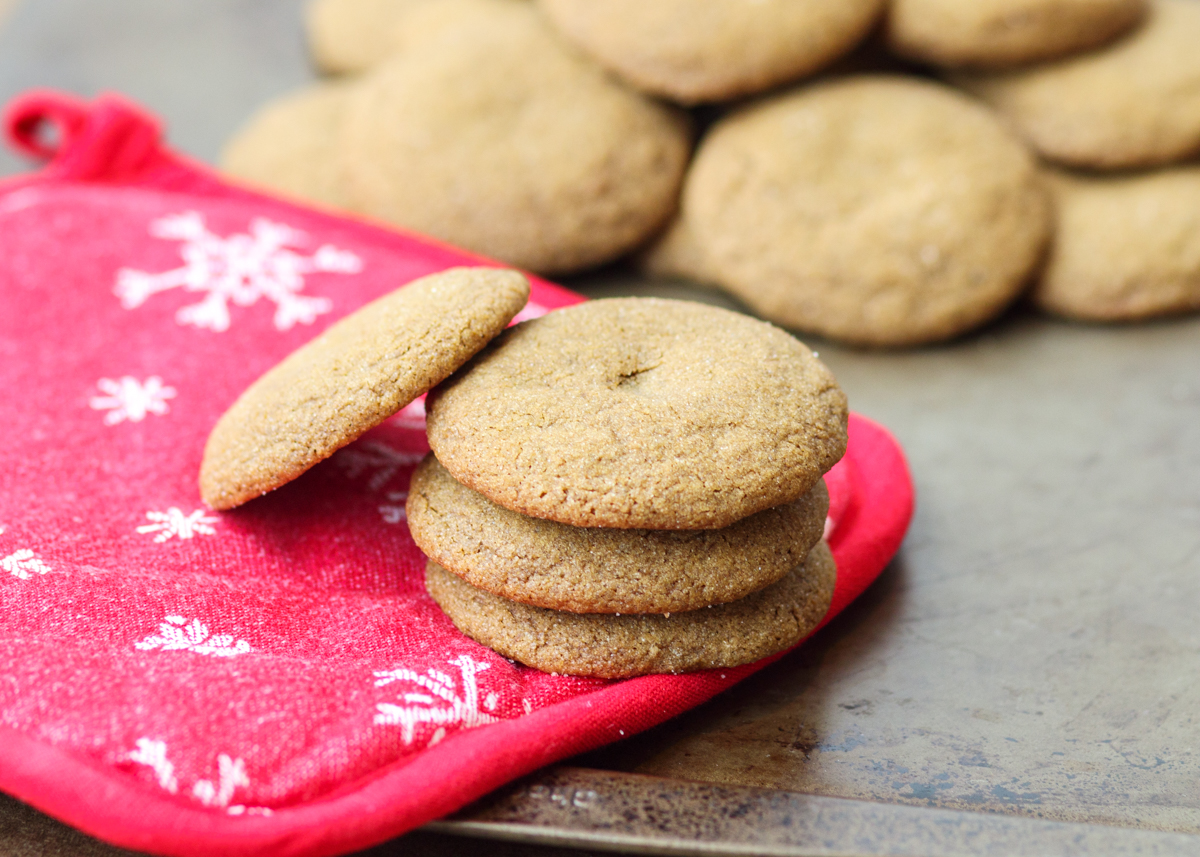
Really good chocolate chips are key and bring this cookie to a straight-up heavenly status. I stick to Ghiradelli or Trader Joe’s semi-sweet chocolate chips, but I’ve heard great reviews about Scharffen Berger and Guittard as well. If they are out of the Ghiradelli semi-sweet I use the bittersweet chocolate chips instead. Sometimes I even mix it up and do half chocolate chips and half chocolate chunks – yum!

Perfect Chocolate Chip Cookies  |  Lemon & Mocha

I could eat the entire batch of these cookies, but Matt would never let me get away with not sharing. 
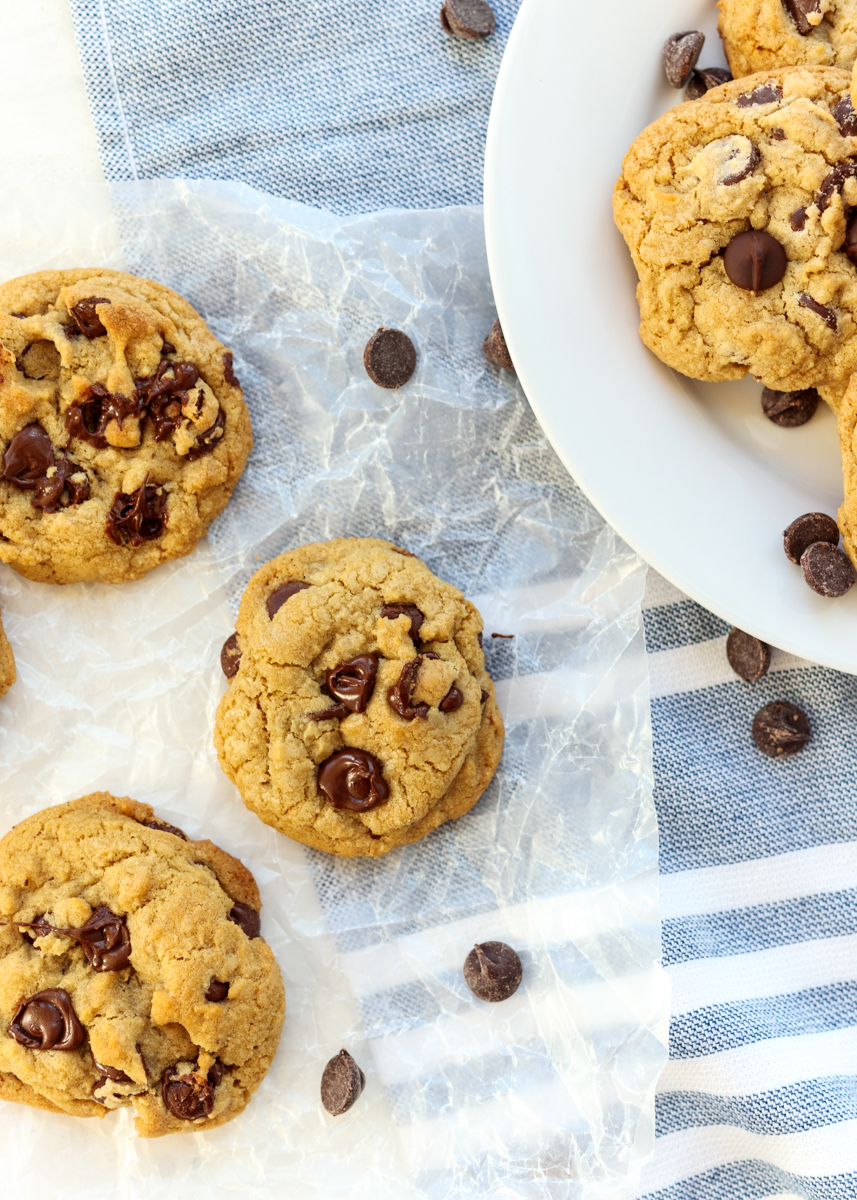
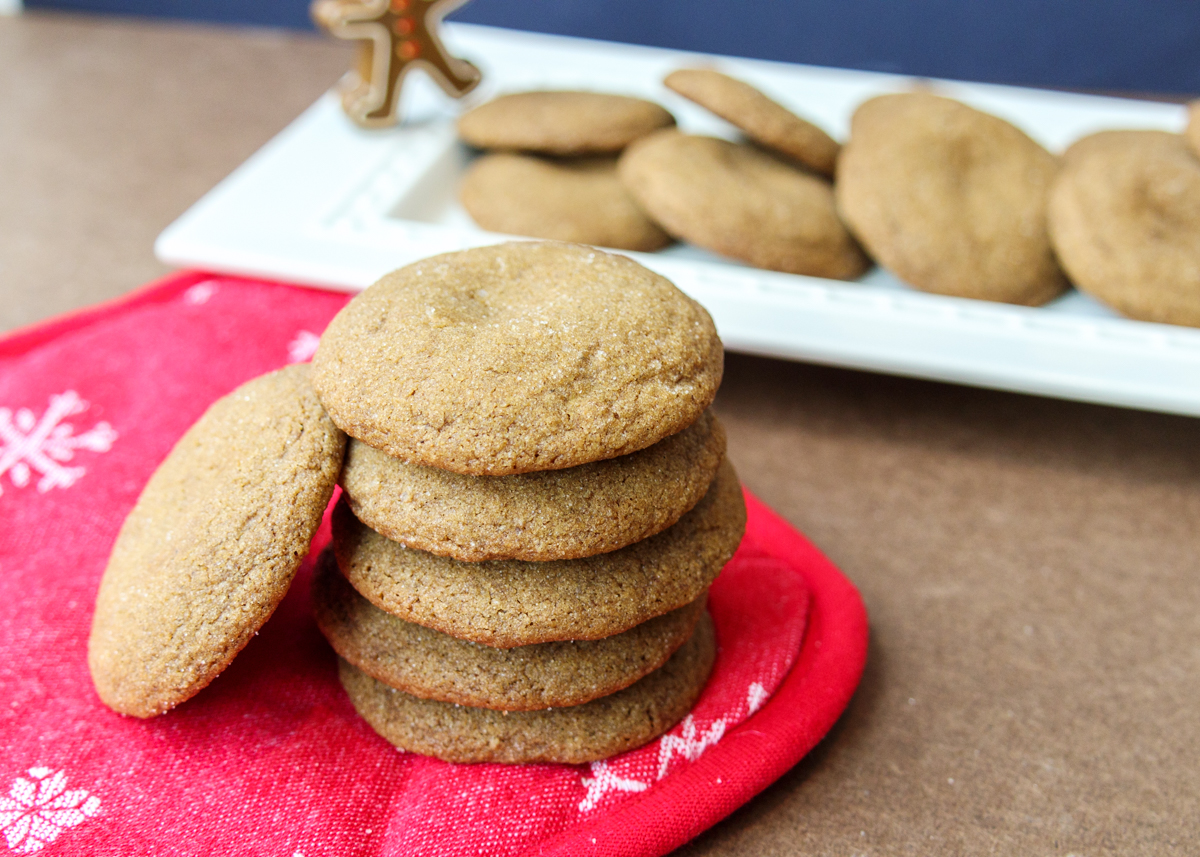
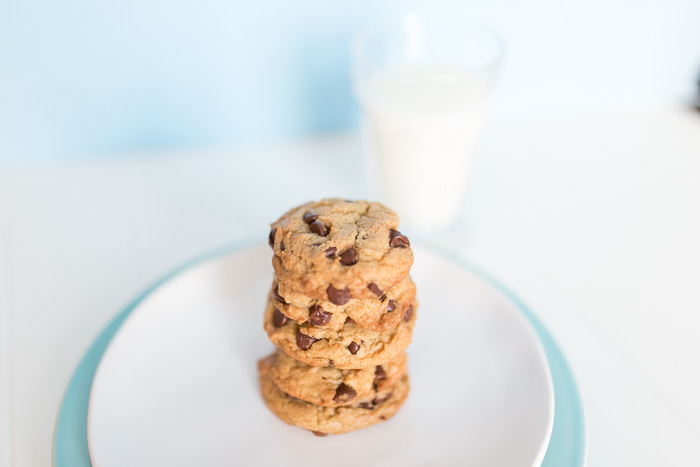
Even though it takes an enormous amount of willpower to not devour them as soon as they’re out of the oven, my favorite way to eat them is cold out of the fridge. So make these Perfect Chocolate Chip Cookies and make some food memories. Or at least make your taste-buds extremely happy.

Perfect Chocolate Chip Cookies  |  Lemon & Mocha

Extra Tips

  • If you don’t already have one, get a cookie scoop. I promise it will make your life 10,388,772 times easier. I also use mine for scooping muffin and cupcake batter. It helps make your cookies the perfect uniform size every time and the dough doesn’t get soft from you touching it with your warm hands to make dough balls, resulting in thinner cookies that spread.
  • Put the dough in the fridge after scooping out the first batch to go in the oven. If you leave it out the whole time your first batch is baking, the dough will be too soft and the cookies will spread a lot during your second batch. Even though the dough will only be in the fridge for just 5 or so minutes between batches, it really helps.
  • Don’t overcook them! The cookies will be really soft when they come out of the oven and the centers will look not done. If you keep cooking them the cookies will get overcooked. Let the cookies rest on the cookie sheet on a wire rack (not the stove-top, which is most likely warm from the oven) for 1-2 minutes before transferring the cookies to a wire cooling rack. A cooling rack with grids is more stable for the cookies.

Perfect Chocolate Chip Cookies  |  Lemon & Mocha

Perfect Chocolate Chip Cookies
 
Yield: 24-28 cookies
Ingredients
  • 1¾ cups all-purpose flour
  • ¾ teaspoon salt
  • ½ teaspoon baking soda
  • ¾ cup unsalted butter (1½ sticks)
  • ½ cup sugar
  • ¾ cup dark brown sugar
  • 2 teaspoons vanilla extract
  • 1 large egg, at room temperature
  • 1 large egg yolk, at room temperature
  • 2 cups semi-sweet Ghiradelli chocolate chips
Directions
  1. Preheat oven to 375 degrees F. Line 2 large baking sheets with parchment paper and set aside.
  2. In a medium bowl sift together the flour, salt and baking soda, then set aside.
  3. In a small skillet over medium-high heat melt 8 tablespoons of the butter. Reduce the heat to medium and keep cooking, making sure to continuously swirl the pan, until the butter is golden brown in color, about 3 minutes. Remove from the heat and pour the browned butter into a large heatproof bowl or the bowl of a stand mixer. Stir in the remaining 4 tablespoons of butter until melted. Let the butter cool slightly.
  4. Add the sugar, brown sugar and vanilla to the large bowl with the browned butter. Whisk for 2 minutes on medium then medium high speed, scraping down the sides as needed. Add the egg, whisk for 1 minute on medium speed, then add the egg yolk and whisk for 1 minute on medium speed. The dough should be smooth and shiny. If using a stand mixer, switch to a paddle attachment. Stir in the flour mixture on low speed until a few streaks remain. Stir in the chocolate chips. The dough will be thick at this point so mixing in the chips will be a little hard, but do the best you can without over mixing.
  5. Use a medium cookie scoop to arrange dough balls, about 1½ tablespoons each, 2 inches apart on the first prepared baking sheet. Put the rest of the dough in the fridge. When the first batch is 5 minutes away from being done, take the cookie dough out of the fridge and scoop dough balls onto the second prepared baking sheet.
  6. Bake the cookies one tray at a time on the middle rack for 10-12 minutes. Cookies are done when they are golden brown and the edges have just started to set, but the centers are soft. Once removed from the oven let cool on the baking sheet on a cooling rack for 1-2 minutes, then carefully remove the cookies from the pan to a wire cooling rack.
Notes
If you prefer larger cookies, use a large cookie scoop to make dough balls of 3 tablespoons each.


Soft Gingersnap Cookies

Soft Gingersnap Cookies  |  Lemon & Mocha

I ultimately settled on Soft Gingersnap Cookies, but I wasn’t really sure what to name these cookies. Technically they aren’t ginger“snap” cookies since they have none of the crunchy “snappy” texture that the traditional cookies have. Some people refer to the soft version of a gingersnap cookie as a molasses cookie, but since those typically have less ground ginger than these cookies, I felt Soft Gingersnap Cookies would do the trick.

Soft Gingersnap Cookies  |  Lemon & Mocha

I first made these cookies for the Lemon S’mores with Soft Gingersnap Cookies. Side note: If you are missing summer right now use some of these Soft Gingersnap Cookies to make yourself some Lemon S’mores and you will be feeling all the summer vibes. Normally, even with Christmas cookies I am all about the chocolate, but when I first made these Soft Gingersnap Cookies they kind of stole the show. Here I was sneaking into the kitchen to grab another cookie and thinking, who is this person dying to eat another cookie that’s not chocolate or lemon?

Soft Gingersnap Cookies  |  Lemon & Mocha

There’s a few factors in play here that account for my bizarre behavior. One, these cookies are so soft and chewy, which to me is the best kind of cookie. Two, the ginger, cinnamon, cloves and molasses all work together to make it taste like you’re literally taking a bite out of the holiday season. Finally, the cookies are rolled in sugar before being baked giving them that sweet crunch on the outside that is irresistible.

Soft Gingersnap Cookies  |  Lemon & Mocha

This recipe makes nice big cookies and like most drop cookies, they freeze really well. You could either freeze them baked in freezer bags or you could freeze the dough balls to make freshly baked Soft Gingersnap Cookies all December long.

Soft Gingersnap Cookies  |  Lemon & Mocha

To freeze dough balls, form the balls of dough, skipping the sugar rolling step, and place them on a parchment or wax paper lined tray that will fit in your freezer. Once firm, put the dough balls in a freezer bag. When you’re ready to bake them that is when you can roll them in the sugar. Use the recipe’s oven temperature and time and just add a couple more minutes to account for them being frozen. Do you ever freeze cookies or freeze cookie dough?

Soft Gingersnap Cookies  |  Lemon & Mocha

Soft Gingersnap Cookies
 
Yield: 30 cookies
Ingredients
  • 2¼ cups all-purpose flour
  • 2 teaspoons ground ginger
  • 1 teaspoon baking soda
  • ¾ teaspoon ground cinnamon
  • ½ teaspoon ground cloves
  • ¼ teaspoon salt
  • ¾ cup butter, softened
  • 1 cup sugar, plus additional for rolling the dough
  • 1 large egg
  • ¼ cup molasses
Directions
  1. Preheat the oven to 350 degrees F. Line two cookie sheet with parchment paper and set aside.
  2. In a medium bowl, sift together the flour, ginger, baking soda, cinnamon, cloves and salt. Set aside.
  3. In the bowl of a stand mixer or in a large bowl with a hand mixer, beat the butter and sugar until fluffy, scraping down the sides as needed. Add the egg and molasses and beat to combine. Slowly add the flour mixture and mix until just combined.
  4. Place a few tablespoons of sugar in a small bowl. Use a medium cookie scoop or a heaping tablespoon of dough; roll into a ball then roll in the sugar before placing on the baking sheet. Continue, placing the cookie dough balls about 2” apart on the baking sheets. Bake for 10-12 minutes or until the cookies are puffy and the edges have started to lightly brown. Let cool for a few minutes on the cookie sheet then carefully move the cookies to a wire cooling rack to cool.

Recipe from Taste of Home.

Saltine Toffee Fudge aka Christmas Crack Fudge

Saltine Toffee Fudge aka Christmas Crack Fudge  |  Lemon & Mocha

Have you heard of Christmas Crack? It’s a layered candy dessert of saltines, toffee and chocolate that is sweet, salty and – you guessed it – seriously addictive. I wanted to turn this classic Christmas holiday treat into a new chocolate fudge variation. This recipe is similar to the Turtle Caramel Pecan Fudge I posted last week, but instead of pecans and caramel we’re loading the semisweet chocolate up with saltines and toffee bits.

Saltine Toffee Fudge aka Christmas Crack Fudge  |  Lemon & Mocha

The bottom layer is a layer of saltine crackers. I think a big reason this fudge is hard to stop eating is because of the saltines. I hadn’t eaten saltines in forever, but as soon as I opened the sleeve for this recipe I couldn’t stop munching them! So before we even add the chocolate we’re already in a losing battle. Unless your goal is to bring a dessert that gets wiped out first at the potluck, in which case you definitely would be winning that battle!

Saltine Toffee Fudge aka Christmas Crack Fudge  |  Lemon & Mocha

Anyways, on top of the salty cracker layer I added half a batch of the smoothest ever chocolate fudge that has been loaded with crunchy toffee bits. Why half a batch? Well that’s because we’re doing a second layer of saltines followed by the second half of fudge! Christmas Crack is normally very thin so I wanted to add two layers of saltines so the salty element of the treat would come through. On top we have more toffee bits. I think I went a little light on these; the sweet toffee flavor is so good so feel free to top it to your heart’s content!

Saltine Toffee Fudge aka Christmas Crack Fudge  |  Lemon & Mocha

I already find the original World’s Smoothest Chocolate Fudge addicting so having the salty saltines and sweet toffee bits made it that much harder to resist. So we just ate a bunch and then gave the rest away so we wouldn’t have to fight the urge to eat the whole batch. You’ve been warned! When you cut this fudge, the saltine crackers on the bottom break off everywhere so you could spread a thin layer of chocolate down first if you want, but I found it still had enough crackers making it the way I listed in the recipe below.

Saltine Toffee Fudge aka Christmas Crack Fudge  |  Lemon & Mocha

One other element of this recipe that I want to discuss is our method for making this fudge. If you’ve read or made any of my other fudge recipes you will know that I always use a double boiler to melt the chocolate evenly without it getting burnt. I use and love this universal double boiler since it’s inexpensive and fits on any pot. However, when I was making this last batch, I was thinking about how I make chocolate ganache by warming the liquid in a nonstick pot and then adding the chocolate chips and letting them melt. I figured I would give it a shot with the fudge since using the double boiler is easy, but if I could use just one pot instead of two, it would be even easier.

Saltine Toffee Fudge aka Christmas Crack Fudge  |  Lemon & Mocha

I’m so glad I tested it because it worked! I made sure to use low heat the entire time and I was constantly stirring the mixture to make sure none of the chocolate burned. So if you don’t have a double boiler and don’t feel like buying one then definitely give it a try with my new instructions below! Happy Friday, everyone!

Saltine Toffee Fudge aka Christmas Crack Fudge  |  Lemon & Mocha

Saltine Toffee Fudge aka Christmas Crack Fudge
 
Yield: 32 to 64 pieces depending on how small you cut them
Ingredients
  • 25 saltines (a little less than 1 full sleeve)
  • 1 ounce Baker's unsweetened baking chocolate
  • 2 tablespoons unsalted butter
  • One 12-ounce bag semi-sweet chocolate chips
  • 1 14-ounce can Eagle Brand sweetened condensed milk
  • 1 teaspoon vanilla extract
  • ½ cup toffee bits, plus more for topping
Directions
  1. Line an 8" x 8" pan with wax paper with some overhang so it’s easy to pull the fudge out of the pan. It is easier if you crunch up the wax paper in your hands then smooth out into the pan. Layer 16 saltines on the bottom. They will be overlapped a little.
  2. Melt the butter and unsweetened chocolate in a medium nonstick pan over low heat, stirring regularly with a heatproof spatula to make sure the chocolate doesn’t burn.
  3. Pour in the sweetened condensed milk and stir to combine. Let the mixture get a little warm then pour in half the bag of chocolate chips. Stir to help melt. Once partially melted add the rest of the bag of chocolate chips and stir until fully melted, being sure to scrape the bottom as you stir. Stir in the vanilla extract and remove from the heat. Add the toffee bits and stir to combine.
  4. Pour half the chocolate mixture into the prepared pan onto the saltine layer and smooth the top with the spatula. Make a new layer of 9 saltines then pour over the remaining half of the chocolate mixture, smoothing the top. Top with additional toffee bits. Refrigerate until the fudge is set; I usually let mine set overnight. Carefully pull the fudge out of the pan using the wax paper overhang, place on a large cutting board and cut into bite size squares with a clean, sharp knife. I usually cut mine into quarters and then cut each quarter into 16 pieces to get 64 pieces. Best eaten straight from the fridge.

Some of the links above are affiliate links, which means I may receive a small commission for my referral if you purchase something. This does not affect the retail cost of the item. Thank you for supporting Lemon & Mocha!

Easy Christmas Table Decorations

Easy Christmas Table Decorations  |  Lemon & Mocha

No, this post isn’t for something edible, but it goes on your kitchen or dining room table so let’s just go with it. Last year, Matt and I hosted Christmas dinner for the first time and as it got closer I realized I didn’t have anything to put in the center of our dining room table. When figuring out what to use as our table decorations, the criteria were:

  • Decorations that would look simple, but nice. Simple was also important to make sure there would be plenty of room for family style platters during meals.
  • A tablescape that was festive for Christmas, without looking like Santa’s workshop exploded all over the table.
  • Minimal glitter! Matt and I have a pet peeve about glitter.
  • Added bonus if some or all of the decorations could carry into winter beyond the holiday season.
  • This one was the most important: available online since going to stores in December is the worst!

Easy Christmas Table Decorations  |  Lemon & Mocha

Up first are these cute snowy pine cone mason jars that you can make at home so easily with just three things. This was the only “crafty” part of my decorations and helped set the tone for the rustic winter woods vibe. To make these at home, first find two 32-ounce glass mason jars. I usually buy mine at the Christmas Tree Shop and they usually cost between $1 and $1.50 each, but here is a set of the same size and type of jar I used. Next up is the fake snow. A little goes a long way with this stuff. Finally, we have the pine cones, which are the perfect size for fitting in the mason jars and around my little tree candle.

Easy Christmas Table Decorations  |  Lemon & Mocha

If you wanted to jazz it up even more, you could stick a small string of fairy lights in the mason jar with the pine cones. They have a little on/off switch and the battery box is really tiny so it’s easy to hide in between the pine cones.

Easy Christmas Table Decorations  |  Lemon & Mocha

Easy Christmas Table Decorations  |  Lemon & Mocha

How adorable are these reindeer tea light holders? They come in a set of six; I used three on our dining room table and scattered the remaining three elsewhere in the house. They work great with LED battery tea lights or these adorable peppermint tea light candles that I got at Sur la Table.

Easy Christmas Table Decorations  |  Lemon & Mocha

The middle wood plate, pine cone and tree candle decoration was something I put together from existing items, but you can easily re-create it since all the items are still sold in stores. I bought my 6-inch wood plate and 6-inch tree candle from Crate and Barrel. Crate and Barrel has a whole line of those cute tree candles. I haven’t found a good Amazon substitute for the Crate and Barrel tree candles, but Amazon has a similar set of four wooden appetizer plates. Then I just scattered some remaining pine cones from the set I bought.

Easy Christmas Table Decorations  |  Lemon & Mocha

Easy Christmas Table Decorations  |  Lemon & Mocha

To tie everything together, I wanted some woodsy place mats and a coordinating table runner. We love the look of the wood on our table so we usually do placemats instead of tablecloths. Unfortunately, these fun moose placemats I got at Kohl’s are no longer in stock, but here is a similar style by the same brand as the moose ones on our table. Here is another style as well; I’m not familiar with this brand, but I’m linking it just to show you the different neutral moose or reindeer themed placemats out there.

Easy Christmas Table Decorations  |  Lemon & Mocha

We got the table runner in the cranberry color and the 14-inch by 48-inch size. When pairing placemats with a table runner you either want a runner that is long enough to hang over each end of your table by a few inches and place the two end placemats on top (if you have more than four place settings) or you want the runner to fit right in the the empty center area of the table, which is what we did here. I’ve done it both ways and I really think it looks nice either way.

Easy Christmas Table Decorations  |  Lemon & Mocha

I linked to everything below as an easy to view list. I hope this little post gives you some holiday tabletop inspiration for your kitchen table or dining room!

Snowy Pine Cone Centerpieces
Two mason jars
Fake snow
Pine cones
Fairy lights, optional

Rustic Winter Woods Table Decorations
Table runner … love that this comes in so many sizes.
Place mats … how cute are these placemats?
Reindeer tea light holders … adorable and you get 6 of them for scattering throughout the rest of your house.
Tea lights … peppermint stripes perfect for the holidays.
Small wooden dish … great as a nut dish when it’s not being a Christmas decoration.
Tree candle … these Crate and Barrel candles come in multiple sizes.

Easy Christmas Table Decorations  |  Lemon & Mocha

Some of the links above are affiliate links, which means I may receive a small commission for my referral if you purchase something. This does not affect the retail cost of the item. Thank you for supporting Lemon & Mocha!

Quinoa Pizza Bites

Quinoa Pizza Bites  |  Lemon & Mocha

Happy Monday and happy December, everyone! I’m making the mistake of writing this post while I’m hungry and just thinking about these Quinoa Pizza Bites is making my stomach rumble! I should get up to go eat something, but I’m going to use it as motivation to finish writing this post!

Quinoa Pizza Bites  |  Lemon & Mocha

I’m interrupting my Christmas and holiday dessert posts to bring you this Quinoa Pizza Bite recipe. Don’t worry, there’s plenty more chocolate and desserts to come, but today we’re all about this easy, cheesy and healthy-ish appetizer.

Quinoa Pizza Bites  |  Lemon & Mocha

I love using pizza flavors in appetizers because they tend to be universally loved and nothing tastes better than some gooey cheese when you’re hungry.

Quinoa Pizza Bites  |  Lemon & Mocha

These little bites are made right in a mini muffin pan sprayed with nonstick spray so you can pop them right out and serve them hot. The base of the bite is some cooked quinoa. Mixed in with the quinoa is shredded mozzarella cheese, chopped roasted red peppers, grated Parmesan, an egg and some pizza seasonings. Don’t forget the marinara for dipping!

Quinoa Pizza Bites  |  Lemon & Mocha

The outside gets really crispy and crunchy, while the inside stays fluffy from the quinoa. You can use whichever pizza topping you prefer for the inside; Matt and I love roasted red peppers on our pizza so that’s what I used. I was also trying to keep them healthier where I could, but if you weren’t concerned about keeping it healthy, cooked crumbled sausage or mini pepperonis would be really good in these as well.

Quinoa Pizza Bites  |  Lemon & Mocha

It’s nice to have some crowd-pleasing go-to appetizers around the holidays whether you’re hosting, asked to bring an appetizer or have a holiday potluck to attend. Or, as I mentioned in the Leftover Turkey Pull-apart Sliders with a Maple Mayo and Cranberry Barbecue Sauce post, if you just want a Friday night snack. I have a few more tasty holiday appetizers to share with you this month, but in the meantime below are some of my favorites! Okay, now I’m off to go eat!

Best Slow Cooker Cocktail Meatballs

Best Slow Cooker Cocktail Meatballs

Cheesy Pesto Bread with Crispy Prosciutto

Cheesy Pesto Bread with Crispy Prosciutto

Sweet & Sticky Honey Baked Wings

Sweet & Sticky Honey Baked Wings

Apple, Bacon and Brie Bread

Apple, Bacon and Brie Bread

Aunt Jen's Chicken Ginger Dumplings

Aunt Jen’s Chicken Ginger Dumplings

Honey Walnut Baked Brie

Honey Walnut Baked Brie

Caramelized Onion & Apple Dip

Caramelized Onion & Apple Dip

Cheesy Corn & Chorizo Dip

Cheesy Corn & Chorizo Dip

Southwest Turkey Baked Egg Rolls

Southwest Turkey Baked Egg Rolls

Quinoa Pizza Bites
 
Yield: About 20
Ingredients
  • 1½ cup cooked quinoa, see note
  • 1 cup shredded mozzarella cheese
  • 1 cup chopped roasted red peppers, or other preferred topping
  • ¼ cup fresh grated Parmesan cheese
  • 1 large egg, beaten
  • 1 teaspoon Italian seasoning
  • ½ teaspoon garlic powder
  • ½ teaspoon onion powder
  • Marinara, for serving
Directions
  1. Preheat the oven to 400 degrees F. Spray a mini muffin pan with nonstick cooking spray
  2. Combine all the ingredients in a medium mixing bowl. Spoon the mixture into the muffin cavities. You will fill about 20. Make sure you press down to compact the mixture in each cavity.
  3. Bake for 18-20 minutes. Let cool for 5 minutes in the pan before eating. Gently use a spoon to help remove them from the pan if necessary.
Notes
If you don’t already have cooked quinoa, bring ½ cup uncooked quinoa to a boil with 1 cup water, then reduce heat to low and let simmer for 15 minutes, or until all the liquid has been absorbed and the quinoa is tender.

Recipe from Live Well Bake Often.