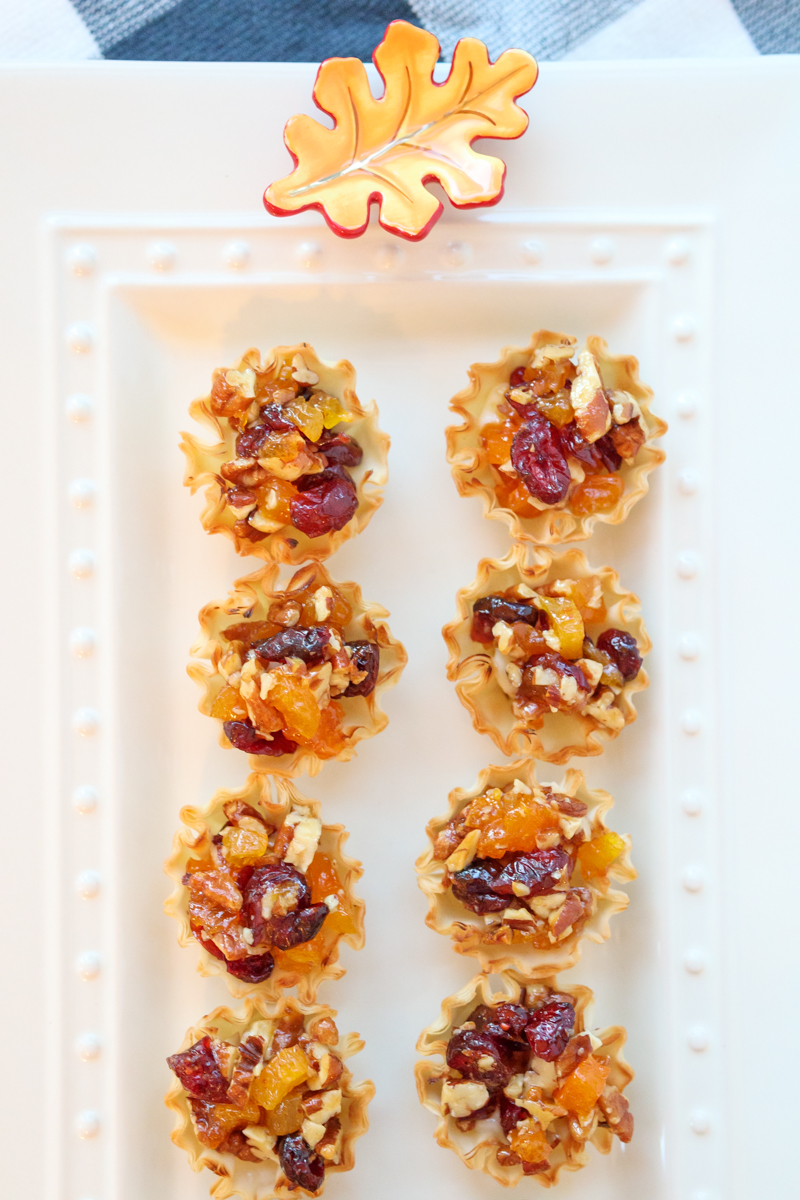
Baked Brie Fruit & Nut Tartlets
Sometimes the tastiest recipes are born out of a classic fridge and freezer clean-out. Last month I was trying to clear out our freezer to have space for all the freezer meals I prepped in anticipation of our little guy’s arrival. Side note: I plan to do a detailed freezer meal prep post when I’m back from my maternity leave so stay tuned!
Anyways, the freezer was stuffed with all sorts of odds and ends, one of which was a package of these frozen mini fillo shells. I can’t for the life of me remember why I bought them, but it was clearly for some recipe that never came to be. While I was brainstorming what to stuff the flaky tartlet shells with I thought about how much I love baked brie, especially in the fall when it starts getting chilly outside.
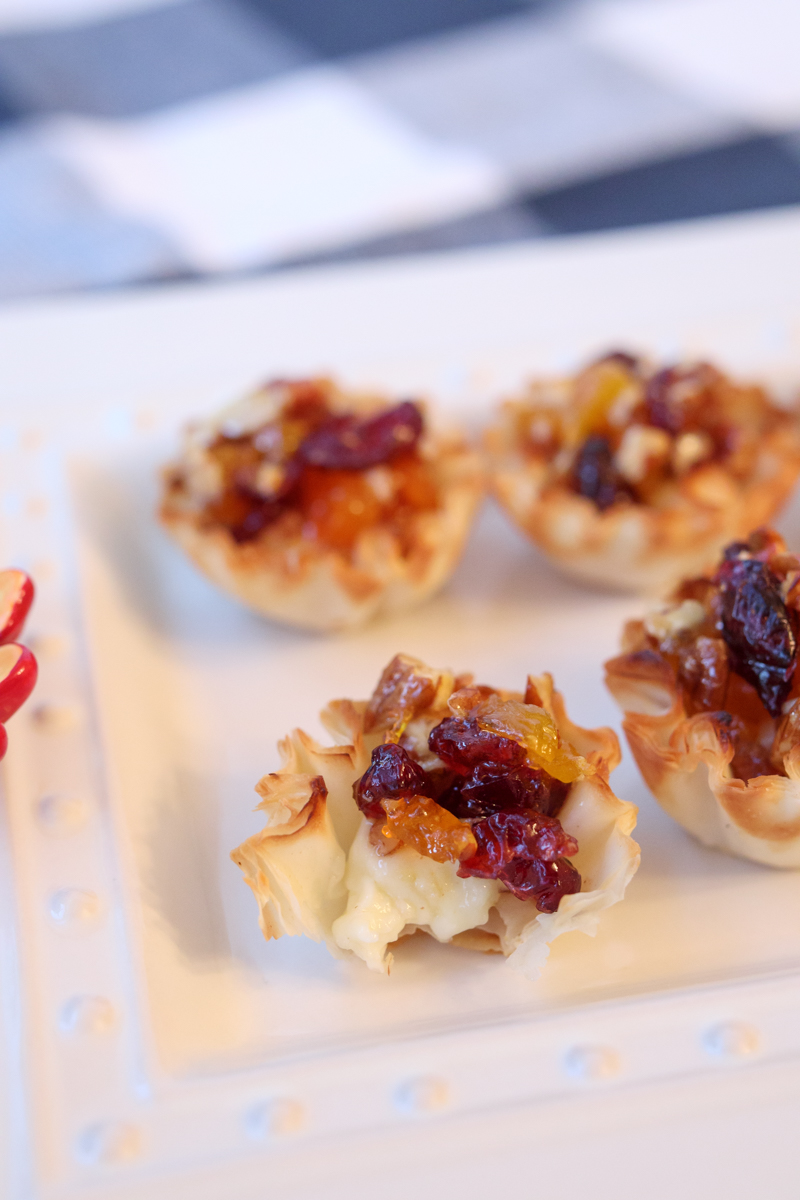
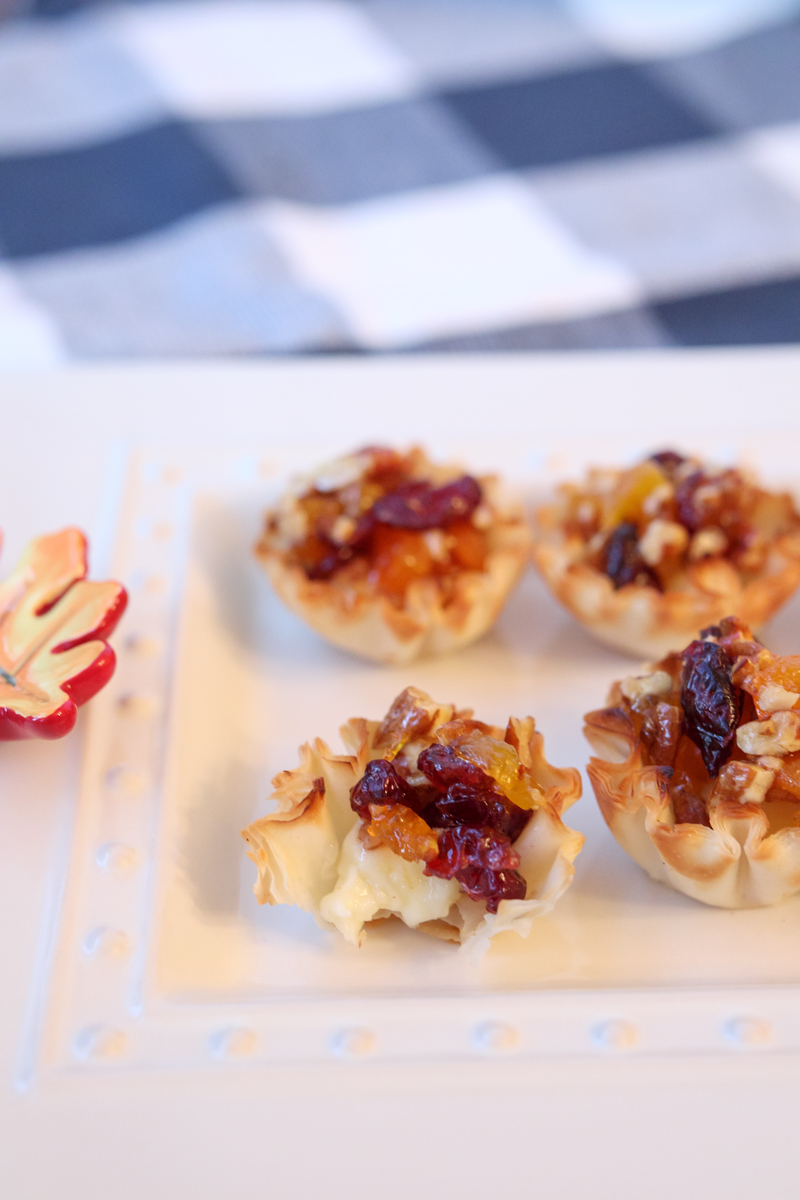
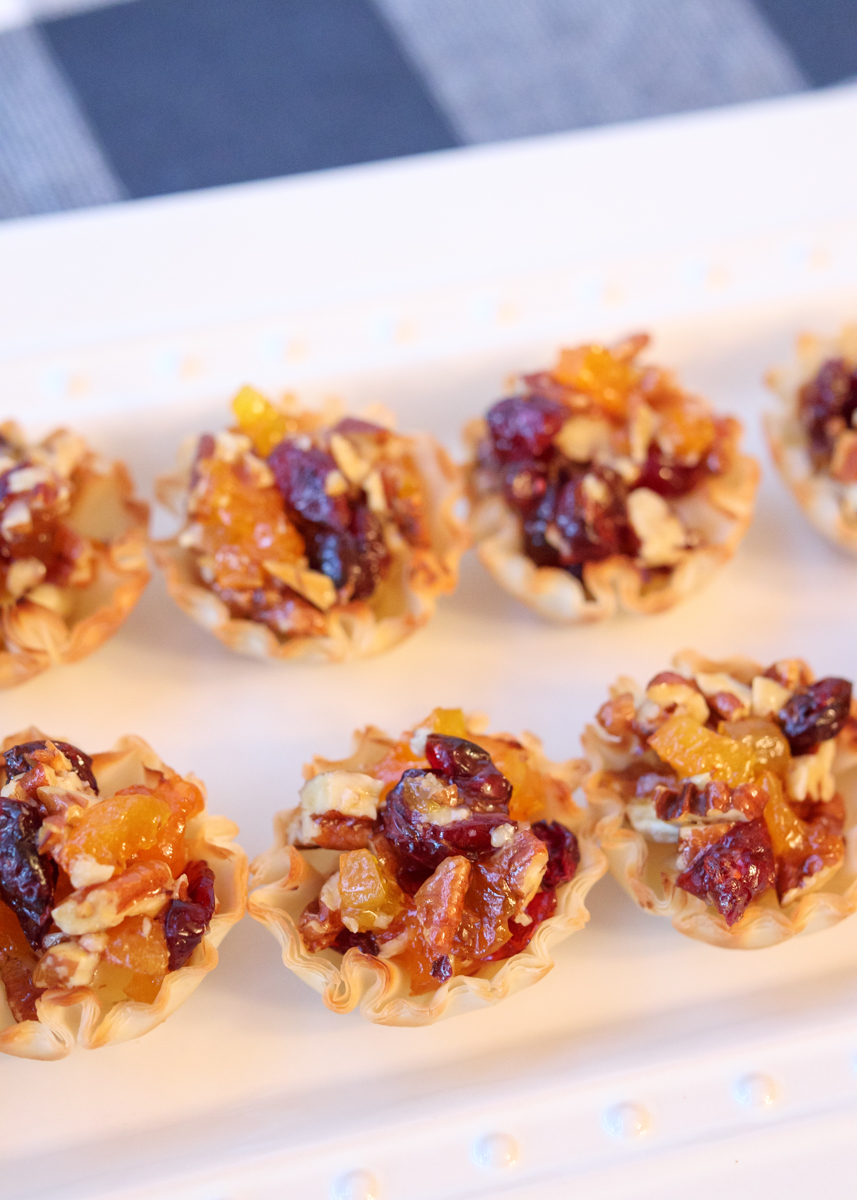
These bites are a take on a baked brie that’s been cooked until gooey and smothered with warm nuts and dried fruit. The first time I made them they were really good, but they needed more of that gooey brie so I adjusted the recipe to ensure you won’t be missing the cheese in your tartlets.
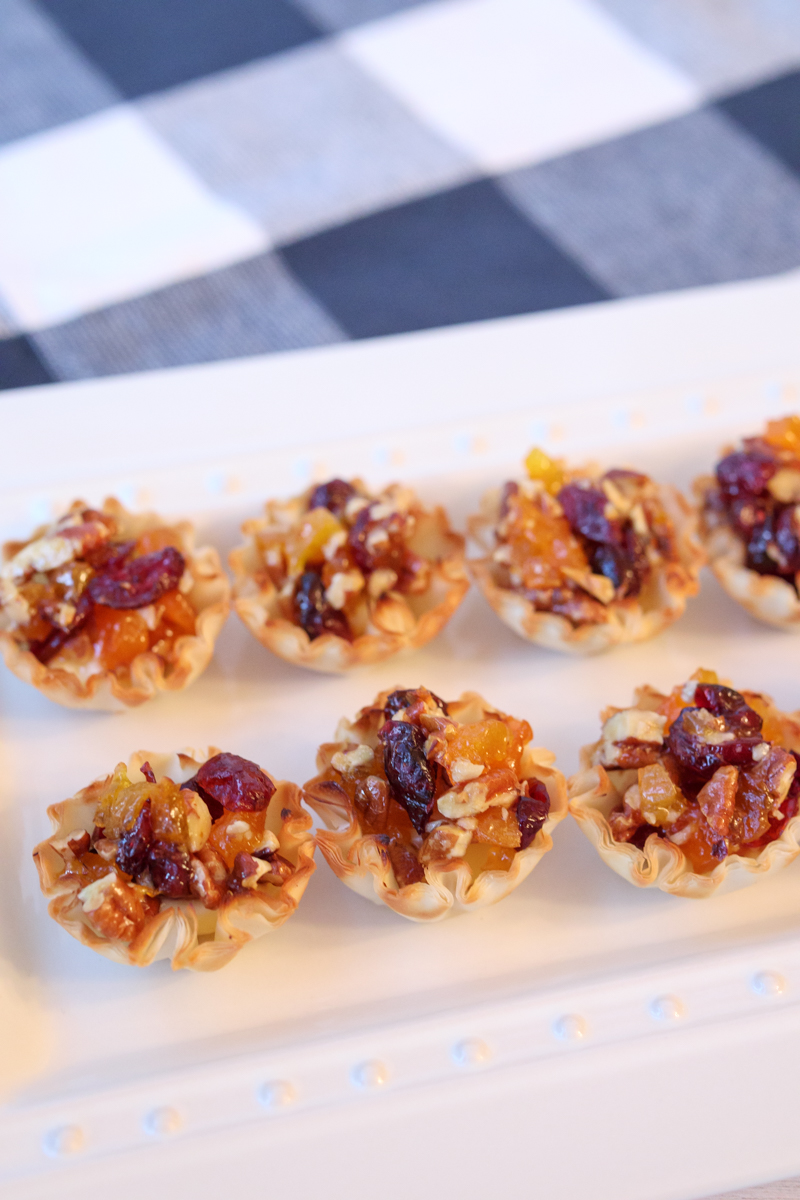
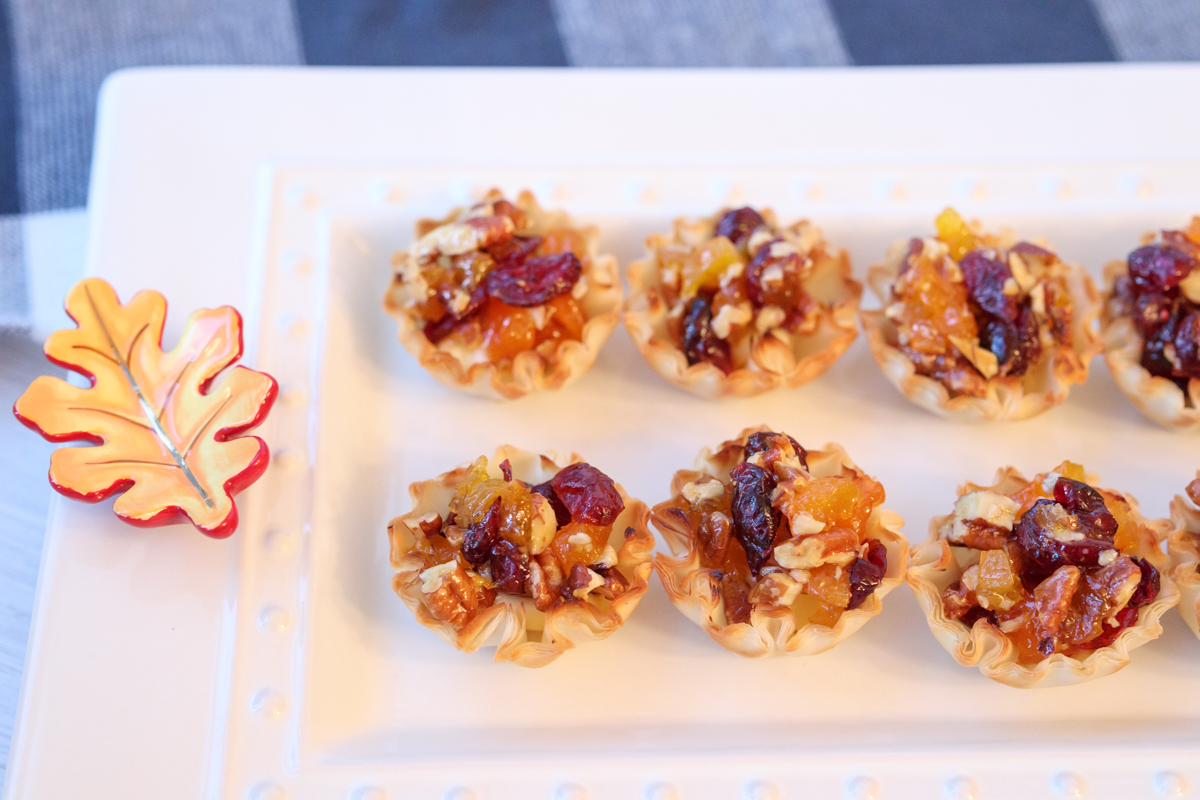
For the topping, we’re combining crunchy toasted pecans, tart dried cranberries, dried apricots and some apricot preserves for a little sweetness. This mixture gets dolloped on top of the brie in the fillo shells before being baked for just ten minutes. These is a great mini appetizer for Thanksgiving or a Christmas party, especially because it is so incredibly quick to throw together.
Now, I hope you all have enjoyed the last several savory recipes because from this Friday until Christmas Lemon & Mocha is going to be all about the sweets! I’m doing something fun and exciting this holiday season: Lemon & Mocha’s 12 Days of Cookies. I have so many must-make cookie recipes to share and I can’t wait for you to see them all!
- ¼ cup chopped pecans
- ¼ cup dried cranberries
- 4 dried apricots, chopped
- 2 tablespoons apricot preserves
- 6 ounces brie, rind removed
- 15 frozen mini fillo shells (Athens brand)
- Preheat oven to 350 degrees F.
- Toast the pecans. Place the chopped pecans on a baking sheet then bake for 3-5 minutes. Remove from the oven and let cool slightly.
- In a small bowl, combine the toasted pecans, dried cranberries, chopped apricots and apricot preserves. Set aside.
- Place the tartlet shells on a baking sheet. Cut the brie so you can put a small wedge into the bottom of each tartlet shell. Cover the brie in the tartlet shell with a spoonful of the apricot mixture. Bake for 10 minutes. Serve hot.