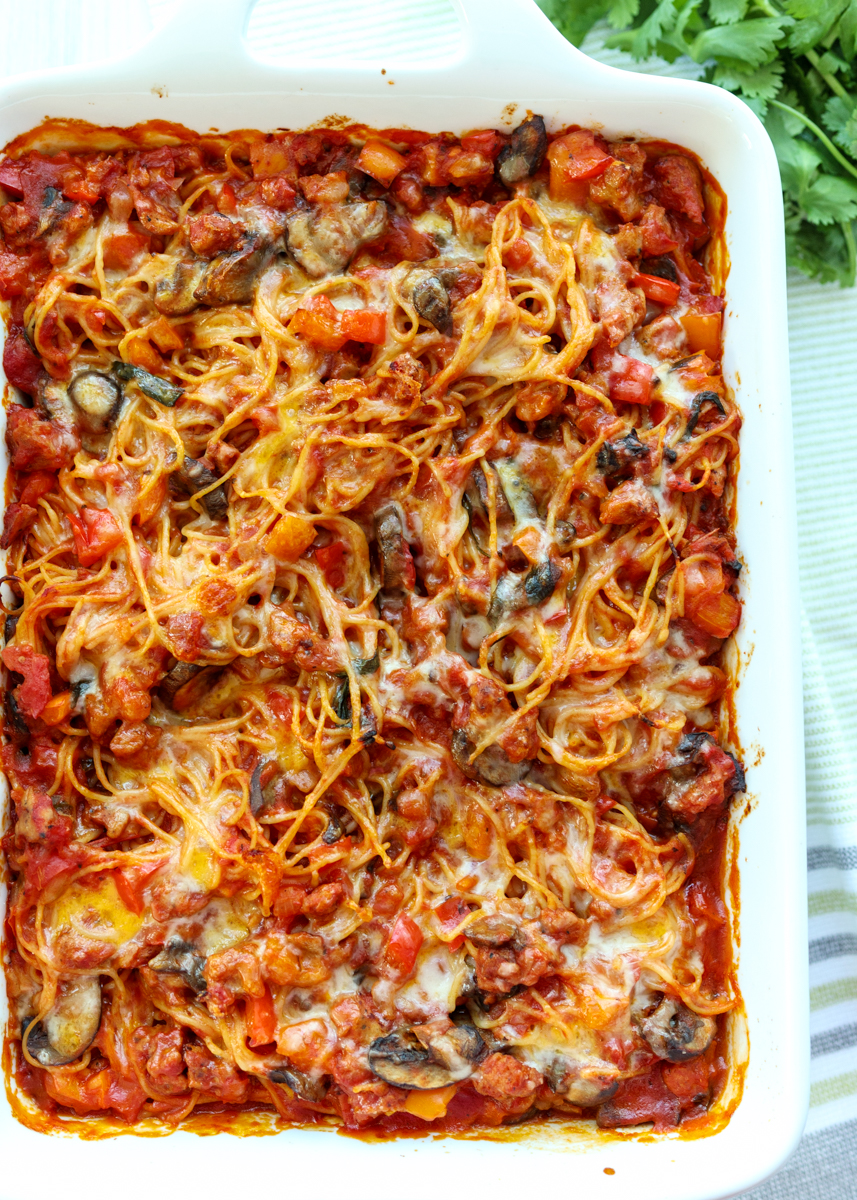
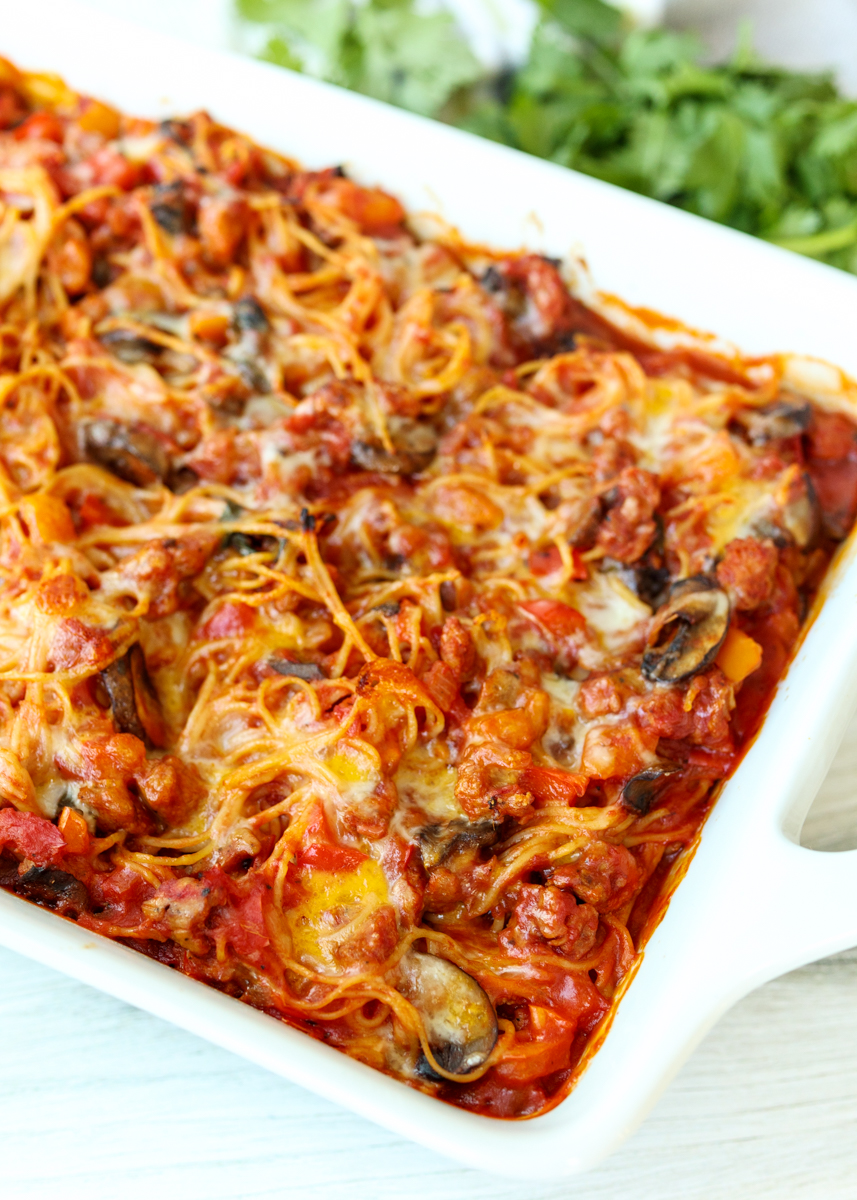
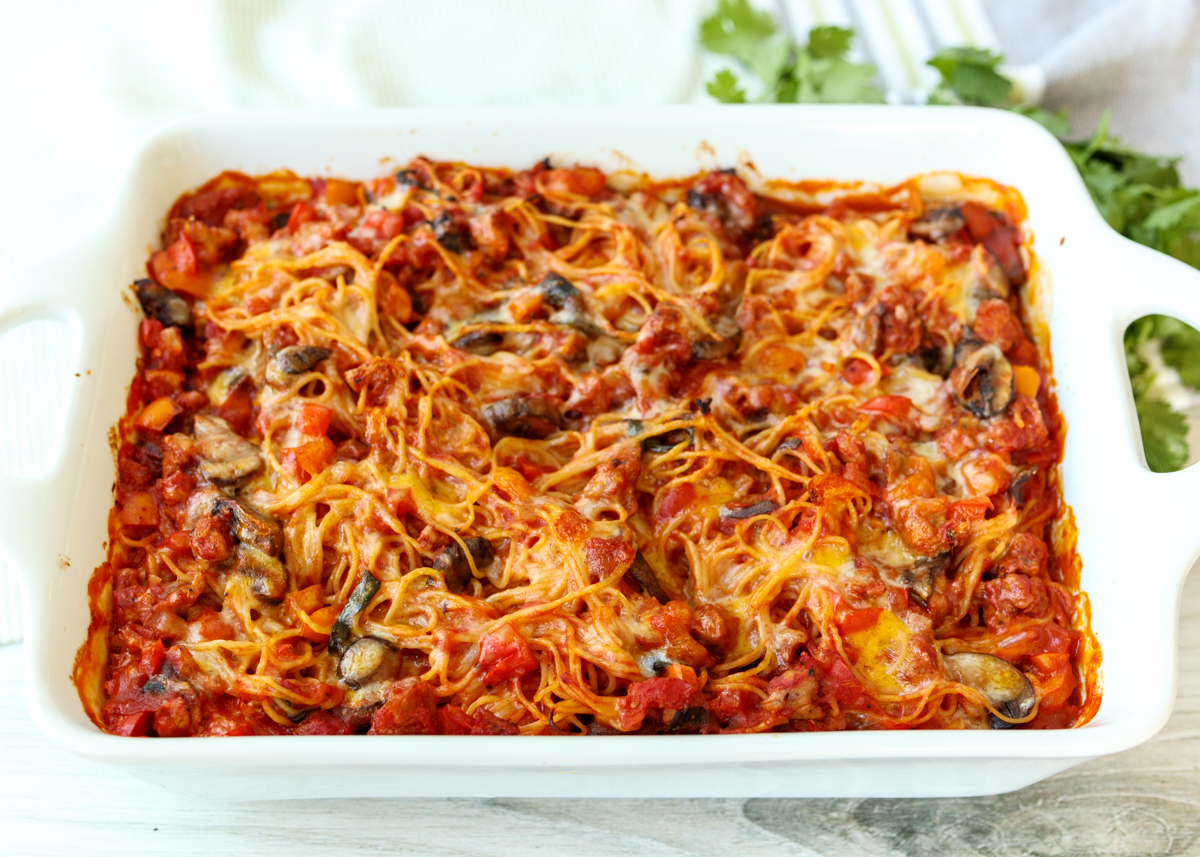
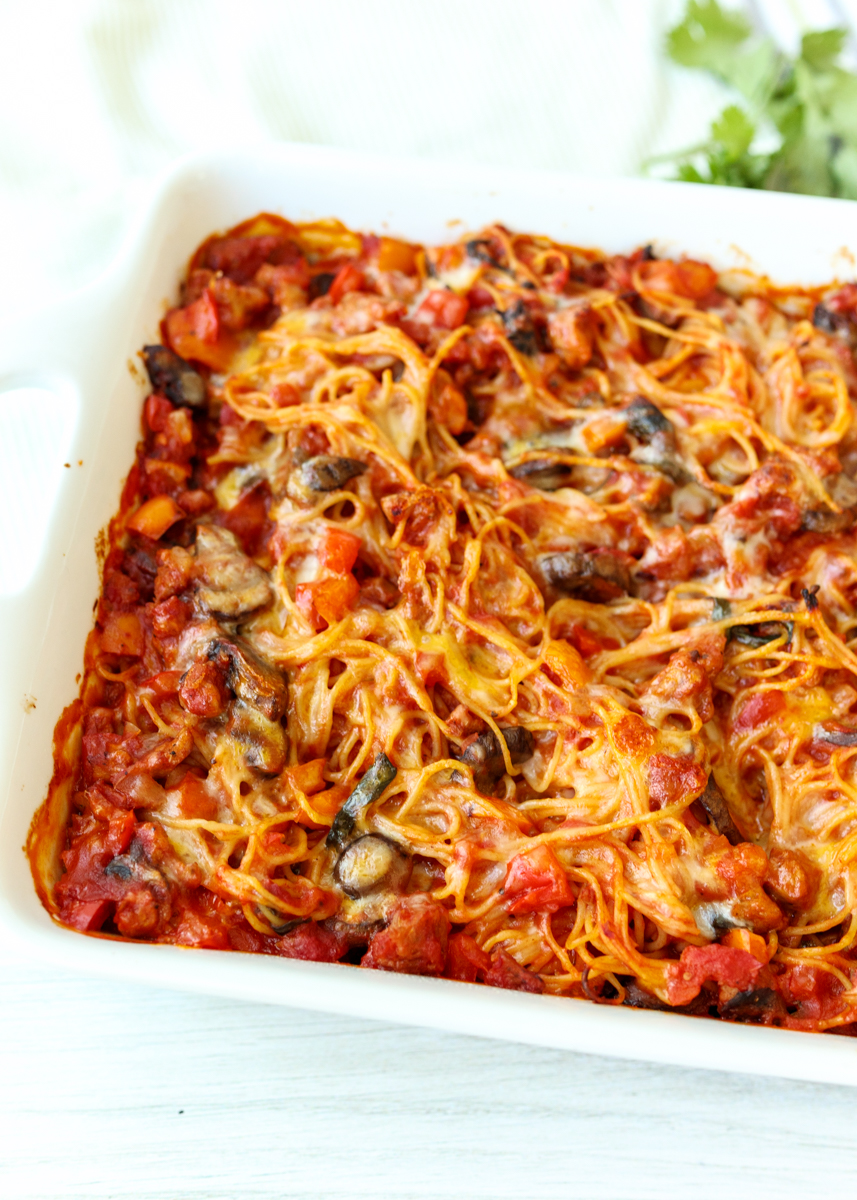
Light Baked Spaghetti
I love a good one dish meal. Not exactly a one pot meal since we’re cooking in a pot and a sauté pan on the stove before putting everything in a baking dish. But one dish where all the protein, veggies and starch are combined for an all-in-one meal deal.
You’re probably sitting on your phone or computer thinking, um, Lauren, it’s called a casserole. But casseroles are usually cooked slowly in the oven, while this Light Baked Spaghetti is mostly cooked on the stovetop and then just baked a little extra in the oven to get warm and melt the cheeses.
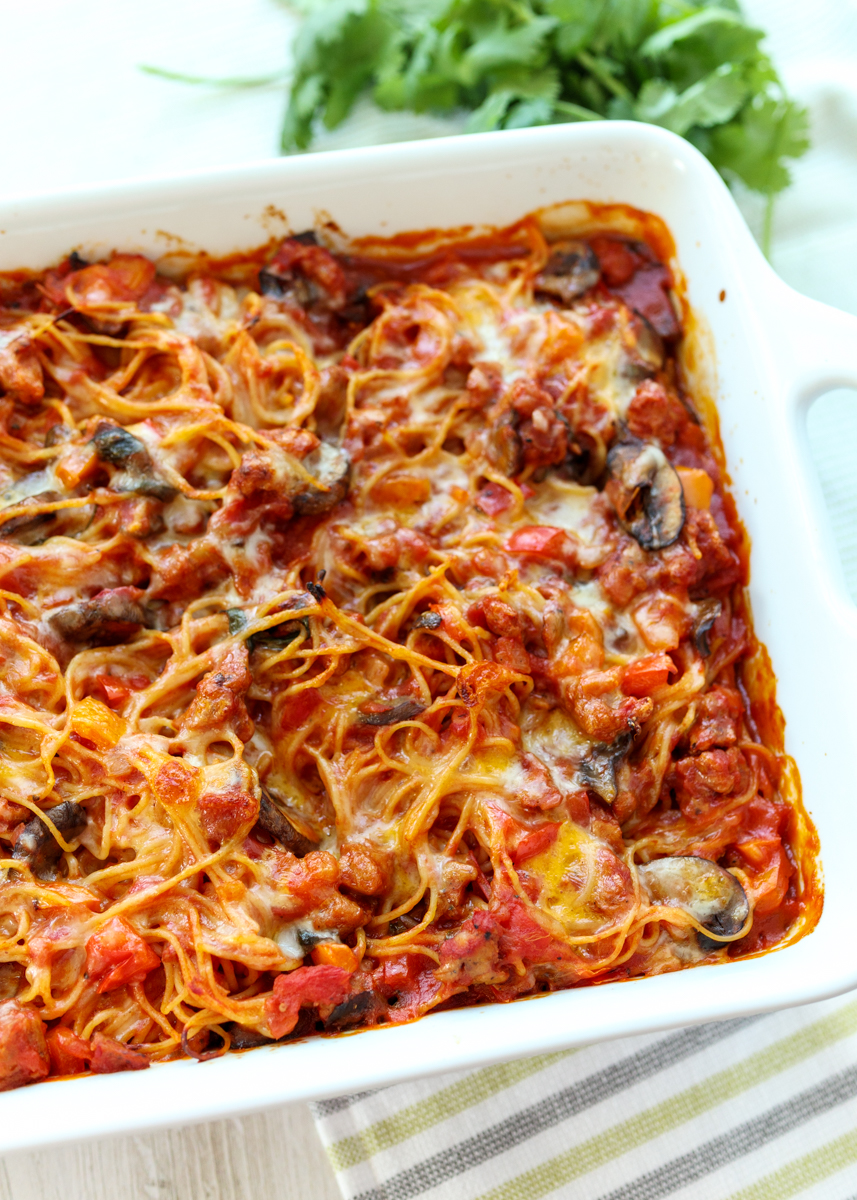
There’s so much goodness in this meal! It’s basically a hybrid of a spaghetti dinner and sausage, peppers and onions. We’ve loaded in angel hair pasta, a simple tomato and basil sauce, chicken sausage, sautéed mushrooms, peppers and onions and some gooey cheese.
You can use any type of chicken sausage you prefer. I used a sun-dried tomato and basil chicken sausage from Wegman’s and it was perfect. The original recipe calls for whole wheat pasta, which you can certainly use if you like it. Matt and I aren’t big fans of whole wheat pasta so instead I used Barilla Protein Plus.
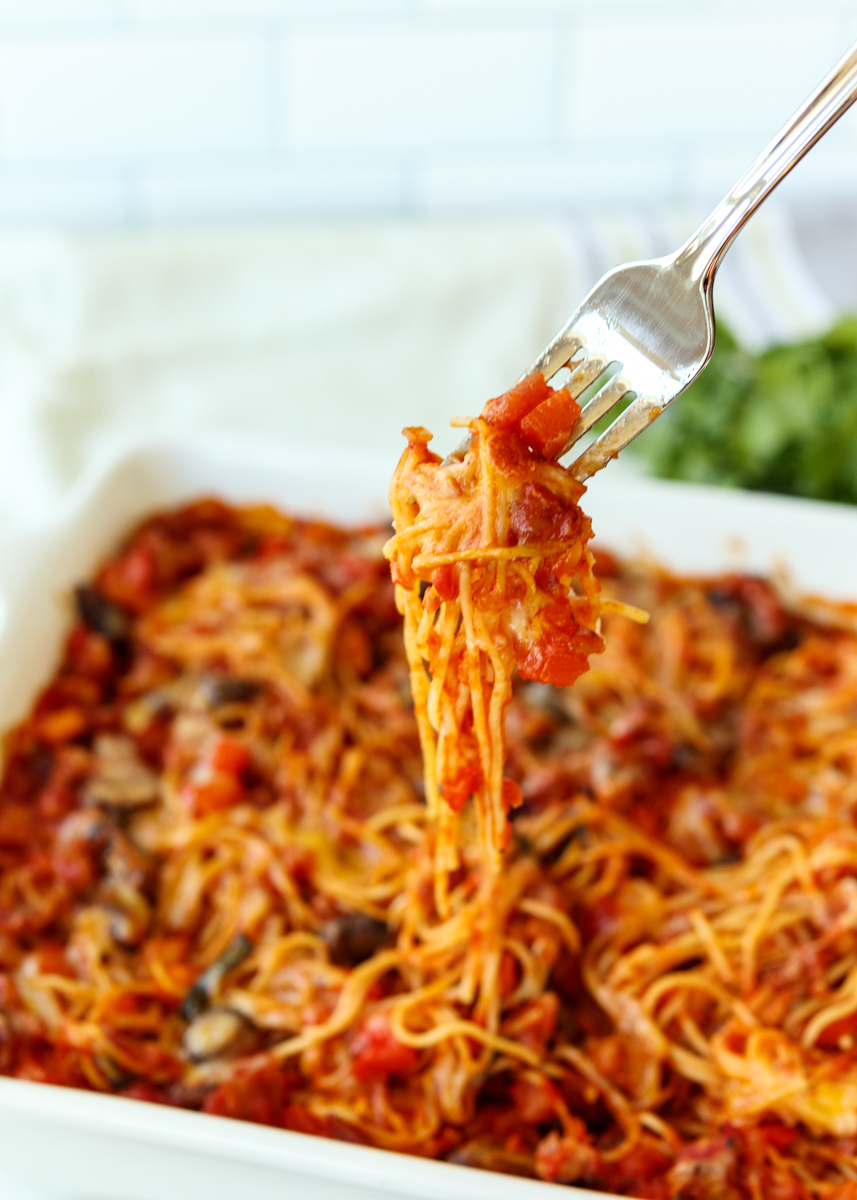
Matt and I ate this Light Baked Spaghetti three nights in a row for dinner and we weren’t mad about it one bit. In fact, we missed it when it was all gone! I hope you all enjoy this baked pasta dish!
- 8 ounces angel hair pasta, whole wheat or preferred type
- 2 teaspoons olive oil
- 1 small onion, finely chopped
- 2 cloves garlic, finely chopped
- 8 ounces chicken sausage, crumbled, see note
- 2 bell peppers, stems removed and diced, see note
- 8 ounces sliced cremini mushrooms
- ½ teaspoon salt
- ¼ teaspoon Italian seasoning
- 1 28-ounce can crushed tomatoes
- 1 cup fresh basil leaves, torn
- ½ cup shredded part-skim mozzarella cheese
- ½ cup shredded cheddar cheese
- Cooking spray
- Bring a large pot of water to a boil then cook pasta according to package instructions for al dente, drain.
- Meanwhile, heat the olive oil over medium-high heat in a large nonstick skillet. Add the onion and cook until soft, about 5 minutes, stirring frequently. Add the garlic and cook until fragrant, about 1 minute. Add the crumbled chicken sausage and cook until browned, about 5 minutes. Add the mushrooms, salt and Italian seasoning. Cook until the veggies are tender, about 5 minutes.
- Add the crushed tomatoes, basil and ¾ cup of water. Bring to a boil. Reduce heat to medium-low and let simmer for 15 minutes. The sauce should be thickened slightly.
- While the sauce is simmering, preheat the oven to 375 degrees F. Spray a 9”x13” pan with cooking spray.
- When the sauce is done simmering, toss in the pasta until coated. Add half the pasta mixture to the baking dish. Sprinkle with half of each cheese then add the remaining pasta mixture on top. Sprinkle with the remaining cheese. Cover the baking dish with aluminum foil and bake for 20-25 minutes, removing the foil with 5 minutes left. If you want the top to be crunchier you can broil for a couple minutes at the end. Let sit 5 minutes before serving.
You can use any type of bell peppers you prefer. I don’t like green peppers so I used 1 red pepper and 1 orange pepper.
Recipe from January/February 2012 issue of Food Network Magazine.
Some of the links above are affiliate links, which means I may receive a small commission for my referral. This does not affect the retail cost of the item. Thank you for supporting Lemon & Mocha!