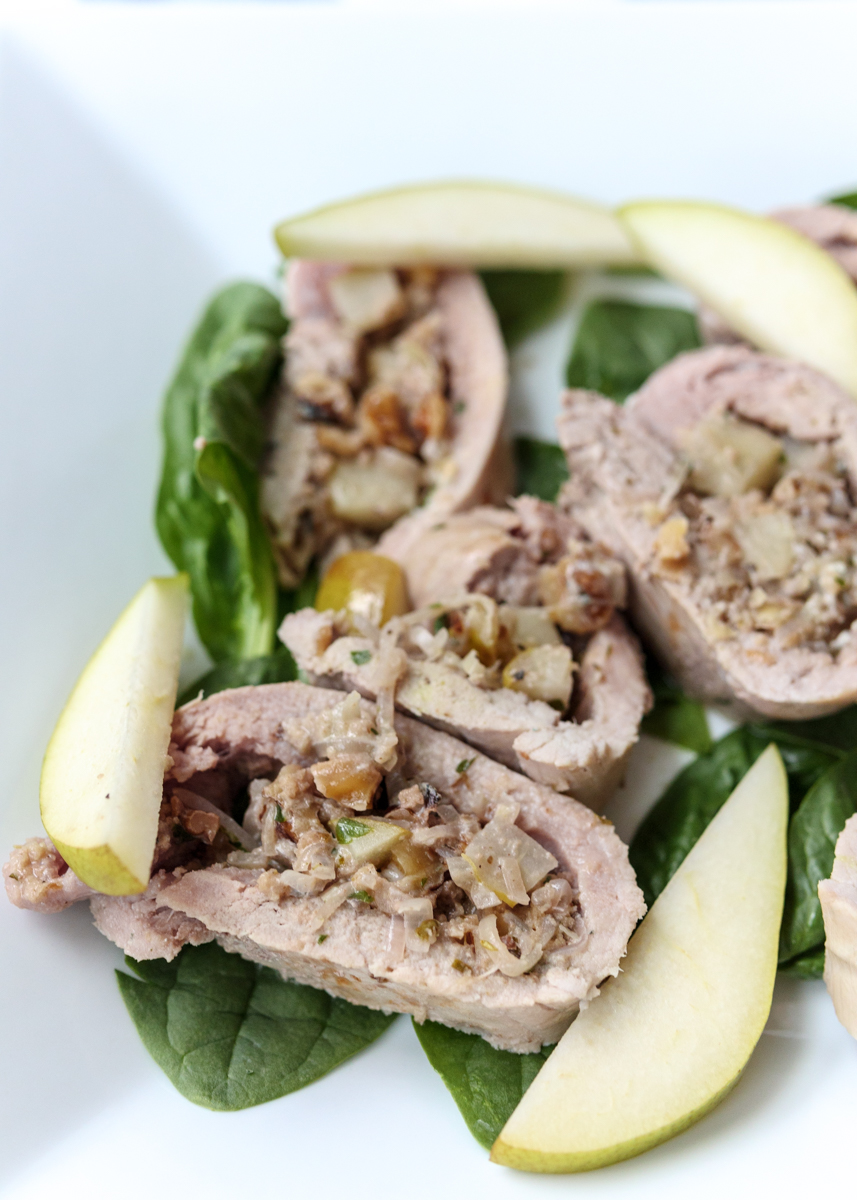
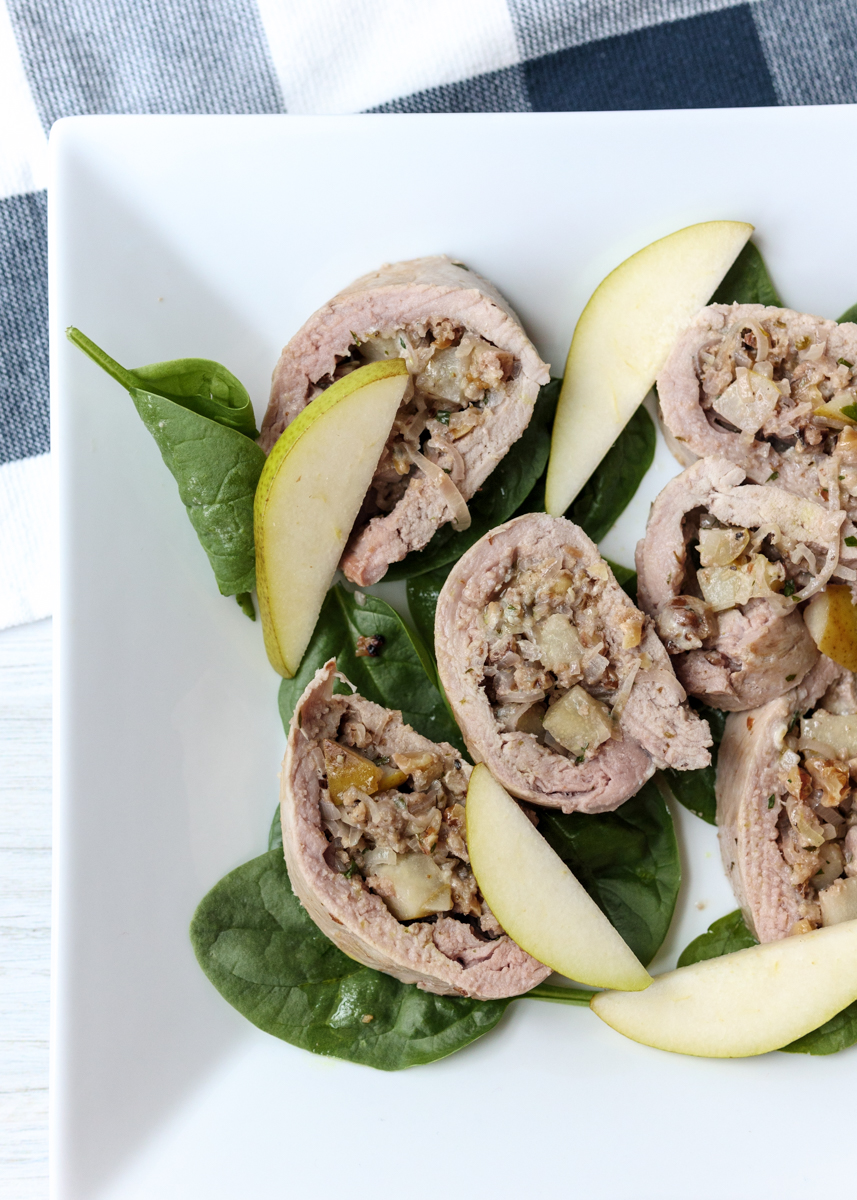
Cheese and Pear Stuffed Pork
This week is all about tasty and healthy dinner recipes! I have so many dessert recipes coming up that I had to make sure I started off with plenty of real food recipes so Matt and I wouldn’t just be eating dessert for dinner every night. I’m always looking for new healthy dinners to rotate through so I was excited to try some new ones out.
This Cheese and Pear Stuffed Pork recipe came from my recipe binder archives, this time by way of Cooking Light Magazine. The combination sounded intriguing so I thought I would give it a shot. I made it on a night my Dad was coming over for dinner, which was a bold move since he can be a little particular about food. But Mikey liked it! I mean Dad liked it!
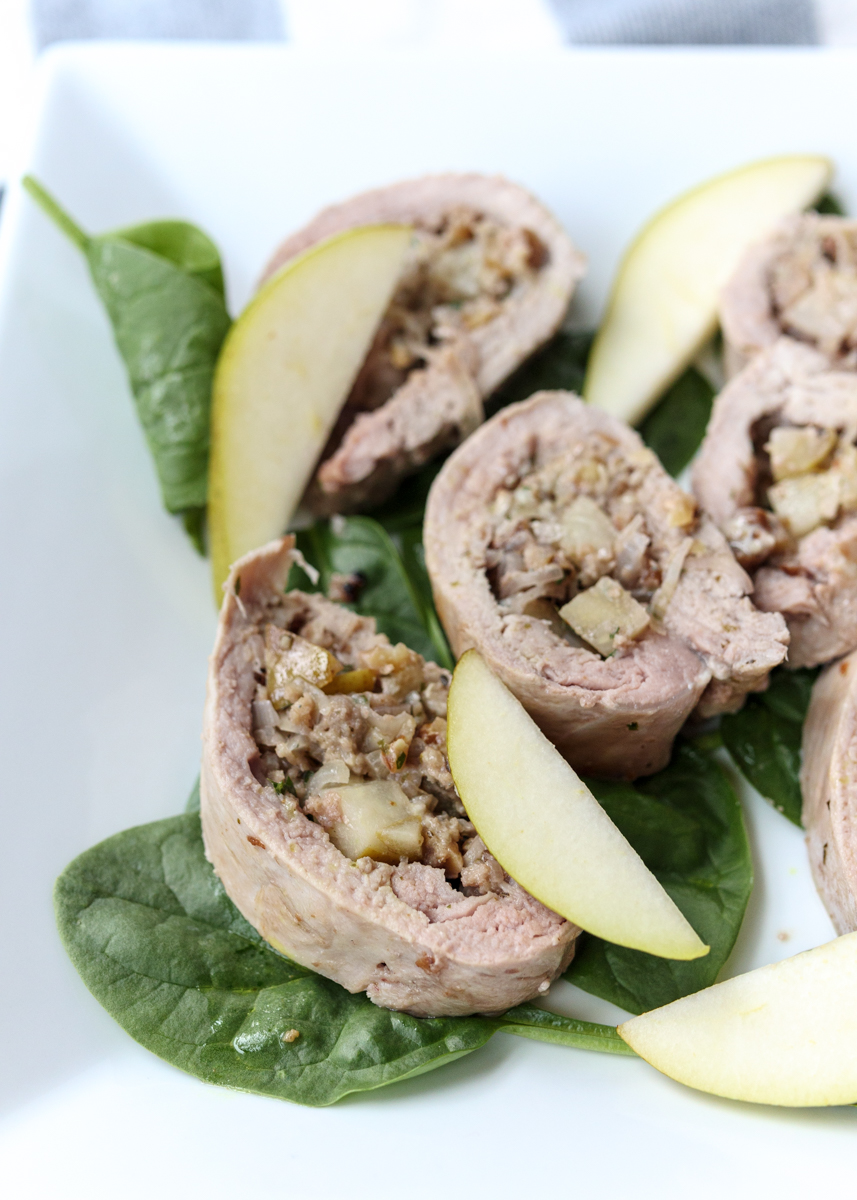
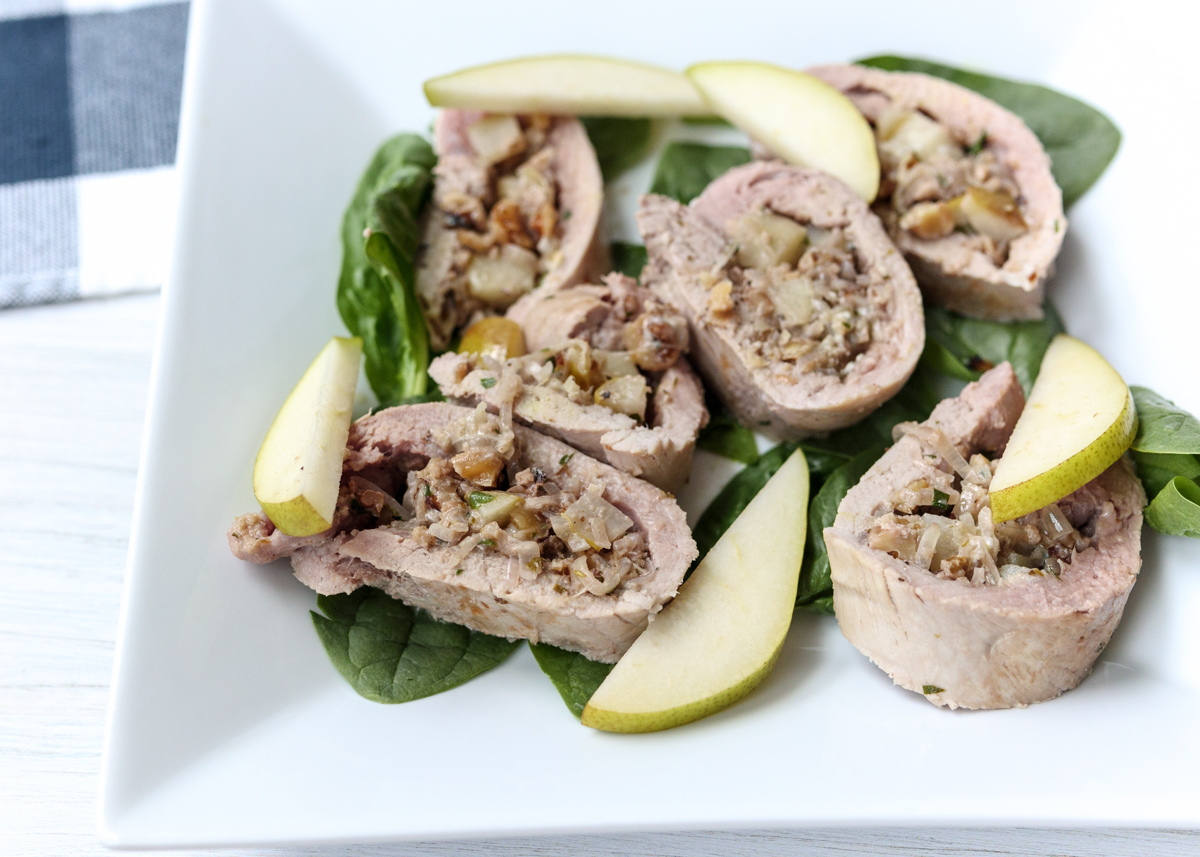
The pork tenderloin is split open and then pounded thin before being stuffed with a creamy and crunchy mixture of blue cheese, walnuts, panko bread crumbs and tart sautéed pears. The whole thing gets rolled up and stuck together with toothpicks, which is a lot easier than it sounds.
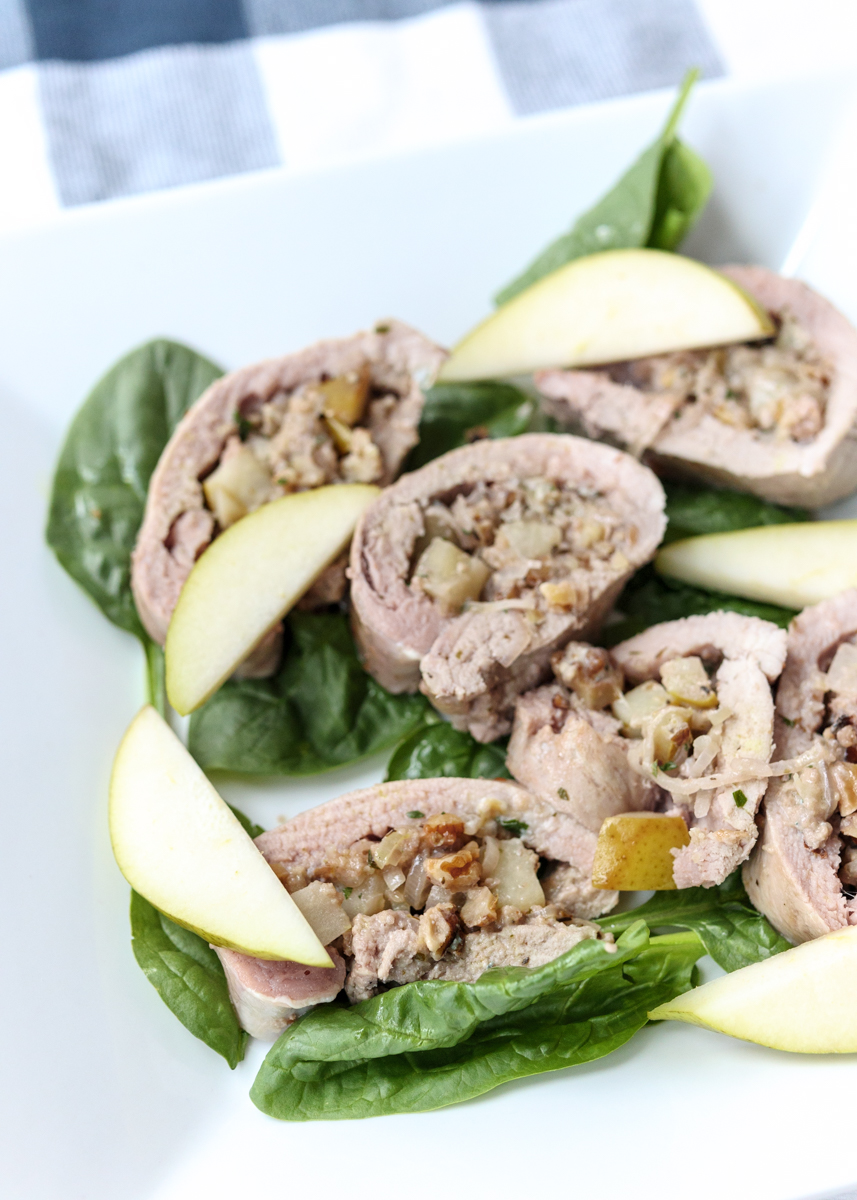
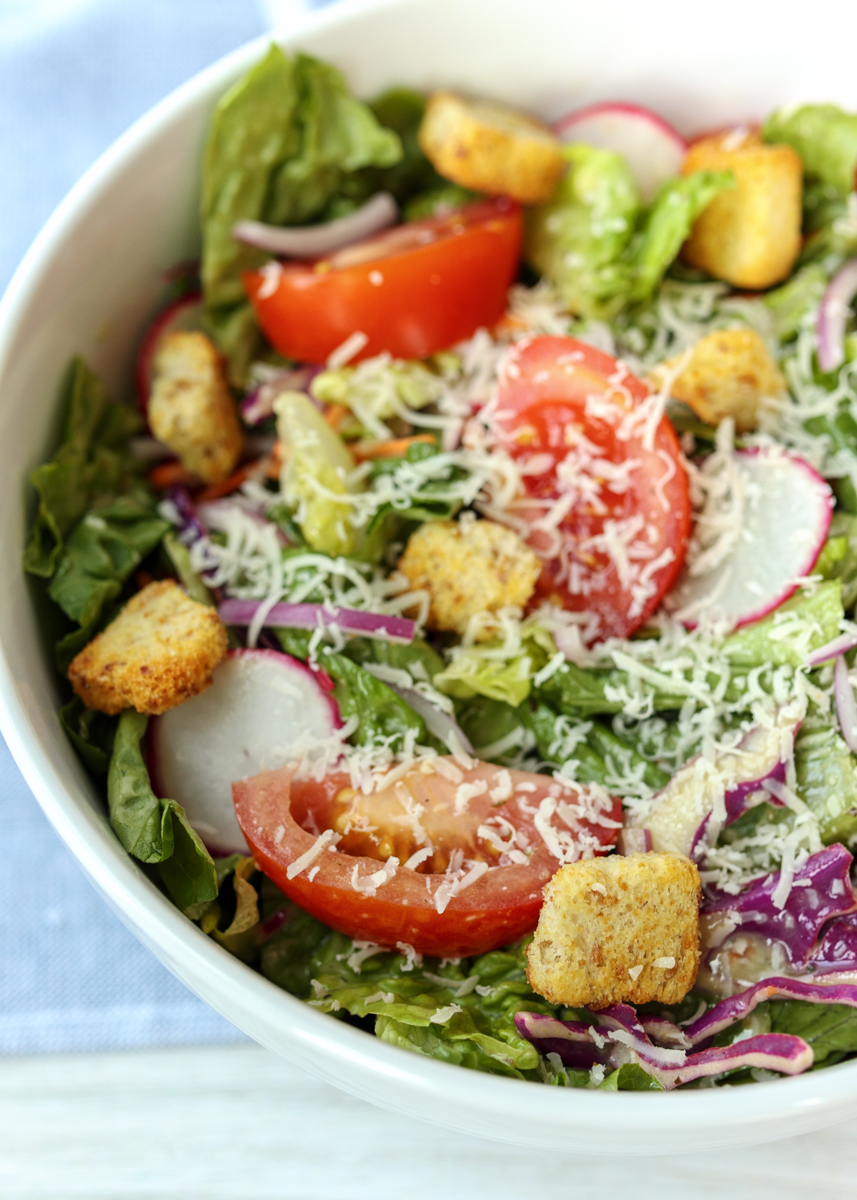
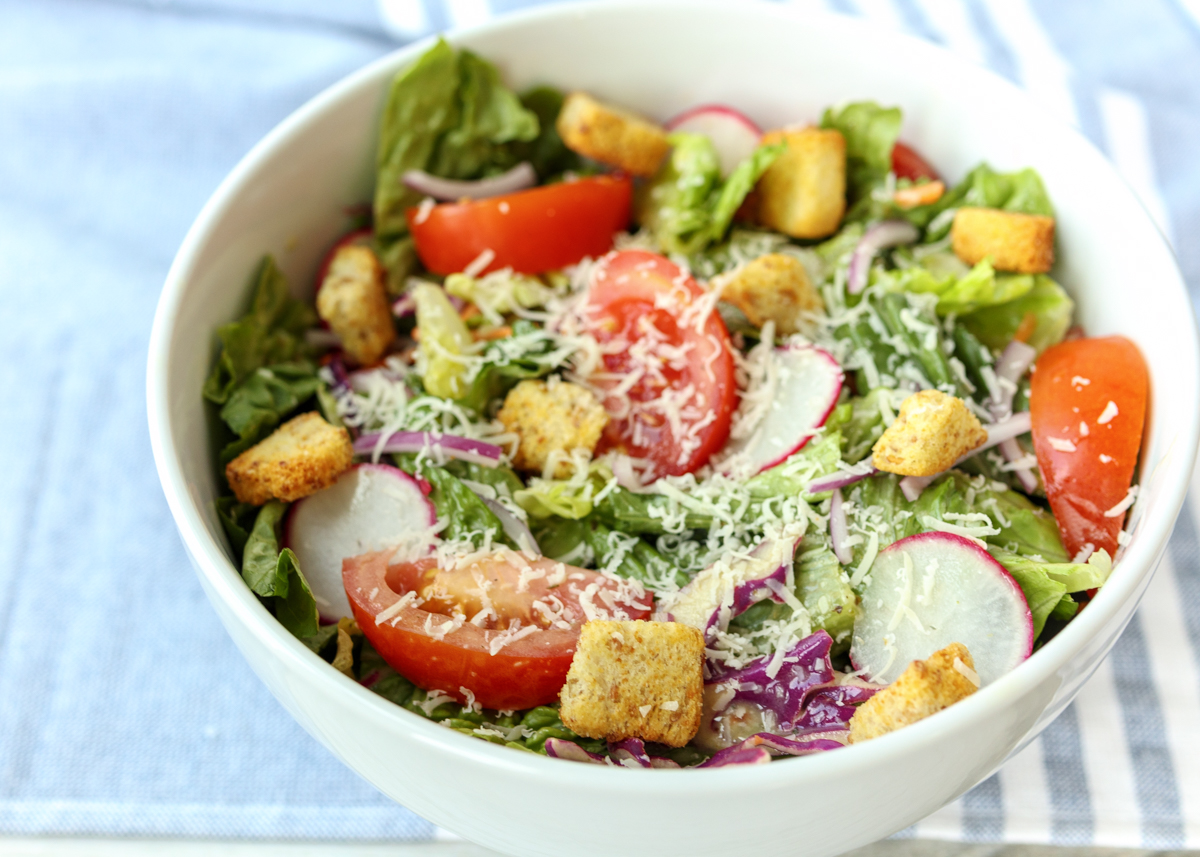
Due to all the prep steps to get this pork tenderloin stuffed and rolled, it’s not exactly a weeknight dish, but the great part is that once you have the pork tenderloin prepared you can cover it and stick it back in the fridge until you’re ready to bake it. I served it alongside some green beans and roasted potatoes, but you could also go really light and just serve it over a spinach and pear salad. Enjoy!
- 2 tablespoons olive oil, divided
- 3 shallots, thinly sliced
- 1 cup chopped Anjou pear (or other firm, tart pear), leave skin on
- ½ cup white wine
- 1 teaspoon Italian seasoning
- ½ cup chopped walnuts, toasted (see note)
- ½ cup crumbled blue cheese
- ¼ cup panko breadcrumbs
- 2 tablespoons chopped fresh parsley
- 2 12-ounce pork tenderloins
- ½ teaspoon salt
- 1¼ cups low sodium chicken broth
- Ground black pepper
- Preheat oven to 425 degrees F.
- In a saute pan over medium heat, heat 1 tablespoon of the olive oil. Add the shallots, season with salt and pepper and cook for 6 minutes. Add the chopped pear, white wine, Italian seasoning and some ground black pepper. Cook for 2 minutes and remove from the heat. Let cool slightly then stir in the walnuts, blue cheese, panko and parsley.
- Butterfly the pork tenderloins by slicing them lengthwise up to, but not through, the other side. Put the first butterflied pork tenderloin between 2 pieces of plastic wrap and pound with a meat mallet until ¼-inch thick. Top the flattened pork with half the pear mixture, being sure to leave a ½-inch border. Roll from the long side and secure with toothpicks. Tuck in the end edges when you secure with the toothpicks as well. Season with salt and pepper. Repeat for the remaining pork tenderloin.
- In a saute pan large enough to fit both pork tenderloins, heat the remaining tablespoon of olive oil. Saute both rolled pork tenderloins for 5 minutes, turning to make sure all sides get browned. Remove from the heat and transfer the pork to a baking dish. Bake for 15 minutes or until the pork reaches 145 degrees F (being sure to temp the pork not the filling). Move the pork from the baking dish to a cutting board and let rest for 5 minutes. Slice the pork before serving.
- In the pan used to saute the pork, bring the broth to a boil over medium-high heat. Scrape the pan to make sure you get all the browned bits. Cook for 4 minutes and serve over the pork. Alternatively, you could slice the pork then carefully add to the broth and let cook in the broth as the sauce forms.
Recipe from September 2011 issue of Cooking Light Magazine.