Recipes

Cheesy Baked Prosciutto and Salami Egg Rolls

Cheesy Baked Prosciutto and Salami Egg Rolls  |  Lemon & Mocha

This is a monumental recipe! Not because it tastes amazing (which is does) or because you should make it immediately (which you should), but because it’s the first recipe I’ve made and photographed for the blog since Sam was born. It may have taken two days and gone in and out of the fridge five times while I started and stopped, but here it is! Don’t worry, the recipe is actually super simple and easy so it won’t take you much time at all to whip up, unless you also have a three month old who decides to only take twenty minute naps that day!
Cheesy Baked Prosciutto and Salami Egg Rolls  |  Lemon & Mocha

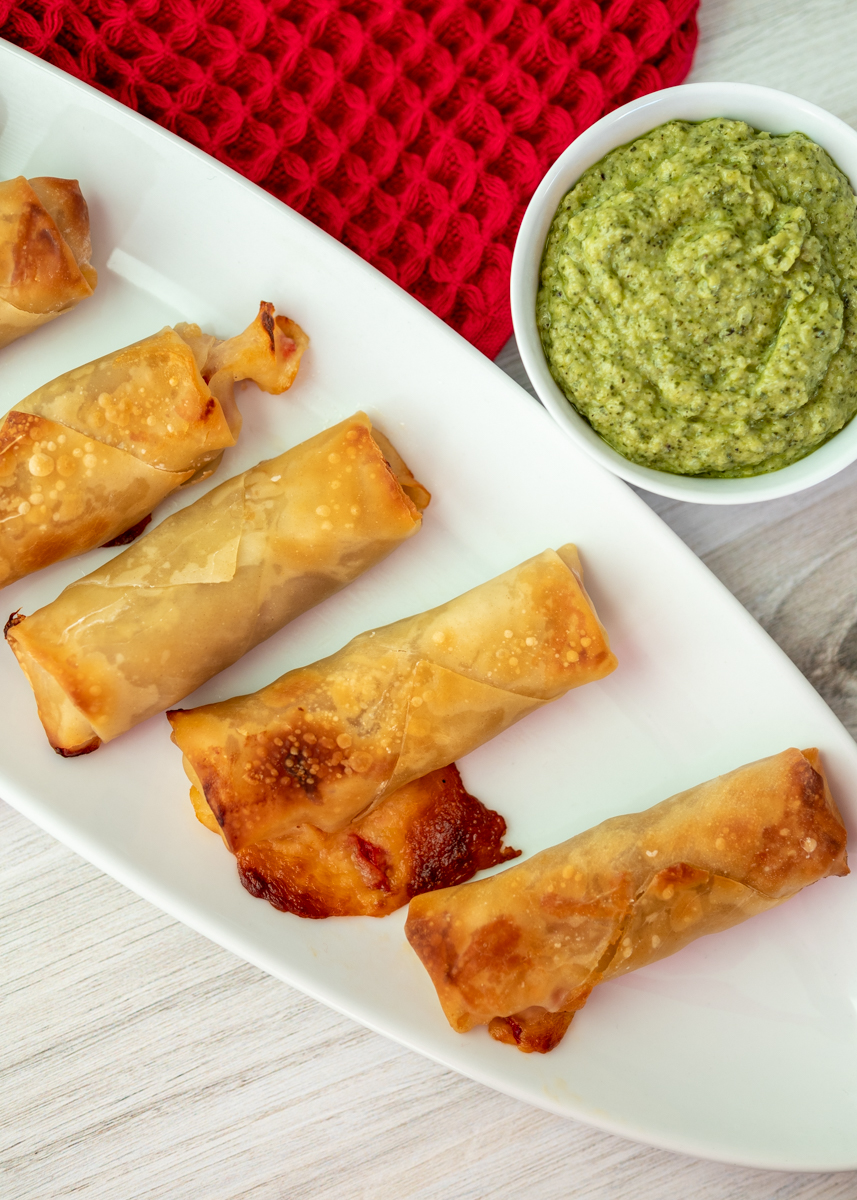
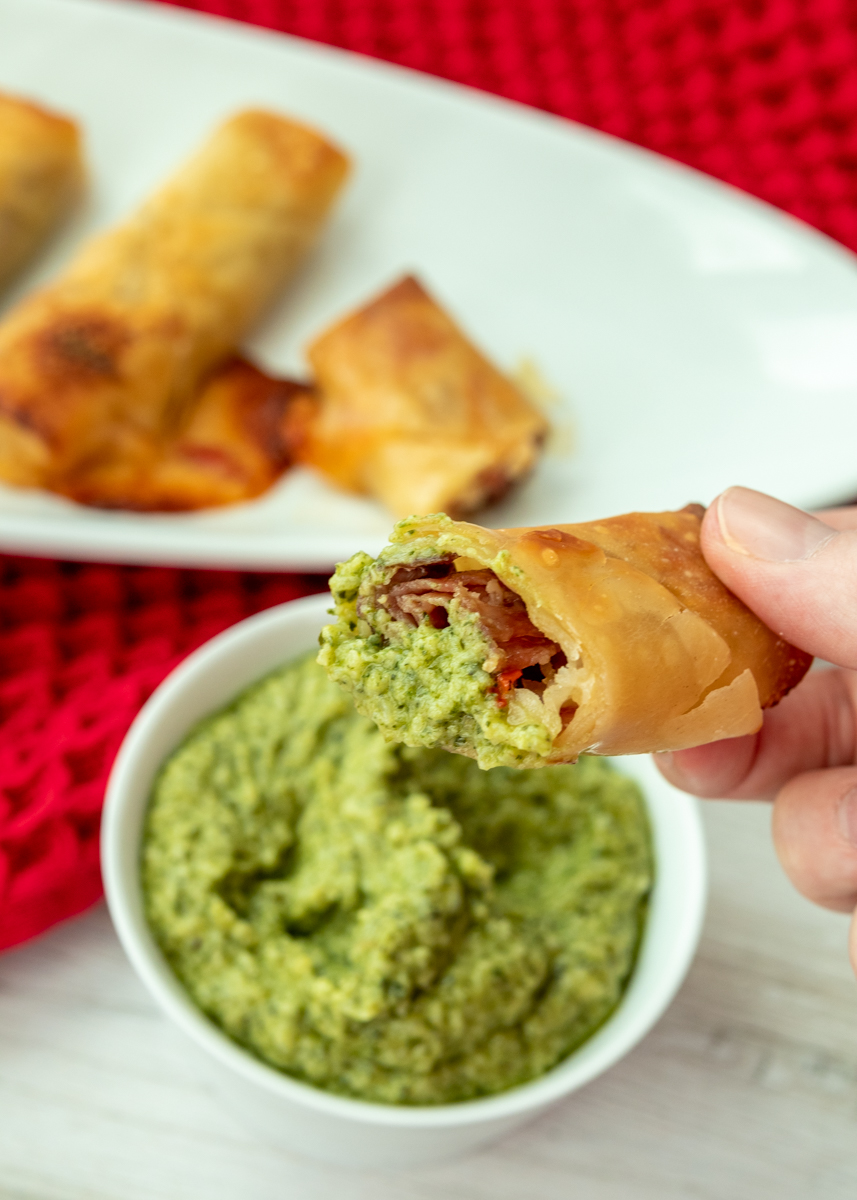
I wanted to post something tasty in time for the Super Bowl on Sunday. I thought of these Cheesy Baked Prosciutto and Salami Egg Rolls a while ago and I’m so excited I finally made them. Prosciutto, salami, roasted red peppers and mozzarella cheese all get wrapped up in these crispy egg rolls. They are savory, salty and perfectly cheesy.
Cheesy Baked Prosciutto and Salami Egg Rolls  |  Lemon & Mocha

I like to think of them as antipasto egg rolls and you really could customize them with your favorite antipasto components. An all veggie one with roasted mushrooms and artichokes would be delicious! You would just have to make sure you chop the pieces small enough so you can roll the wrapper without it breaking.

Cheesy Baked Prosciutto and Salami Egg Rolls  |  Lemon & Mocha

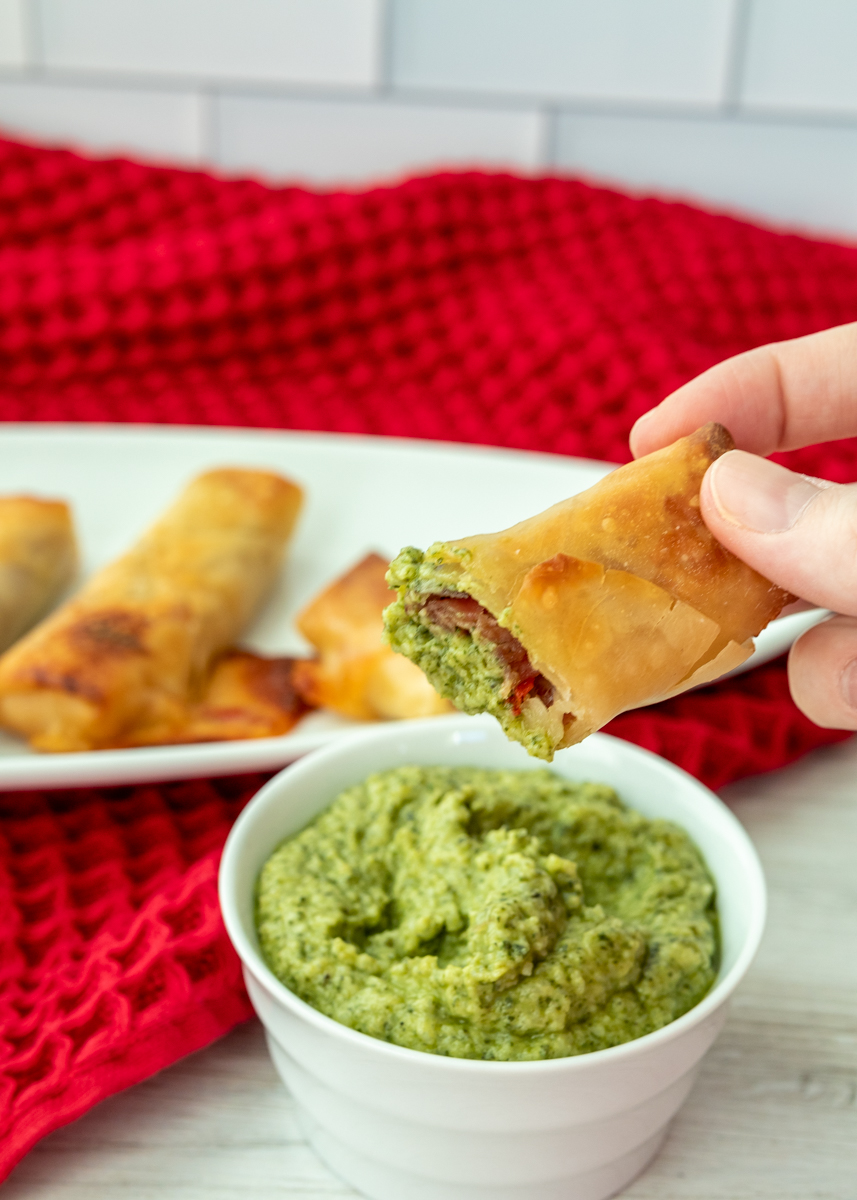
As great as they are on their own these party appetizer egg rolls needed a dipping sauce. I had a hard time deciding on one because there’s so many that would pair well with them. Ultimately I landed on a creamy pesto dipping sauce using my cauliflower puree trick to make the pesto creamy without actually adding cream. Just as it worked in the sun-dried tomato cream sauce, the cauliflower taste doesn’t come through, but it adds a creamy thickness to the pesto.

Cheesy Baked Prosciutto and Salami Egg Rolls  |  Lemon & Mocha

If you’re looking for a pesto recipe I have one here. Enjoy!
Cheesy Baked Prosciutto and Salami Egg Rolls  |  Lemon & Mocha

Cheesy Baked Prosciutto and Salami Egg Rolls
 
Yield: 12 egg rolls
Ingredients
for the egg rolls
  • 12 egg roll wrappers, see note
  • 4 slices prosciutto (about 2 ounces), cut into thirds
  • 6 thin slices genoa salami (about 2 ounces), cut in half
  • 6 thin slices sopressata (about 2 ounces), cut in half
  • ½ cup thinly sliced roasted red peppers (about 1 roasted red pepper)
  • 1½ cups shredded mozzarella cheese
for the pesto dipping sauce
  • 1 cup steamed cauliflower florets
  • ½ cup basil pesto
Directions
for the egg rolls
  1. Preheat the oven to 400 degrees F. Line a baking sheet with nonstick aluminum foil or coat with cooking spray and set aside.
  2. Before filling the egg roll wrappers, make sure you have a little bowl or cup of warm water and a clean work surface. Place the egg roll wrapper down so that a corner is facing you. Stack a piece of the prosciutto, genoa salami and sopressata near the bottom corner of the wrapper. Add some roasted red peppers and about 2 tablespoons of the shredded mozzarella on top. Take the bottom corner of the wrapper and fold it up and over the fillings so it’s completely covering it then continue to roll it one more time. Fold in the left and right corners so they create a little envelope then wet your finger with the water and use it to moisten the whole exposed top corner. Continue to roll the wrapper and seal the roll. Place it on the baking sheet. Repeat for the remaining rolls then coat all the rolls with cooking spray.
  3. Bake the rolls for 8 minutes, then flip them over and bake for another 8 minutes. They should be crispy and golden brown. Serve warm with the pesto dipping sauce.
for the pesto dipping sauce
  1. Combine the cauliflower and the pesto in a blender or food processor until smooth. If it’s too thick add a tablespoon of water.
Notes
I use Nasoya egg rolls wrappers. I find them in the refrigerated section of my grocery store near the tofu products.


Pork Chops with Baked Apples, Parsnips and Turnips

Pork Chops with Baked Apples, Parsnips and Turnips  |  Lemon & Mocha

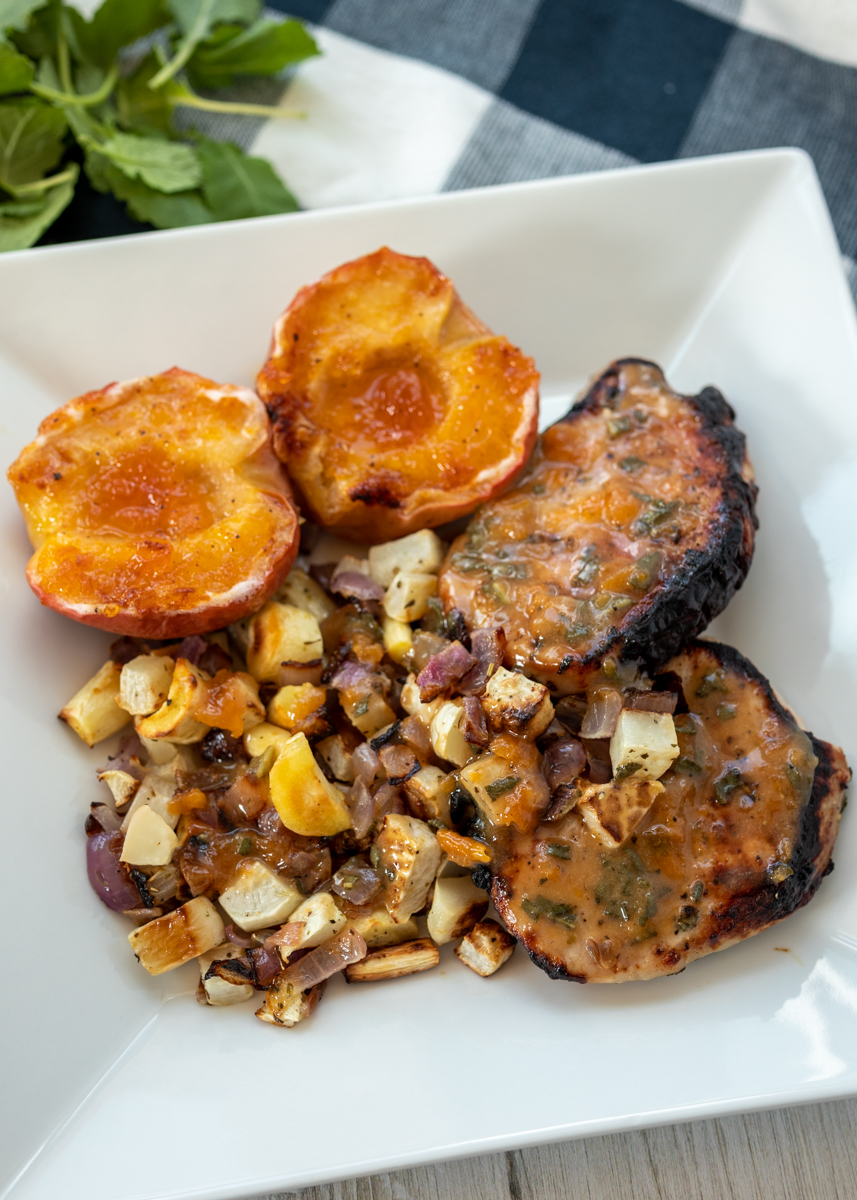
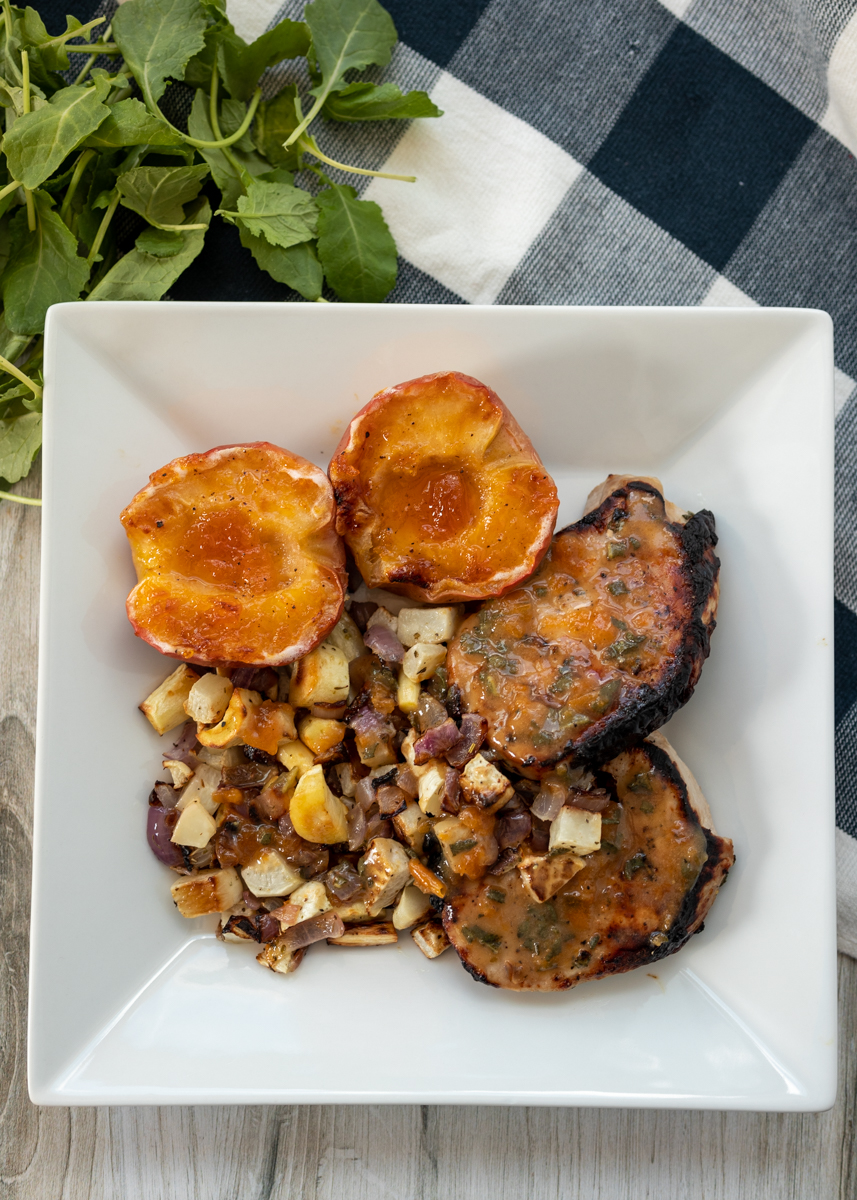
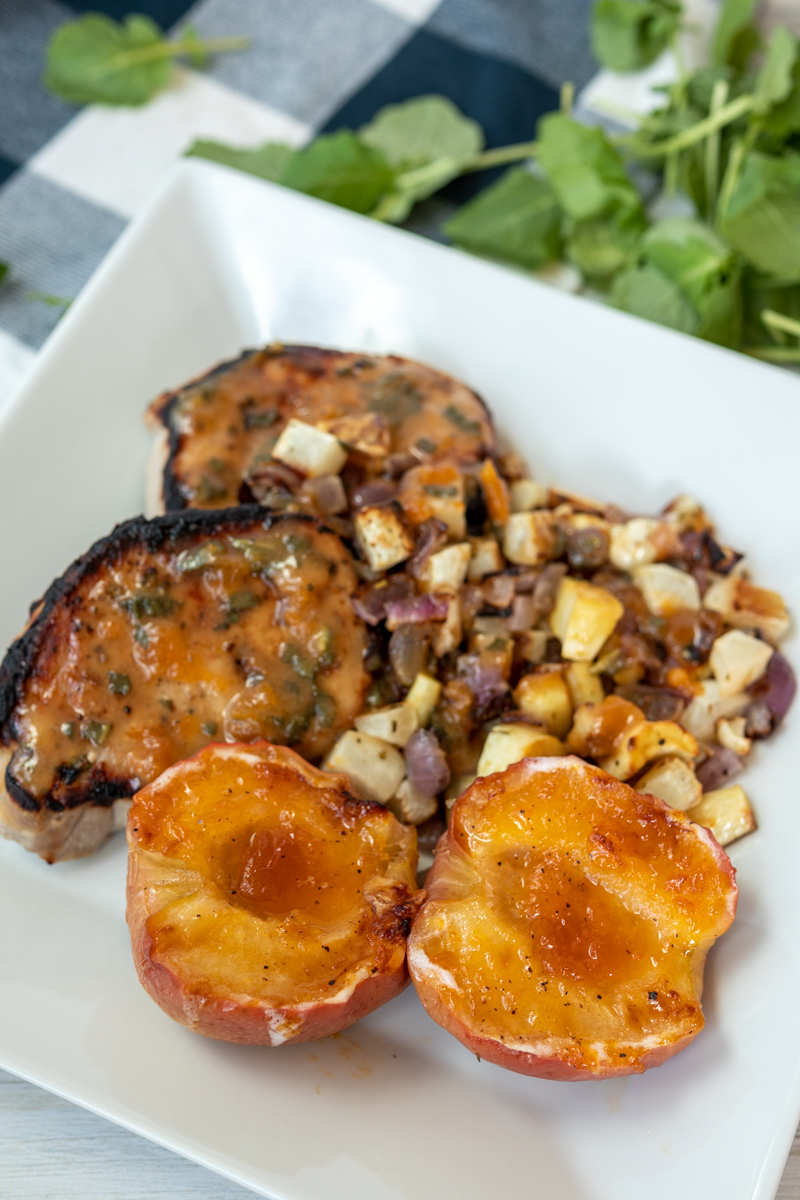
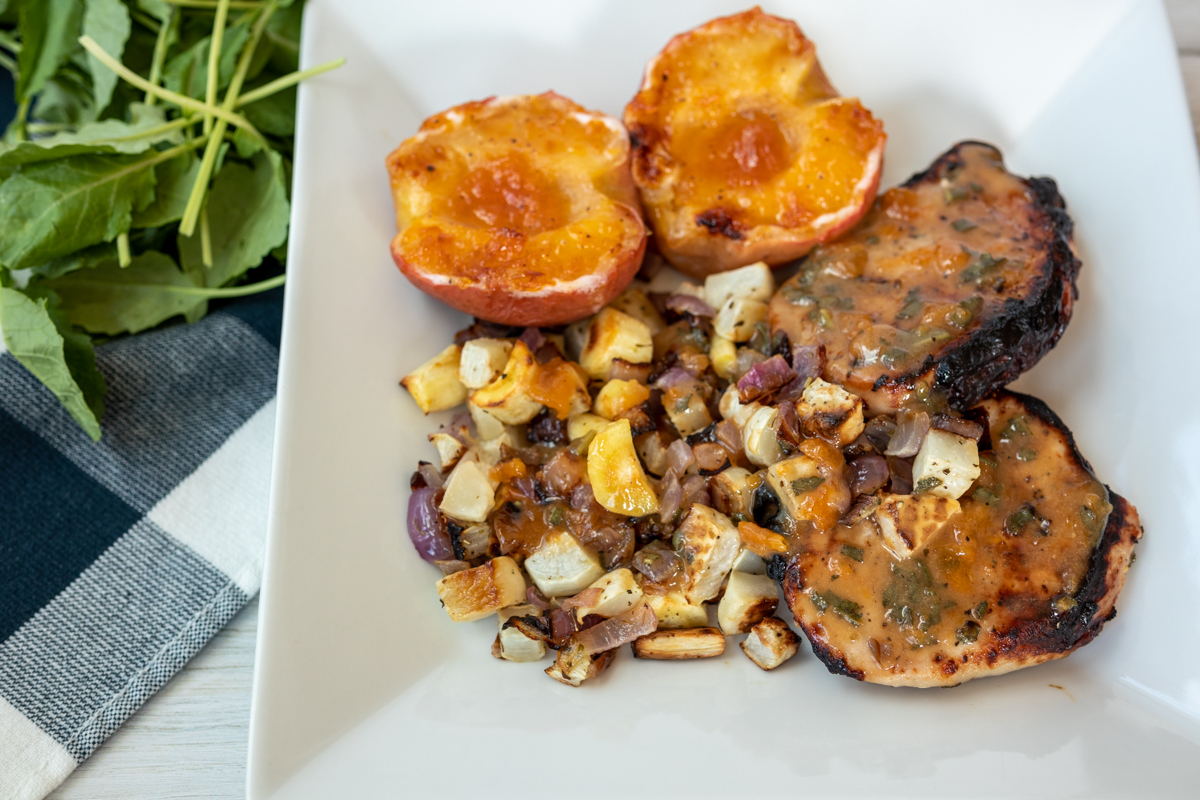
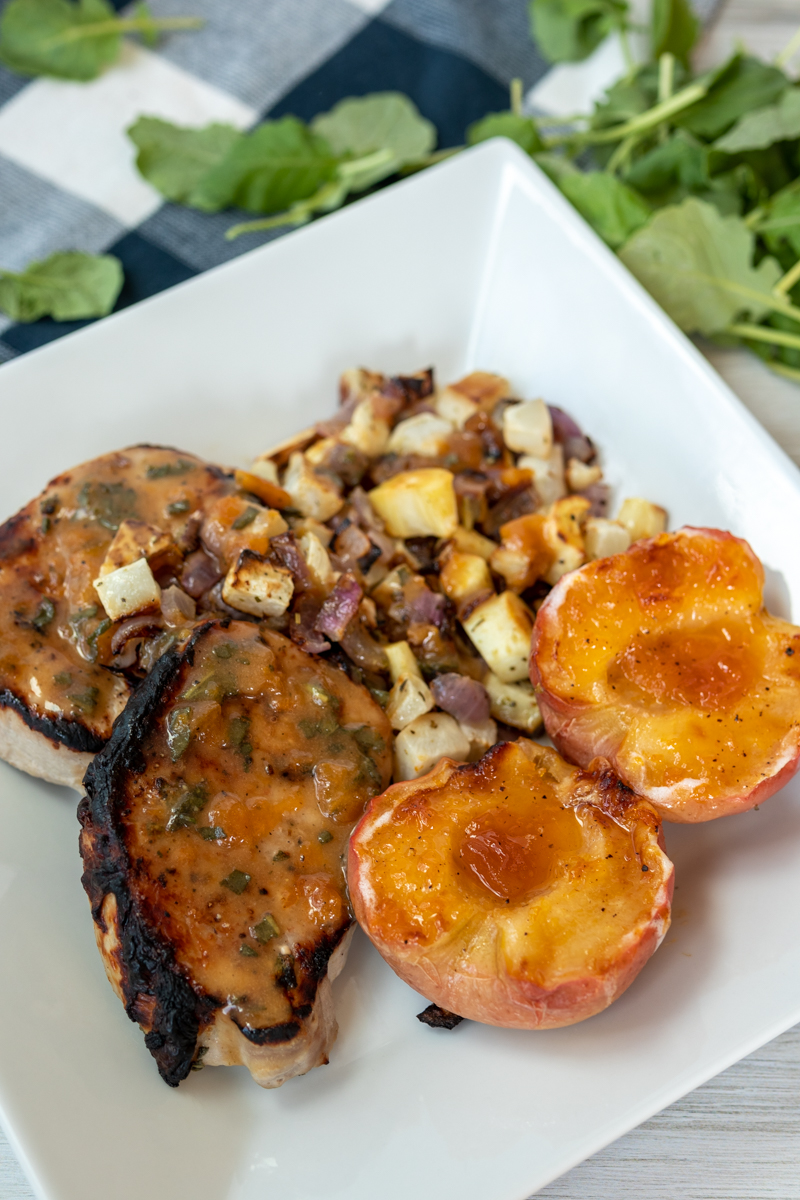
The concept of a “clean out the fridge” recipe is an interesting one because everyone has different items in their fridge. So, while this Pork Chops with Baked Apples, Parsnips and Turnips dish helped me clean out my fridge, it’s so delicious that I think it deserves its own trip to the grocery store!

Pork Chops with Baked Apples, Parsnips and Turnips  |  Lemon & Mocha

Right before Sam was born I was itching to try a new dinner recipe. I flipped through my recipe binders and came across this weeknight meal from the Food Network Magazine. I had bought pork chops with the intention of making the Skillet Balsamic Peach Pork Chops with Feta and Basil since Matt and I are obsessed, but this recipe for Pork Chops with Baked Apples, Parsnips and Turnips was much more seasonally appropriate. I also had leftover apricot preserves in the fridge from the Grilled Chicken with Apple and Mango Chutney and the Baked Brie Fruit and Nut Tartlets. The pork chops are marinated in the preserves, Worcestershire sauce and seasonings before being broiled.

Pork Chops with Baked Apples, Parsnips and Turnips  |  Lemon & Mocha

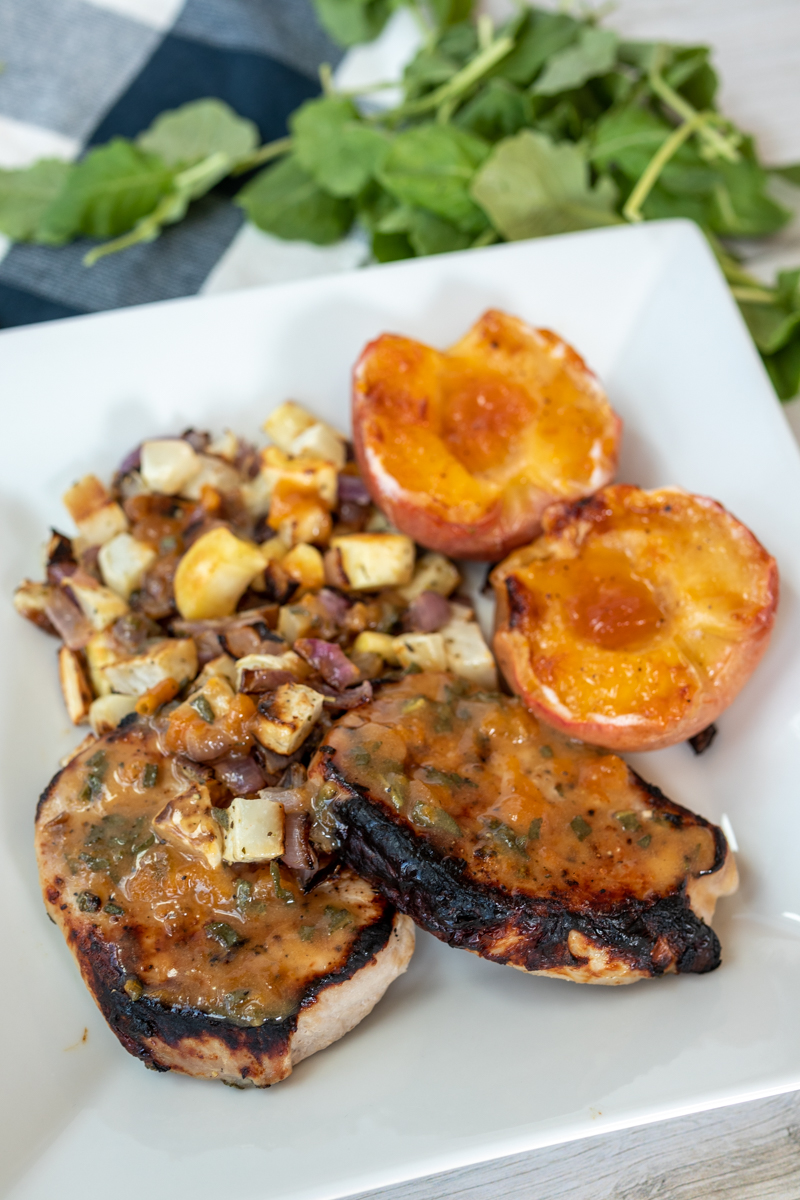
While the pork chops are flavorful and tender, the real standout are the baked apples slathered with apricot preserves and the roasted parsnip, turnip and red onion medley. I’ve baked apples into chips and I’ve baked them into dessert egg rolls, but I’ve never roasted whole apples. The apricot preserves brought a great brightness and sweetness to them that helped balance the savory flavors of the pork and root vegetables.

Pork Chops with Baked Apples, Parsnips and Turnips  |  Lemon & Mocha

And those root vegetables! I love a good roasted veggie and these parsnips, turnips and red onion chunks just melt in your mouth!

Pork Chops with Baked Apples, Parsnips and Turnips  |  Lemon & Mocha

This is a quick and easy dinner recipe that I’ll definitely be making all winter long. Enjoy!

Pork Chops with Baked Apples, Parsnips and Turnips  |  Lemon & Mocha

Pork Chops with Baked Apples, Parsnips and Turnips
 
Yield: 4 servings
Ingredients
  • 2 medium parsnips, peeled and cut into ½-inch pieces
  • 1 medium turnip, peeled and cut into ½-inch pieces
  • ½ red onion, cut into ½-inch pieces
  • 2 tablespoons olive oil
  • 1 teaspoon dried rosemary
  • 2 small apples, such as Gala, halved and seeded
  • ¼ cup apricot preserves
  • 1 teaspoon Worcestershire sauce
  • 1 teaspoon chopped fresh sage
  • 4 boneless pork loin chops, ½-inch thick
  • 1 tablespoon unsalted butter
  • Salt and fresh ground black pepper
Directions
  1. Preheat oven to 450 degrees F.
  2. Line a baking sheet with nonstick aluminum foil and place the parsnips, turnips and onion on it. Drizzle with the olive oil, toss, then sprinkle with the rosemary and season generously with salt and pepper. Place the apple halves, cut side up, on the baking sheet nestled between the veggies. Divide 2 tablespoons of the apricot preserves between the apple halves and brush over top then season lightly with black pepper. Roast for 20 minutes, or until the vegetables are soft. Turn the oven to broil and broil for 5 minutes, or until everything is golden brown.
  3. While the veggies are cooking, marinate the pork. In a shallow bowl or plastic container large enough to fit the pork, whisk together the remaining 2 tablespoons of apricot preserves, the Worcestershire sauce, sage and ½ cup water. Season with a little black pepper. Pierce the pork chips all over with a fork then add to the bowl and marinate for 10 minutes.
  4. Set a wire cooling rack into a rimmed baking sheet and place the pork chops on top, reserving the marinade. Season the pork chops with salt and pepper. Broil the pork chops for 4-5 minutes per side, or until they reach an internal temperature of 145 degrees F. Remove from the oven and let the pork rest while you finish the sauce.
  5. Pour the reserved marinade into a small saucepan and bring to a boil over medium-high heat. Continue to boil until thickened, about 3-4 minutes. Whisk in the tablespoon of butter until melted. Serve the pork alongside the vegetables and apples with the sauce drizzled over top.

 Recipe from January/February 2016 issue of Food Network Magazine.

Some of the links above are affiliate links, which means I may receive a small commission for my referral. This does not affect the retail cost of the item. Thank you for supporting Lemon & Mocha!

Roasted Shrimp Cocktail

Roasted Shrimp Cocktail  |  Lemon & Mocha

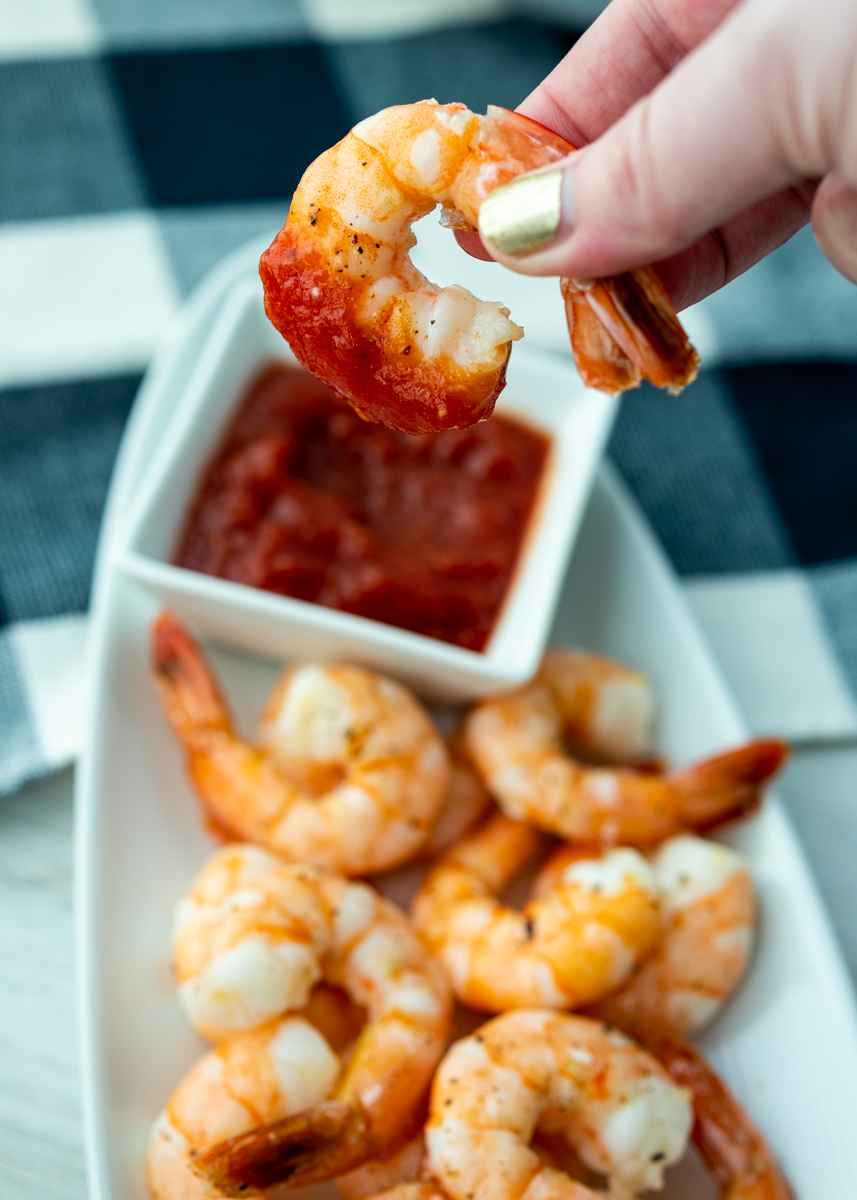
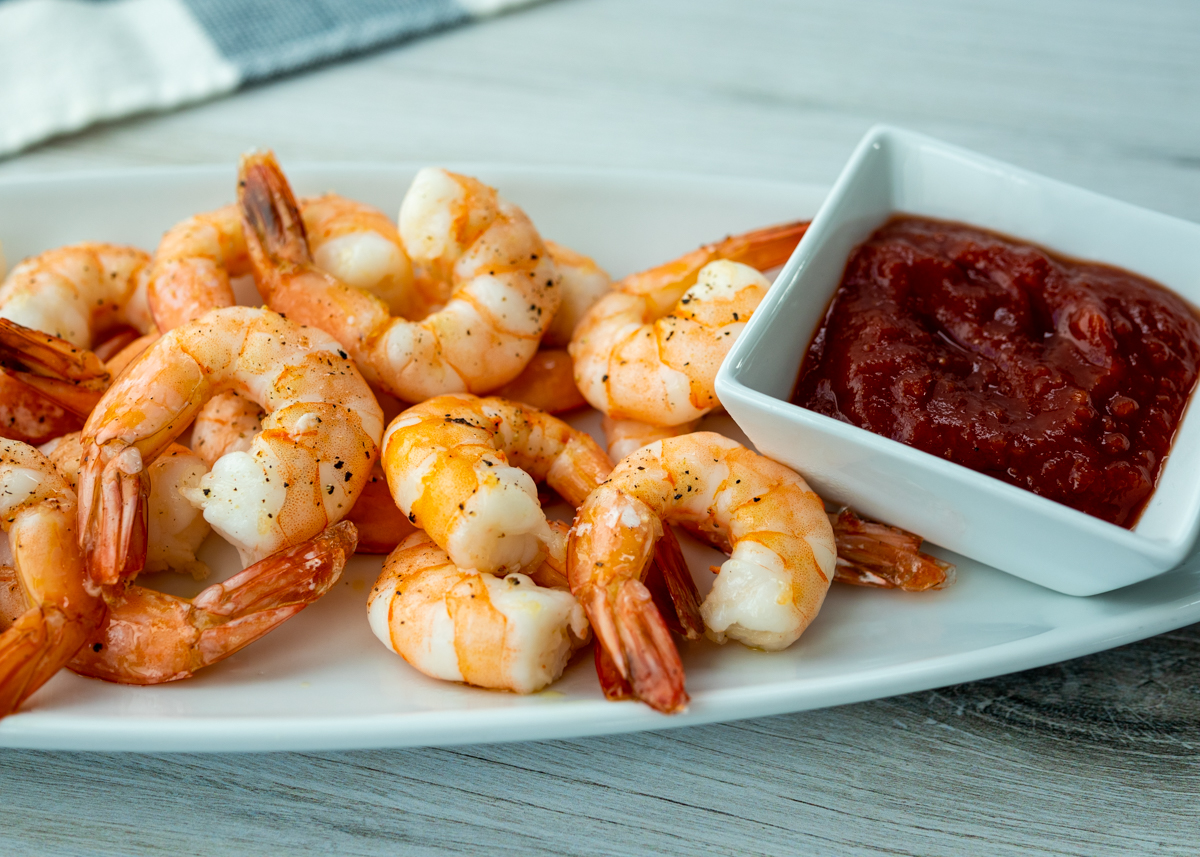
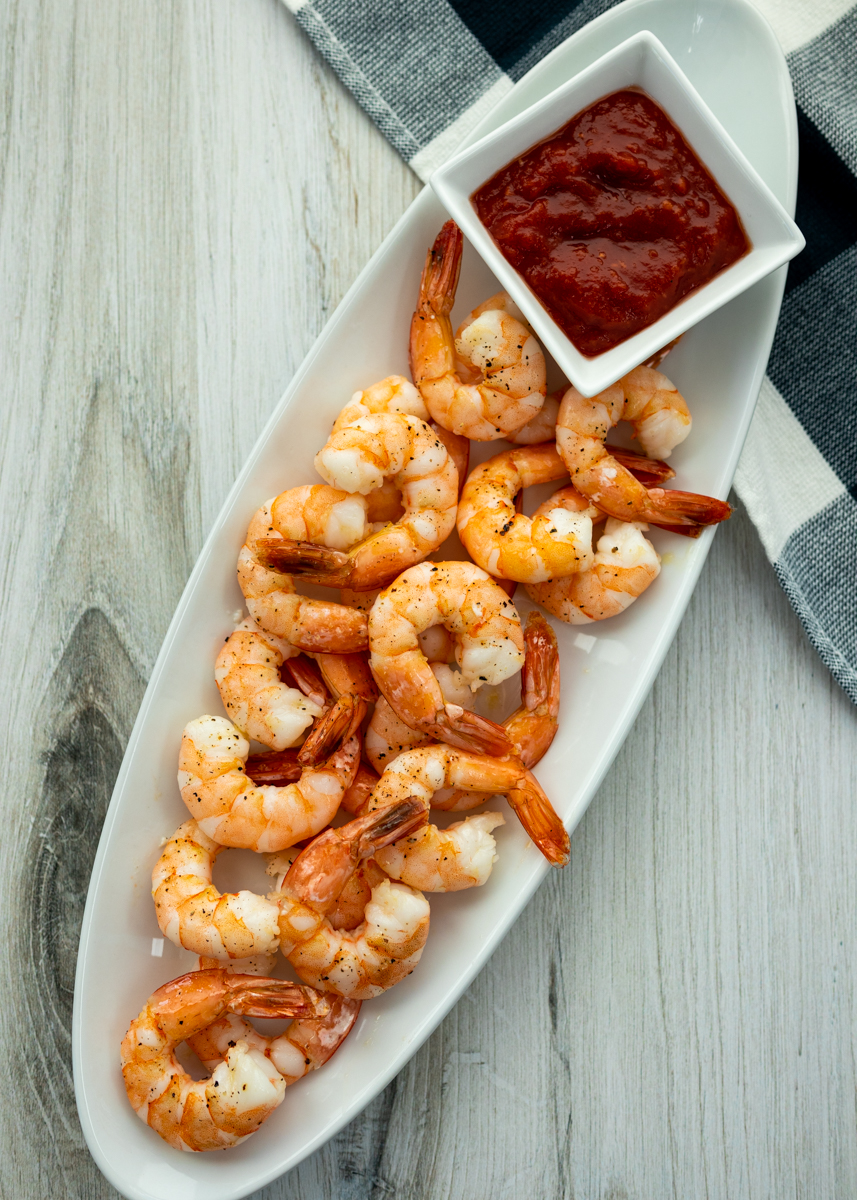
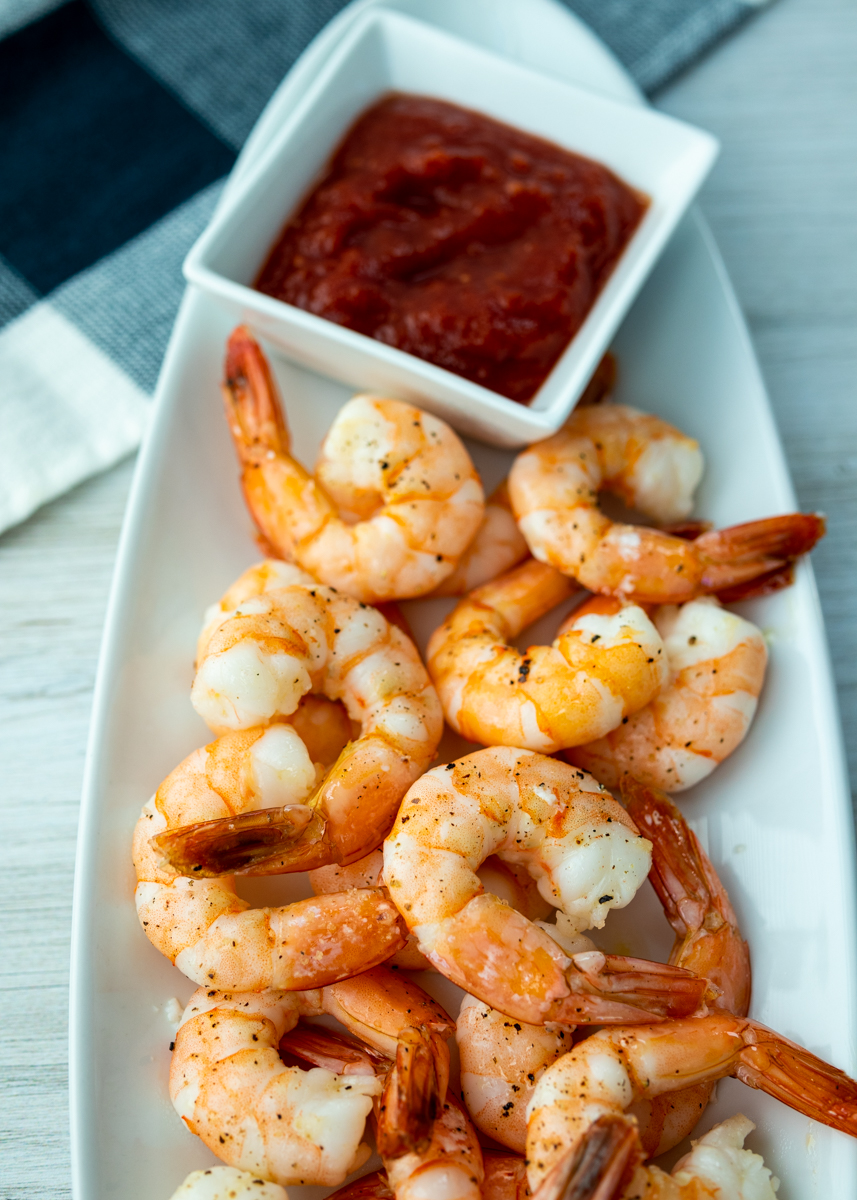
Hi, friends! For those of you that celebrate, I hope you had a wonderful Christmas! I wanted to pop on here real quick to share one final recipe before the end of the year. This simple Roasted Shrimp Cocktail recipe is the perfect party appetizer so I’m sharing it just in time for those of you that have New Year’s celebration plans. For those of you that won’t be cooking party appetizers, this is still a great one to have in your back pocket.

Roasted Shrimp Cocktail  |  Lemon & Mocha

It’s also so delicious that sometimes I just make it for Matt and I for dinner along with a salad! This recipe is simply shrimp cocktail kicked up a notch. Roasting tends to bring out extra flavor and as Ina Garten lets us know in her Back to Basics cookbook, shrimp are no exception.

Roasted Shrimp Cocktail  |  Lemon & Mocha

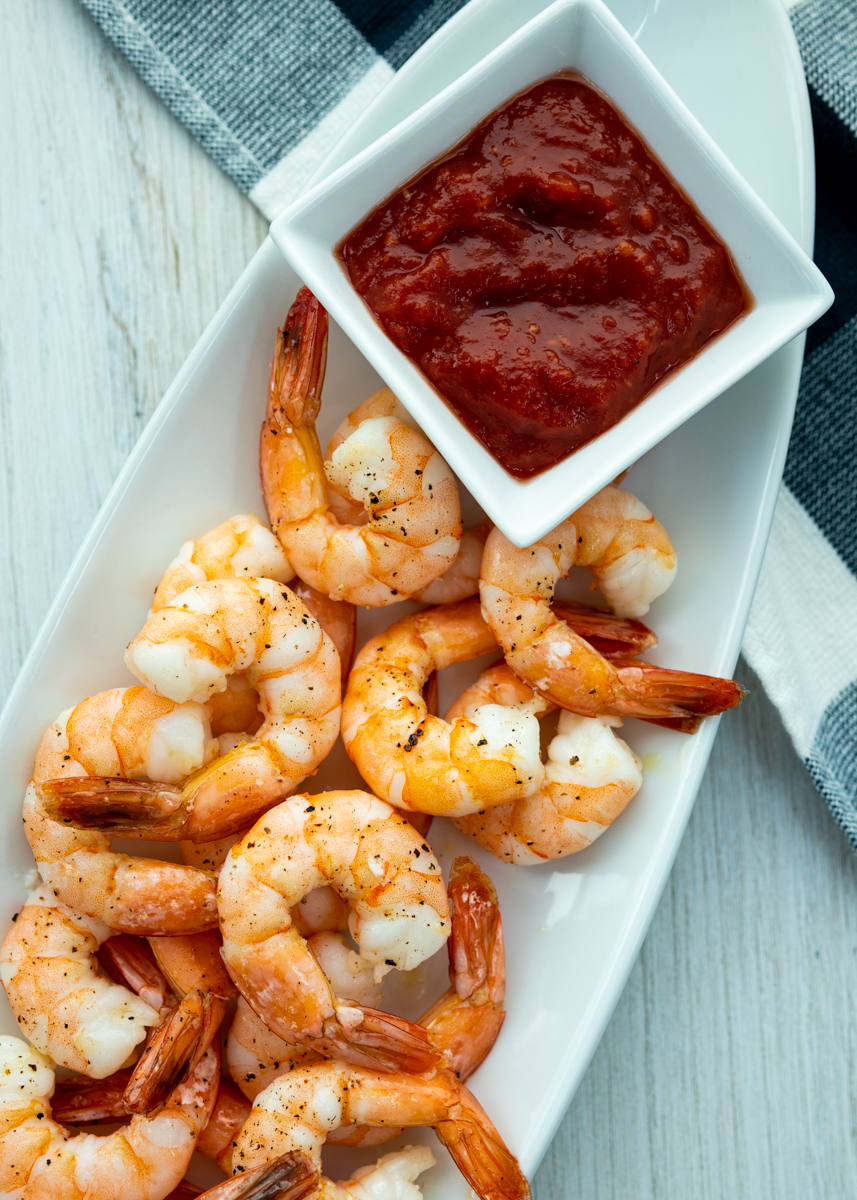
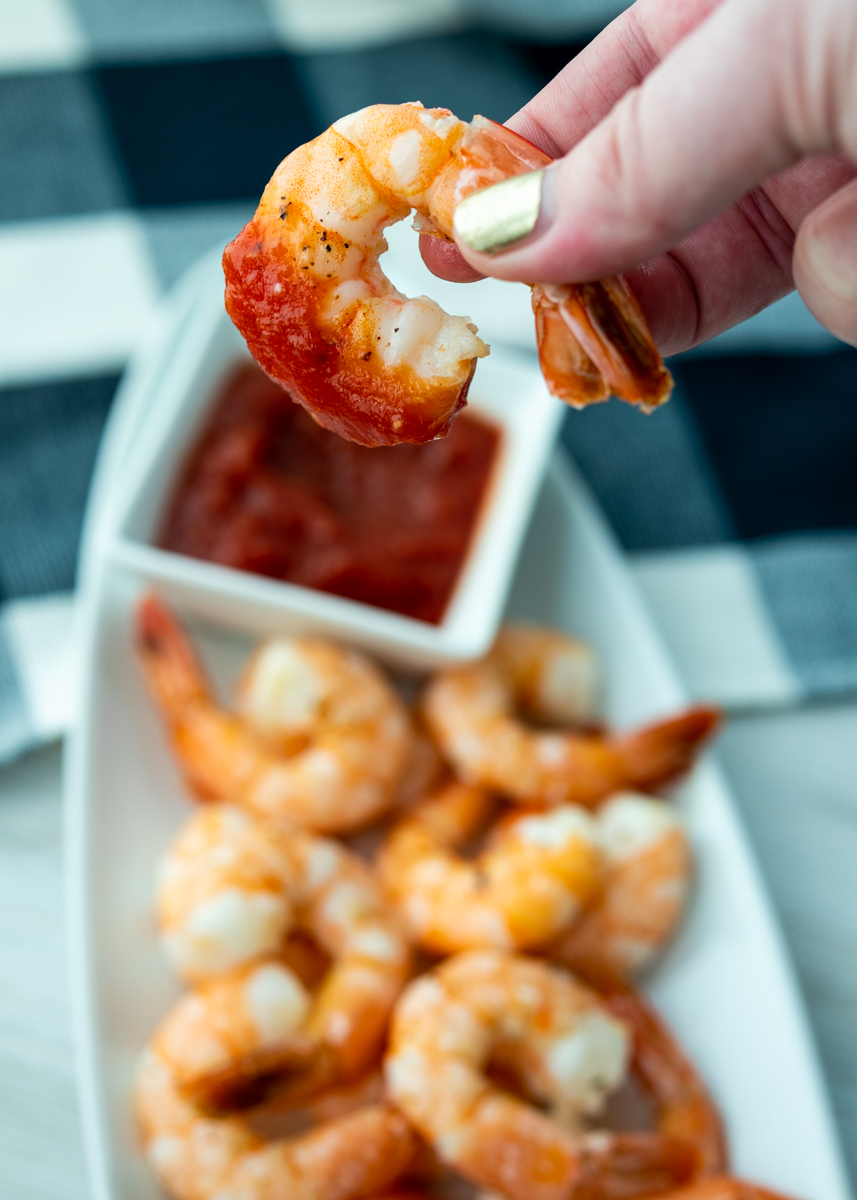
The shrimp get briefly roasted with some olive oil, salt and pepper before being left to cool and served with cocktail sauce. That’s it! It sounds so simple (because it is), but I promise you everyone will be raving over this easy appetizer.

Roasted Shrimp Cocktail  |  Lemon & Mocha

Diane has been making this Roasted Shrimp Cocktail for years; it’s a staple at all our family gatherings and sunset watching cocktail hours when we visit my parents down in Florida. I’ve recently started incorporating it into my menus when we have family and friends over and I don’t know why I didn’t do it sooner because it seriously is the easiest and tastiest dish to put out.

Roasted Shrimp Cocktail  |  Lemon & Mocha

I hope you all enjoy this one! Have a great weekend!

Roasted Shrimp Cocktail  |  Lemon & Mocha

Roasted Shrimp Cocktail
 
Yield: 4-6 servings
Ingredients
  • 2 pounds jumbo shrimp (raw, peeled and deveined with tails on)
  • 1 tablespoon extra virgin olive oil
  • ½ teaspoon salt
  • ½ teaspoon fresh ground black pepper
  • Cocktail sauce, for serving
Directions
  1. Preheat oven to 400 degrees F.
  2. Place the shrimp on a sheet pan and toss with the olive oil. Season with the salt and pepper and spread them out so they’re in a single layer. Roast the shrimp for 8-10 minutes. They should have just turned pink and firm and be cooked through. Set aside to cool.
  3. Serve at room temperature with the cocktail sauce. If you cooked them earlier in the day and had them in the fridge, let sit out for 10 minutes before serving.

Recipe from Barefoot Contessa Back to Basics.
Some of the links above are affiliate links, which means I may receive a small commission for my referral. This does not affect the retail cost of the item. Thank you for supporting Lemon & Mocha!

Chewy Peanut Butter Cookies

Chewy Peanut Butter Cookies  |  Lemon & Mocha

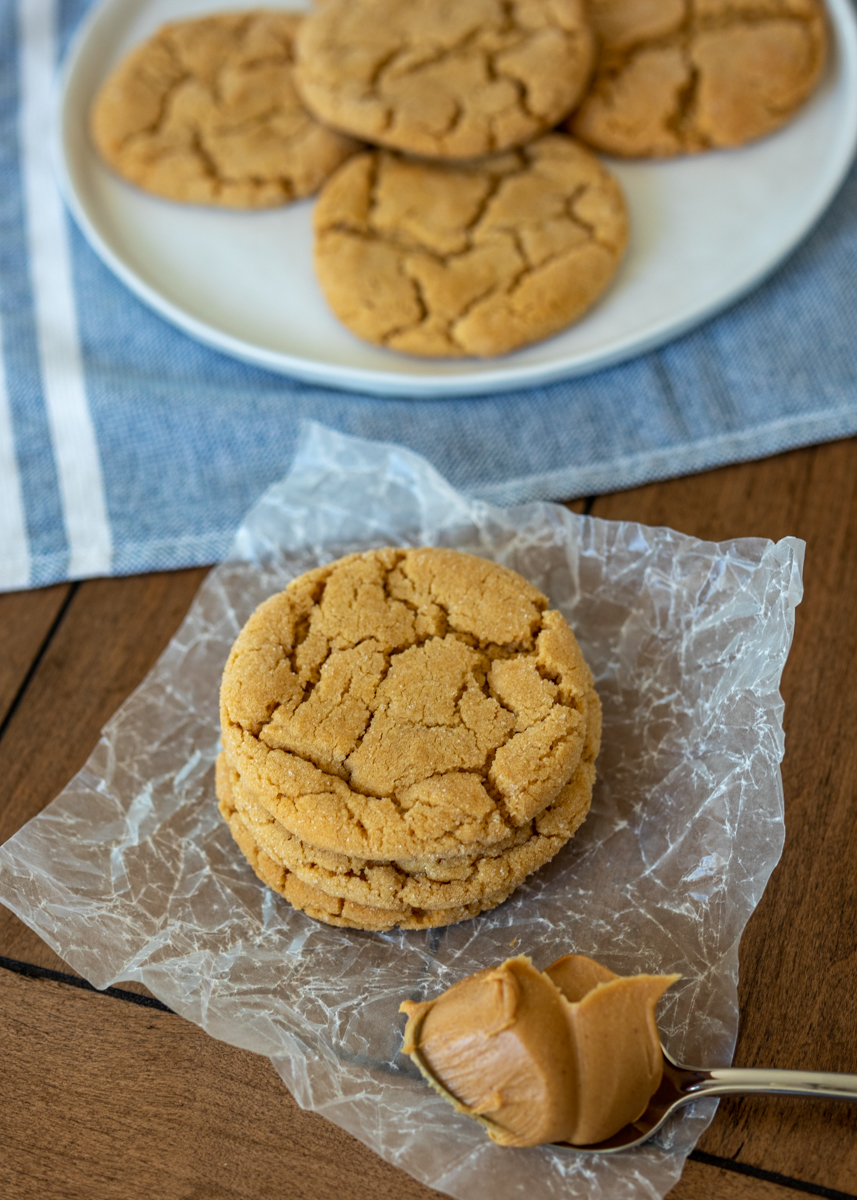
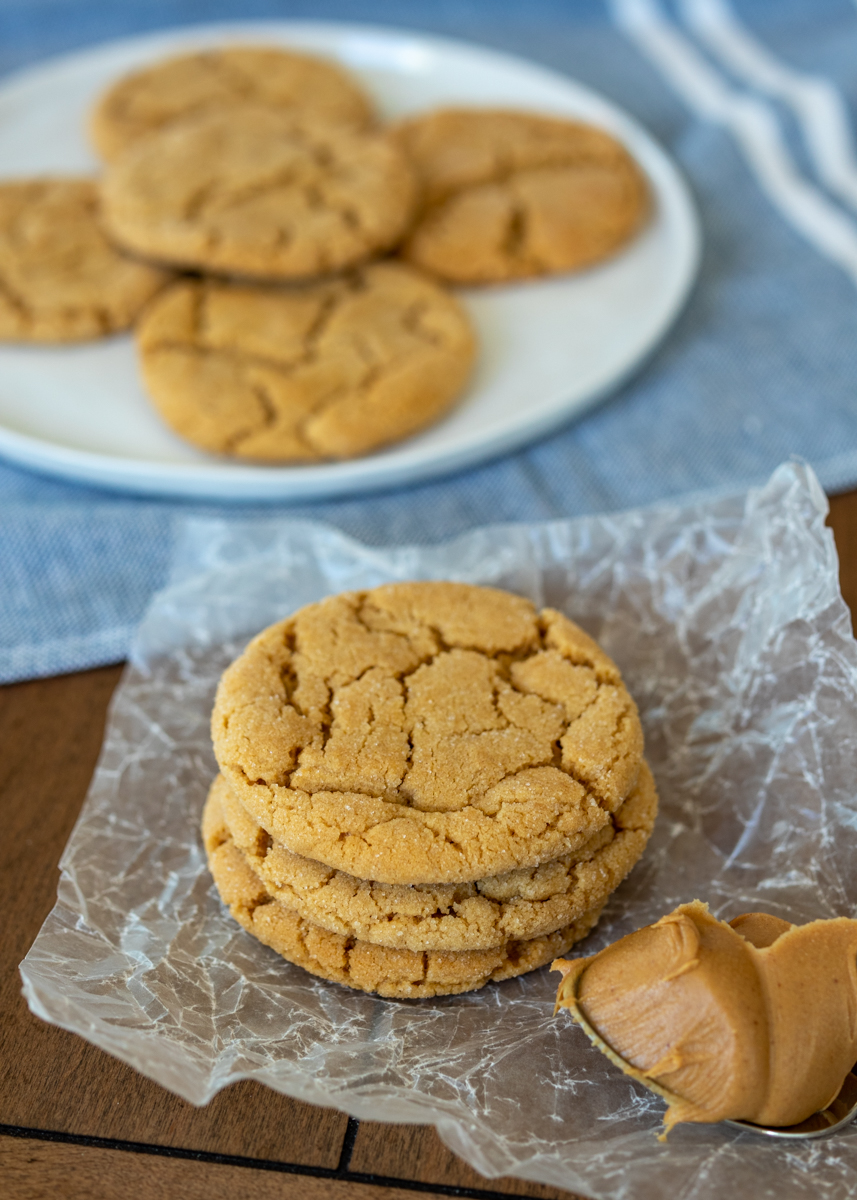
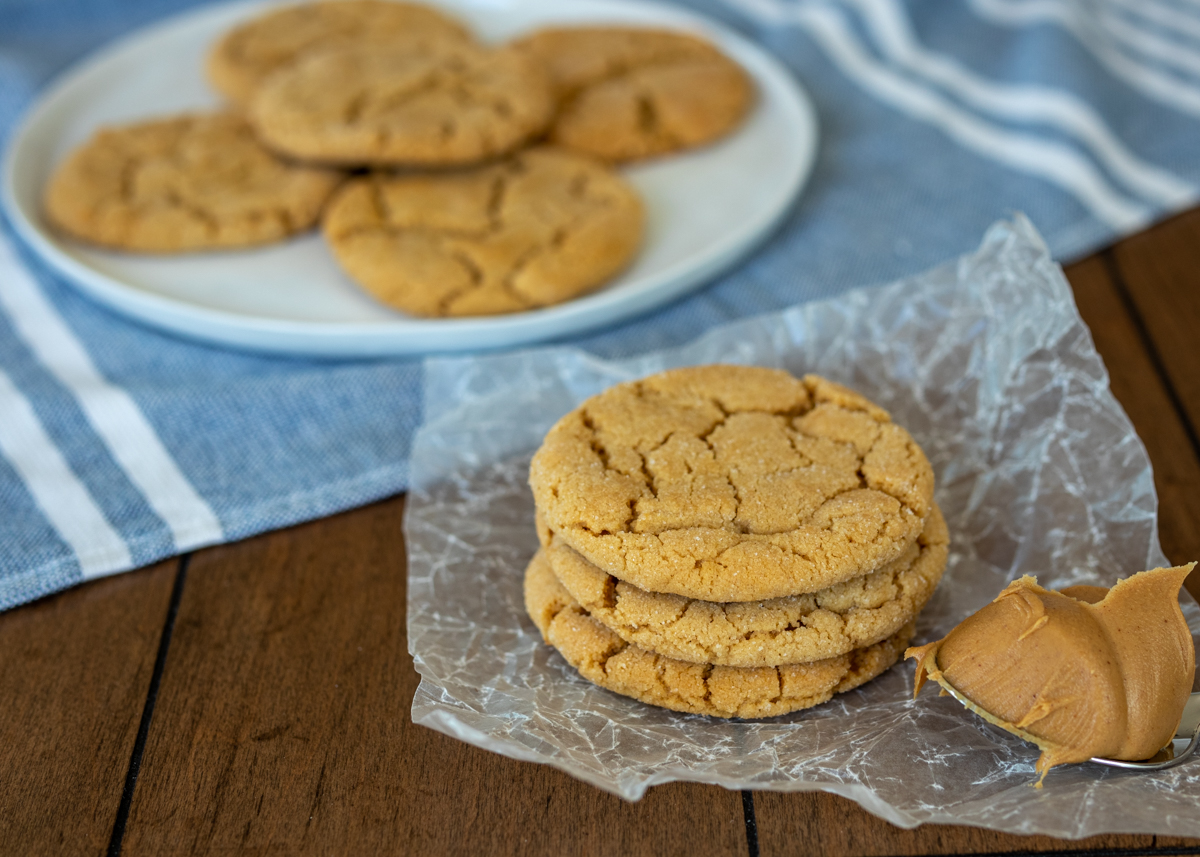
The day is finally here for the last recipe in our 12 Days of Cookies! These Chewy Peanut Butter Cookies are one of the easiest and there is no dough chilling required. Since we’re so close to the holiday and if you’re like me you’re probably busy with a million things while also trying to soak up time with your family so I’ll keep today’s post short and sweet.

Chewy Peanut Butter Cookies  |  Lemon & Mocha

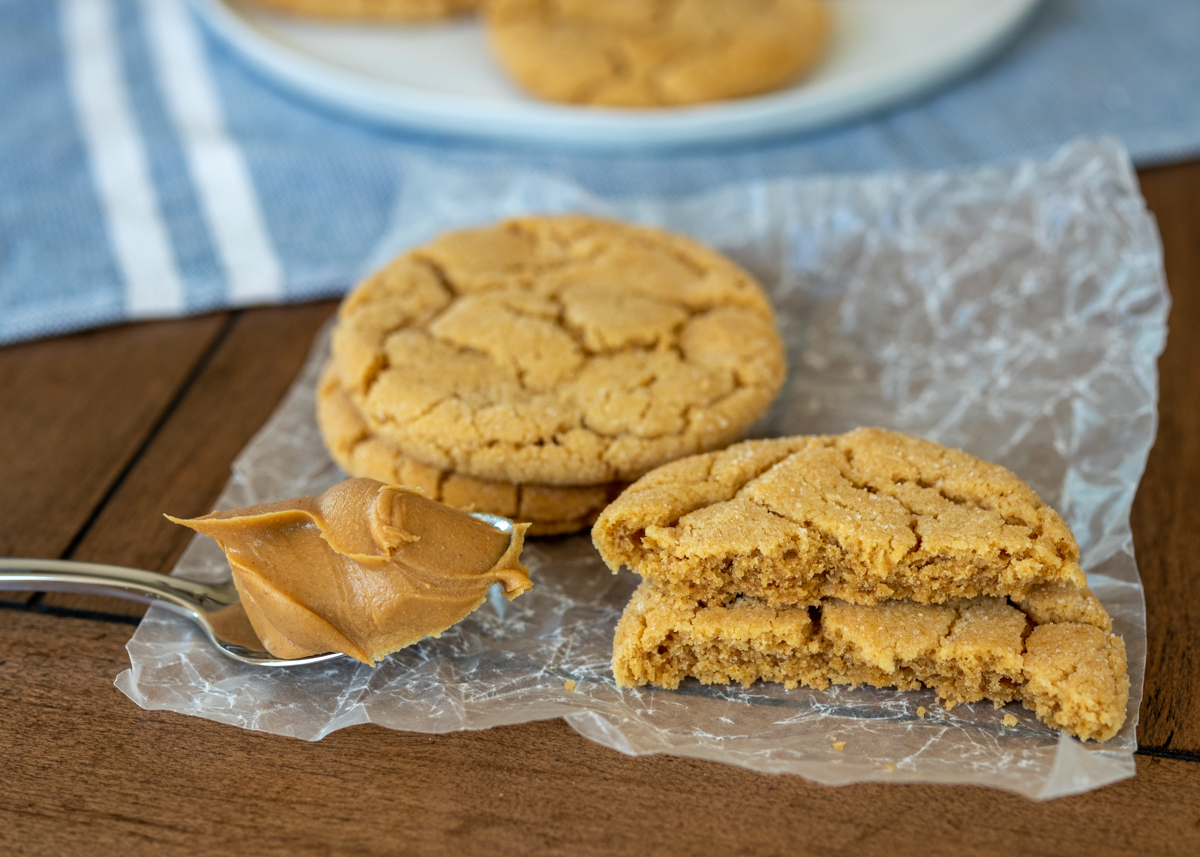
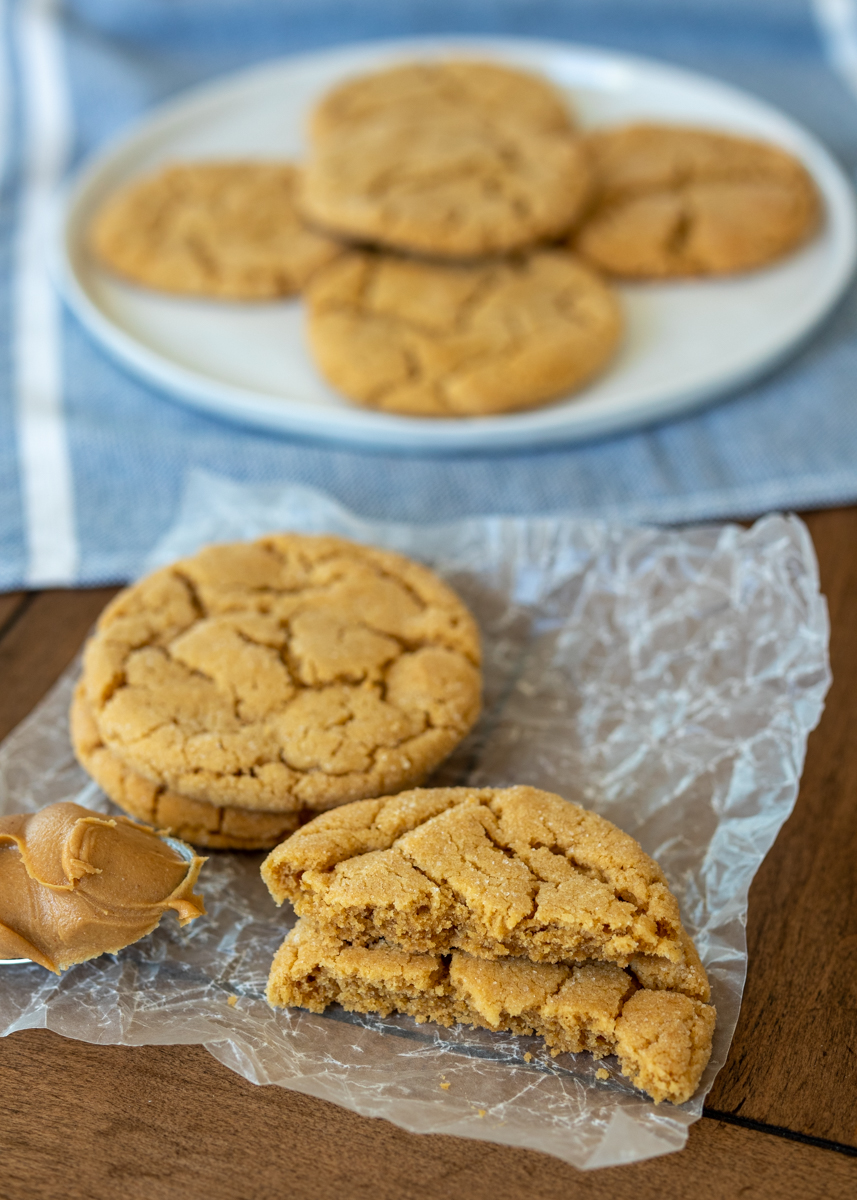
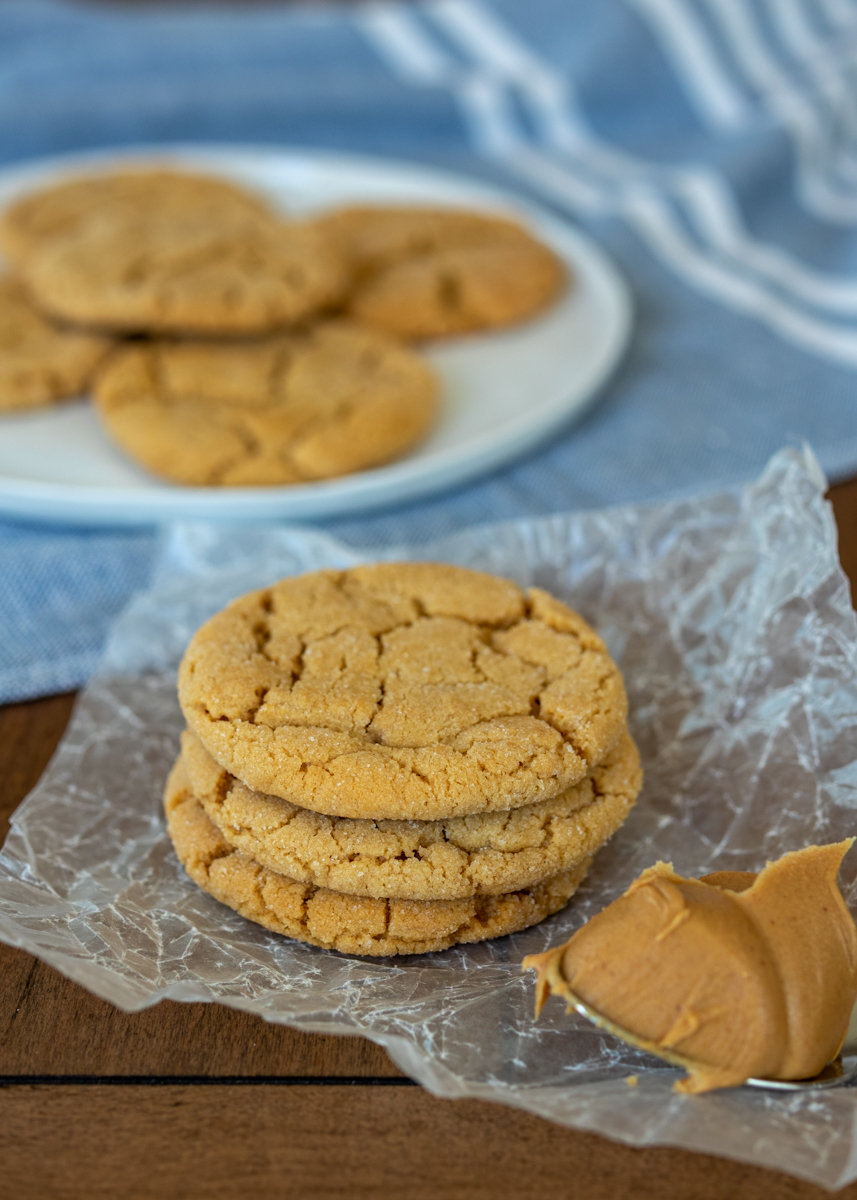
Having a go-to peanut butter cookie recipe is a staple and I’ve finally found mine! I find a lot of peanut butter cookies deliver on the peanut butter flavor, but are too crumbly. I prefer a cookie that is soft and chewy. These Chewy Peanut Butter Cookies have brown sugar in the cookie dough, which helps bring that chewy texture.

Chewy Peanut Butter Cookies  |  Lemon & Mocha

Rolling the cookie dough balls in granulated sugar gives them an added little bit of sweetness and shimmer as they spread out during the baking

Chewy Peanut Butter Cookies  |  Lemon & Mocha

The original recipe calls for them to be done around ten minutes, but I found mine needed closer to thirteen minutes. They do firm up a little after baking, but I love the chewy texture from these peanut butter-packed cookies.

Chewy Peanut Butter Cookies  |  Lemon & Mocha

Happy holidays, everyone!

Chewy Peanut Butter Cookies  |  Lemon & Mocha

Chewy Peanut Butter Cookies
 
Yield: 18-20 cookies
Ingredients
  • 1¼ cups all-purpose flour
  • ½ teaspoon baking soda
  • ½ teaspoon baking powder
  • ½ teaspoon salt
  • 8 tablespoons butter (1 stick), room temperature
  • ½ cup creamy peanut butter (not natural)
  • ½ cup brown sugar
  • ½ cup granulated sugar, plus extra for rolling the cookie dough balls
  • 1 large egg, room temperature
  • 1 teaspoon vanilla extract
Directions
  1. Preheat oven to 350 degrees F. Line 2 baking sheets with parchment paper and set aside.
  2. In a medium mixing bowl, sift together the flour, baking soda, baking powder and salt. Set aside.
  3. In a large bowl with a hand mixer or in the bowl of a stand mixer, beat the butter and peanut butter until creamy and fluffy, about 3 minutes. Add the brown sugar and granulated sugar and beat until fluffy, about 3 minutes. Add the egg and vanilla. Beat until combined. Add the flour mixture and beat on low until just a few streaks remain.
  4. Put some granulated sugar in a small bowl. Use a medium cookie scoop to scoop out a dough ball then roll in the granulated sugar. Place on the prepared baking sheet and repeat for the remaining dough. Bake for 12-14 minutes, or until the edges are very lightly brown and they’ve just started to set. Let cool on the baking sheet for 5 minutes then remove to a wire cooling rack to finish cooling. Repeat for the second baking sheet of cookies.

Recipe from Two Peas and Their Pod.

Cherry Kiss Cookies

Cherry Kiss Cookies  |  Lemon & Mocha

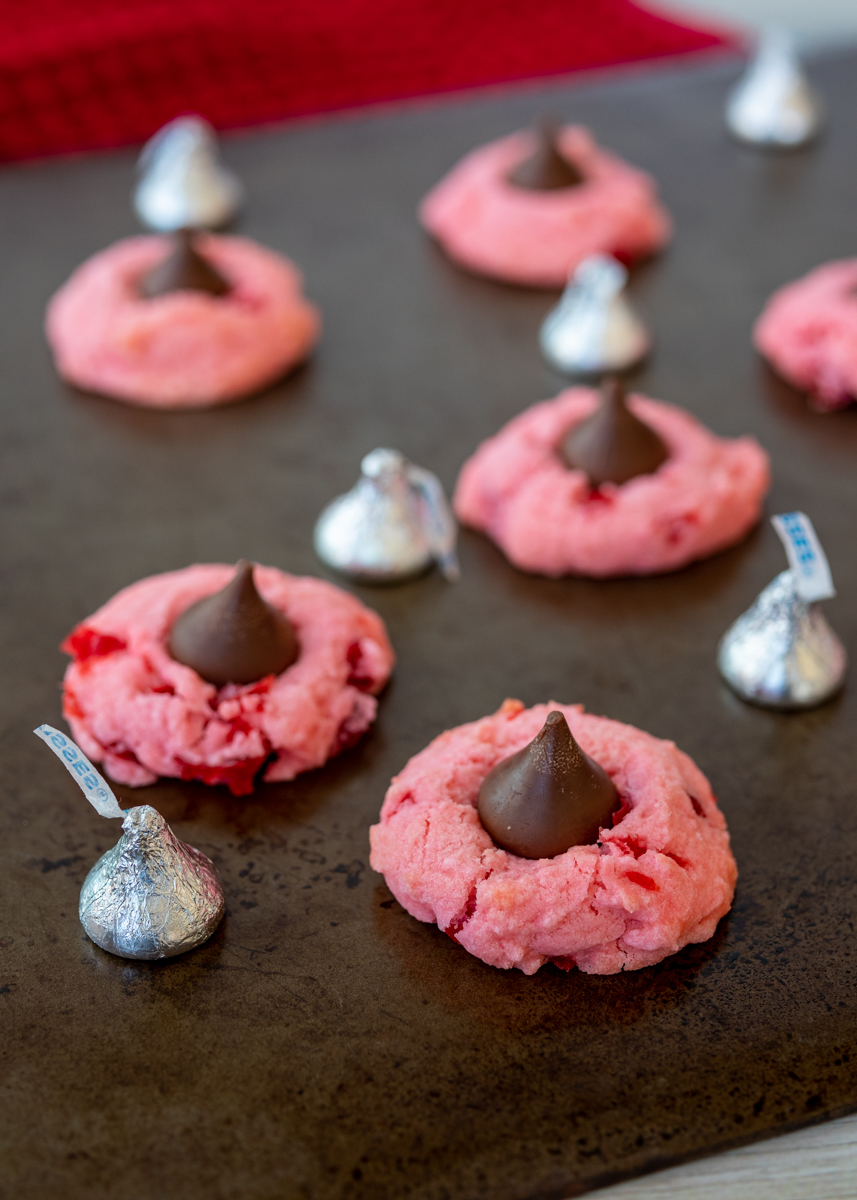
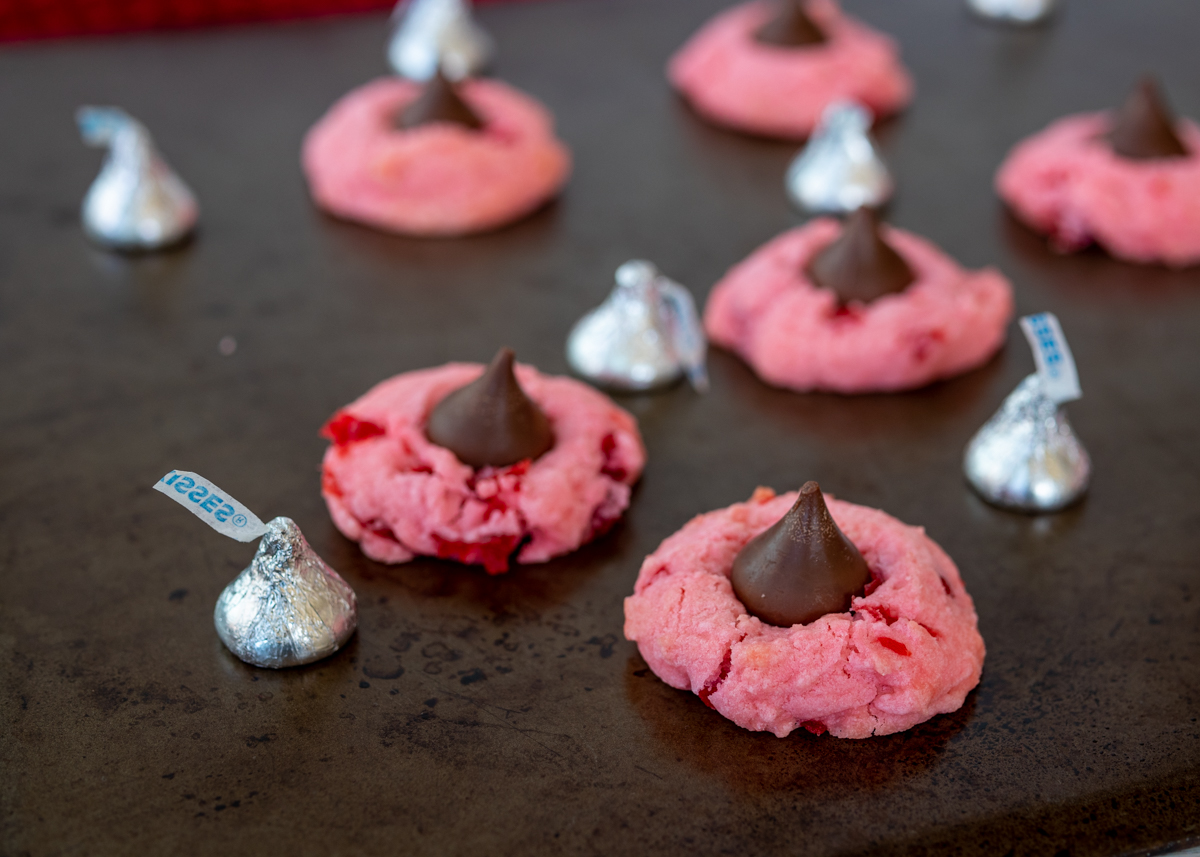
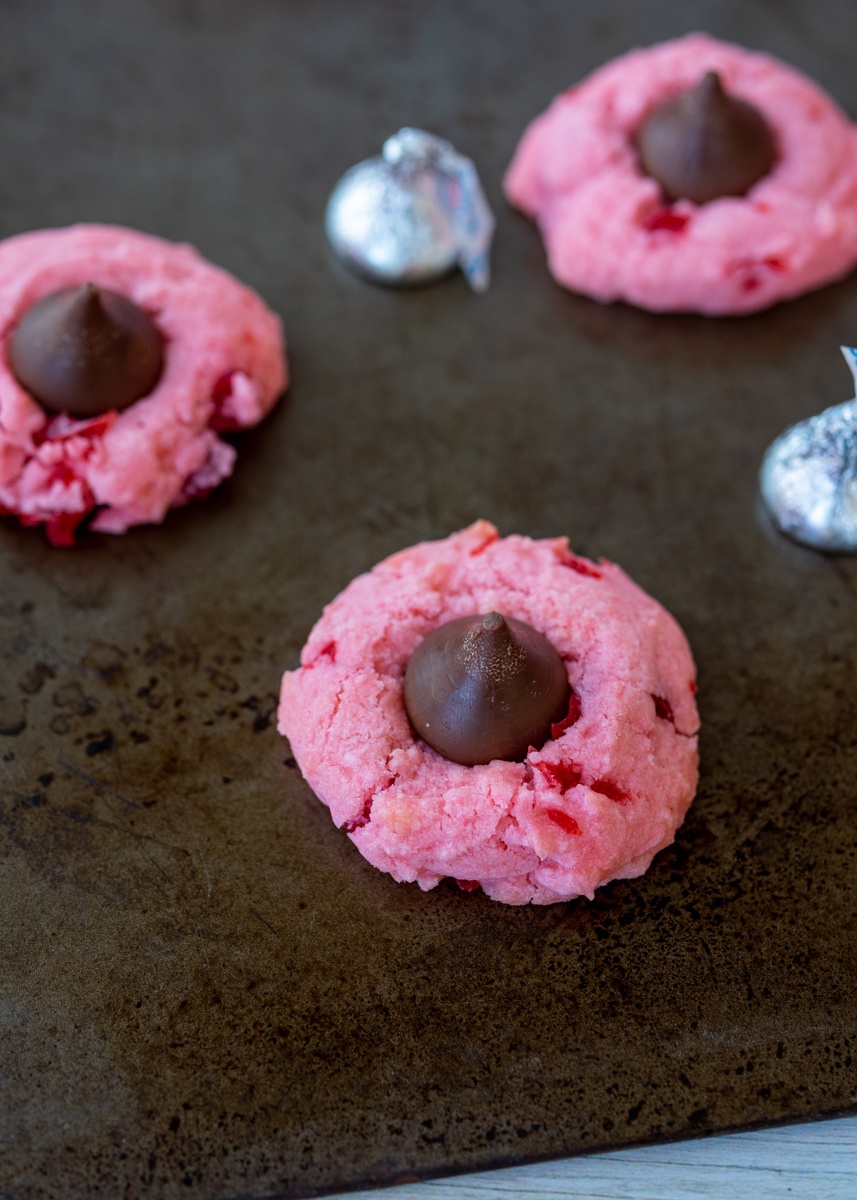
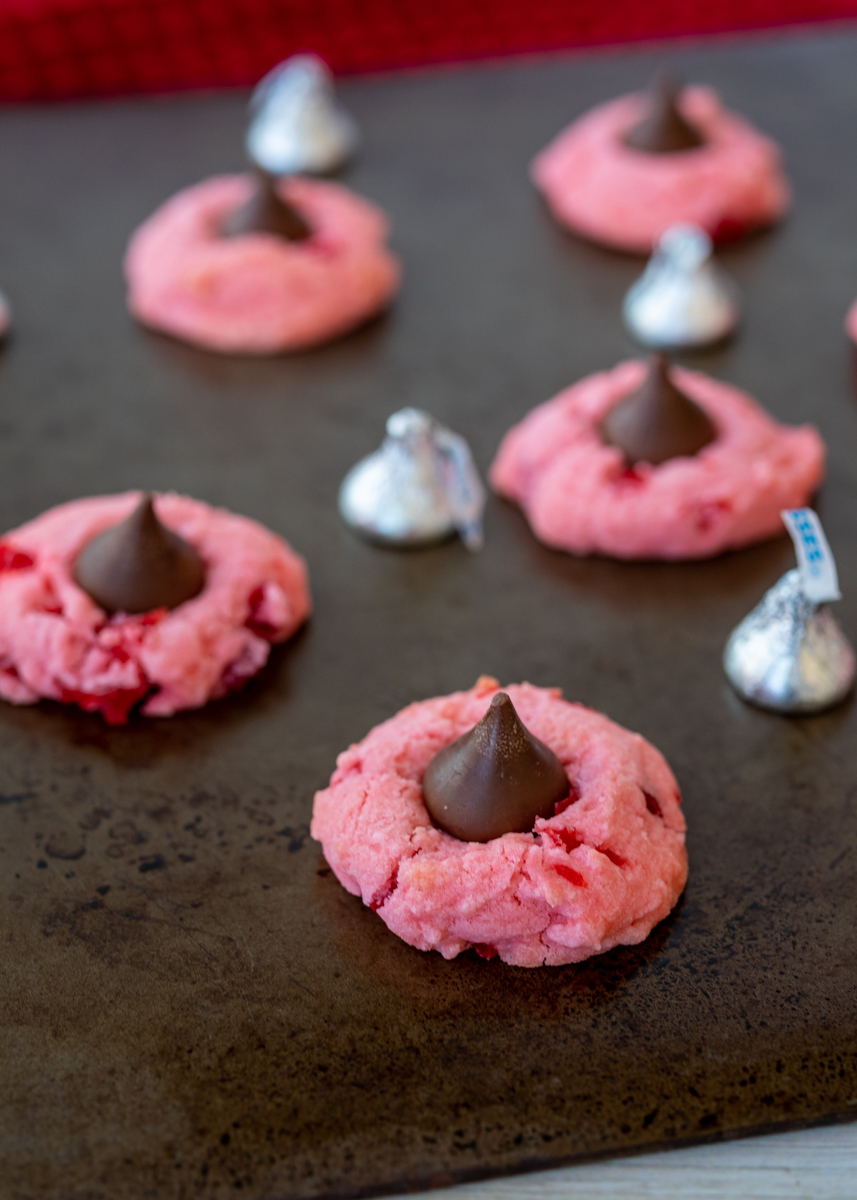
Happy Friday! Here we are at day eleven of Lemon & Mocha’s 12 Days of Cookies and I’ve definitely been saving some of the best for last. First of all, let’s just discuss how pretty these Cherry Kiss Cookies are! With their pink hue they certainly would be fitting for Valentine’s Day, but they also add a great pop of color to a Christmas cookie platter.

Cherry Kiss Cookies  |  Lemon & Mocha

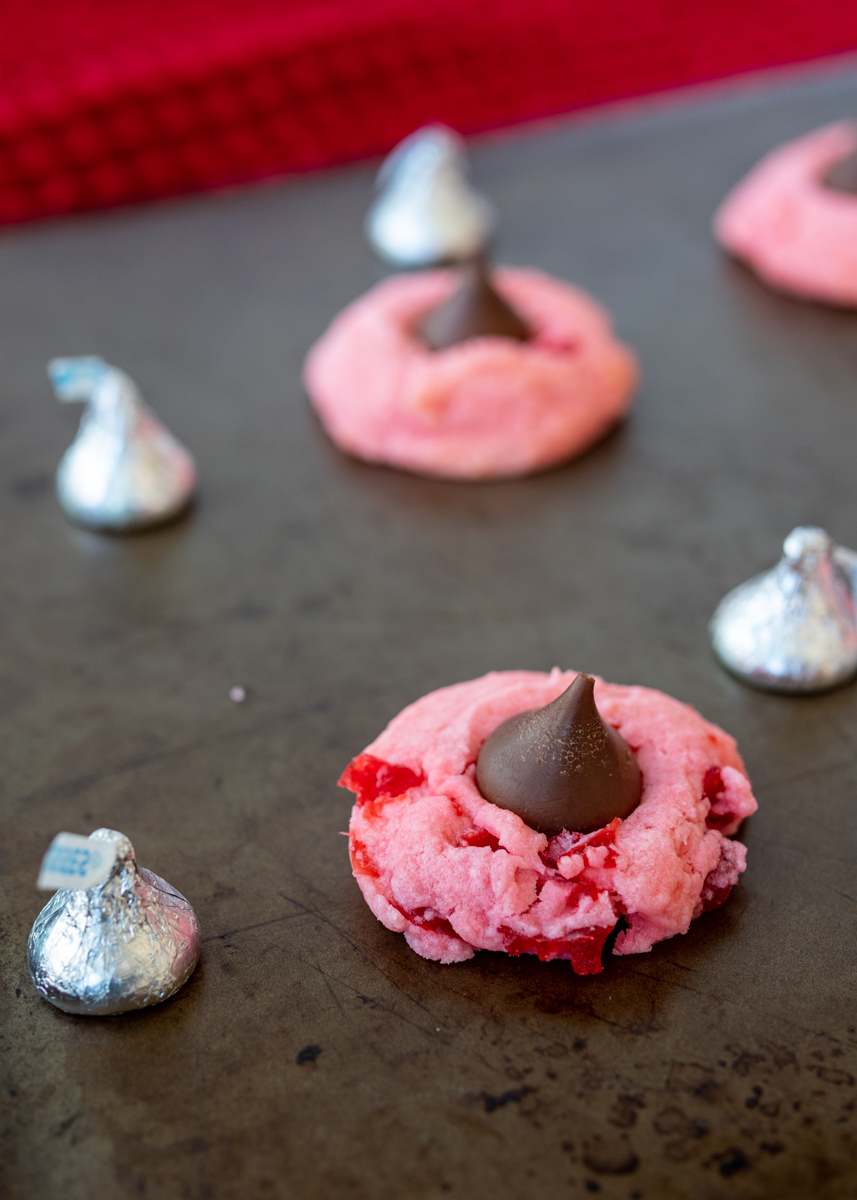
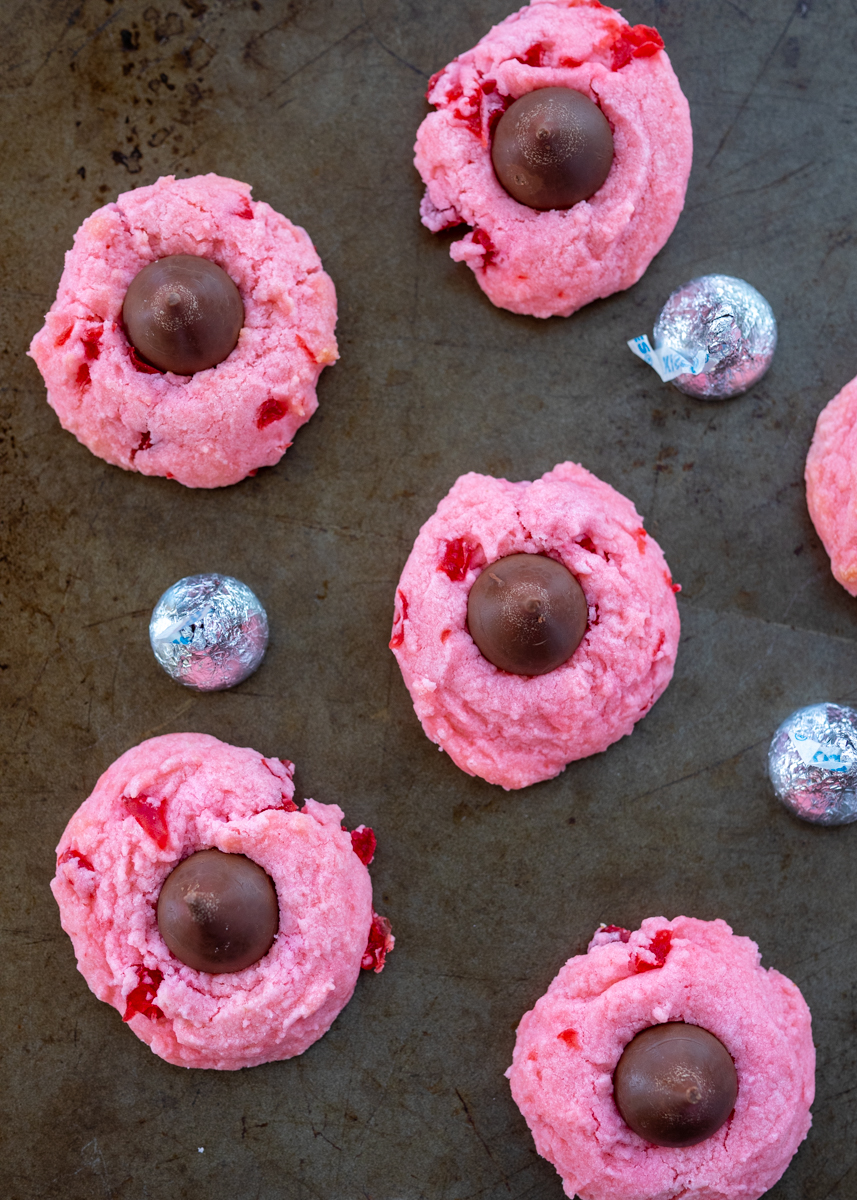
If there was ever a cookie to be described as melting in your mouth, it would be these pillowy Cherry Kiss Cookies. They are soft, buttery and have just the perfect amount of cherry flavoring. There’s also a chocolate Hershey Kiss in the center of every cookie, which is always a delicious bonus.

Cherry Kiss Cookies  |  Lemon & Mocha

The cherry flavor in these cookies comes from cherry extract and chopped maraschino cherries, both which get mixed right into the batter. If you remember my Chocolate Raspberry Heart Cookie Pops I had a difficult time finding cherry extract in the grocery store so instead I used raspberry extract. Since I now have a big bottle of raspberry extract from those cookie pops I actually used it instead of cherry extract for these cookies as well. So I guess they are technically Cherry Raspberry Kiss Cookies. Either way you make them I’m sure you will be hooked. I saved these for right before Christmas because the dough requires no chilling and they’re very easy drop cookies to make so they would be a great last minute baking project.

Cherry Kiss Cookies  |  Lemon & Mocha

The cookies look very soft when they come out of the oven, but they will firm up as they cool. I left mine in the oven until I noticed just a couple of the cookies had started to very lightly brown on the edges, which can be difficult to notice at first since the cookies are pink.

Cherry Kiss Cookies  |  Lemon & Mocha

I used milk chocolate kisses since that is what I had on hand, but you could experiment with different kinds as I think the dark chocolate kisses would be extra tasty in these. Okay, only a few more days until Christmas! What are you baking this weekend?

Cherry Kiss Cookies  |  Lemon & Mocha

Cherry Kiss Cookies
 
Yield: 28 cookies
Ingredients
  • 1 cup butter (2 sticks), room temperature
  • 1 cup confectioners’ sugar
  • ½ teaspoon salt
  • ½ teaspoon vanilla extract
  • 1½ teaspoons cherry extract, see note
  • 5 drops red food coloring
  • 2¼ cups all-purpose flour
  • ½ cup chopped maraschino cherries
  • 28 Hershey Kisses, unwrapped
Directions
  1. Preheat oven to 350 degrees, making sure oven racks are in the upper and lower thirds positions. Line 2 baking sheets with parchment paper and set aside.
  2. In a large bowl with a hand mixer or in the bowl of a stand mixer, beat the butter, confectioners’ sugar and salt on low speed to combine then medium-high speed until fluffy, about 3 minutes. Add the vanilla, cherry extract and food coloring. Beat until combined. Add the flour and beat on low until only a few streaks remain. Use a spatula to stir in the chopped cherries.
  3. Use a medium cookie scoop to balls of dough onto the prepared cookie sheets. I put 14 on each of my half sheet pans; the cookies spread a little, but not a lot. Bake for 10-12 minutes, or until a couple of the cookies just start to very lightly brown on the edges. Remove from the oven and immediately press a chocolate kiss into the center of each cookie. Once the cookies have cooled for 2 minutes on the pan, remove to a wire cooling rack to cool completely.
Notes
If you don’t have cherry extract, raspberry extract also works really well.

Recipe adapted from Taste of Home.