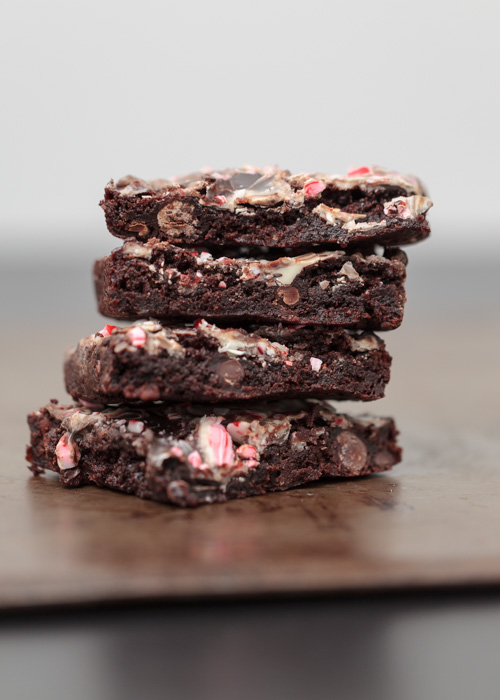
Dark Chocolate Peppermint Brownies
Ever since I experimented with chocolate peppermint fudge last year, dark chocolate and peppermint has been added to my list of favorite dessert flavor combinations. Of course there is a list.
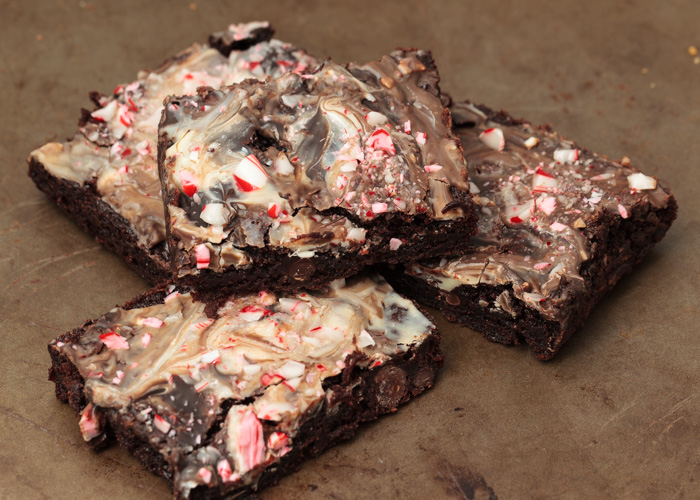
The decadent chocolate paired with the refreshing peppermint aftertaste is a nice break from all the rich desserts of the holiday season. Packing a triple peppermint punch, these fudgy brownies are for true peppermint lovers.
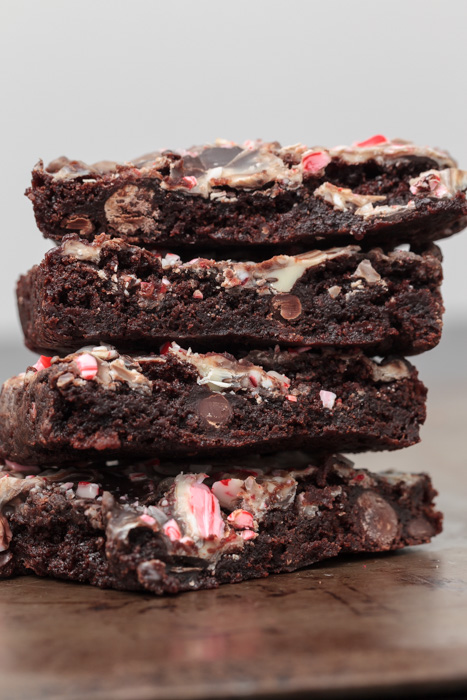
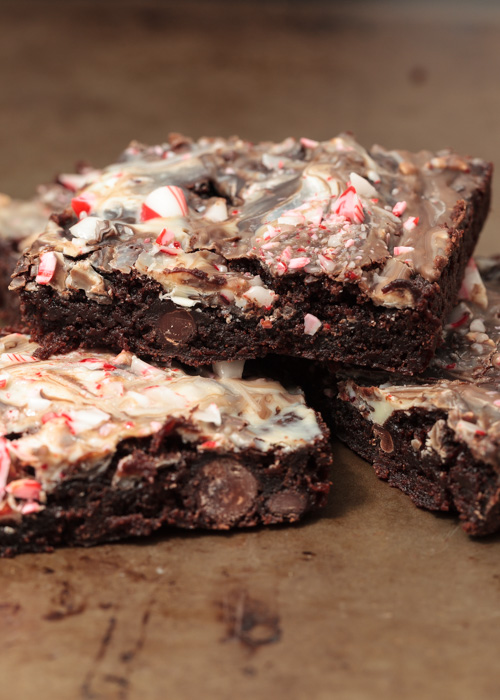
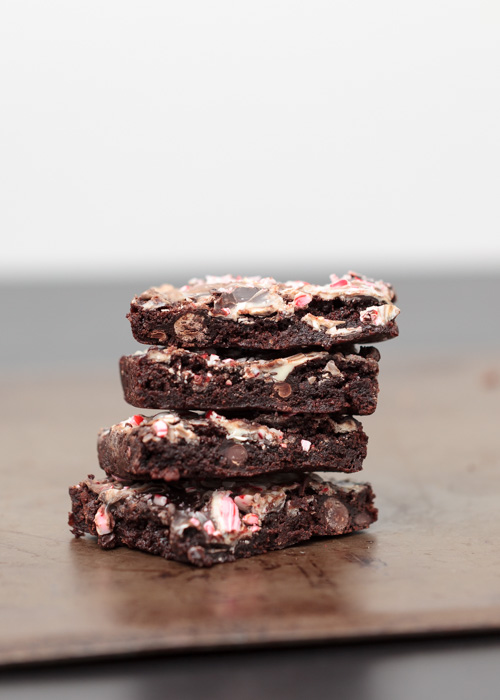
First, peppermint extract is baked into the brownies. Second, when the hot and gooey brownies come out of the oven, peppermint bark is layered on top to melt in a thin layer. Third, crushed candy canes are sprinkled on the top to add a nice crunch, to make them look festive and of course to add extra peppermint flavor.
Thankfully Matt is all pepperminted out this season so I have our batch of these all to myself, lucky me!
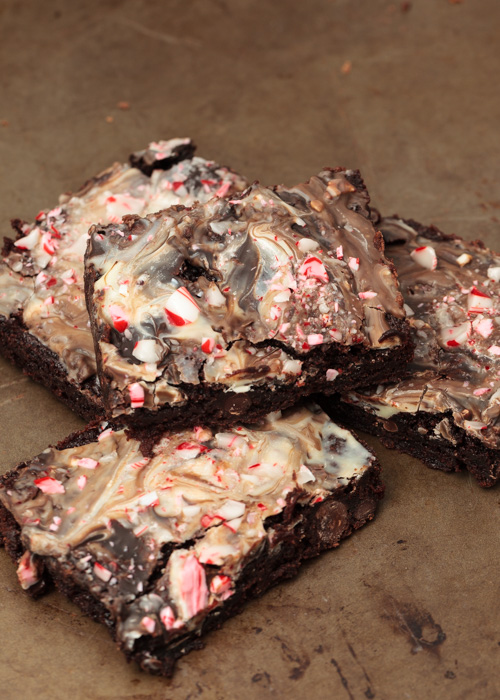
The best part of these brownies, other than their deliciousness, is how fancy they look, but how simple they actually are to bake. So bake some up this holiday season, and remember to keep some for yourself!
- 1 batch brownie batter
- 1 teaspoon peppermint extract
- 6-8 squares peppermint bark, broken into chunks
- 3 candy canes, crushed
- Preheat the oven to 350 degrees F. Grease an 8x8” brownie pan and set aside. If you want thin brownies like mine then use a 9x13” pan instead with the same amount of brownie batter. This will give you 32 brownies instead of 16.
- Add the peppermint extract to the prepared brownie batter then pour into the prepared pan. Bake according to the package instructions, being sure not to overbake as brownies will continue to cook once you remove them from the oven. I usually pull mine out 3-5 minutes before the package’s minimum baking time.
- As soon as the brownies are out of the oven, run a knife around the edges then evenly top with the chunks of peppermint bark before covering the pan with tin foil so the chocolate can melt.
- After a few minutes, remove the tin foil then carefully spread the melty peppermint bark with a spatula in an even layer on top of the brownies. Sprinkle the crushed candy canes over the top then refrigerate until the chocolate has hardened. Cut and serve.