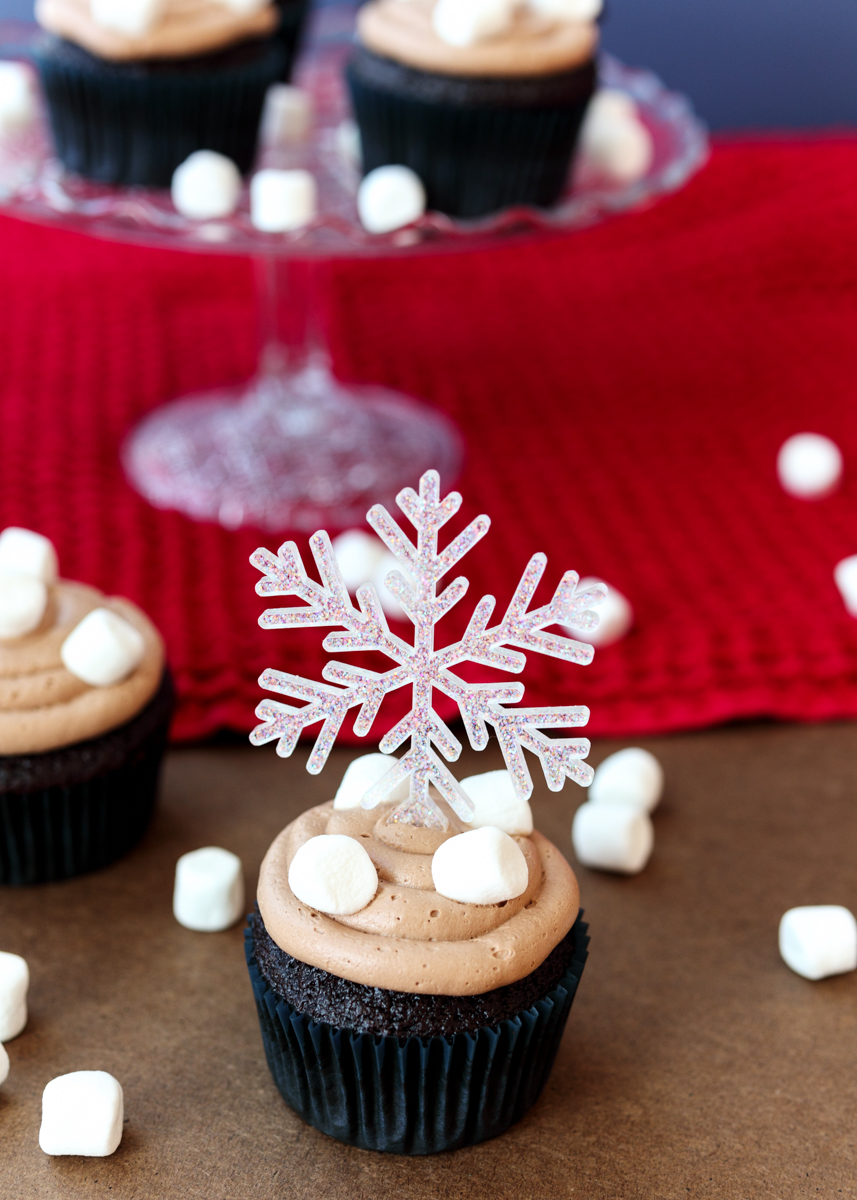
Hot Chocolate Cupcakes
As much as I want it to be spring already, we still have a few more weeks until the first official day of spring. And, considering that I live in New England, it’s usually a few more weeks after that. I decided to embrace the last bit of winter that we have left and make these decadent and cozy Hot Chocolate Cupcakes.
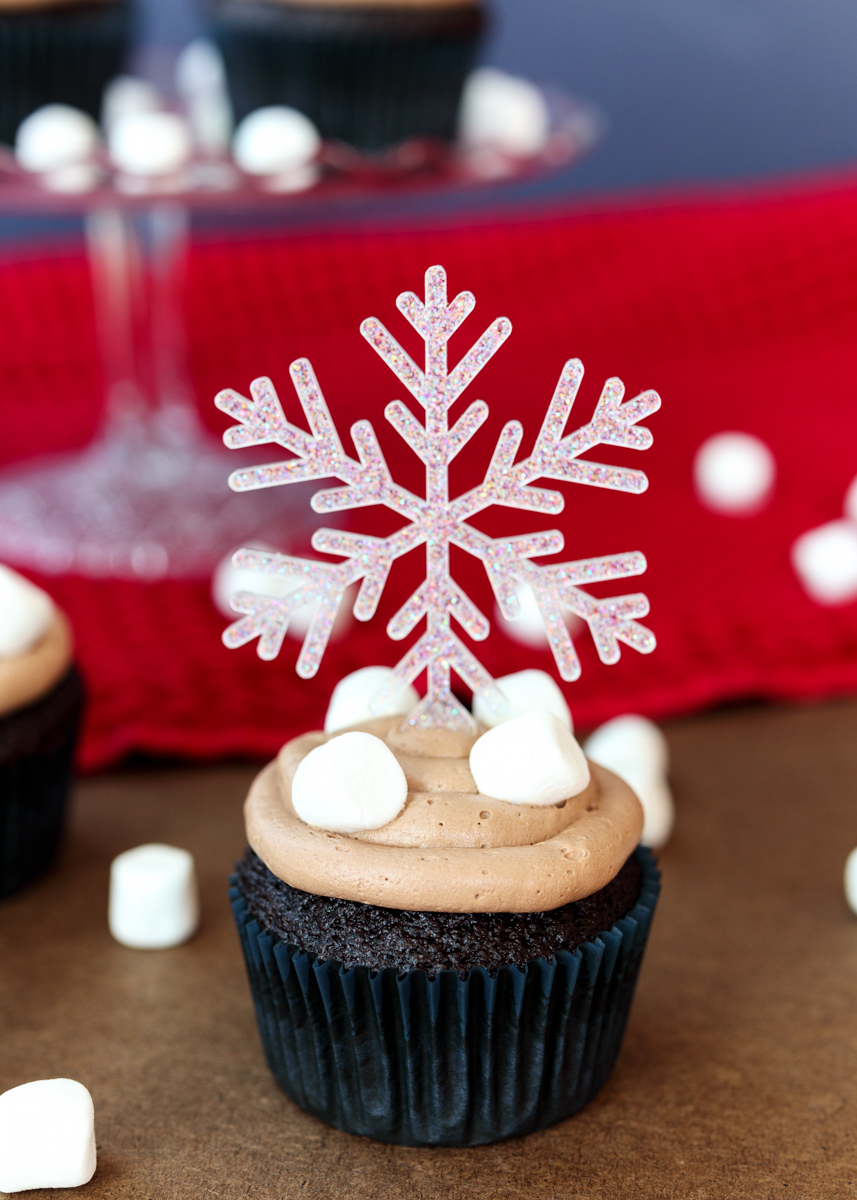
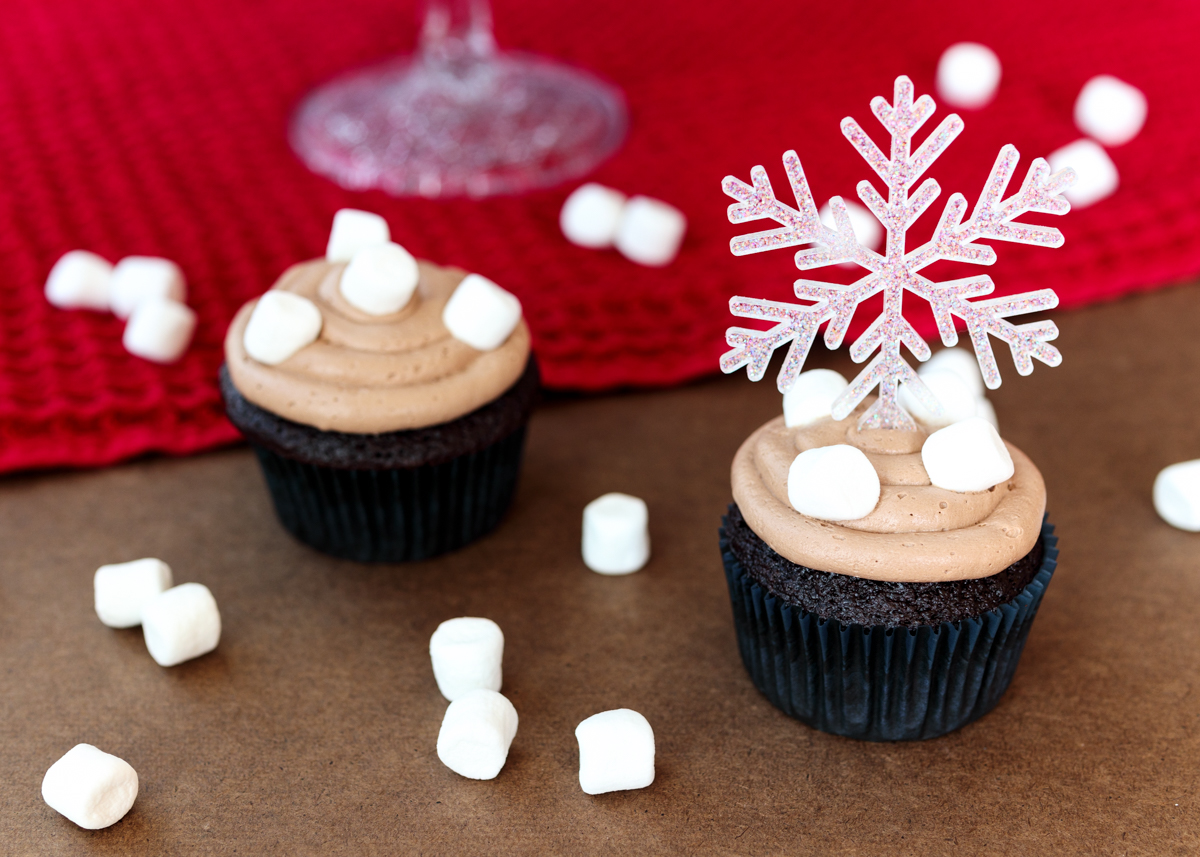
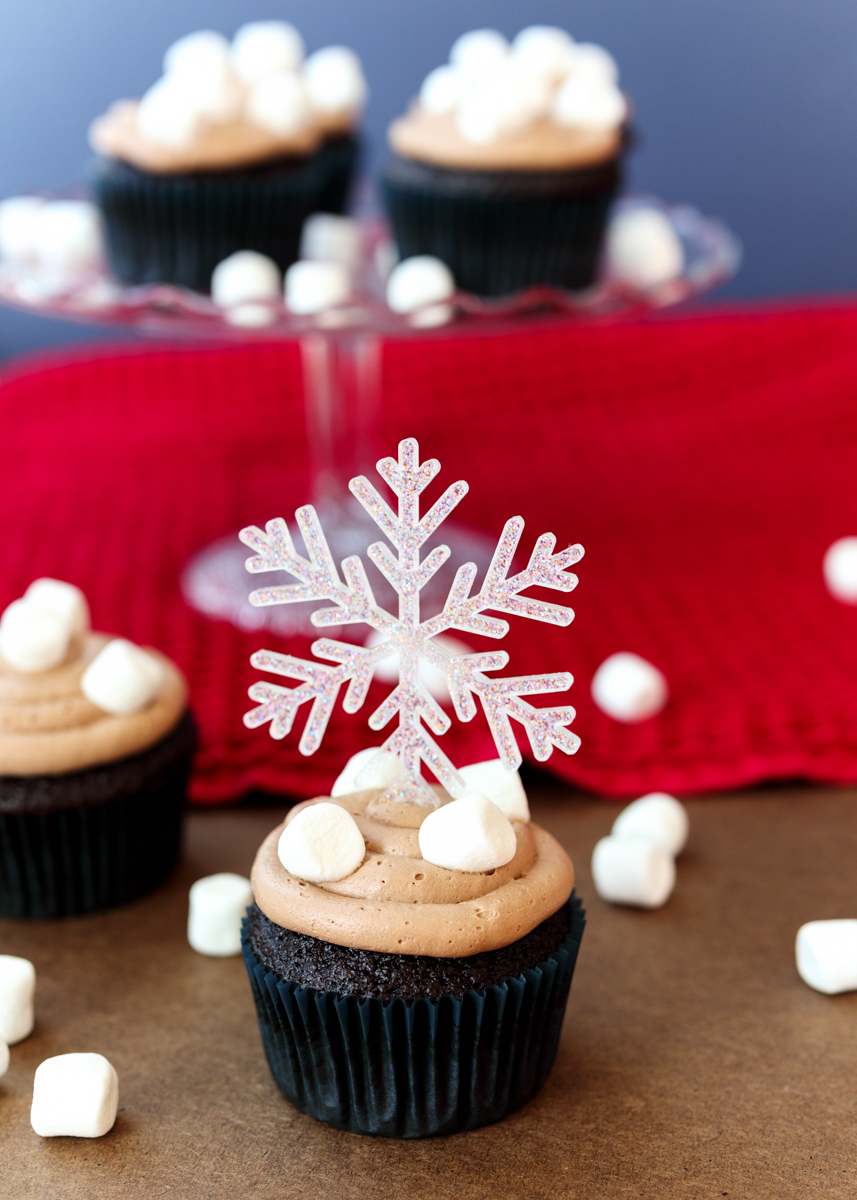
My inspiration for these cupcakes came from these adorable sparkly snowflake toppers! I have the coolest goddaughter who seriously gets my love of baking and cooking. This past fall for my birthday she scoured Etsy to find unique cupcake toppers for each season. I immediately knew the upcoming year on Lemon & Mocha would have to include four special cupcakes, each showcasing the cute seasonal toppers from my goddaughter.
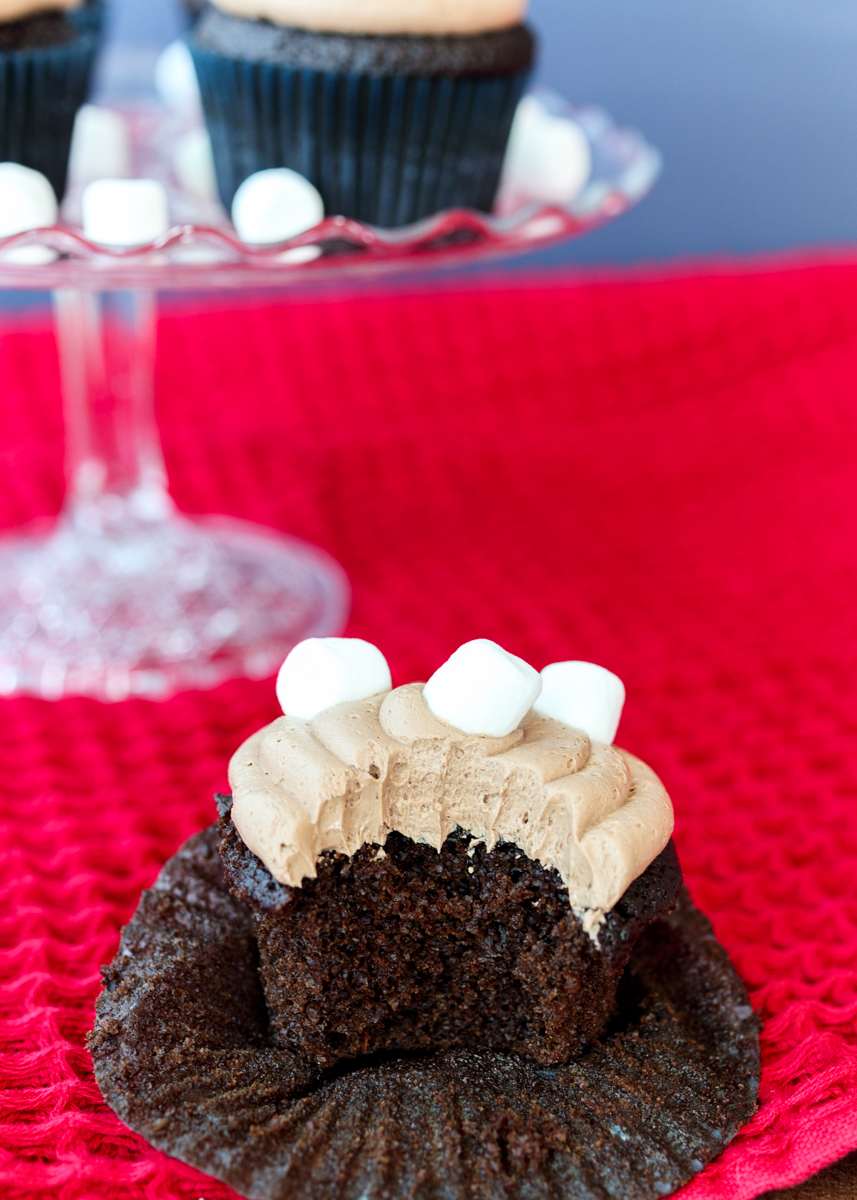
When I was trying to decide what to make for the winter cupcakes I immediately thought of my favorite winter beverage: hot chocolate. The base of these cupcakes is my Perfect Chocolate Cupcakes. I tweaked the recipe this past fall and they truly are the most moist and light cupcakes with a big chocolate flavor. I’ve raved enough about my chocolate cupcakes in the past though so we can move on the frosting, which is what makes these not just chocolate cupcakes, but Hot Chocolate Cupcakes.
Let me get right to it; this frosting is crazy good. All it took was one bite to know this hot chocolate frosting would be an immediate member of my cake repertoire for years to come. And then I sampled a second, a third and a fourth bite just to be really, really certain.
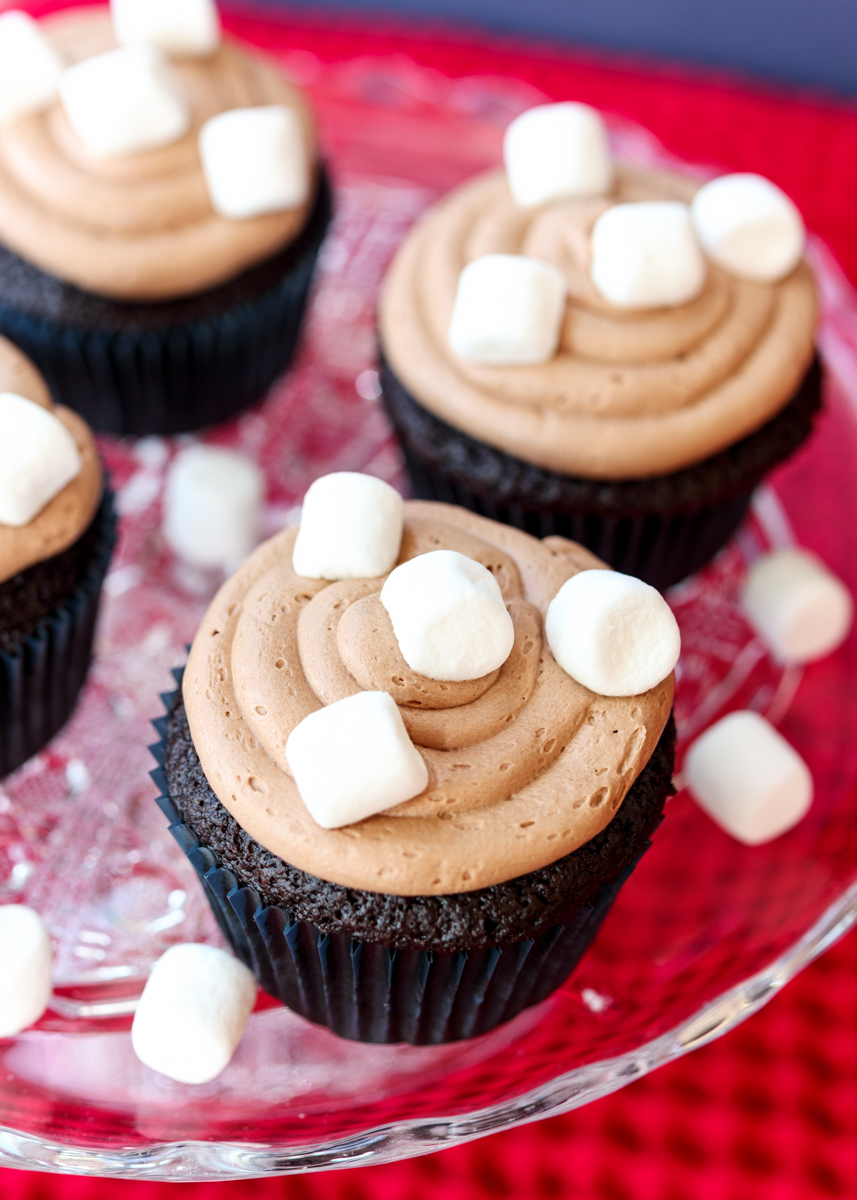
Cocoa powder and marshmallow fluff help give this buttercream frosting that classic hot chocolate taste. There’s less powdered sugar than a traditional buttercream because we are using marshmallow fluff to sweeten the frosting and to make it, well, fluffy! Also because it wouldn’t be a perfect hot chocolate without marshmallows. Enjoy!
- 2 cups granulated sugar
- 1¾ cups all-purpose flour
- ¾ cup cocoa powder
- 1½ teaspoons baking powder
- 1 teaspoon baking soda
- 1 teaspoon salt
- 2 large eggs
- 1 cup buttermilk, see note
- ¼ cup butter, melted
- ¼ cup vegetable oil
- 1 tablespoon vanilla extract
- 1 cup hot coffee, see note
- 2 cups unsalted butter, softened to room temperature
- 4 cups marshmallow fluff
- 2 cups powdered sugar
- ¼ cup plus 2 tablespoons cocoa powder
- Mini marshmallows, for topping
- Preheat the oven to 350 degrees F. Line two cupcake pans with cupcake liners so you have enough for 24 cupcakes.
- In a large mixing bowl or in the bowl of a stand mixer, sift together the sugar, flour, cocoa powder, baking powder, baking soda and salt.
- In a medium mixing bowl, whisk together the eggs, buttermilk, melted butter, vegetable oil and vanilla extract. Pour the liquid ingredients into the dry ingredients and mix together until smooth.
- Pour the hot coffee into the batter and stir until combined. The batter will be extremely liquidy. Divide the batter between the 24 cupcake liners, filling them slightly more than half full. Bake for 18-20 minutes, or until a toothpick inserted in the center comes back mostly clean. Alternatively, they are done when you gently press your finger on the center of a cupcake and it lightly springs back. I find mine to be done at exactly 19 minutes.
- Let cool in the pans for a couple minutes then remove to a wire cooling rack to cool completely before frosting.
- Beat the butter until fluffy, about 3 minutes, scrapping down the sides as needed. Add the marshmallow fluff, powdered sugar and cocoa powder. Beat until combined and fluffy, scrapping down the sides as needed. Pipe the frosting using a pastry bag (see note) and top with the mini marshmallows.
If you don’t want to use coffee you can use hot water, but the flavor of the chocolate won’t be as pronounced. You can use decaffeinated coffee if you prefer.
The frosting recipe is written assuming you will be piping a generous amount of frosting on each cupcake. If you would prefer to simply frost with a knife then you can most likely halve the frosting recipe.