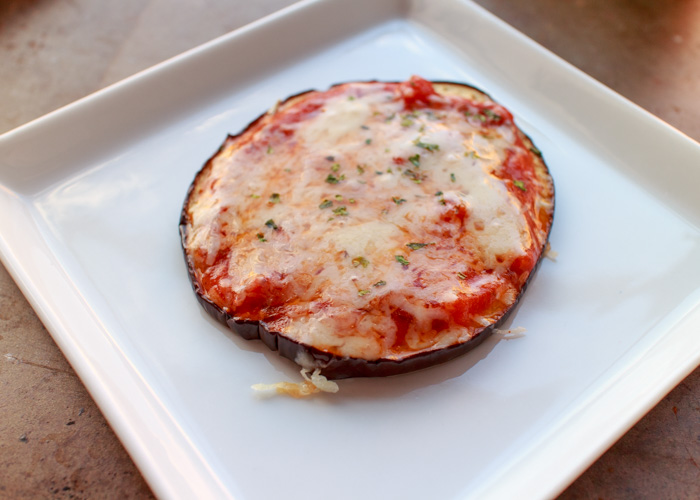
Mini Eggplant Pizzas

I can’t believe I waited so long to share this recipe. Matt and I love these eggplant pizzas so they get made quite often in our apartment. Aside from being out-of-this-world delicious, they are perfect for vegetarian nights, quick weeknights and carb-free nights.

Carb-free pizza, you ask? Well, it’s actually quite simple. Slices of melt-in-your-mouth roasted eggplant serve as both the base and the topping for these individual pizzas. The first time I came across this idea I was extremely skeptical. I am a pizza fiend and seriously doubted that anything could compare to chewy, crispy pizza dough. Well, my friends, I am here to let you know that I doubt no more!
These easy eggplant pizzas are so darn tasty that I don’t even miss the pizza crust for one second. Did I mention the ease of this meal? That is the second reason these bad boys are made so often in our place.

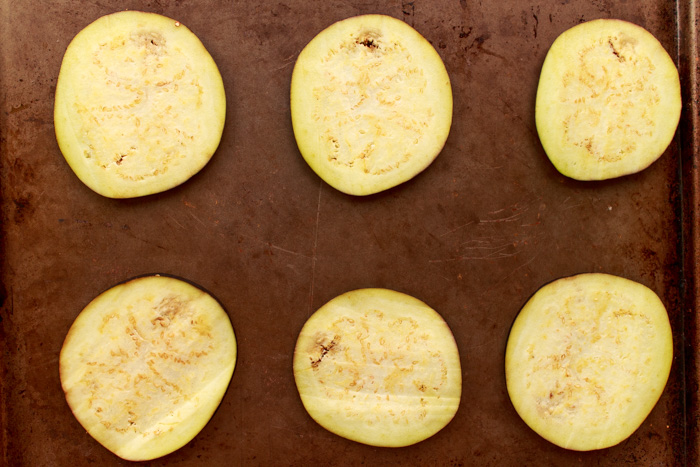
Thinly slice an eggplant. Drizzle with olive oil and season it up. I like to do a mix of salt, pepper, dried oregano and garlic powder to really take-home those Italian pizza flavors. Roast in the oven until tender, about ten minutes, then pull out of the oven. Top each roasted slice with tomato sauce and shredded cheese, usually mozzarella or whatever well-melting cheese you have on hand.
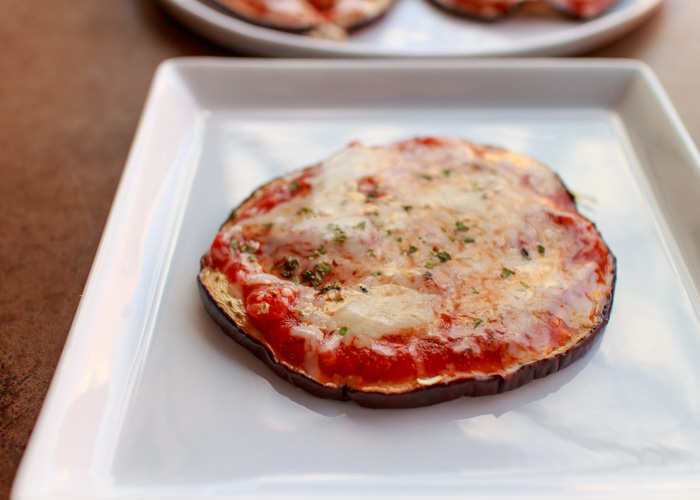
I recently used Gruyere and oh-my-heavens! I’ll just leave it at that. Anyways, through the topped eggplant slices back into the oven for another minute or two so the cheese melts and voila! Dinner is served.
- 1 eggplant, thinly sliced (about ¼” thick)
- Olive oil for drizzling
- Salt, pepper, dried oregano & garlic powder for sprinkling
- ½ cup tomato sauce, more or less depending on quantity of eggplant slices
- 1 cup shredded cheese, more or less depending on quantity of eggplant slices
- Preheat oven to 425 degrees F. Line a sheet pan with nonstick aluminum foil and set aside.
- Place the eggplant slices on the prepared baking sheet. Drizzle with the olive oil and toss to very lightly coat. Spread the slices out so they are evenly spaced with none touching. Sprinkle the seasonings over the top.
- Roast until the eggplant is tender, about 10 minutes depending on the thickness of your slices.
- Carefully pull the pan out of the oven. Use a spoon to top each eggplant slice with tomato sauce then top each with shredded cheese. Return to the oven until the cheese melts, about 1-3 minutes. Remove from the oven and serve.