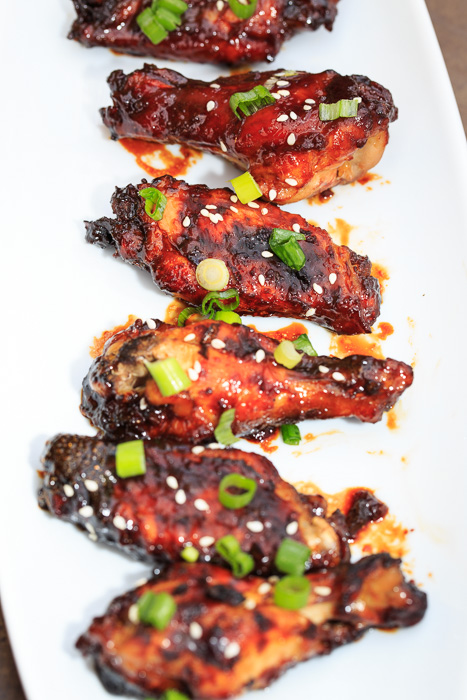
Sweet & Sticky Honey Baked Wings
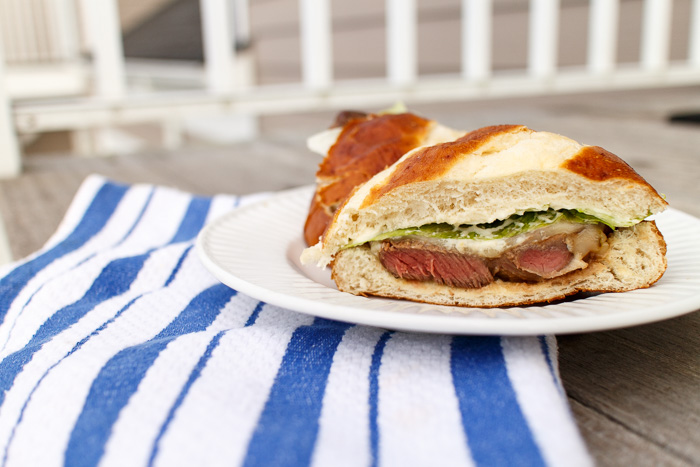
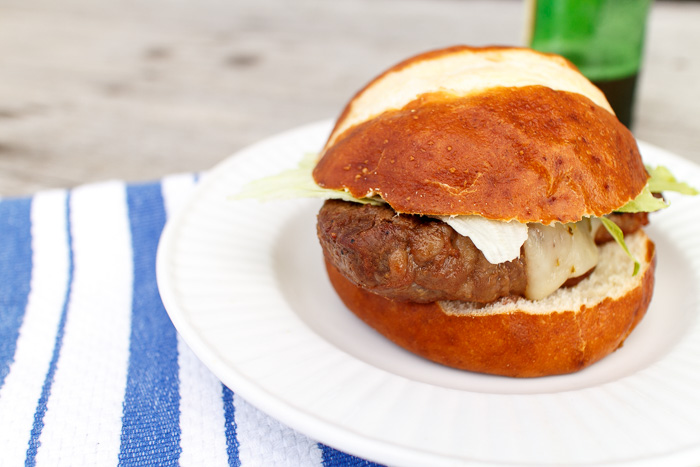
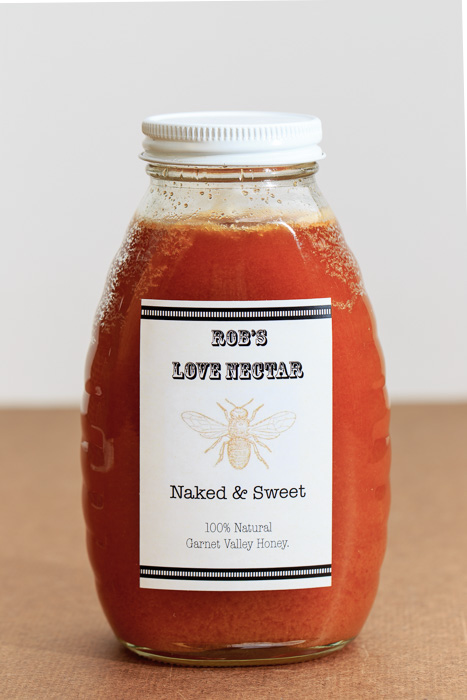
Remember my Uncle Rob from the filet tailgate sandwiches with whiskey marinade? Well he is a multi-talented man. In addition to grilling up delicious tailgate eats he also harvests honey! As in he has bees in the backyard and a complete beekeeper’s suit. “Rob’s Love Nectar”- check it out! I may be afraid of the bees, but I certainly love their honey.
Recently Uncle Rob mailed me a big bottle of his honey so I decided to make a series of honey posts out of it. These sticky and sweet honey baked wings are the first of four honey installments and are definitely the best way to kick off this series.
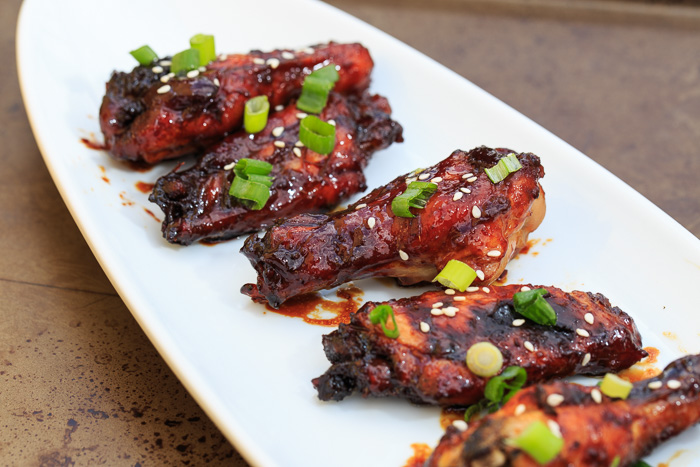
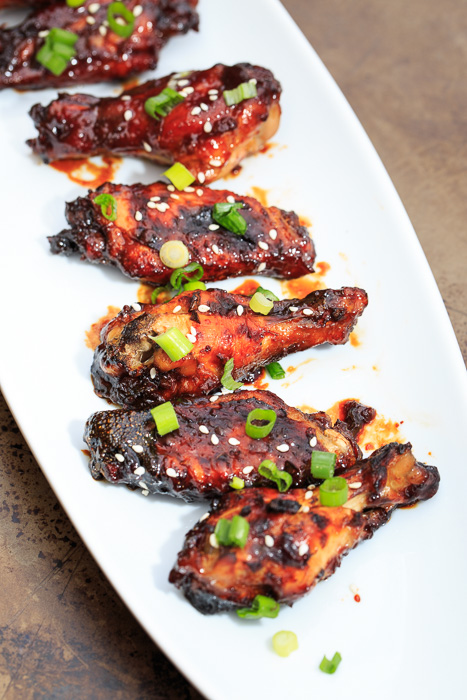
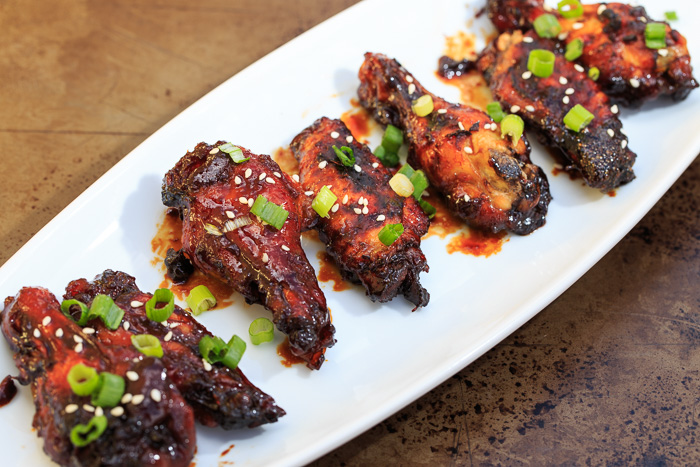
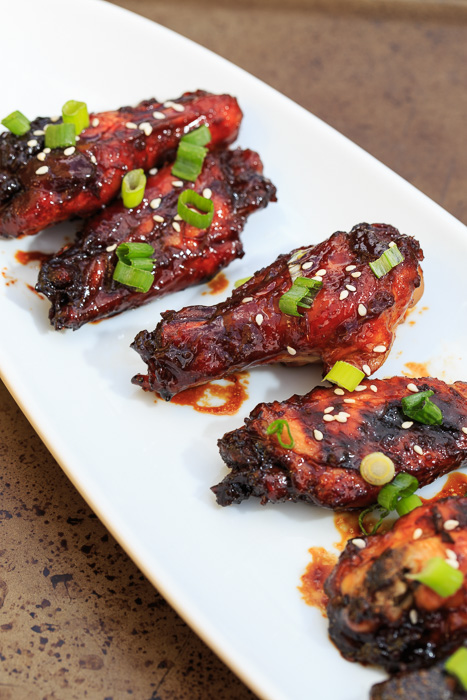
I was am will-always-be obsessed with these wings. The marinade consists of honey, soy sauce, ginger, garlic and rice wine vinegar to create a balanced flavor profile. The honey caramelizes while the wings are baking in the oven and makes these bad boys incredibly addictive. Finger-lickin’-can’t-breathe-too-busy-eating addictive.
They are also extremely low maintenance as you can just stick them in the oven and let the magic happen. I was very nervous to break down the wings myself, but after a couple snips with a pair of kitchen shears I had the process down.
Currently Rob’s Love Nectar is only available through personal gifting, but shop local honey and support your neighboring beekeepers! Also honey pollinated from bees local to your area is said to help with seasonal allergies so that’s another reason to source your honey locally.
- ½ cup low sodium soy sauce
- 1 cup honey
- 2 tablespoons vegetable oil
- 1 teaspoons rice vinegar
- 2 garlic cloves, chopped
- 2 tablespoons chopped fresh ginger
- 4 pounds chicken wings & drumettes
- 1 scallion, chopped, for garnish
- Toasted sesame seeds, for garnish
- Preheat the oven to 375 degrees F. Line a 9" x 13" with nonstick tin foil and set aside.
- Combine the soy sauce, honey, vegetable oil, rice vinegar, garlic and ginger in a medium saucepan with a whisk. Bring the honey mixture to a boil then simmer on low for 10 minutes, stirring occasionally.
- Place the split chicken wings in the prepared pan. Pour the heated honey mixture over the wings then toss to coat.
- Bake the chicken wings for about 1 hour or until it reaches an internal temperature of 165 degrees F and the skin has darkened. Garnish wings with scallions and sesame seeds before serving.
*Clip off the wing tip at the knuckle using a pair of kitchen shears. Dispose the wing tip or save for homemade chicken stock.
*Make a small snip in the fat between the wing and the drumette so it's easier to get to the joint.
*Cut the knuckle between the wing and the drumette to separate them.
*Cut off any excess fat.
Recipe from the Cookin’ Canuck.