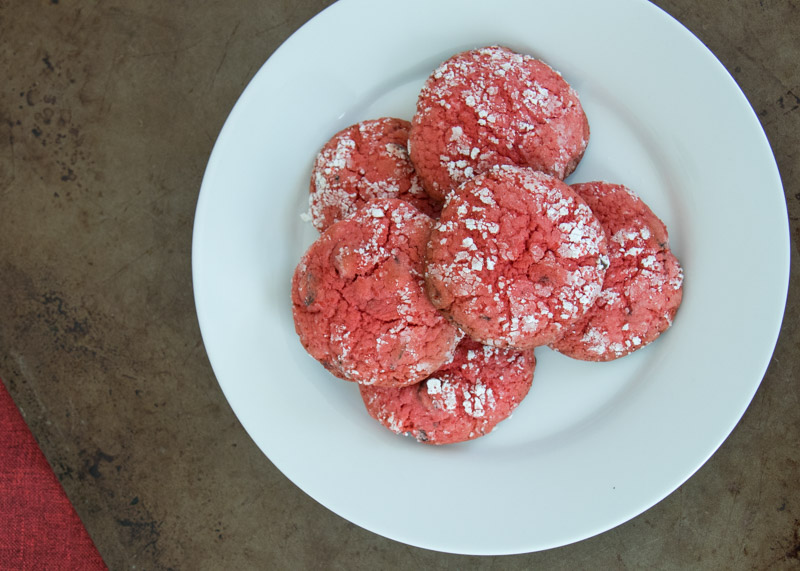
Chocolate Cherry Crinkle Cookies
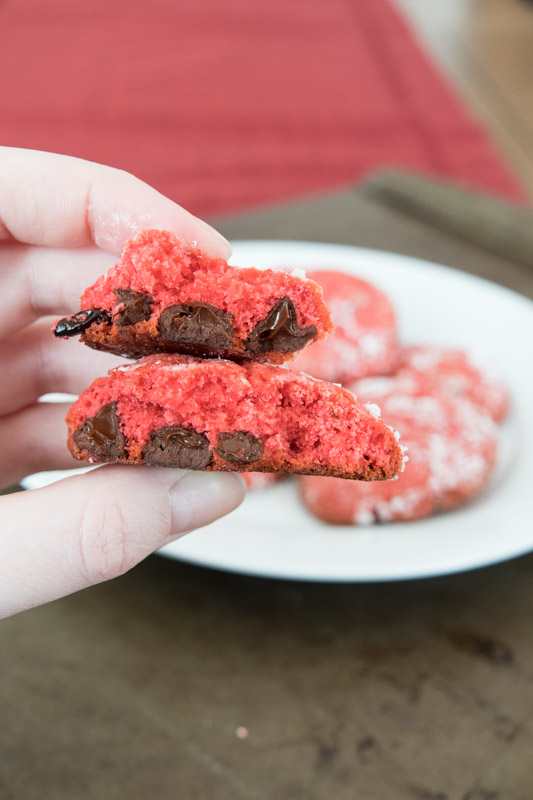
When I was deciding what to bake up for Valentine’s Day I immediately thought of these Chocolate Cherry Crinkle Cookies I made over Christmas. I initially made these more for Matt since he loves cherry, but they ended up being one of my favorite cookies.

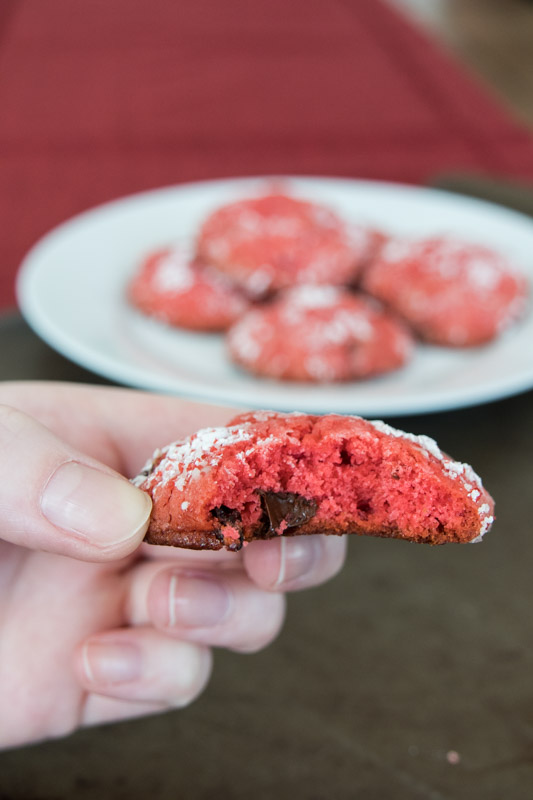
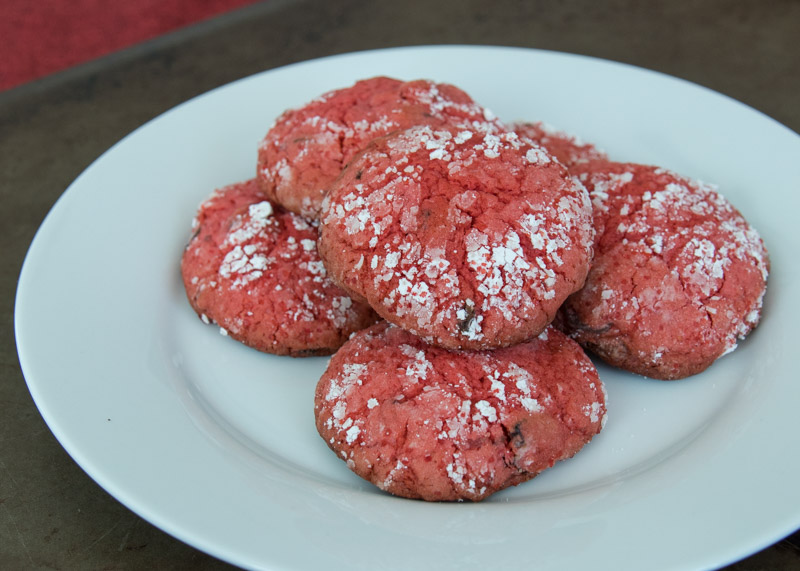
These soft and chewy cookies are loaded with cherry preserves, dried cherries, and chocolate chips. The flavor of the cherry preserves is subtle because the dried cherries and the chocolate chips take center stage. The combination of the two, especially baked into a chewy cookie, is habit-forming.
One of my favorite things about these Chocolate Cherry Crinkle Cookies though was that they stayed fresh in an airtight container for so long! Not that they will last that long in your house, unless you’re a crazy normal person like me and made 10 bazillion different kinds of cookies by the hundreds for Christmas. Then you’ll be happy to know that the dried cherries keep them tasting like you just made them the other day.
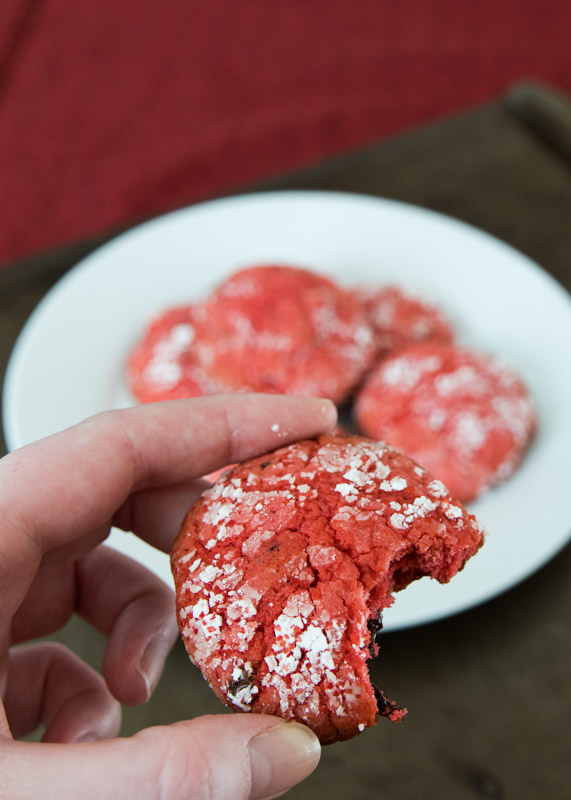
You will need red food coloring to get that perfect color for Valentine’s Day. Between these and the Red Velvet Oreo Truffle Chocolate Crunch Brownies I have a whole bunch of boxes of food coloring lying around with the red missing so I either need to invest in just red food coloring or come up with something for my green, yellow, and blue!
I hope you all have a wonderful Valentine’s Day and enjoy these Chocolate Cherry Crinkle Cookies!
- 1 ¾ cups all-purpose flour
- ¾ teaspoon baking powder
- ¼ teaspoon salt
- 1 stick unsalted butter, at room temperature
- 1 cup granulated sugar
- ¼ cup packed light brown sugar
- 1 large egg
- ⅓ cup cherry jam or preserves
- ½ teaspoon vanilla extract
- ½ teaspoon almond extract
- 1 teaspoon red food coloring
- ¾ cup semisweet chocolate chips
- ⅓ cup sweetened dried cherries, roughly chopped
- ¼ cup confectioners’ sugar
- 1 tablespoon red sanding sugar
- In a medium bowl sift together the flour, baking powder, and salt. Set aside.
- In a large bowl beat the butter, ½ cup of the granulated sugar, and the brown sugar with a mixer on medium high speed for about 3 minutes, until light and fluffy. Add the egg, beat to combine, then add the jam, both extracts, and the food coloring. Beat until combined, scraping down the sides as needed. Add the flour mixture on low speed and mix until just combined. Fold in the chocolate and dried cherries. Tightly cover the dough and refrigerate at least 1 hour or overnight. The dough needs to be firm; I left my dough overnight both times.
- Preheat the oven to 350 degrees F. Line two baking sheets with parchment paper and set side.
- In a small bowl combine the confectioners’ sugar and sanding sugar. Roll a heaping tablespoon of dough into a ball and roll in the confectioners’ sugar mixture to coat completely. Repeat with the rest of the dough and space about 2 inches apart on the prepared baking sheets.
- Bake for 18 minutes or until the edges of the cookies are golden and the cookies are cracked on top, making sure not to overcook. Let the cookies cool for 5 minutes on the baking sheet then remove to a cooling rack to cool completely.
Recipe from December 2017 issue of Food Network Magazine.