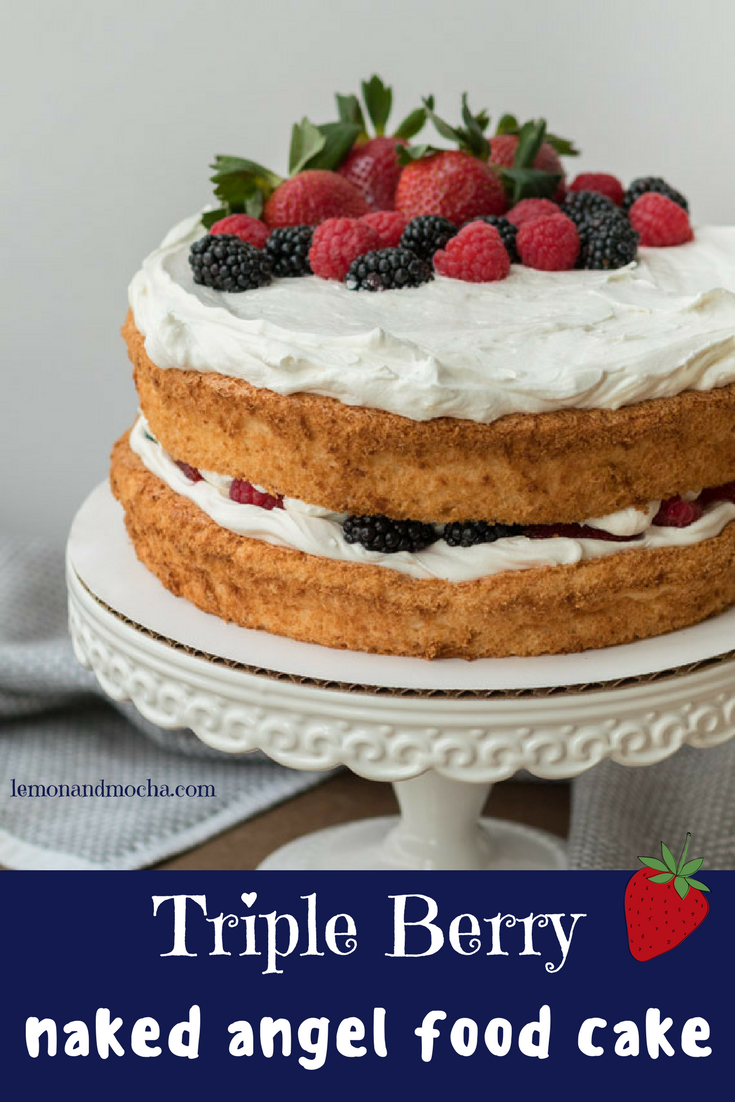
Triple Berry Naked Angel Food Cake
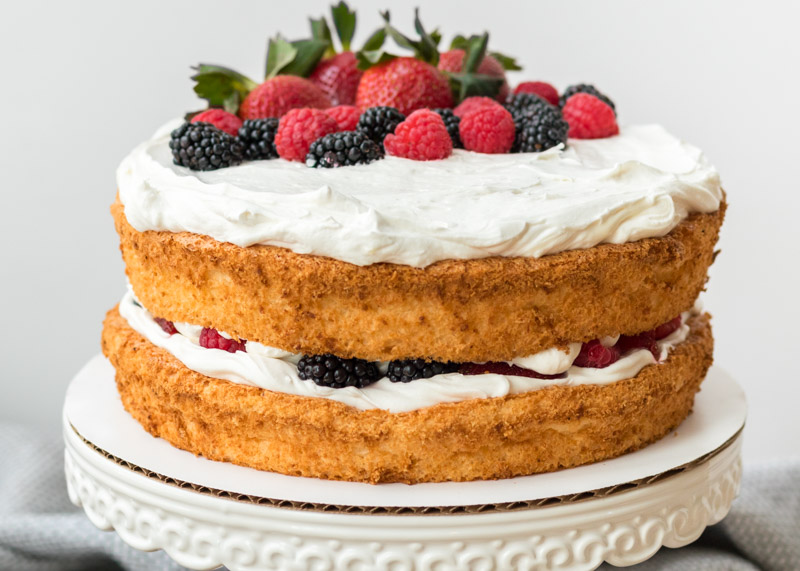
Don’t worry, I promise this cake isn’t scandalous. Definitely delicious, but certainly not scandalous. It is called a naked cake because the sides aren’t frosted, but I will get to that in a bit. Last month we celebrated Matt’s 30th birthday!
When Matt and I first started dating during our sophomore year of college we celebrated his 20th birthday – that’s a whole decade of birthdays! We had only been dating for a few weeks, but I made him these very literal cupcakes.

I’ve clearly come a long way- ha! I’ve made Matt many birthday desserts over the years, but I wanted this one to be extra special.

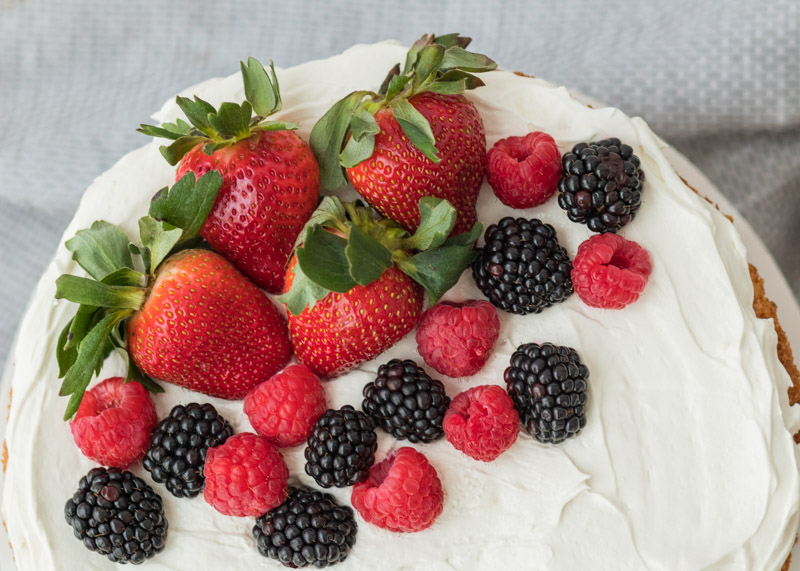
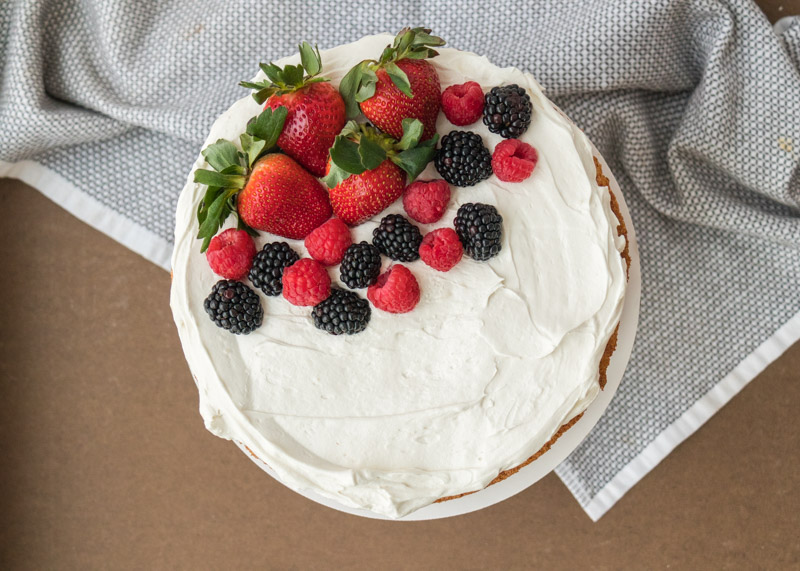
I decided to turn one of Matt’s favorite desserts, this Summer Berry Trifle, into a layer cake. The cake layers are angel food cake that have been brushed with a simple lemon syrup to keep them extra moist and bursting with light lemon flavor. The creamy filling and topping is a sturdy whipped cream. Basically, the base of a cream cheese frosting folded in with lots and lots of Cool Whip to make it light and fluffy. Piled in the middle and on top are sweet fresh berries. I used a combination of strawberries, blackberries and raspberries. Altogether, they make a fresh and light cake – perfect for eating a big slice.
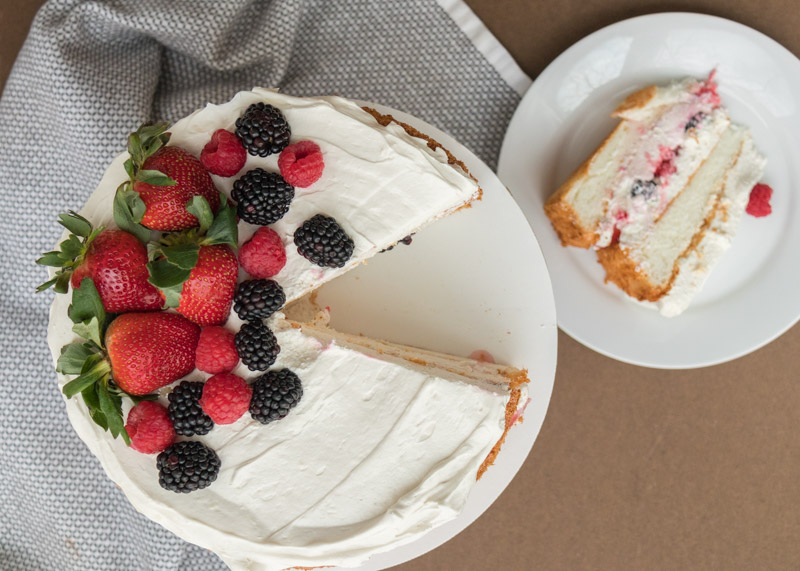
When you get a big bite of the syrup-brushed cake with the cream filling and the berries it is completely magical.
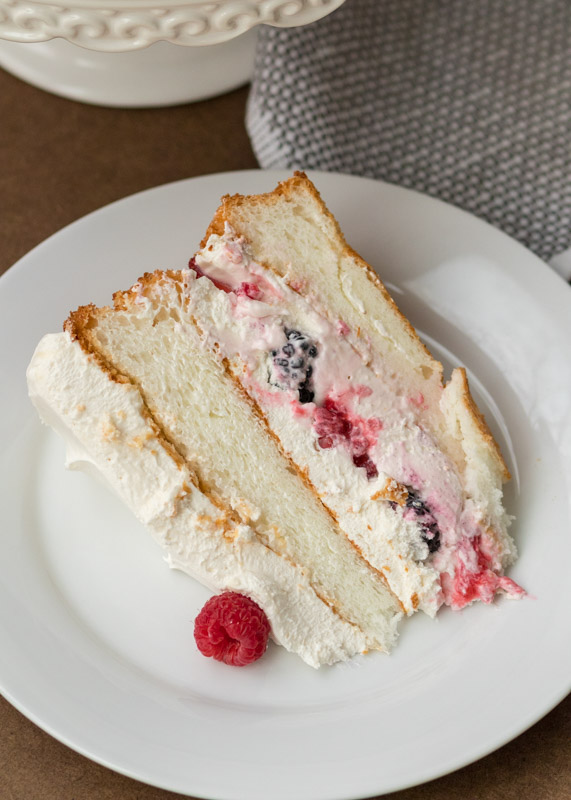
Now, to the scandalous aspect of the cake. A naked cake simply means that there is little or no icing on the sides of the cake, letting the layers bare all. The layers of whipped filling in the middle and on the top of the cake are thick enough that you really don’t need the additional filling on the sides of the cake. Leaving the cake naked lets the beautiful berries in the middle of the cake peek out. It also saves you time from having to try to make the sides look perfect and smooth – a win-win!
I think a cake this delicious is great any time of the year, but it is especially fitting for a summer gathering with berry season soon approaching. Enjoy!
- 1 box angel food cake mix, batter prepared according to directions on box
- ¾ cup sugar
- ¼ cup plus 1 tablespoon fresh lemon juice
- ¼ teaspoon lemon or almond extract
- 8 ounces reduced fat cream cheese, room temperature
- 16 ounces reduced fat Cool Whip
- 8 ounces strawberries, washed
- 1 cup blackberries, washed
- 1 cup raspberries, washed
- More berries for topping, if needed
- To make two round cakes, I lined two 9” round pans with parchment paper. I divided the batter between the two prepared pans, making sure not to fill them more than ¾ full. You will most likely have some excess batter. I weighed them with my kitchen scale to make sure they would be even layers. Bake at the temperature specified by the box for 20-30 minutes. The cake is done when the top is dark golden brown and the top cracks are dry not sticky. When it’s done baking, tilt the pan on its side. I leaned mine up, cake facing down, against a raised cooling rack. Once it’s completely cool, run a knife around the edges of the pan then carefully remove.
- Over medium-high heat in a small saucepan heat ¼ cup of the sugar and ¼ cup of the lemon juice. Stir frequently while heating until the sugar dissolves. Remove the saucepan from the heat and stir in the lemon extract. Set aside.
- Beat the remaining ½ cup of sugar and the cream cheese on medium speed with a mixer until fluffy. Fold in the Cool Whip until smooth. Stir in the tablespoon of lemon juice. Take one of the cooled angel food cake rounds and brush the top with the lemon syrup. Spoon a bunch of the whipped filling onto the cake and smooth with a spatula. Put half of the berries in a single layer on top of the filling. I left the blackberries and raspberries whole, but I halved and quartered the strawberries depending on how big they were. Dollop some more of the whipped filling on top of the berries then carefully smooth it out over the berries with a spatula. Top with the second angel food cake layer. Brush the top with the lemon syrup. Spread a thick layer of the whipped filling on top and smooth with a spatula. Top with the remaining berries. Store in the fridge until ready to serve.
Recipe adapted from the July/August 2010 issue of The Food Network Magazine.