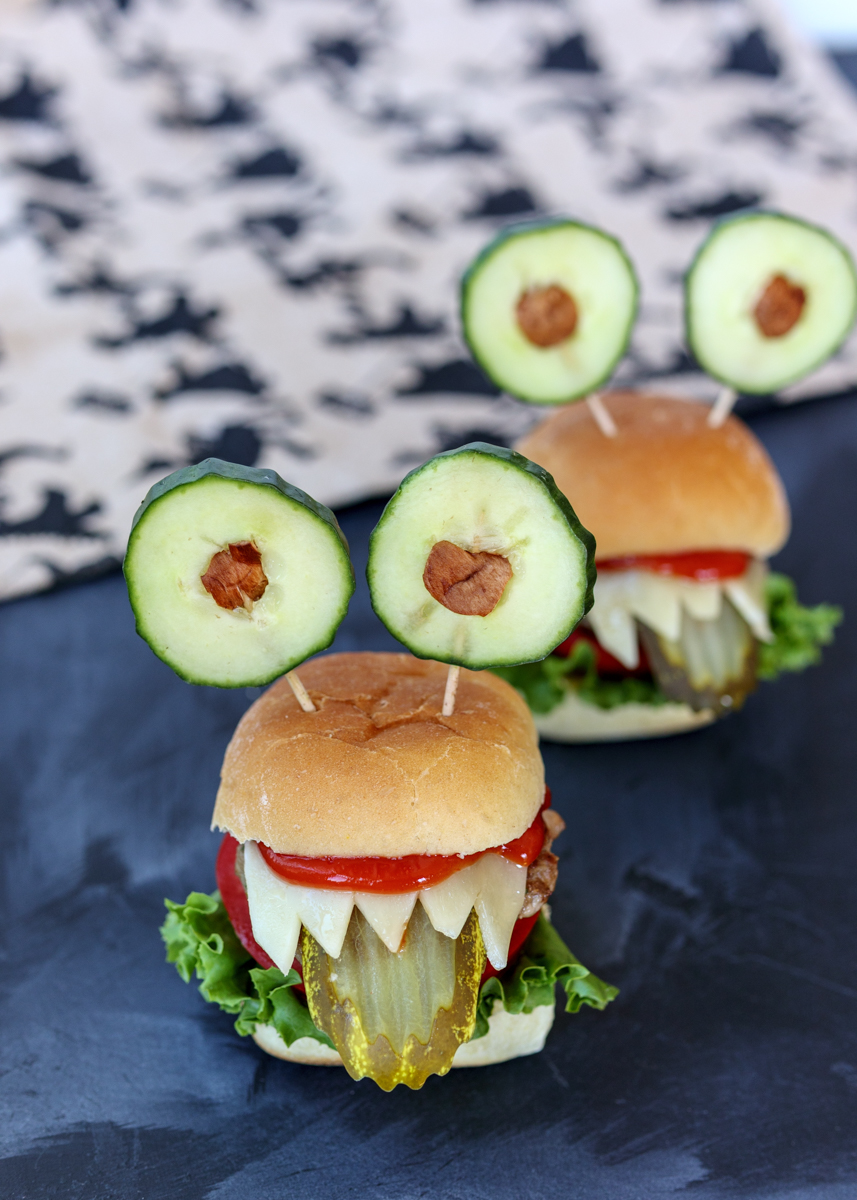
Halloween Monster Turkey Burger Sliders
Halloween is tomorrow! Yay! As I’ve mentioned on Lemon & Mocha numerous times before, I love Halloween! I have so many fun childhood memories of Halloween and I can’t wait to start making Halloween memories with our little guy on the way.
We went back and forth on whether we should put up Halloween decorations with me being just a couple weeks away from my due date, but ultimately I just couldn’t not put them up, even though I felt a little crazy for doing it. Do you decorate your house for Halloween?
I usually post a chocolatey treat for Halloween, but since Matt and I are up to our eyeballs with all the desserts I’ve been baking I busted out a cute savory treat instead.

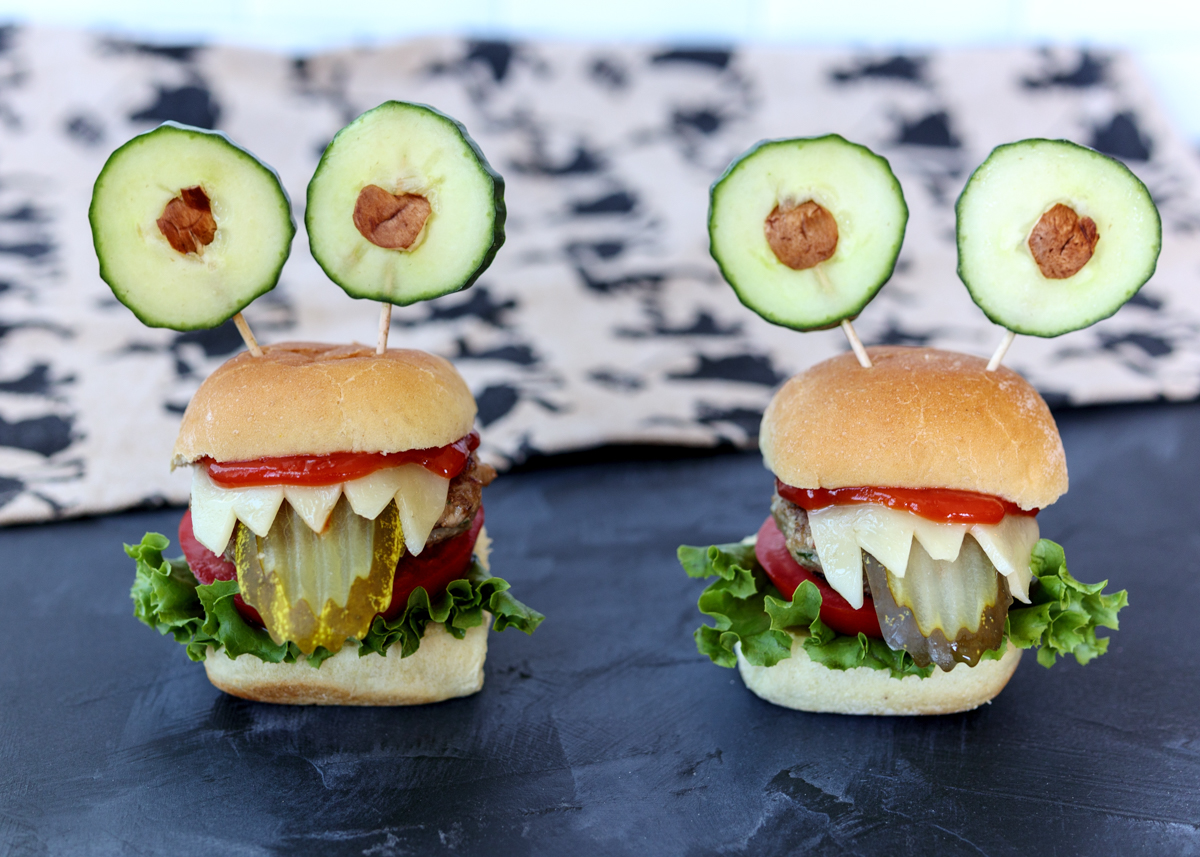
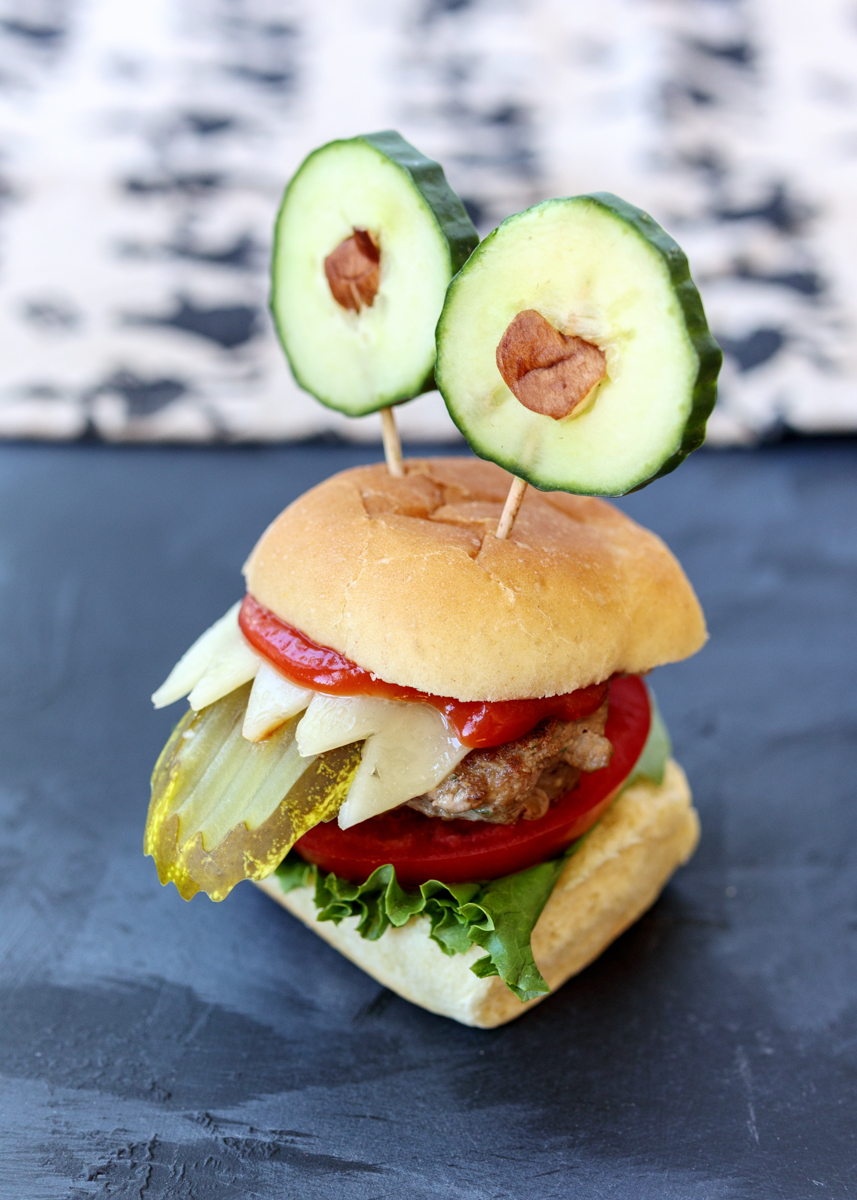
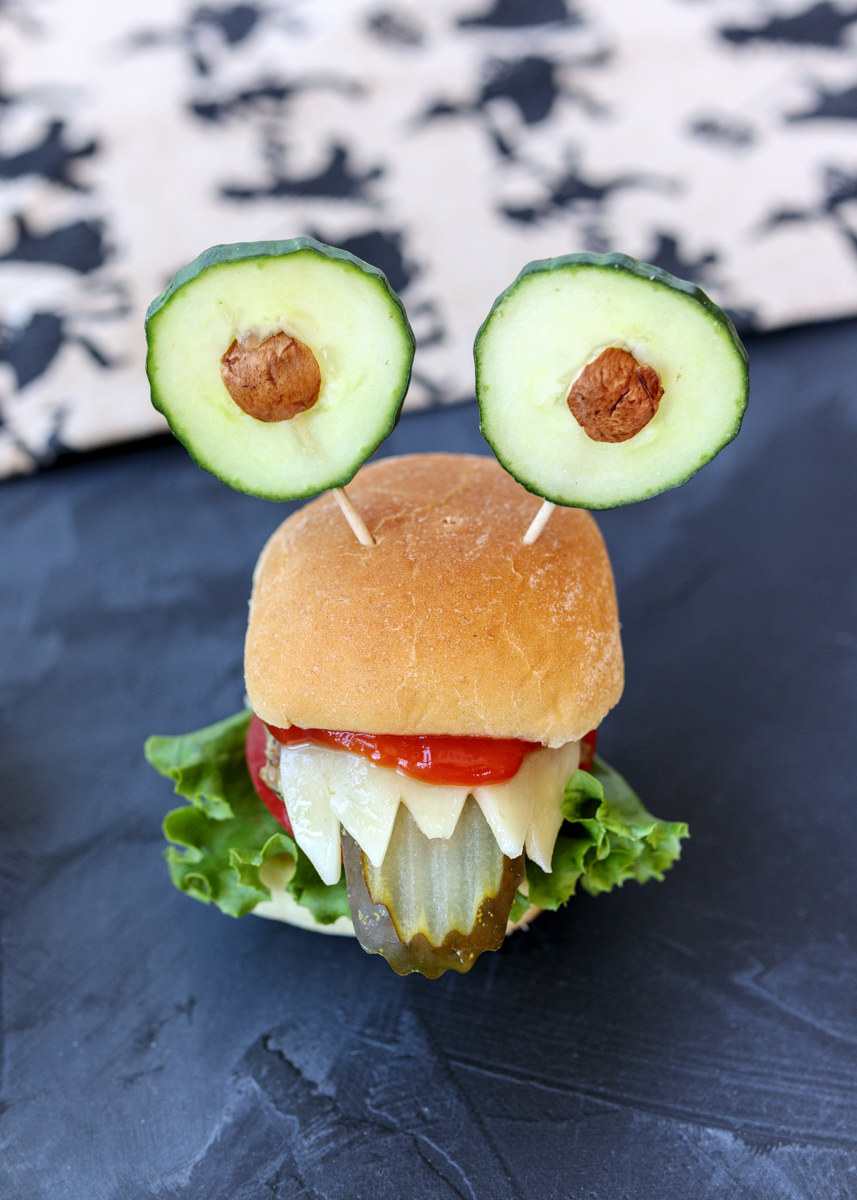
Turkey sliders have been fashioned into silly Halloween monsters, complete with cucumber eyeballs and pickle tongues! As fun as these Halloween Monster Turkey Burger Sliders are, they’re also so good! The turkey patties are juicy and packed with flavor because we’ve added a minced mixture of mushrooms, shallot and parsley to the ground turkey.
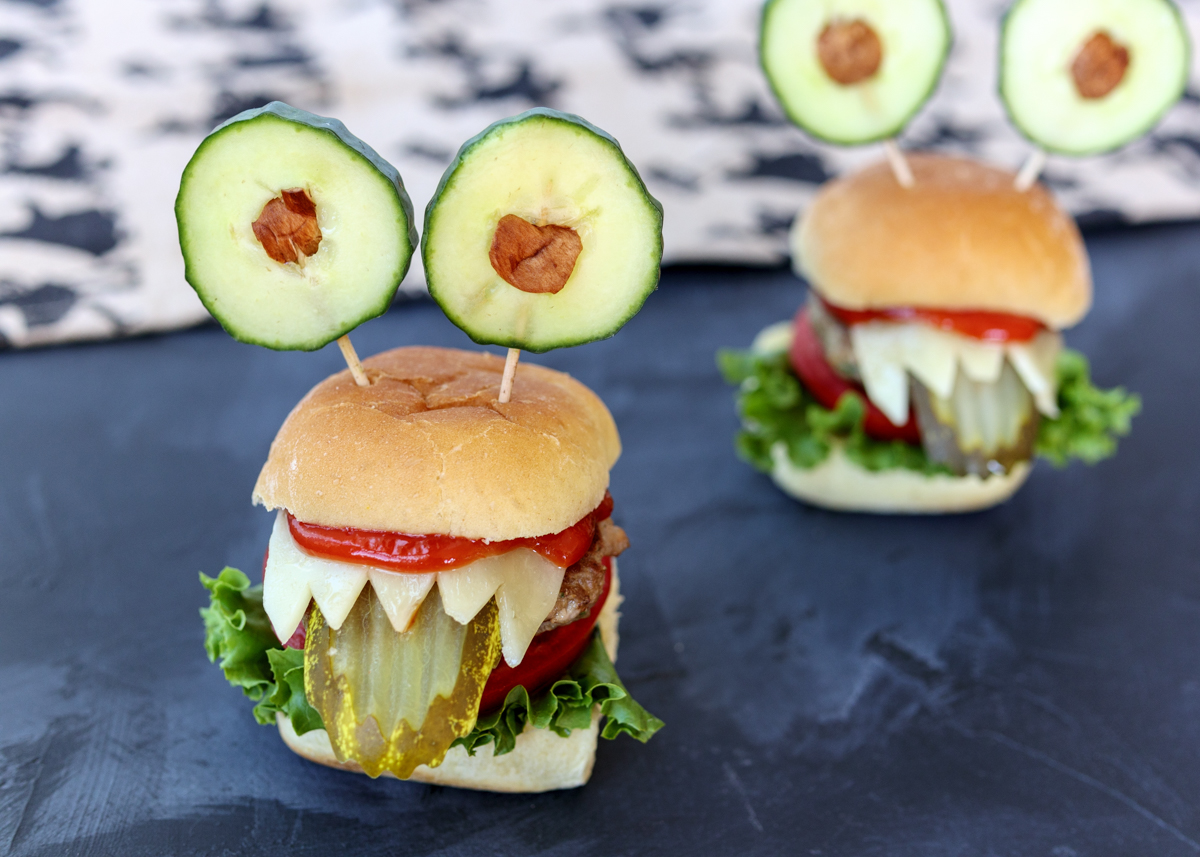
Throw in a little olive oil, Worcestershire sauce and seasoning and then they are grilled or pan-seared to perfection. Since they’re so tiny they cook really quickly; just about four minutes on each side. Top it all off with some melty cheese and fresh veggies for a delicious dinner the whole family will love. Just don’t forget to cut pointy teeth marks into your sliced cheese! Happy Halloween, everyone!
Looking for some more Halloween treat inspiration? I have a few recipes below to get you started:

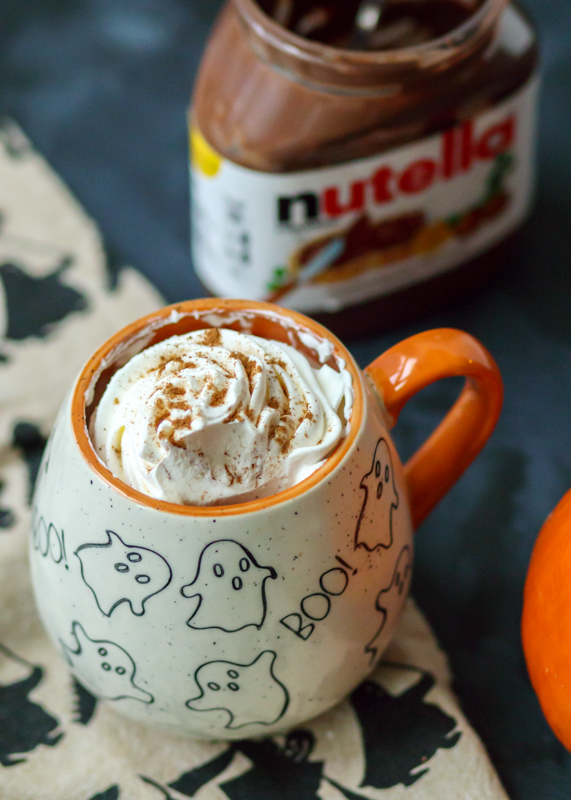
Boozy Pumpkin Nutella Hot Chocolate
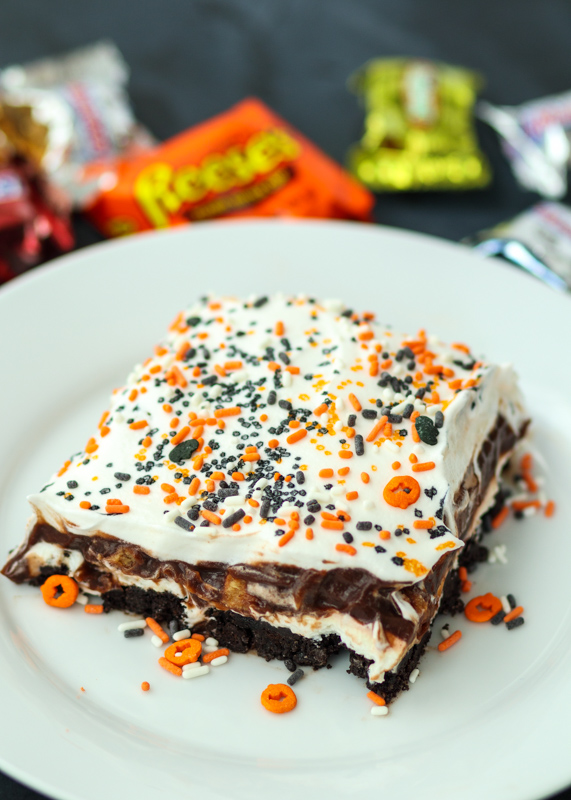
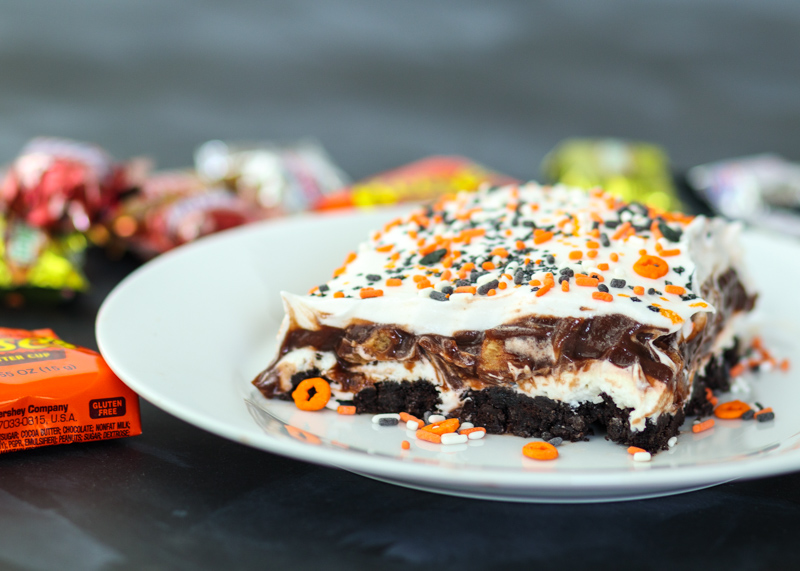
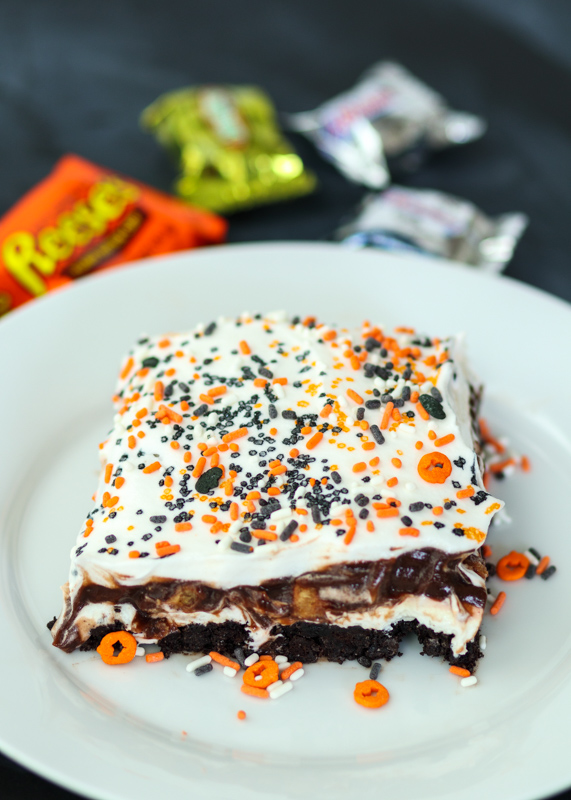
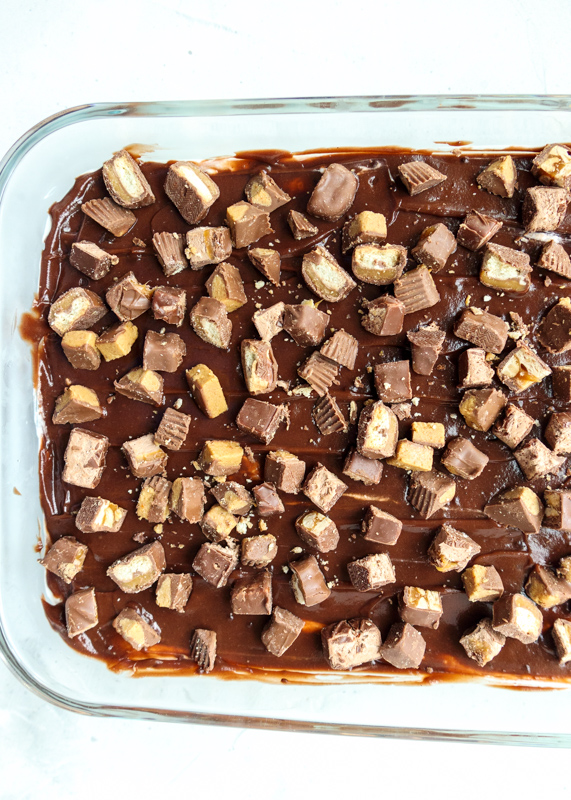
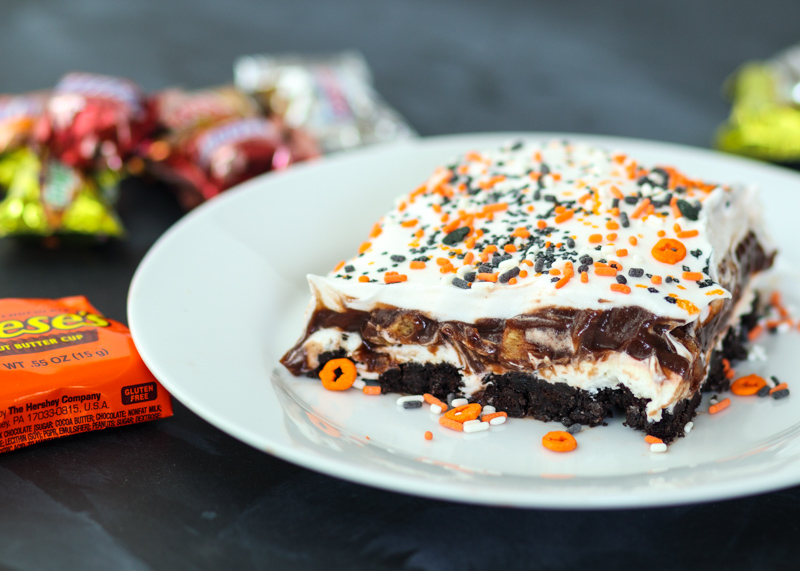
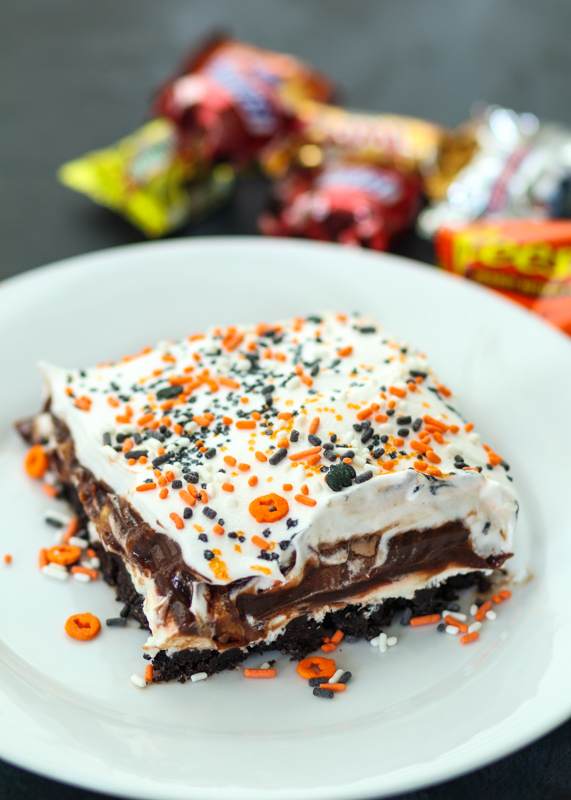
Leftover Halloween Candy Chocolate Lasagna

Halloween Witch Chocolate Cupcakes
Chocolate Marshmallow Monster Cookie Sandwiches

Halloween Witches’ Cauldron Cupcakes

Leftover Halloween Candy Cookies
- 5-6 cremini mushrooms, stems removed, plus more for eyes
- ½ shallot
- 3 tablespoons fresh parsley
- 1 pound ground turkey, 90% lean
- 2 tablespoons olive oil
- 1 teaspoon Worcestershire sauce
- 1 teaspoon salt
- ¼ teaspoon ground black pepper
- 1 English cucumber
- 16 toothpicks
- 4 slices deli cheddar or American cheese
- 8 slider buns
- 8 small pieces of romaine lettuce
- 8 small slices of tomato
- 4 pickle sandwich slices, cut in half
- Ketchup
- Add the cremini mushrooms, shallot and parsley to a food processor. Process until finely chopped. If you don’t have a food processor, finely chop by hand.
- In a large bowl, combine the mushroom mixture, ground turkey, olive oil, Worcestershire, salt and pepper, being sure not to over-mix. Divide the mixture into 8 even portions and form into slider patties, roughly a little bigger than the size of your slider buns. Let patties set in the fridge, covered, for 30 minutes.
- While the patties are in the fridge, prep your monster eyes and cheese teeth. Slice the English cucumber so you have 16 rounds. The slices can be thin, but not so thin that you’ll have difficulty securing them with a toothpick. Use extra cremini mushrooms to cut out little circles that will be the center of the eyes. Carve a little round out of the center of an English cucumber slice the size of one of your mushroom eye centers. Stick the mushroom center into the hole in the cucumber and stick a toothpick up through the cucumber and the mushroom piece securing it in place. Repeat for the remaining 15 eyes. For the cheese teeth, cut each slice of cheese in half then cut little teeth points at the edge of each slice. Repeat until you have 8 cheese teeth slices.
- Lightly spray a grill pan or nonstick sauté pan with olive oil cooking spray and heat over medium-high heat. Cook the slider patties for 4 minutes on each side, or until they reach an internal temperature of 165 degrees F. Remove from the heat and add a cheese teeth slice to each slider so that the teeth prongs overhang a little.
- To assemble a slider, place a piece of lettuce on the bottom slider bun. Top with a tomato slice then the cheese-topped patty. Lift up the cheese a little to tuck the pickle half underneath so it sticks out like a tongue. Top with some ketchup then the top slider bun. Stick two cucumber toothpick eyeballs into the top. Repeat for the remaining sliders.