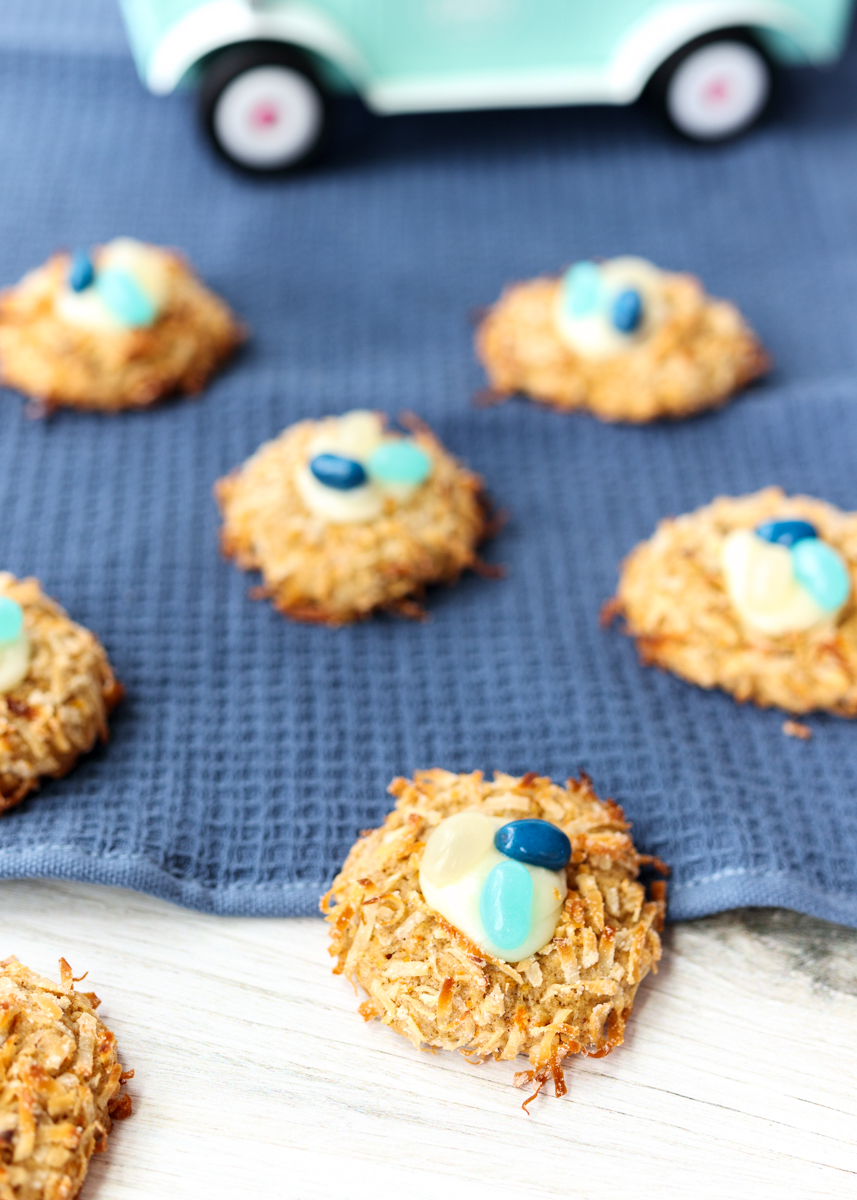
Carrot Cake Nest Cookies
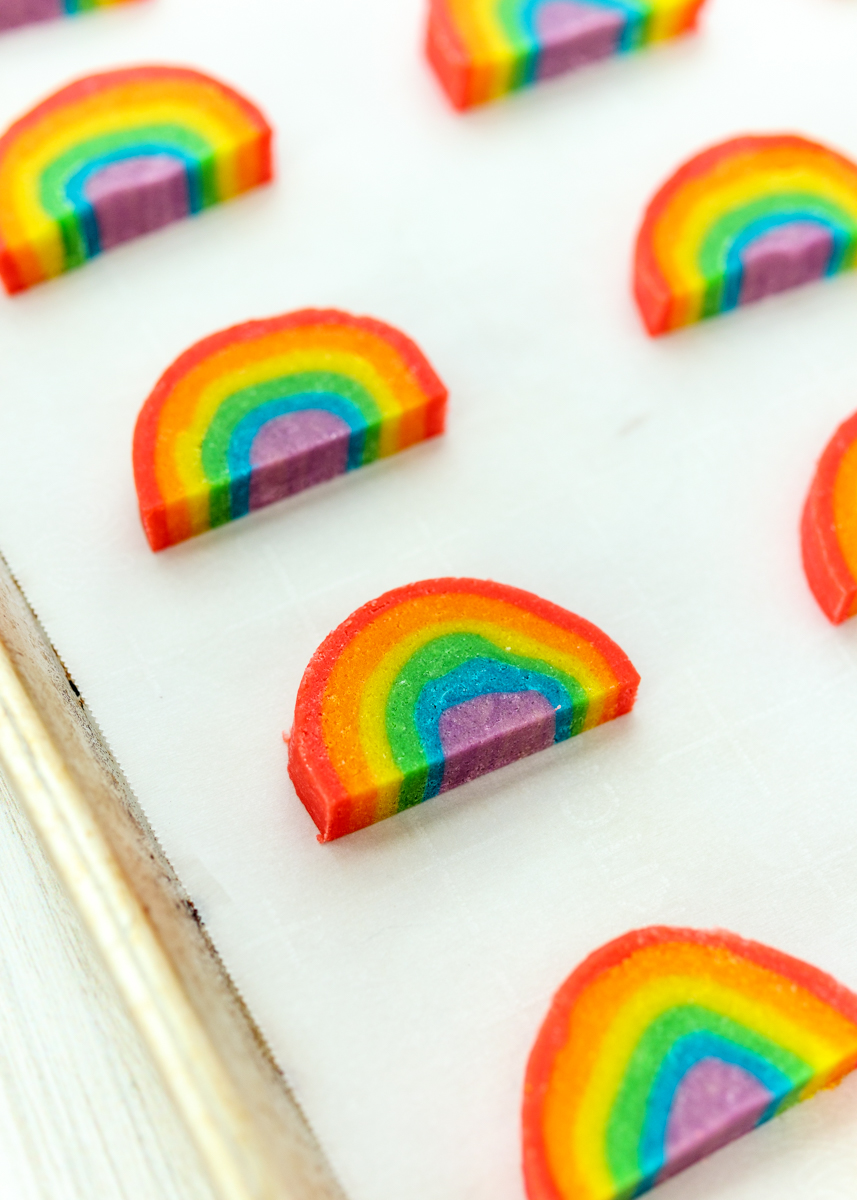
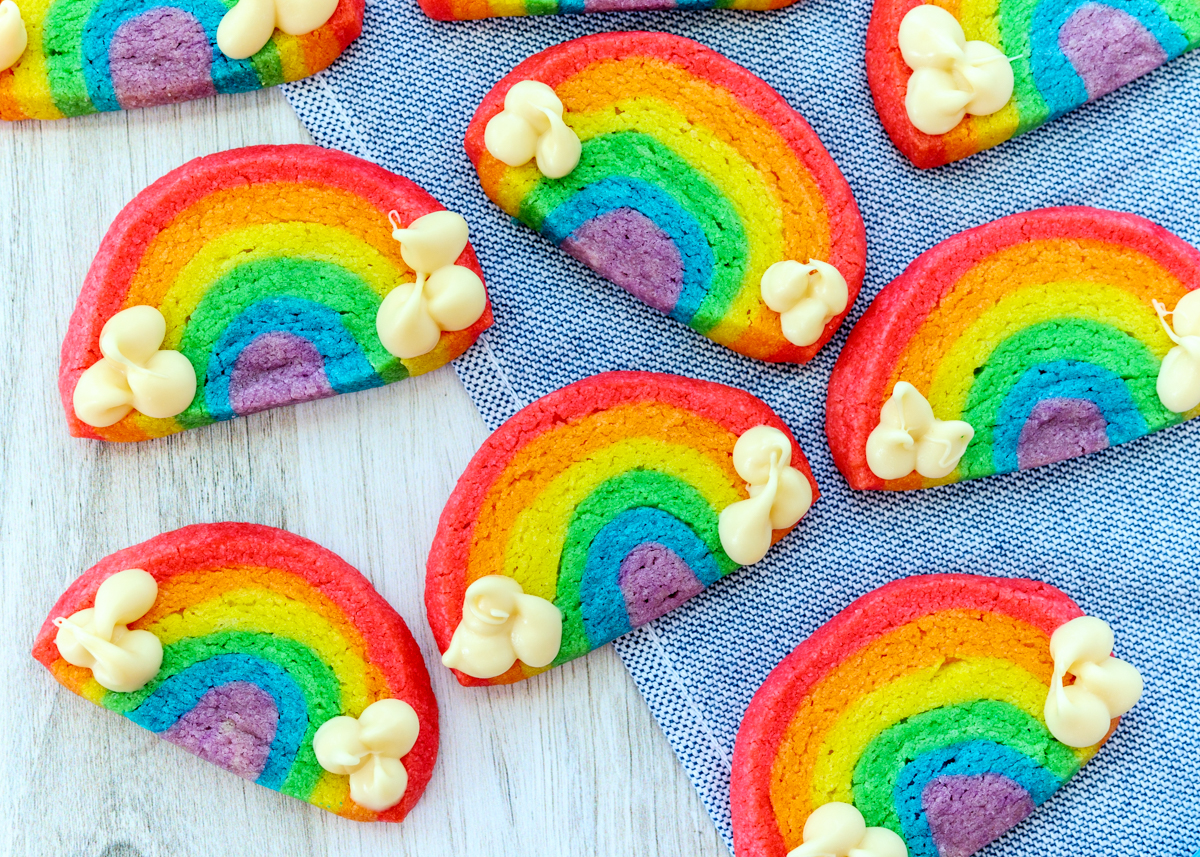
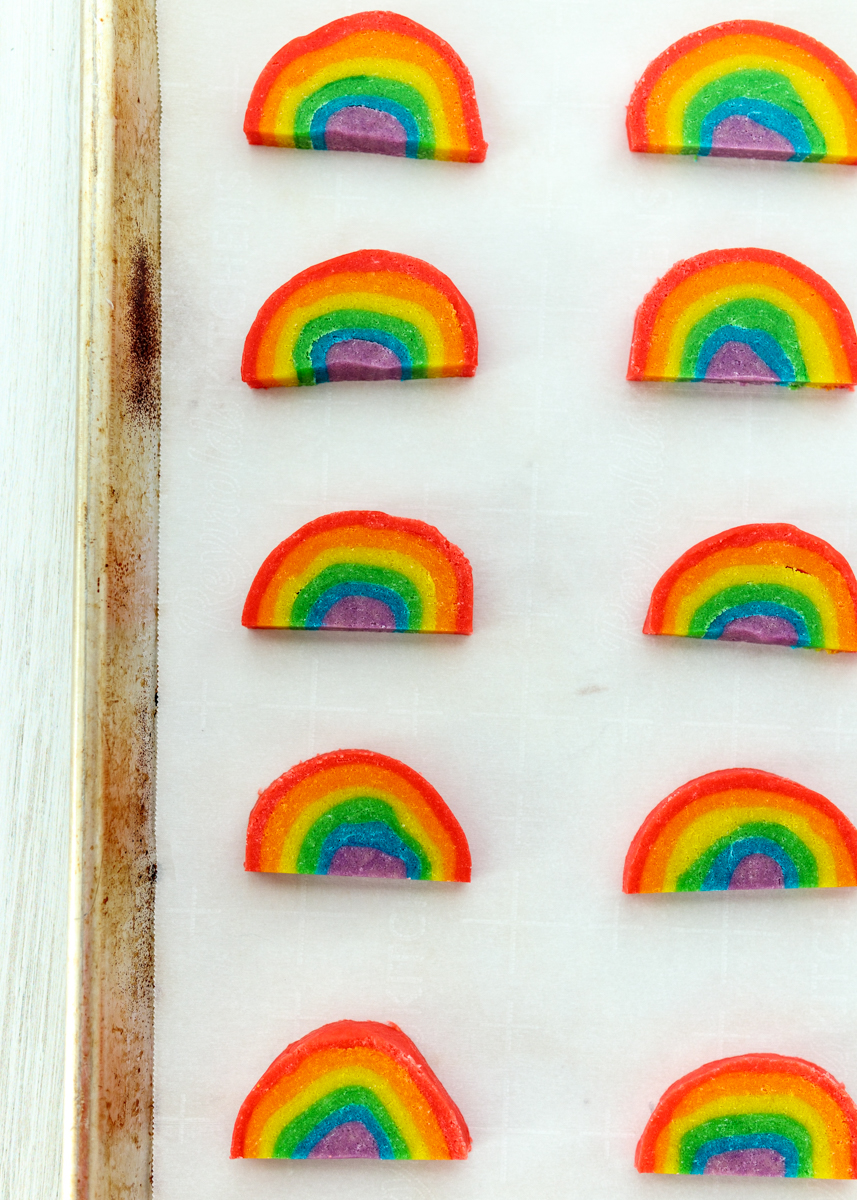
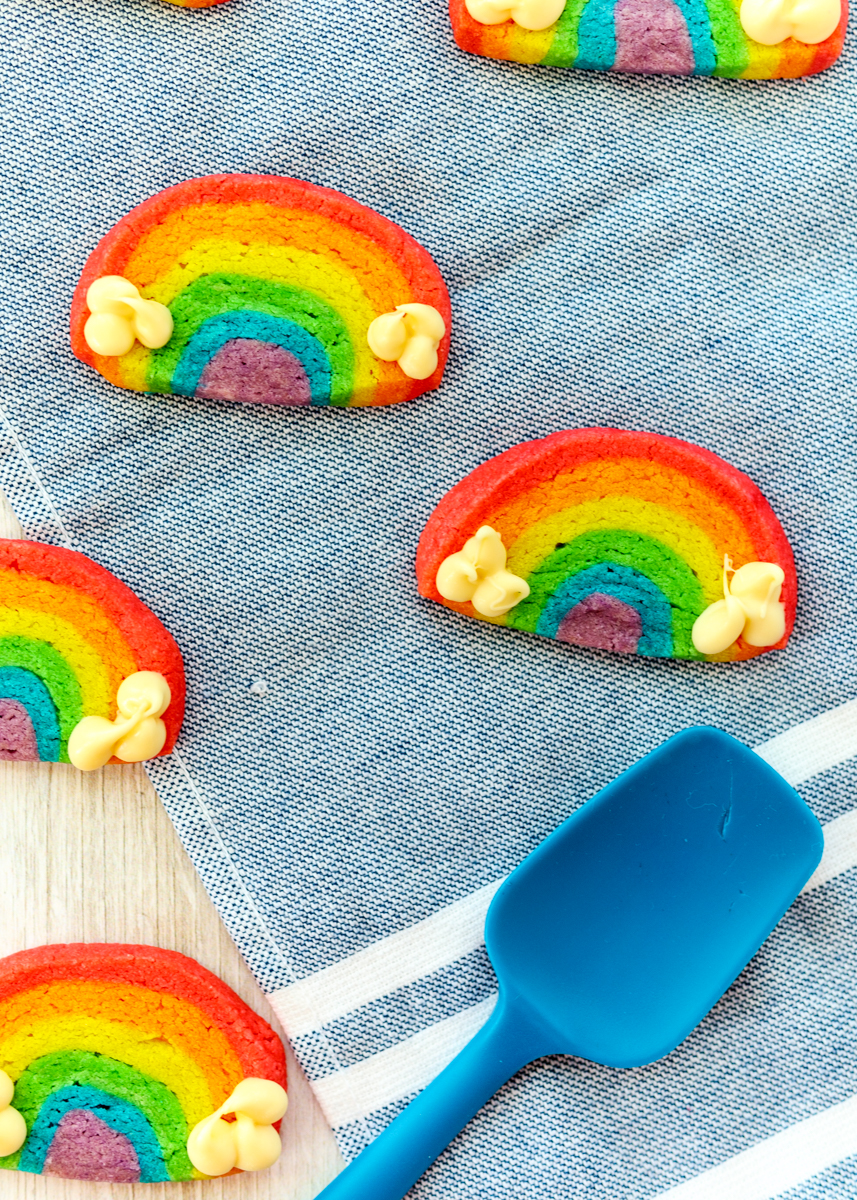
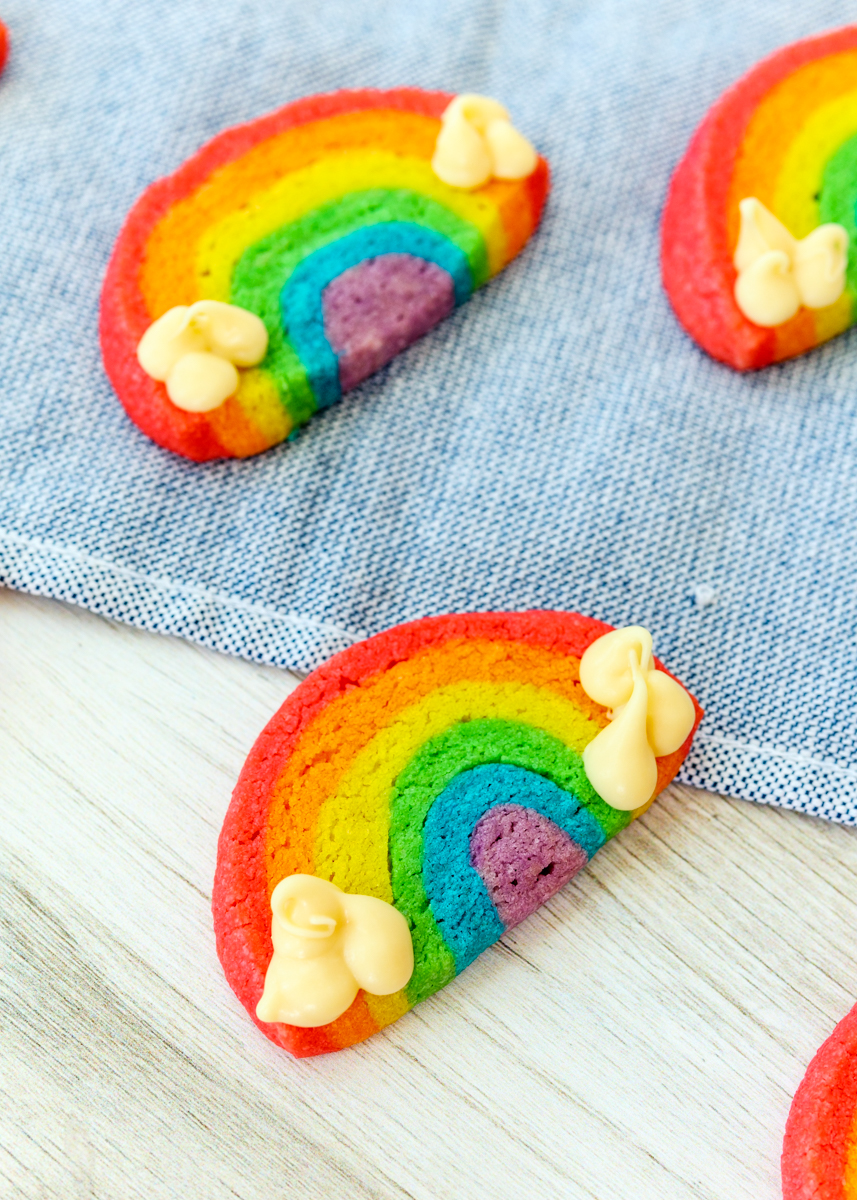
How cute are these Easter jelly bean cookies?! These Carrot Cake Nest Cookies are the Food Network Magazine’s April cookies, which is perfectly fitting because they just scream springtime. After last month’s complicated Rainbow Slice-and-Bake Cookies I was very excited to see a classic drop cookie – with a twist of course.
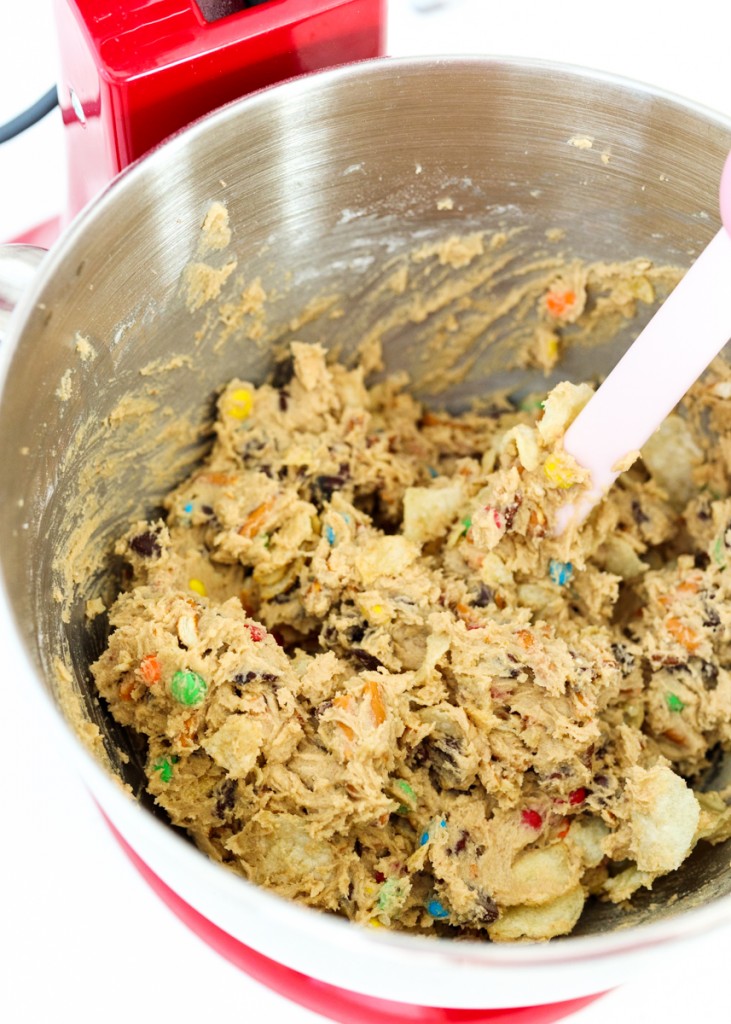
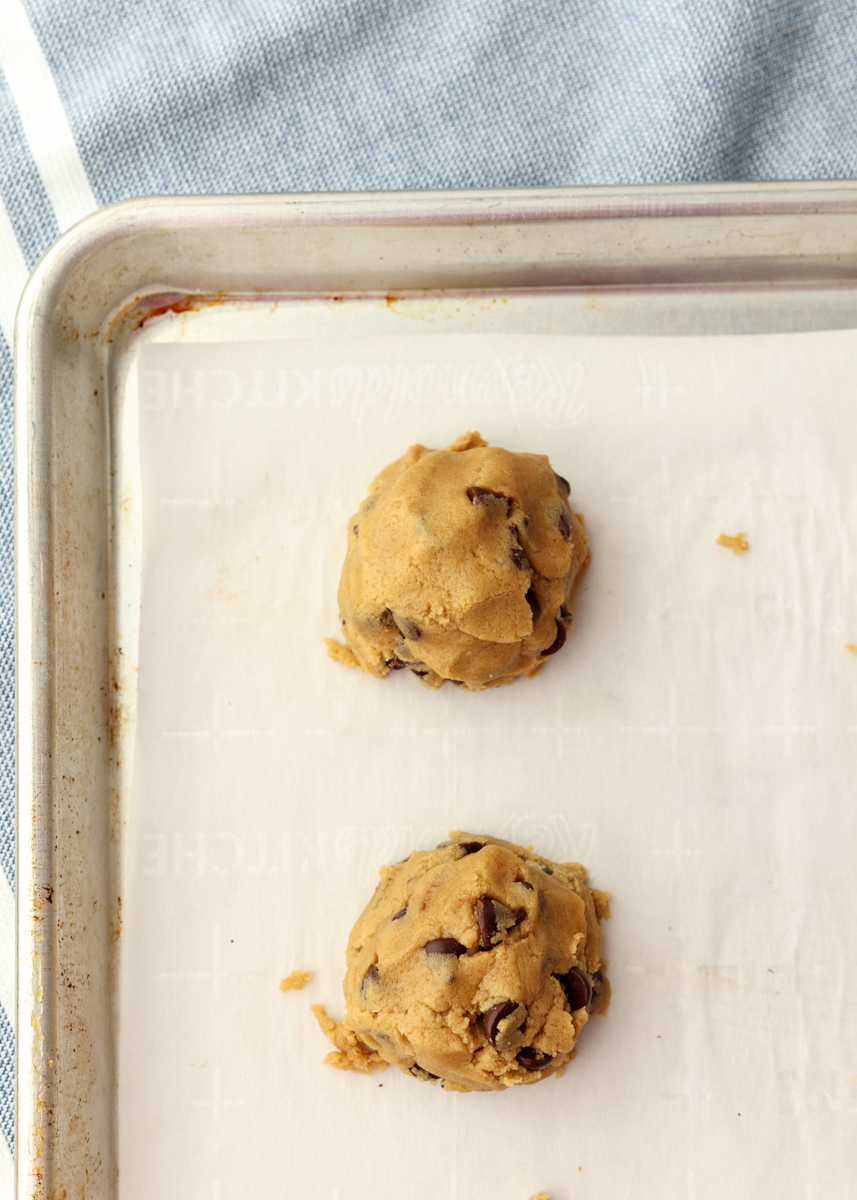
The cookie batter is filled with all the carrot cake staples: grated carrots, chopped toasted walnuts, and the warming spices of cinnamon, ginger and cloves. Using brown sugar and an egg yolk gives the cookies that ideal chewy texture, which are similar tips I use in my Perfect Chocolate Chip Cookies. Before being baked, the cookie dough balls are rolled in shredded sweetened coconut. In addition to the chewiness, I love the crunch and texture you get in each bite from the chopped walnuts and shredded coconut.
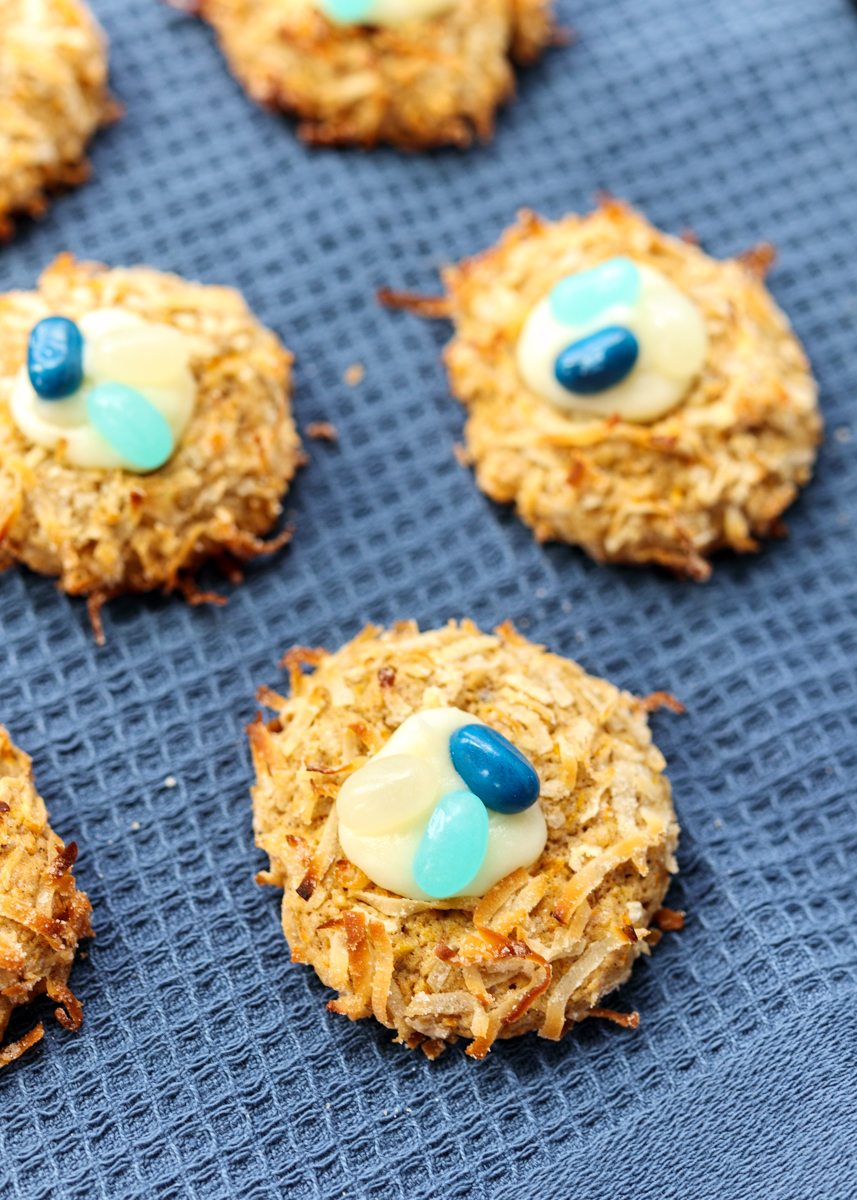
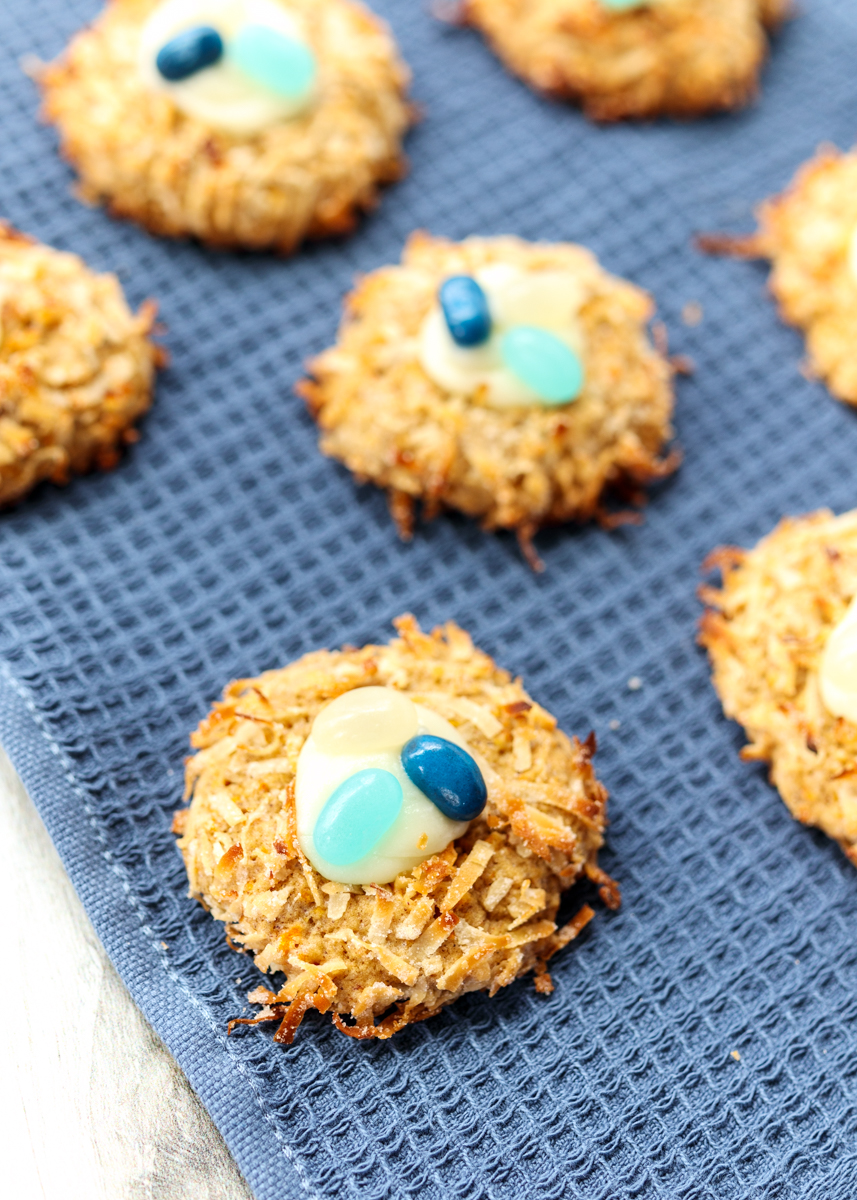
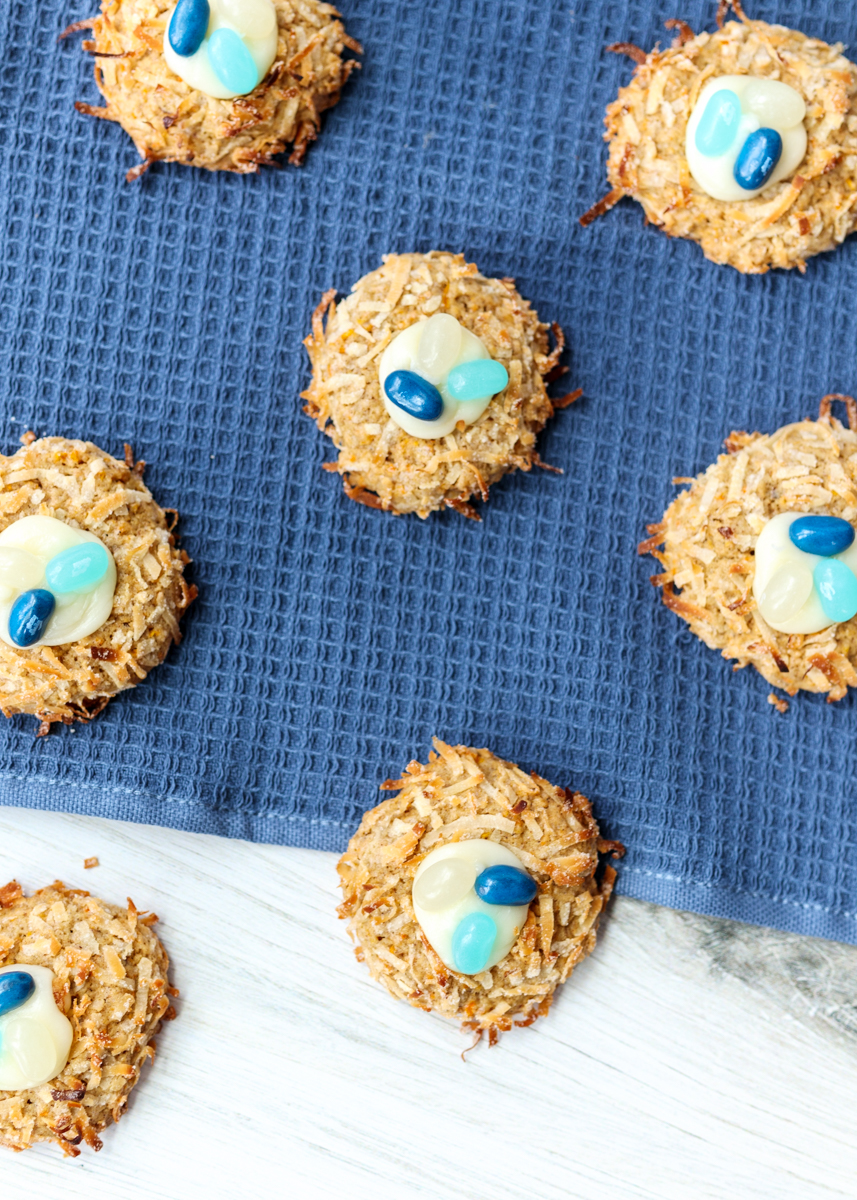
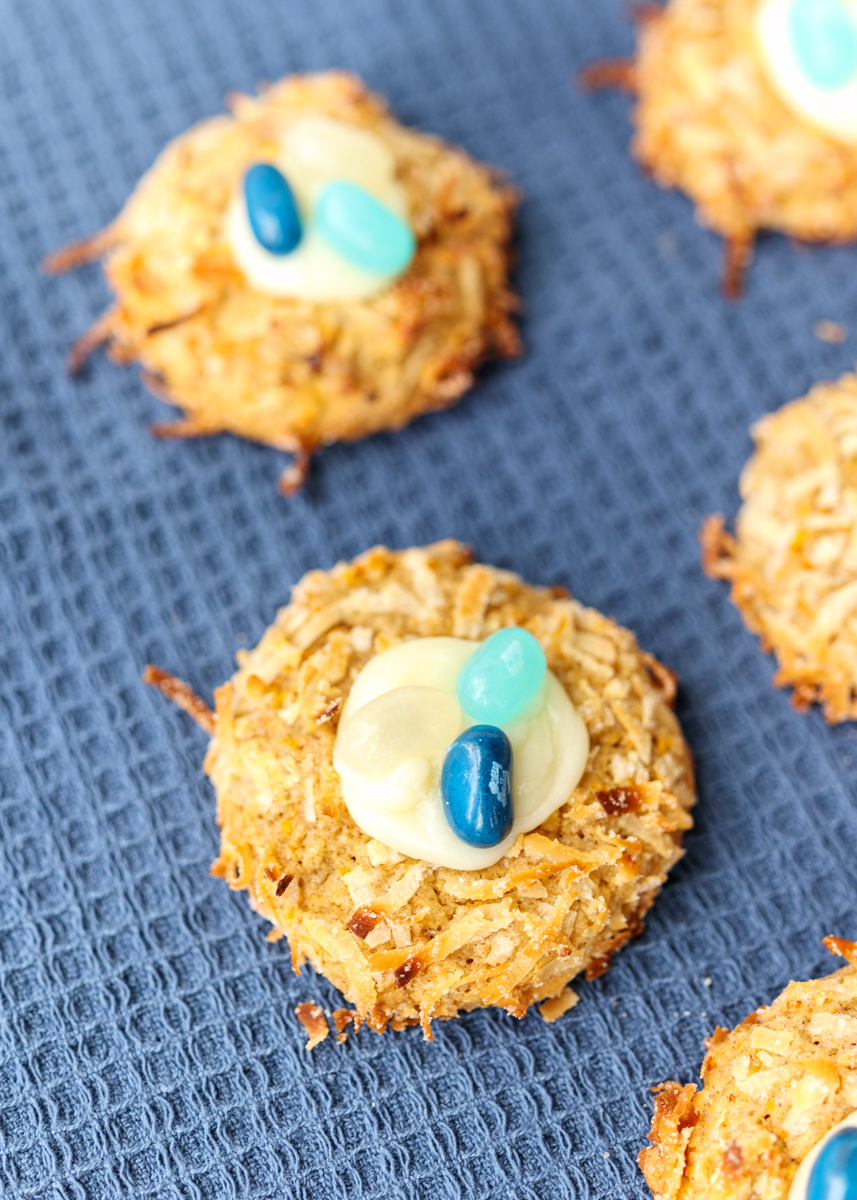
If it stopped there I would still gladly chow down on these carrot cake cookies any day of the week. But there’s more! Piped onto each cooled cookie is a pocket of sweet and buttery cream cheese frosting and some pretty jelly beans. Carrot cake is not complete without cream cheese frosting so it only makes sense for us to frost these cookies to make them truly carrot cake cookies! The little dollop in the middle of the cookie gives just the right balance of cookie to frosting.
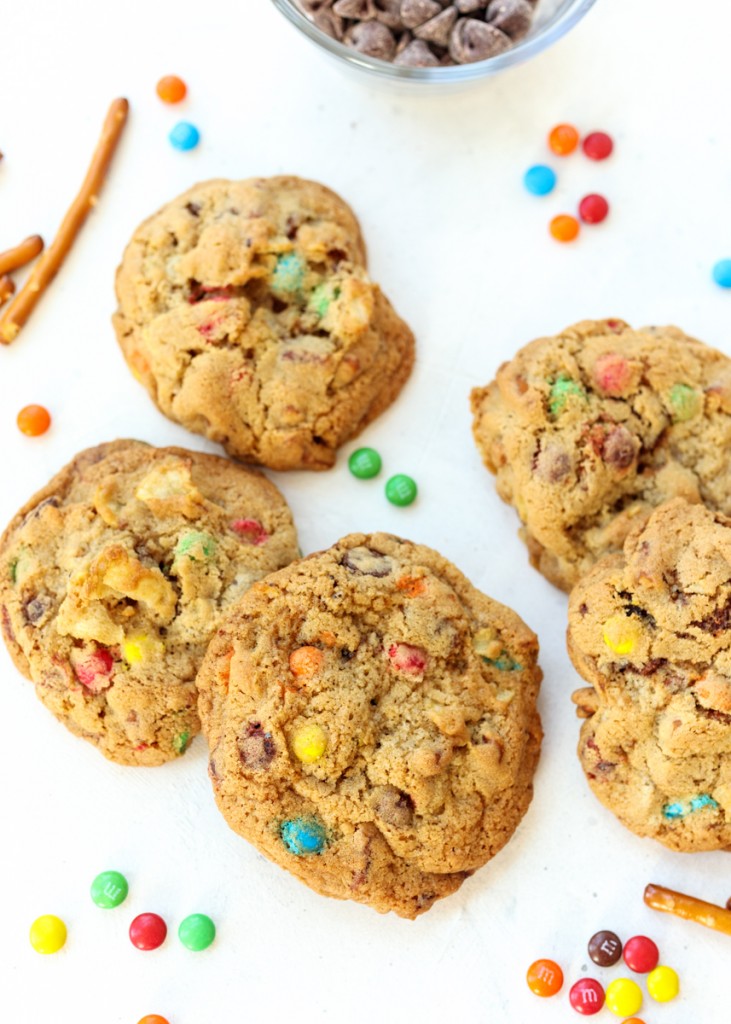
Even though they’re so cute, I thought I was going to end up picking off the jelly beans and eating them separately, but I actually really loved a bite of everything all together! Something about the added texture and sweetness of the jelly bean was a nice touch. I also used some of my favorite Jelly Belly jelly bean flavors so that might have been part of it!
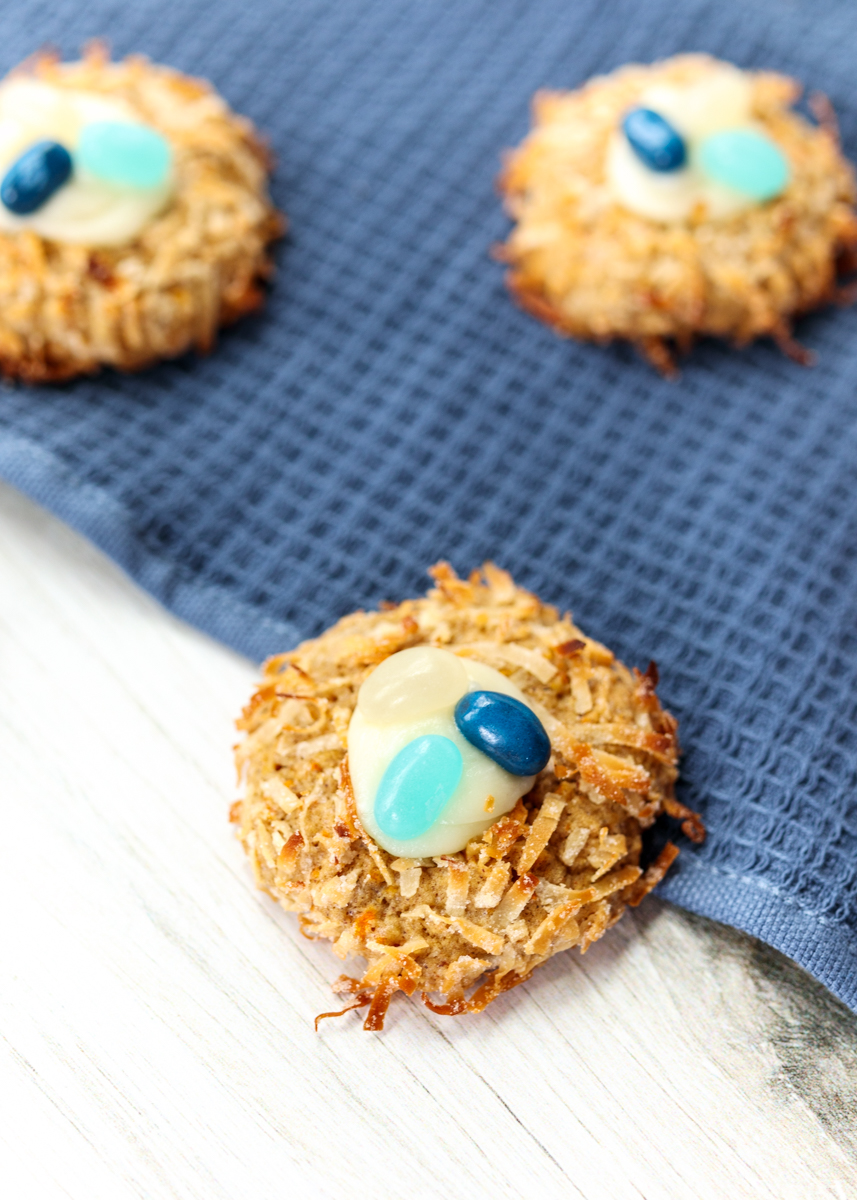
The recipe calls for blue and white jelly beans, but if you don’t have enough feel free to branch out into other fun Easter pastel colors. I used the blue and white combo ones for the photos, but I had other cookies in this batch topped with pink and purple jelly beans as well. I hope you all enjoy these Carrot Cake Nest Cookies – they were one of my favorites so far!
- 1⅓ cups all-purpose flour
- 1½ teaspoons ground cinnamon
- ½ teaspoon ground ginger
- Pinch of ground cloves
- ¼ teaspoon salt
- 8 tablespoons unsalted butter (1 stick), at room temperature
- ⅓ cup granulated sugar
- ⅓ cup dark brown sugar
- 1 large egg yolk, at room temperature
- 2 teaspoons vanilla extract
- ¾ cup finely grated carrots (about 2 carrots)
- ¼ cup finely chopped toasted walnuts
- 1¾ cups shredded sweetened coconut
- 2 ounces cream cheese, at room temperature
- 2 tablespoons unsalted butter, at room temperature
- ⅛ teaspoon vanilla extract
- ½ cup powdered sugar
- Blue and white jelly beans, for topping
- Place oven racks in the upper and lower thirds. Preheat oven to 350 degrees F. Line 2 baking sheets with parchment paper and set aside.
- In a medium bowl, whisk together the flour, cinnamon, ginger, cloves and salt. In the bowl of a stand mixer or in a large bowl with a hand mixer, beat the butter, granulated sugar and brown sugar on medium-high until fluffy, about 3 minutes. Add the egg yolk and the vanilla then beat again until well combined. Add the carrots and walnuts then beat again. Slowly add the flour mixture while on low speed and beat until just combined.
- Scoop tablespoons of dough then roll the balls into the shredded coconut. I used my medium Oxo cookie scoop. Place 1-inch apart on the prepared baking sheets. Use the handle of a wooden spoon or something round similar in size to make a deep indentation into the centers of the cookies. Bake the cookies, switching the baking pans halfway through from top to bottom, for 22-24 minutes, or until the cookies are set and the coconut is golden brown. Let cool completely on the pans placed on wire cooling racks.
- In the bowl of a stand mixer or in a medium bowl with a hand mixer, beat the cream cheese, butter and vanilla with the whisk attachment until light and fluffy. Add the powdered sugar and beat until fluffy. Transfer to a resealable plastic bag with the corner snipped or a pastry bag fitting with a round tip. If you aren’t ready to use right away, keep refrigerated. Pipe the frosting into the indentation if each cooled cookie then top each cookie with 3 jelly beans.
Recipe from January/February 2019 issue of Food Network Magazine.
Some of the links above are affiliate links, which means I may receive a small commission for my referral. This does not affect the retail cost of the item. Thank you for supporting Lemon & Mocha!