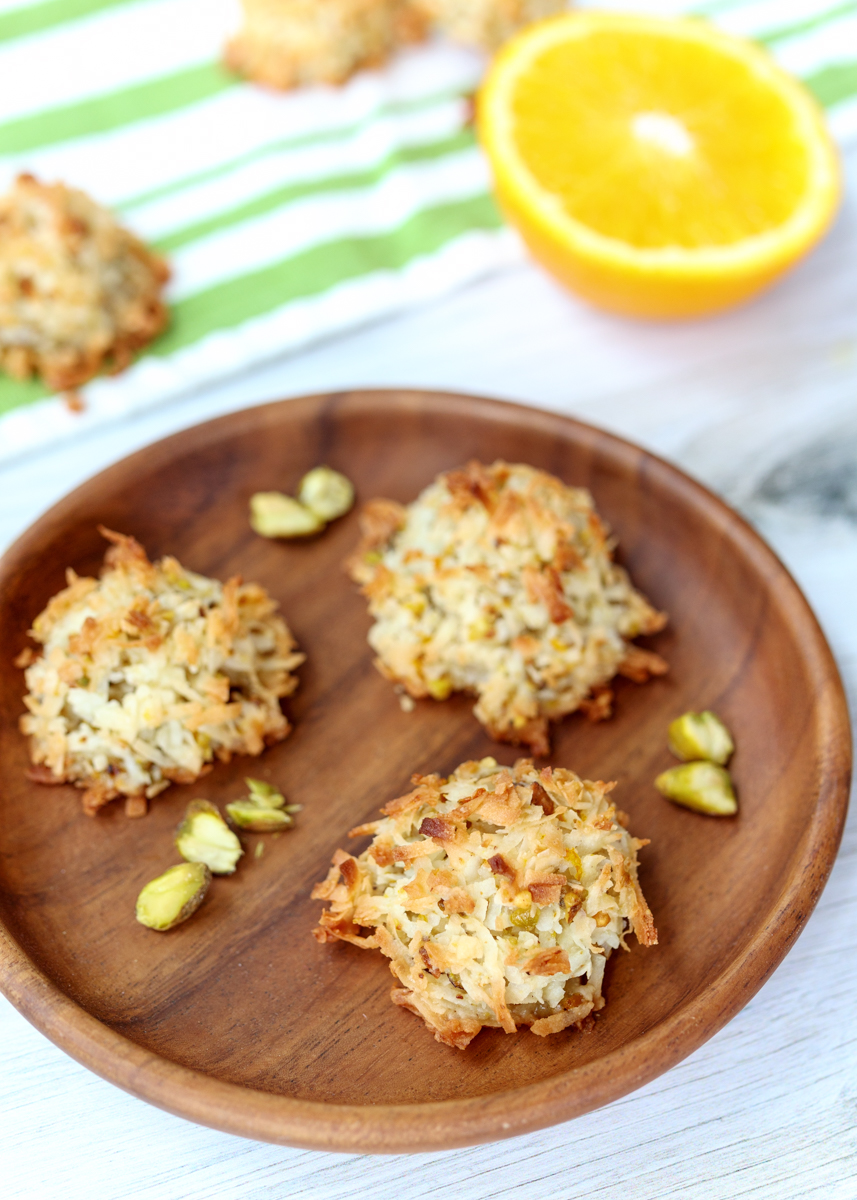
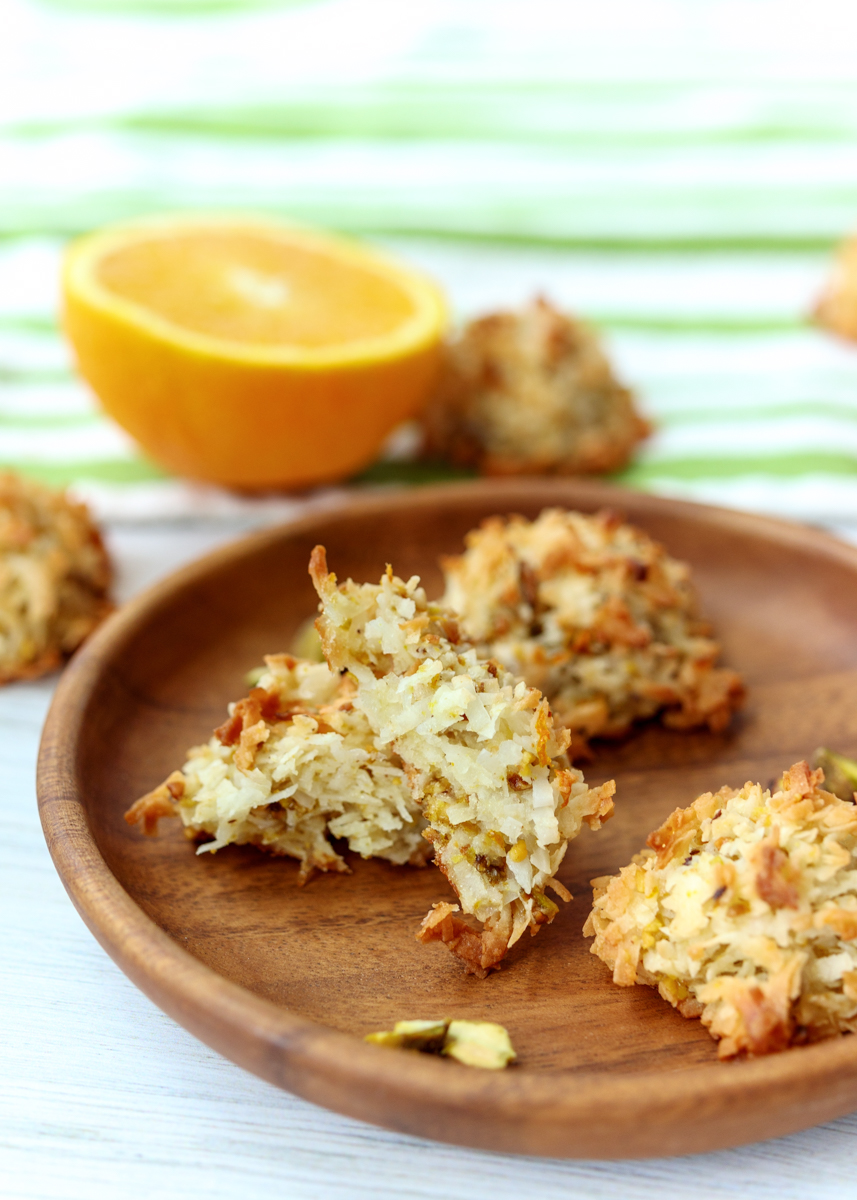
Orange Pistachio Macaroons
I’ve been sharing cookie recipes all year long, thanks to Food Network Magazine’s Calendar of Cookies. While those have been great, most of them were very seasonal specific so they aren’t exactly cookies you would bake up in November or December. With Thanksgiving less than two weeks away I’m going full holiday on you all from now until the rest of the year.
I love cookies around the holidays. That goes for both baking them and eating them. I (usually) find cookie baking to be relaxing and it’s hard to beat a few hours of baking in the kitchen with Christmas music playing while surrounded by Christmas decorations. Our kitchen is completely open into our living room so I get a great view during the holidays! I also love eating cookies, which I don’t need to explain; you all know about the deliciousness of cookies.
Last year I realized that I don’t have that many holiday cookie recipes on Lemon & Mocha so I decided to change that by planning 12 Days of Cookies during 2019! For my next twelve posts, I’ll be sharing exclusively cookie recipes worthy to be at your holiday celebrations. From chocolatey to citrusy, soft to crunchy, simple to more complex, there’s literally a cookie recipe for everyone on your list and I can’t wait to share them with you all!
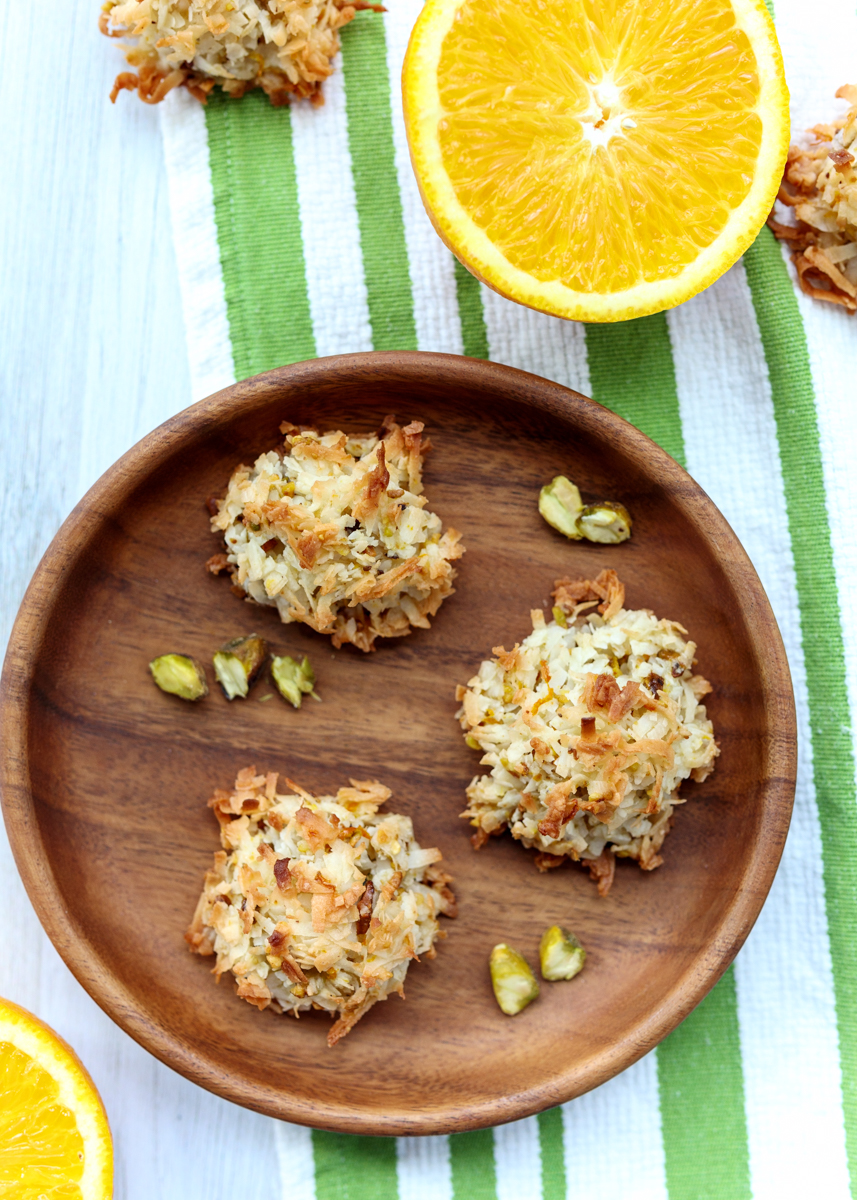
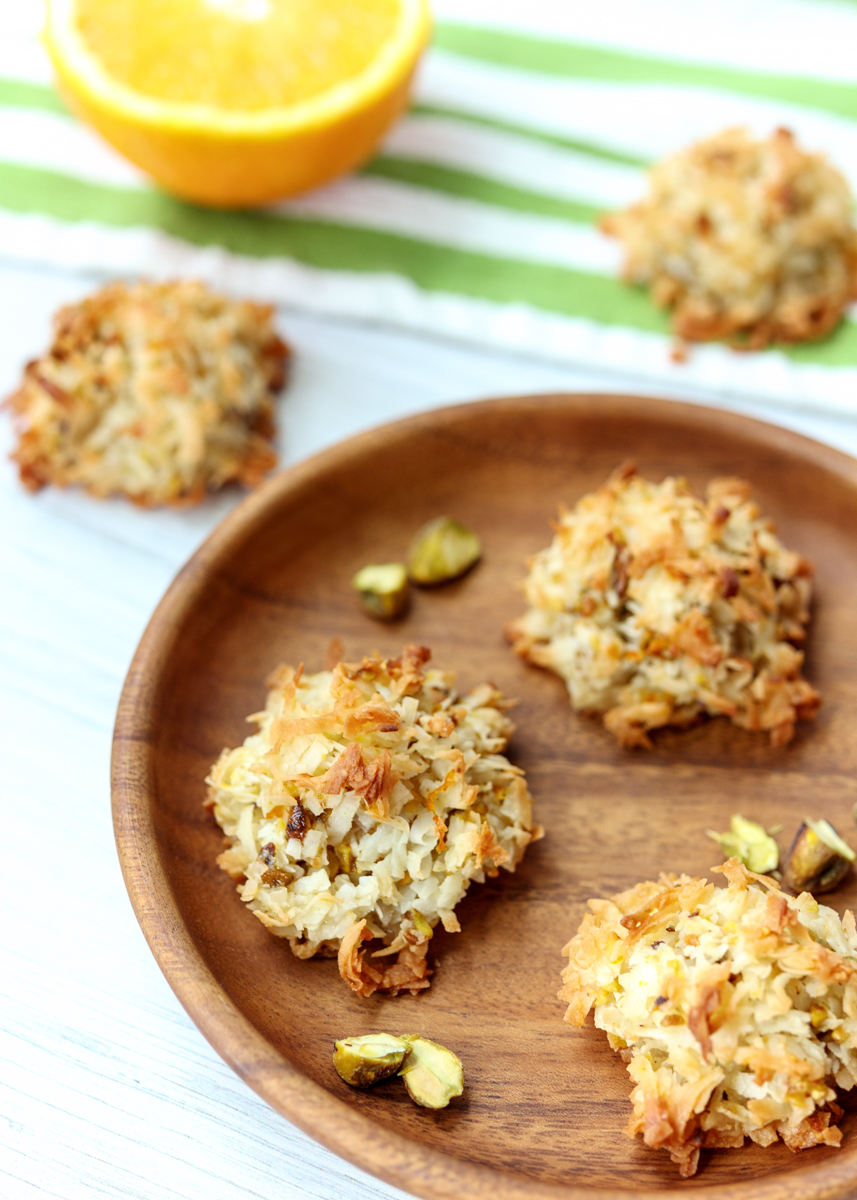
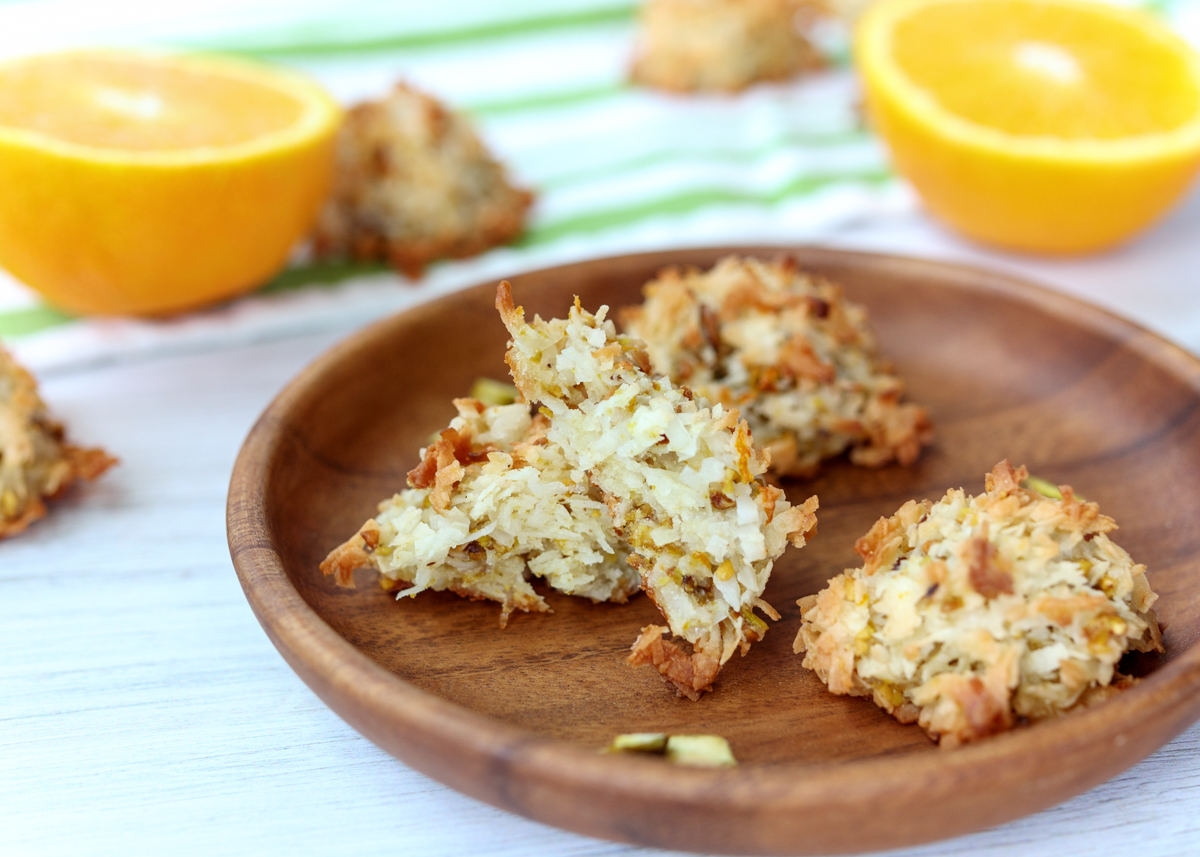
We’re kicking it off with something in that citrusy, chewy and simple category: Orange Pistachio Macaroons. These are your classic coconut macaroons infused with fresh orange zest and crunchy pistachio nuts. As with most cookies, it’s hard to eat just one.
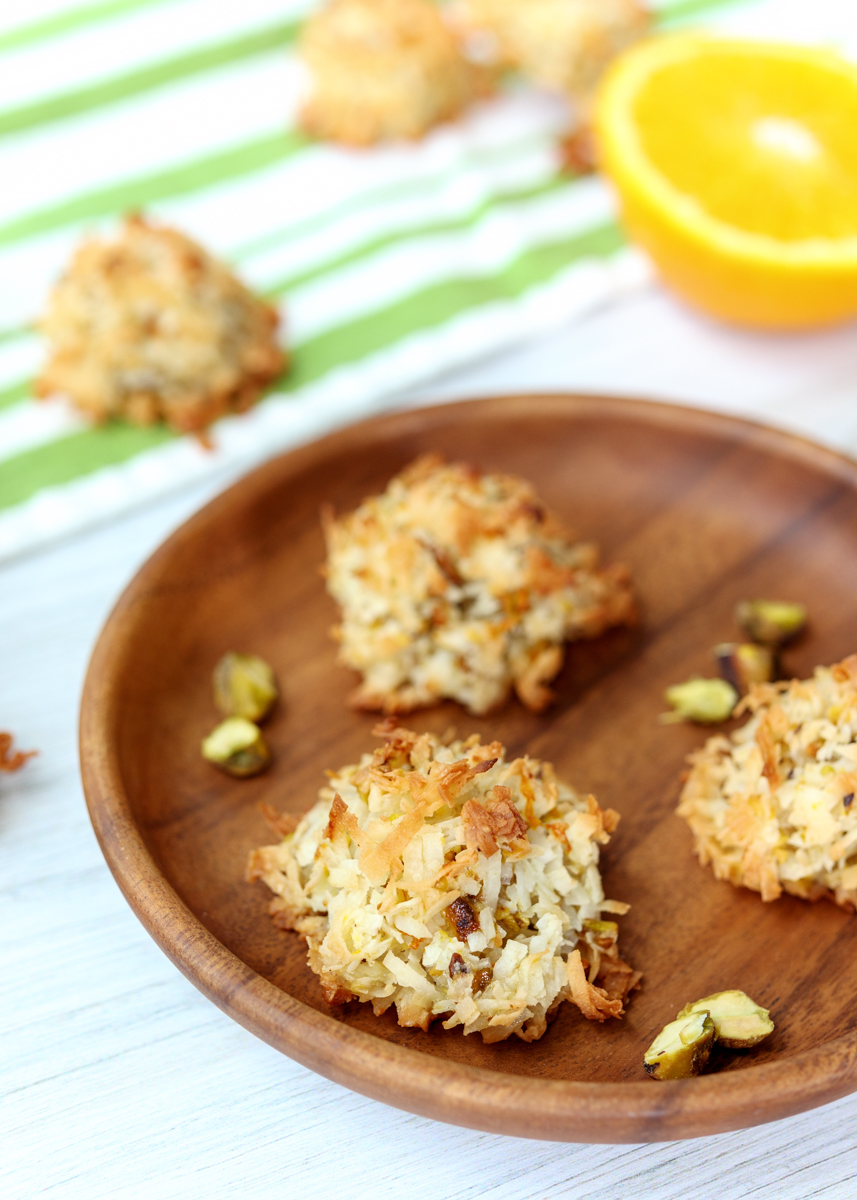
I didn’t chocolate-dip these since I have plenty of other chocolate-packed cookies I’ll be sharing, but if you were to dip the bottoms of these in dark chocolate it would probably be incredible since dark chocolate and orange pair really well together.
While you’re waiting for the rest of my holiday cookie posts to slowly go up one by one, below are a few recipes that I already have on my blog to get you started. Happy baking!

Perfect Chocolate Chip Cookies
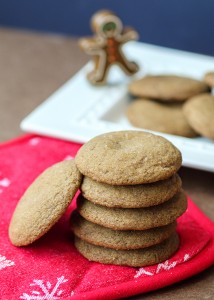
Soft Gingersnap Cookies

Chocolate Cherry Crinkle Cookies

Game Day Cookies

Nutella Stuffed Browned Butter Chocolate Chip Cookies
- ⅓ cup shelled unsalted pistachios
- 3 large egg whites
- ½ cup granulated sugar
- 1 tablespoon finely grated orange zest
- ¾ teaspoon vanilla extract
- ⅛ teaspoon salt
- 1 14-ounce package sweetened shredded coconut (about 3 cups)
- Preheat oven to 325 degrees F, making sure oven racks are in the upper and lower thirds positions. Line 2 baking sheets with parchment paper and set aside.
- Using a knife or food processor, finely chop the pistachios. Set aside.
- In a large bowl, whisk the egg whites, sugar, orange zest, vanilla and salt until the mixture is frothy. Stir in the pistachios. Stir in the shredded coconut until combined. Spoon heaping tablespoons of the coconut mixture onto the prepared baking sheets. Bake the macaroons for 25-30 minutes, or until golden, switching the pans halfway through cooking. Let the macaroons cool for 10 minutes on the baking sheets set on wire cooling racks, then move the macaroons to the wire cooling racks to cool completely.
Recipe adapted from April 2017 issue of Food Network Magazine.
Some of the links above are affiliate links, which means I may receive a small commission for my referral. This does not affect the retail cost of the item. Thank you for supporting Lemon & Mocha!