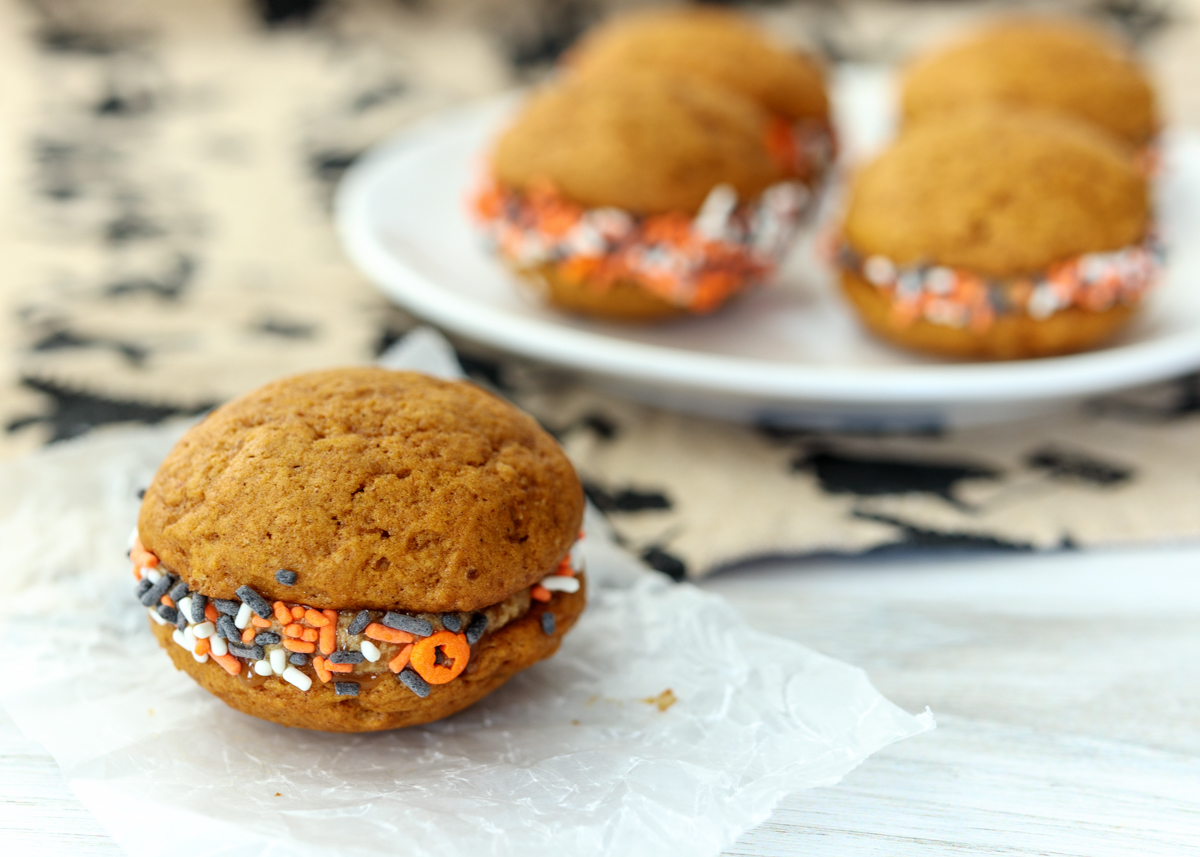
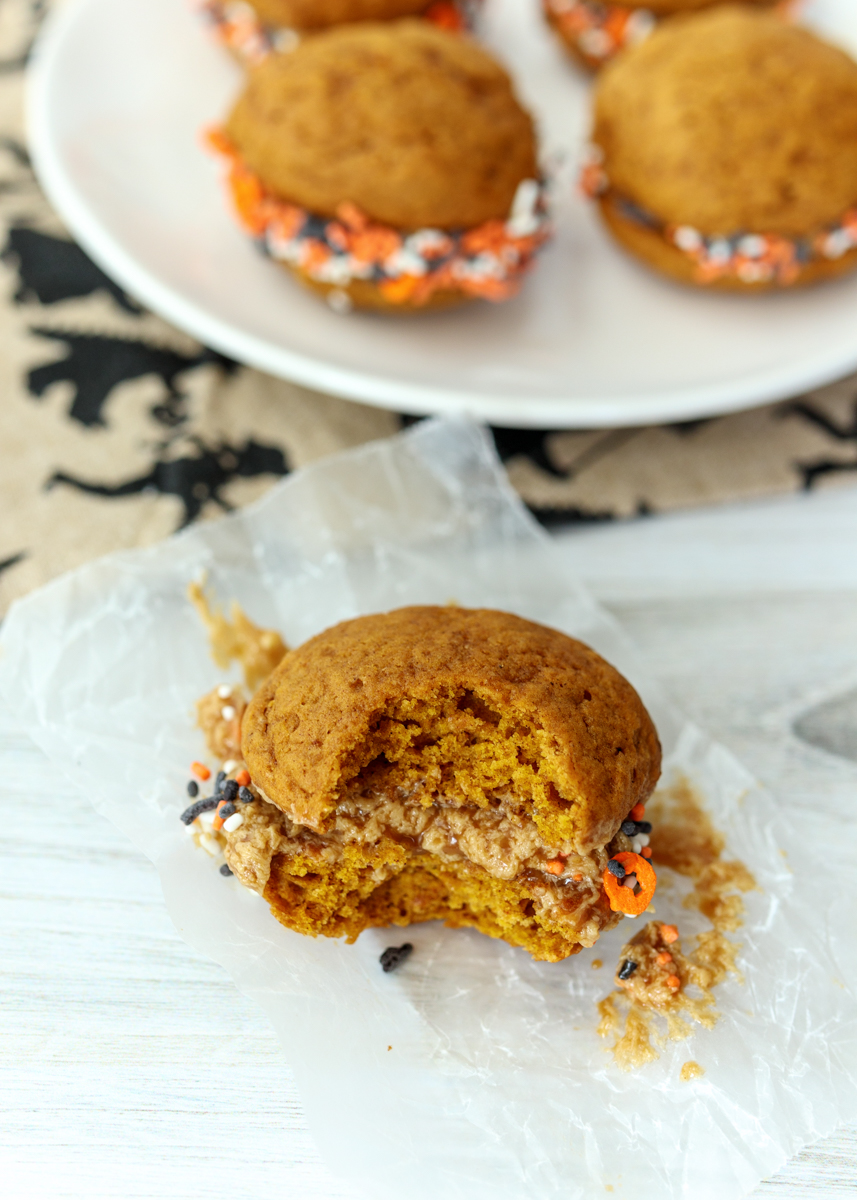
Butterscotch Pumpkin Haystacks
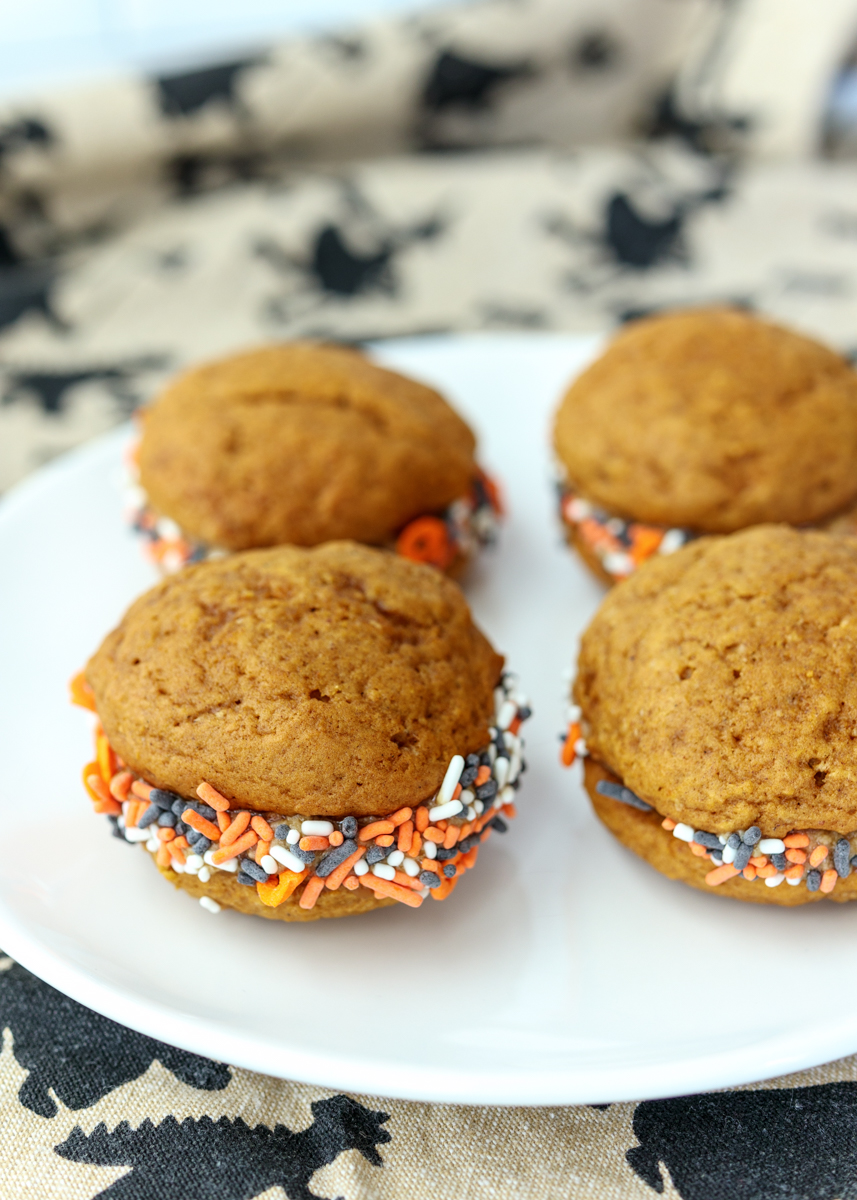
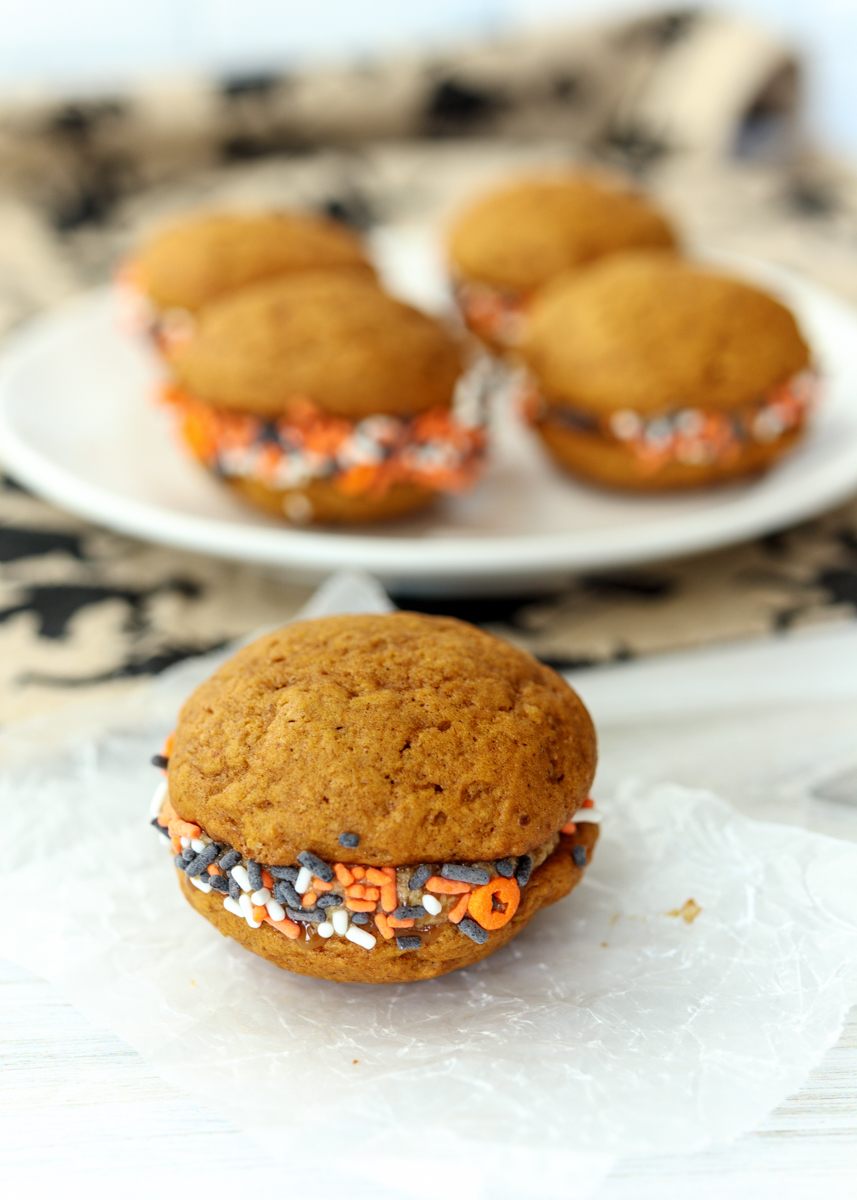
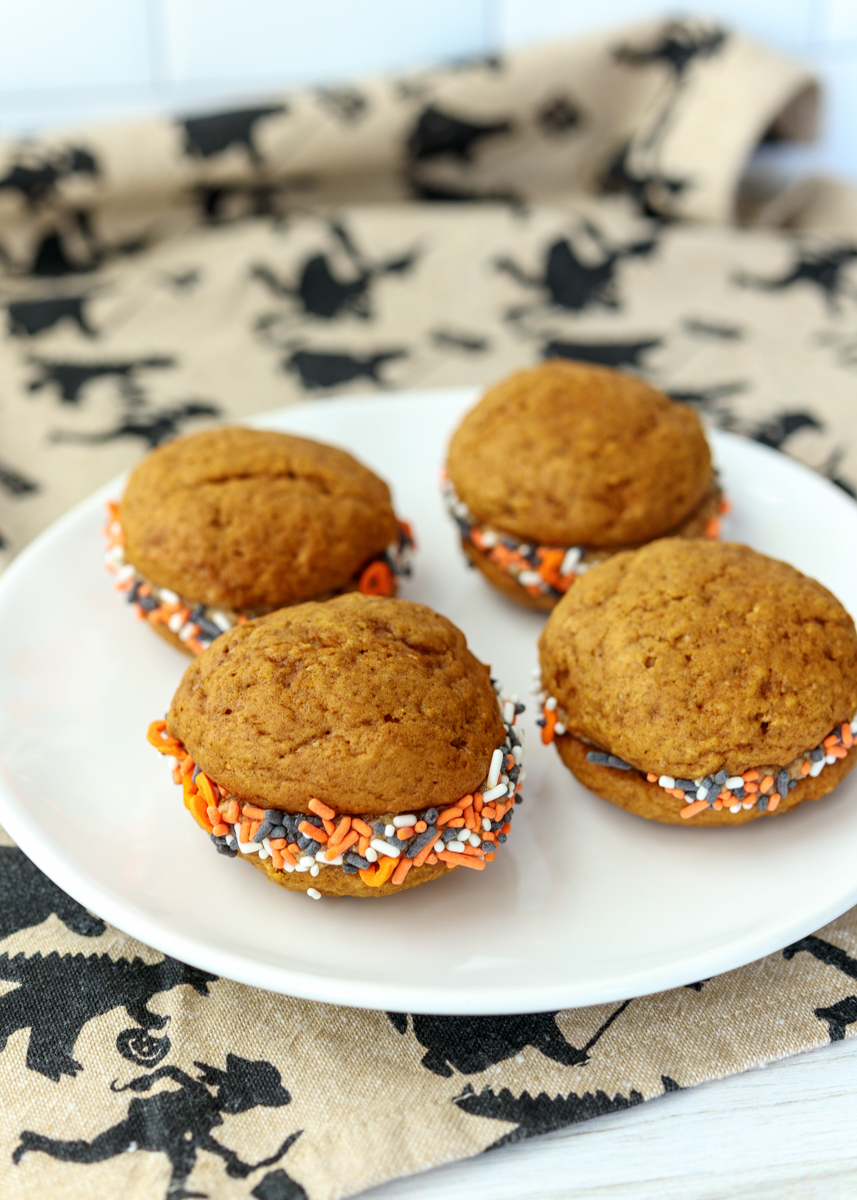
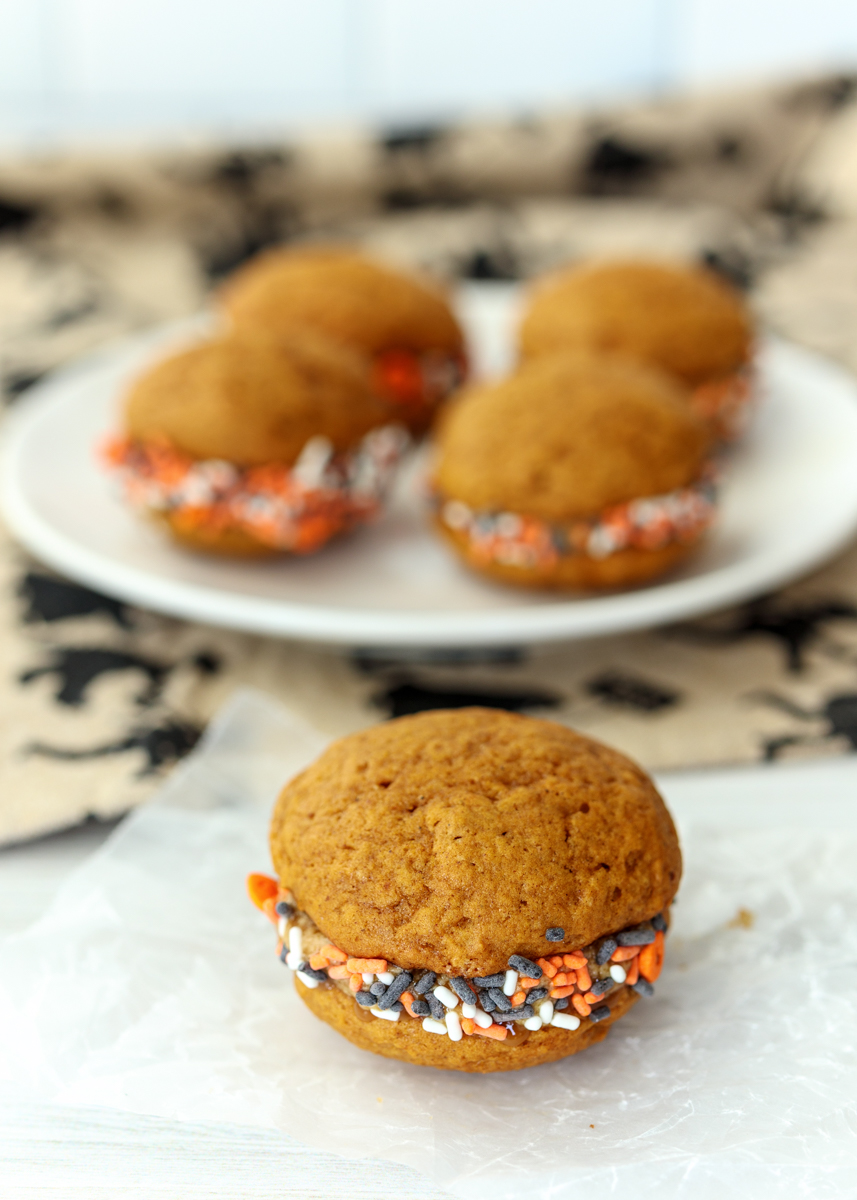
Once October hits I am all about the pumpkins. Not just pumpkin flavors, like Friday’s Pumpkin Spice Latte Whoopie Pies, but actual pumpkins. My house is usually covered in them during this time of year, from actual pumpkins on our doorstep, pumpkin wreath on our door, indoor ceramic pumpkins, fabric pumpkins, wood signs with pumpkins… you get the idea!
One other form of pumpkin I look forward to this time of year are mellowcreme pumpkins. Yes! Those corn syrup, sugary pumpkin candies that look like candy corn, but taste way better. The little sugar bombs are creamy on the inside and look so adorable right before you snarf them down. I have tasted plenty that taste waxy so the brand you buy is key in them actually tasting delicious or not. My go-to is Zachary’s, which can be difficult to find, but I can usually find them at the Christmas Tree Shop. I normally hate Brach’s, however, I believe they may have changed their recipe, including adding honey, and I bought a bag this year that was actually pretty good.
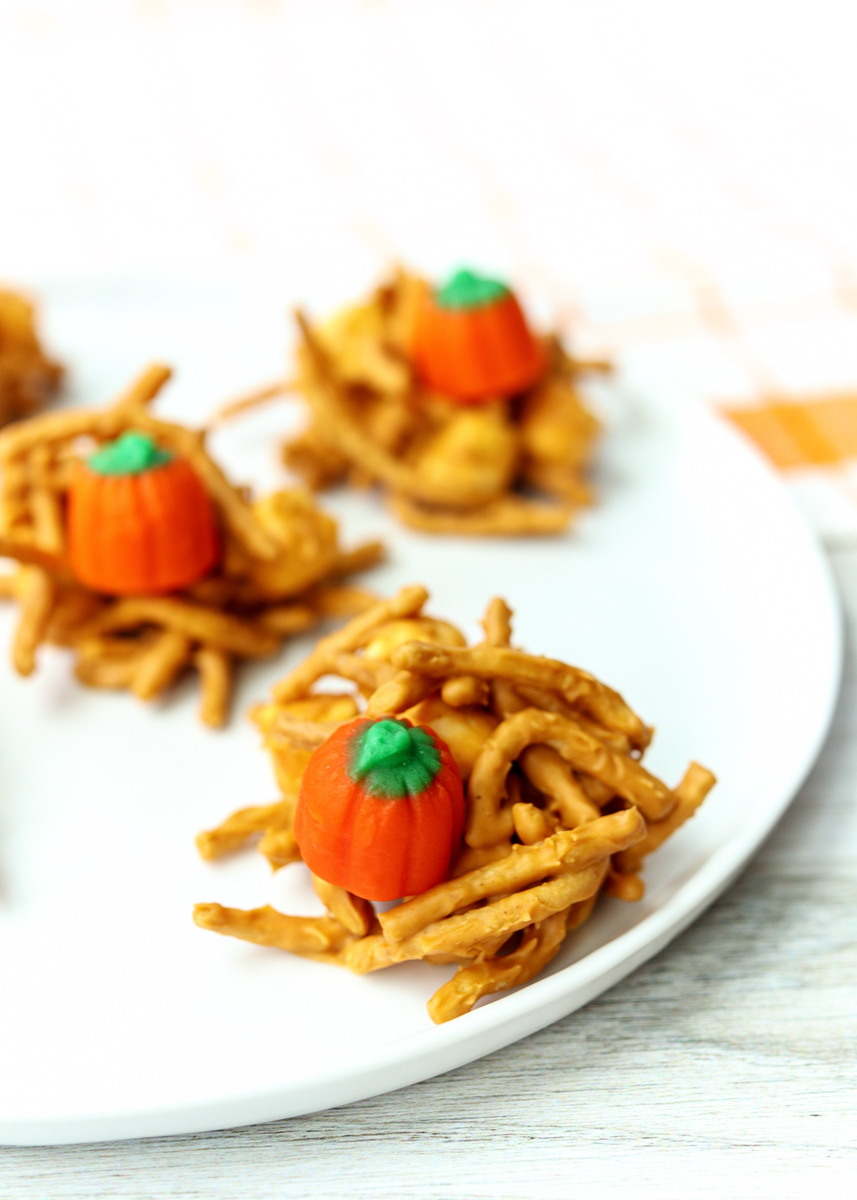
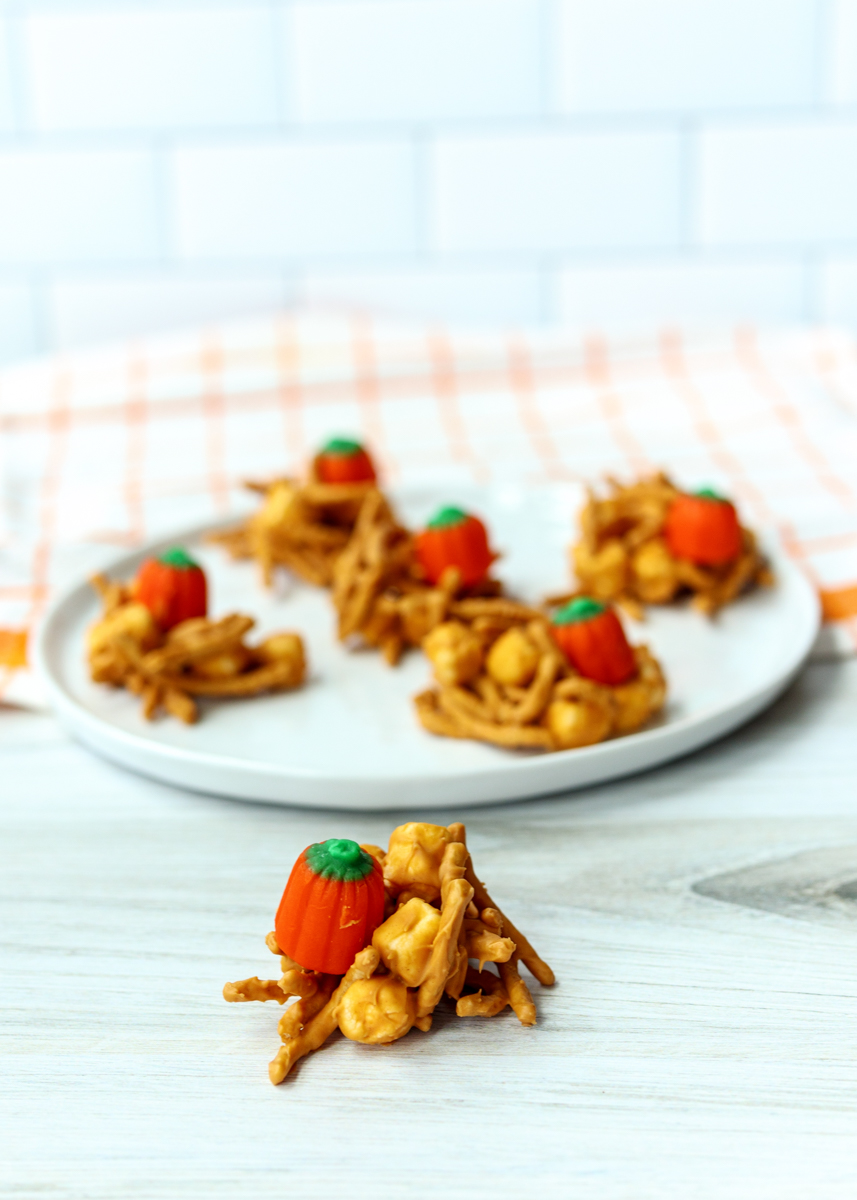
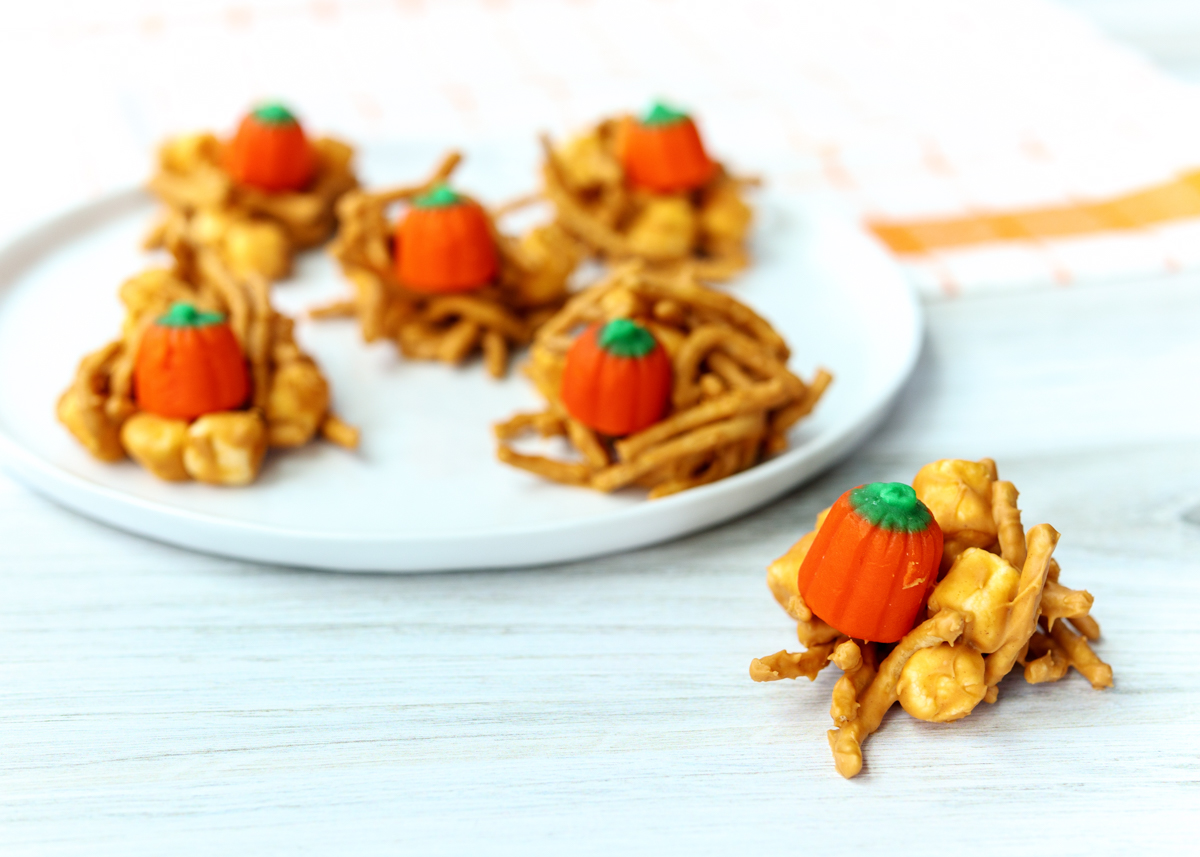
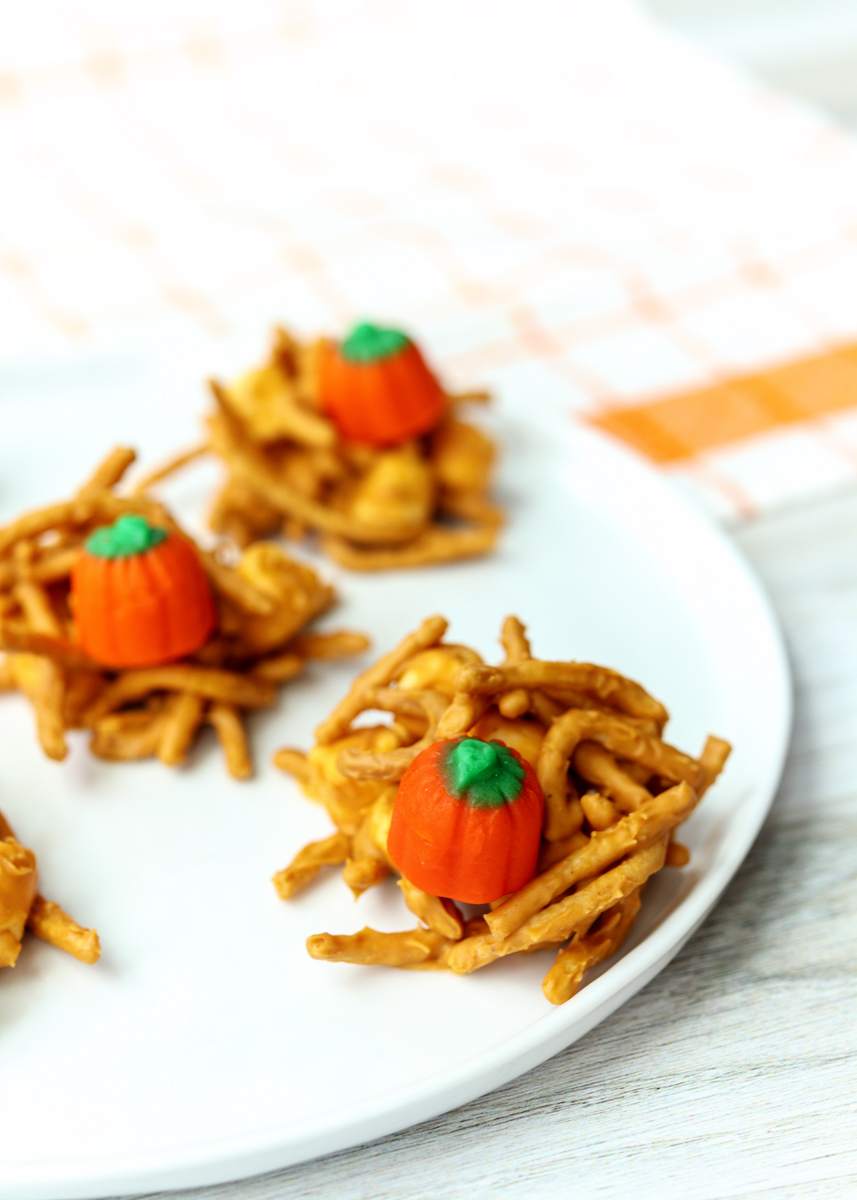
The reason we’re buying these cute sugary pumpkin candies is so we can make cute nostalgic haystack treats! Did you have these when you were a kid? I haven’t had them for years and years, but I was dying to make some.
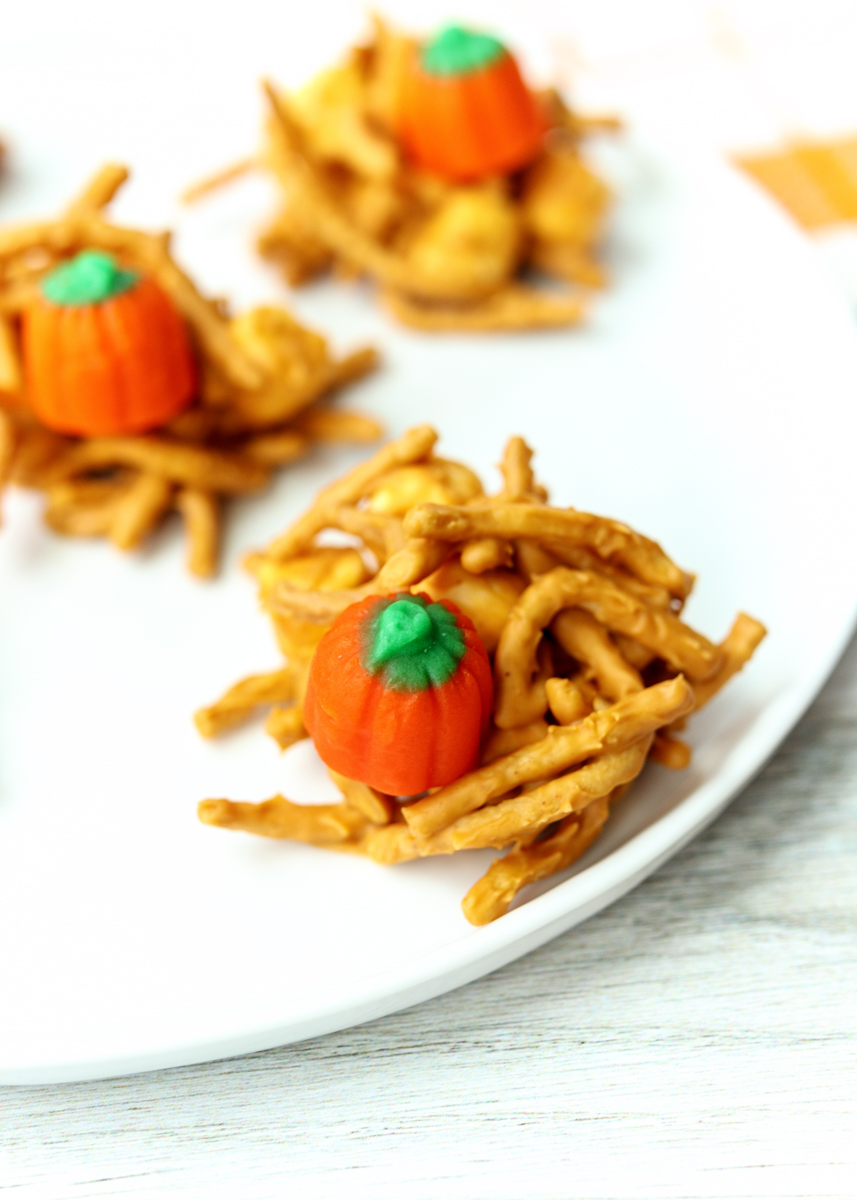
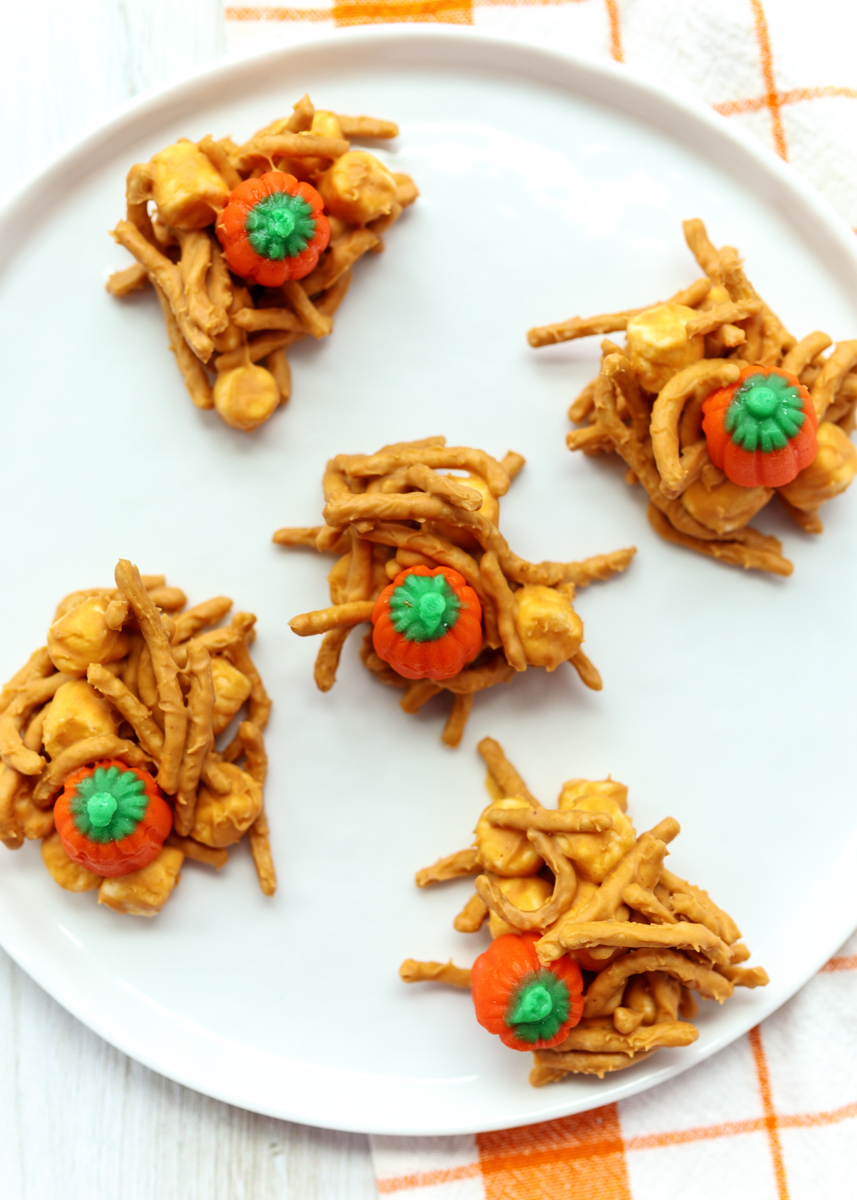
Butterscotch flavored chips are melted down and then mixed together with creamy peanut butter, mini marshmallows and crunchy chow mein noodles. You drop them onto a baking sheet to make little haystacks; don’t forget to plop a little mellowcreme pumpkin onto each one! The combination may sound a bit strange, but they are buttery, sweet, crunchy and crazy addictive. I couldn’t stop eating them!
It’s a good thing I made only a half batch, which you can easily do. The recipe below will make about seventy haystacks so you will probably want to halve it as well unless you are making them for a party or a large group of people. Some recipes substitute peanuts for the mini marshmallows, but I love the soft and gooey texture they add. Have you ever had these fun and tasty treats before?
- 11-ounce bag of butterscotch flavored morsels (about 1⅔ cups)
- ¾ cup creamy peanut butter
- 3½ cups miniature marshmallows
- 2 5-ounce cans chow mein noodles
- 1-2 bags pumpkin mellowcremes
- Line 2 baking sheets that will fit in your fridge with wax paper and set aside.
- Melt the butterscotch morsels using either a double boiler or a microwave. If you’re using a double boiler, melt the morsels over medium heat, stirring occasionally, then skip to the next step. If you’re using a microwave, heat the morsels in a large microwave-safe bowl for 30 seconds. Stir then continue to microwave and stir in 15 second increments until they’re melted.
- Stir in the peanut butter and the mini marshmallows. Stir in both cans of the chow mein noodles until completely coated. Spoon little stacks onto the prepared baking sheets, adding a pumpkin mellowcreme to each stack. Put in the fridge to set completely.
- Once set, you can either store at room temperature or in the fridge.
Recipe from Nestle.