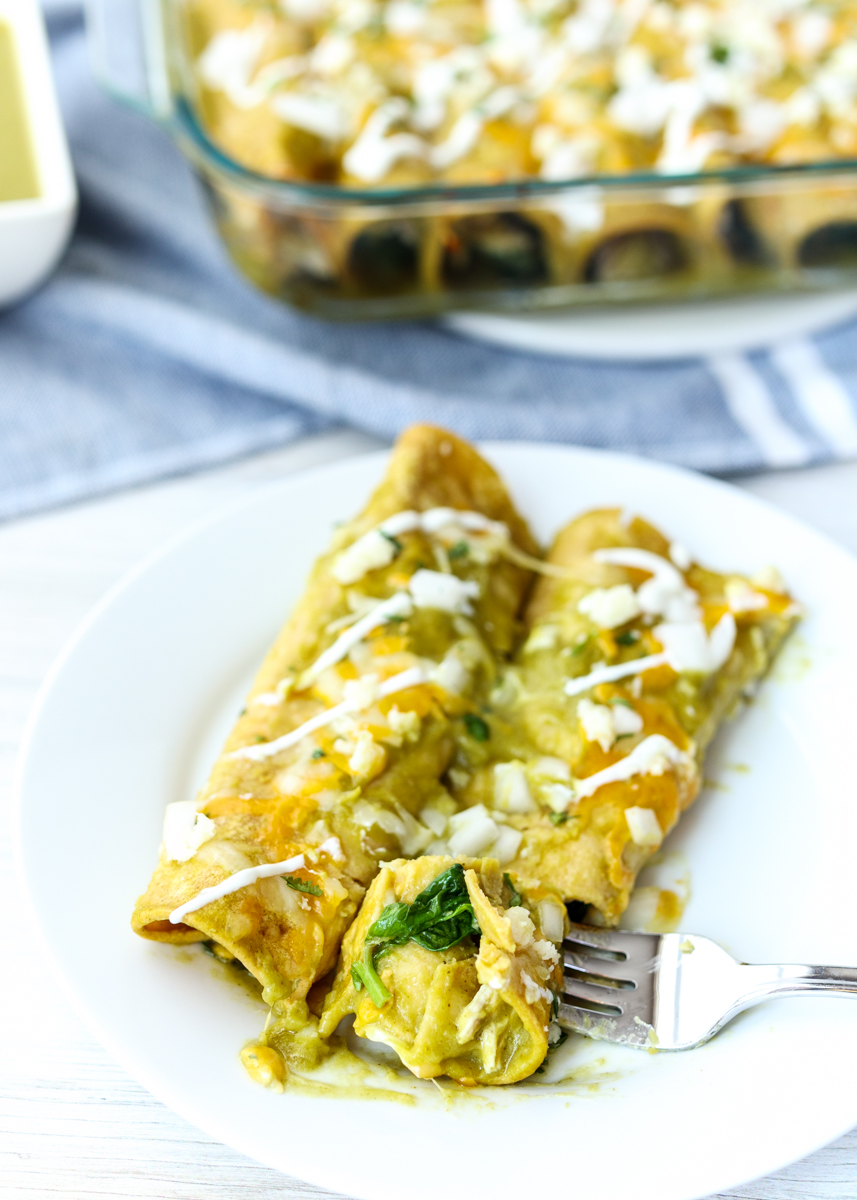
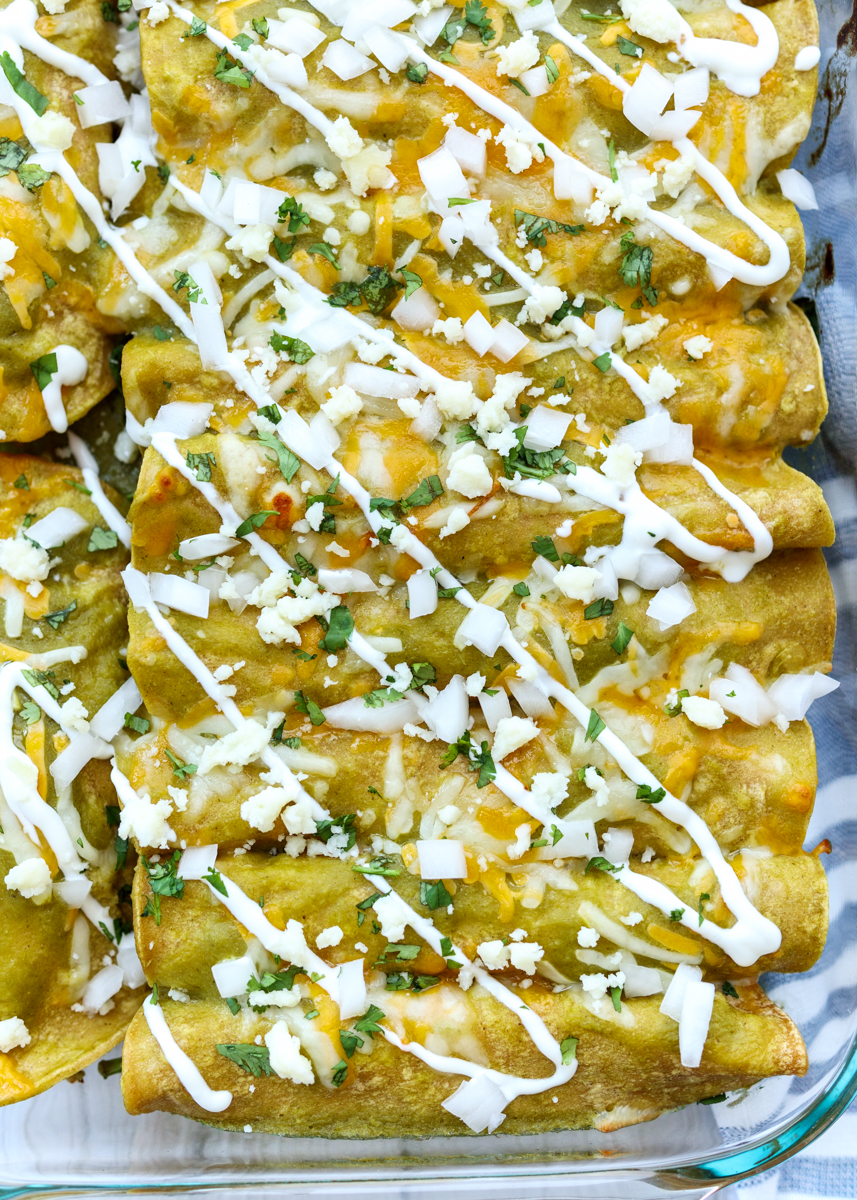
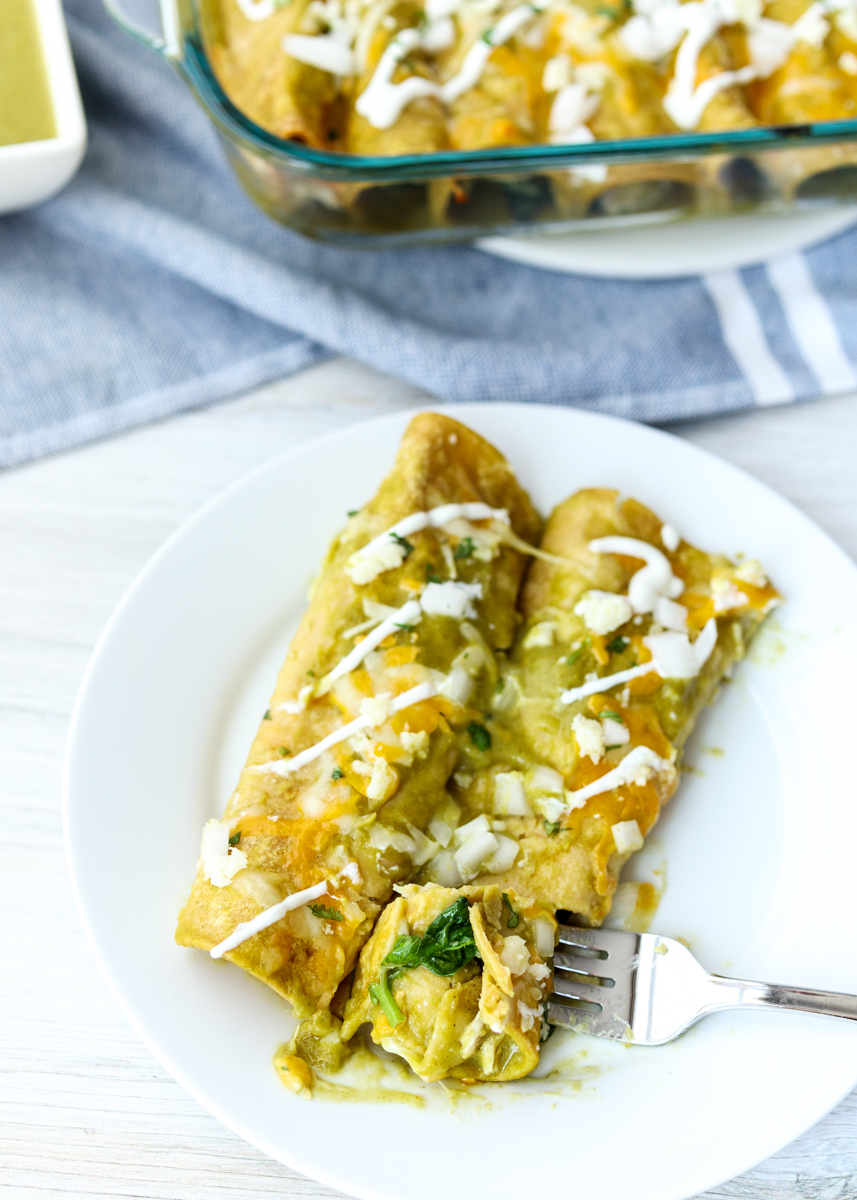
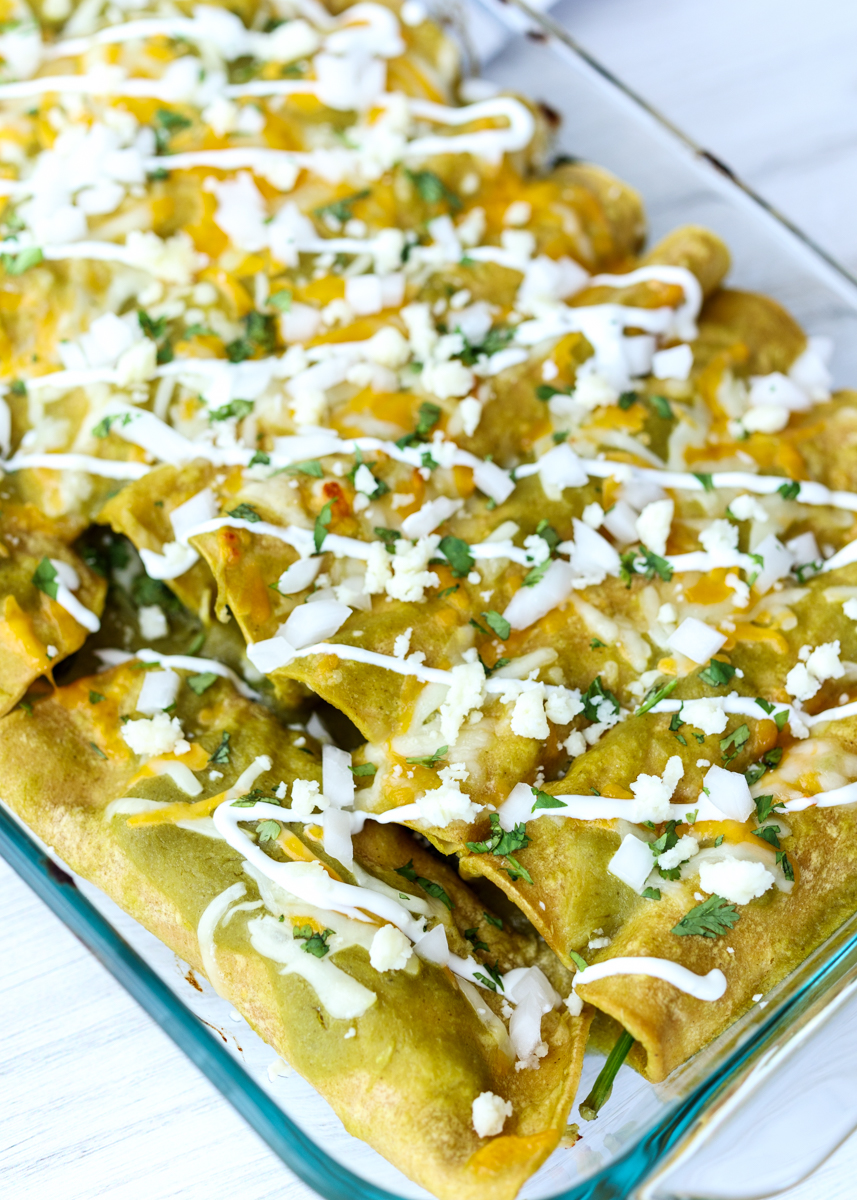
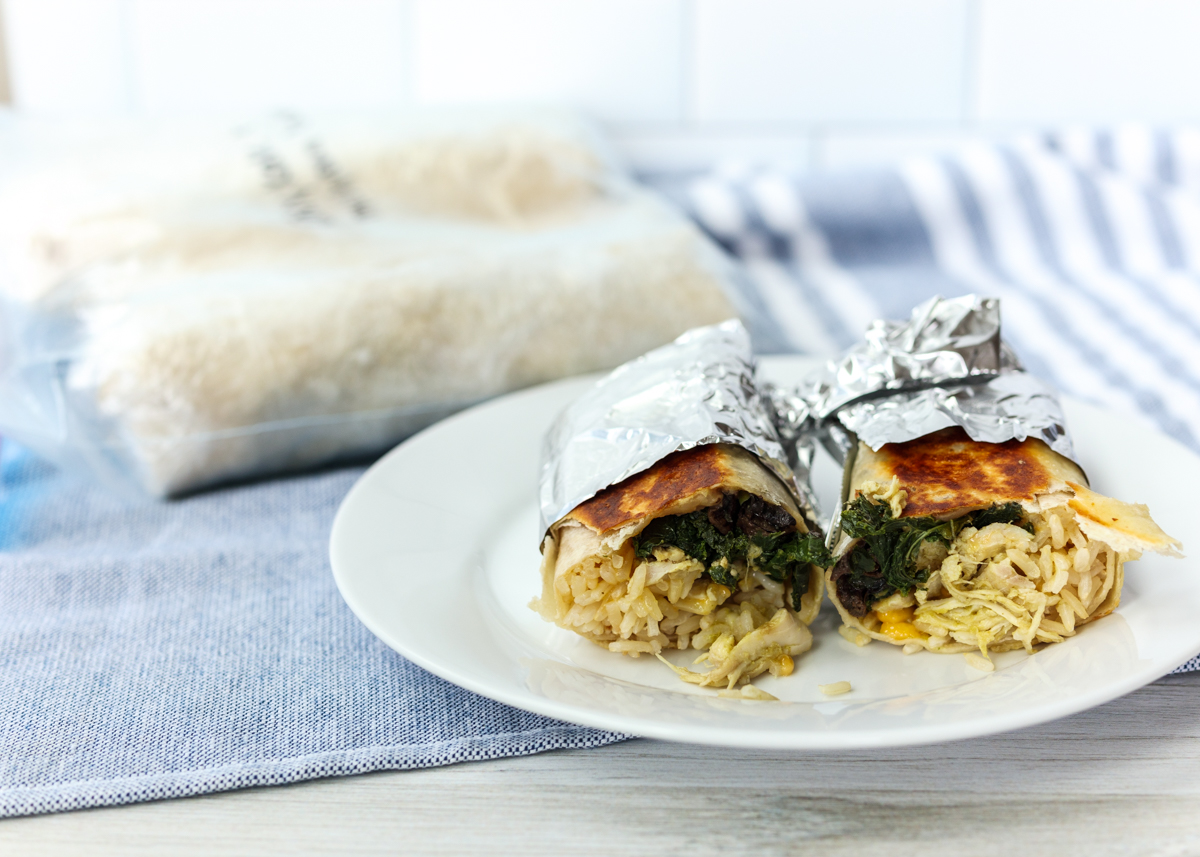
Freezer Burritos: Chicken Verde, Mushroom, Kale and Brown Rice Burritos
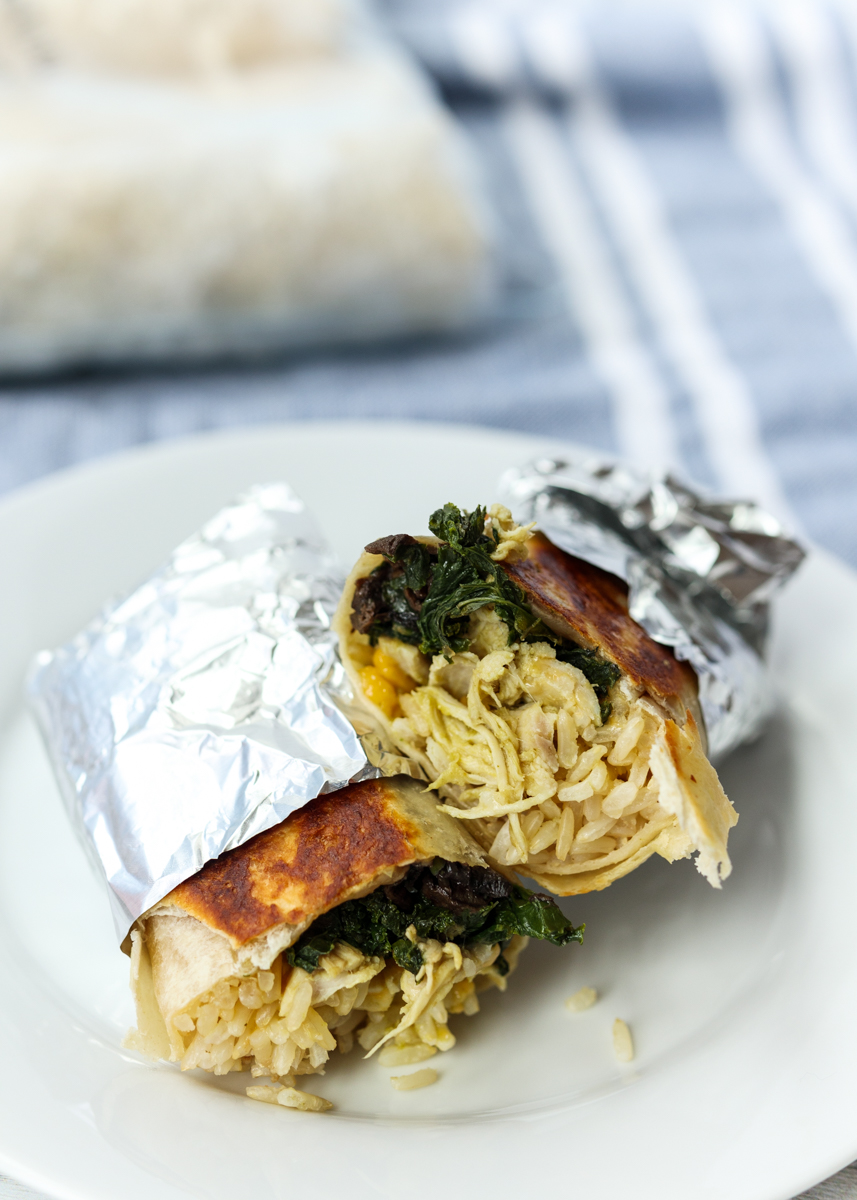
Sometimes you need a quick meal you can grab straight from the freezer and heat up. So today I’m going to walk you through my favorite new freezer meal: freezer burritos. The recipe today is for these Chicken Verde, Mushroom, Kale and Brown Rice Burritos, which are packed with flavor and plenty of good-for-you foods.
Not feeling that combination? That’s okay because we’re going to talk about all different tips you can use to make your own personal favorite freezer burritos. You can certainly buy freezer burritos from the store, but they’re typically loaded with sodium, might not have the exact ingredients you prefer and aren’t exactly cost effective.
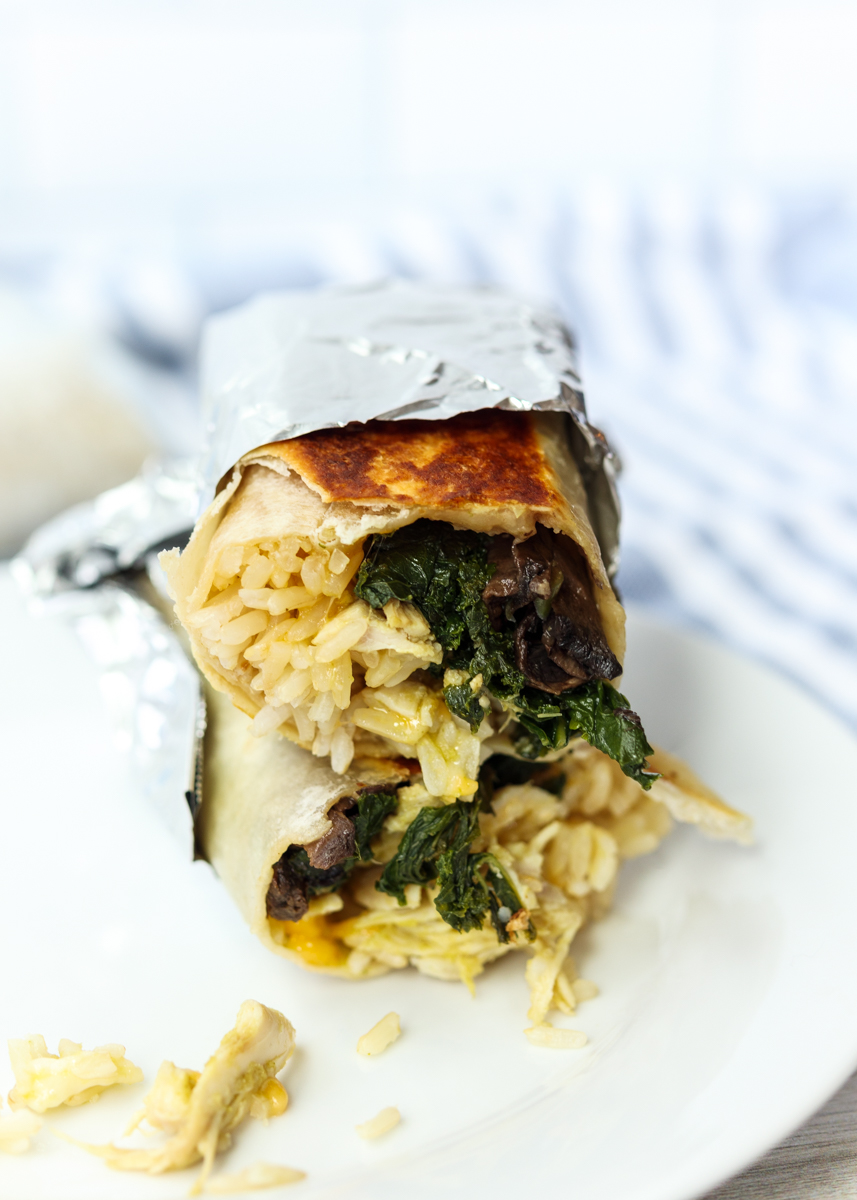
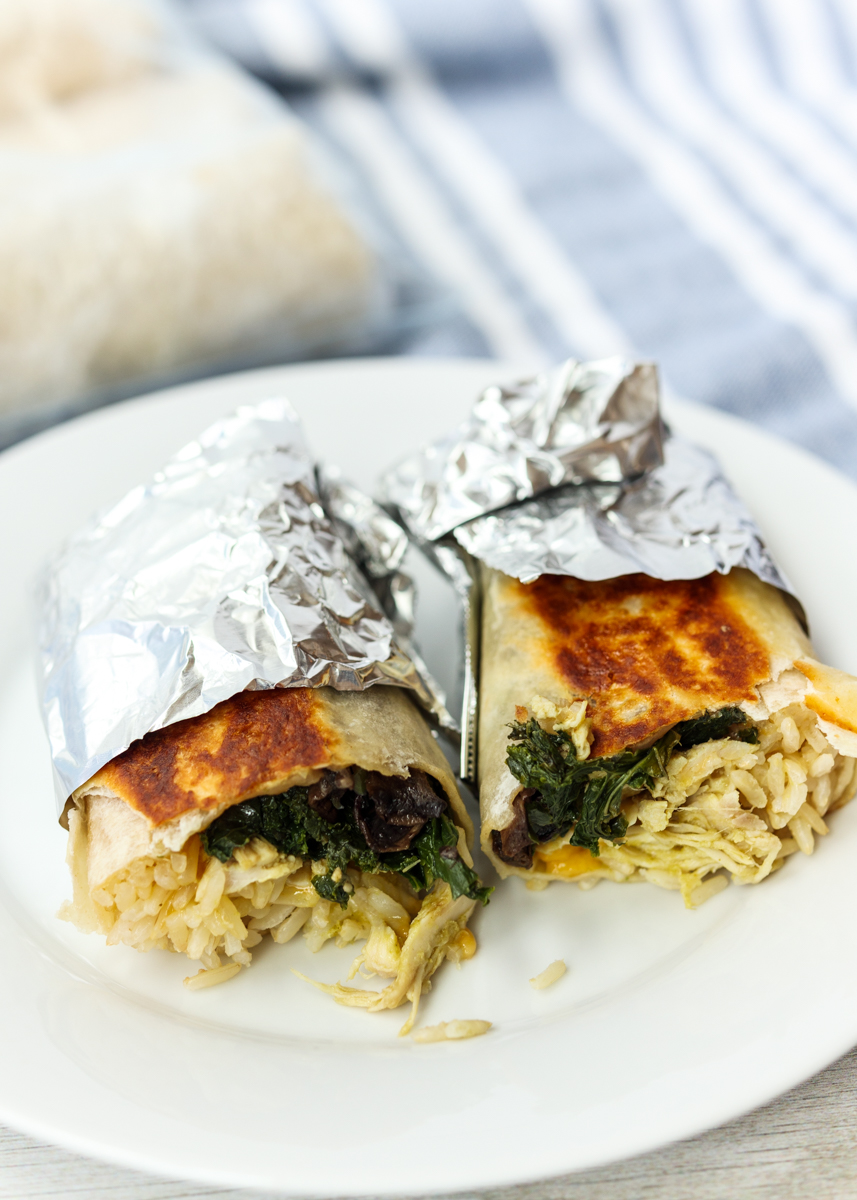
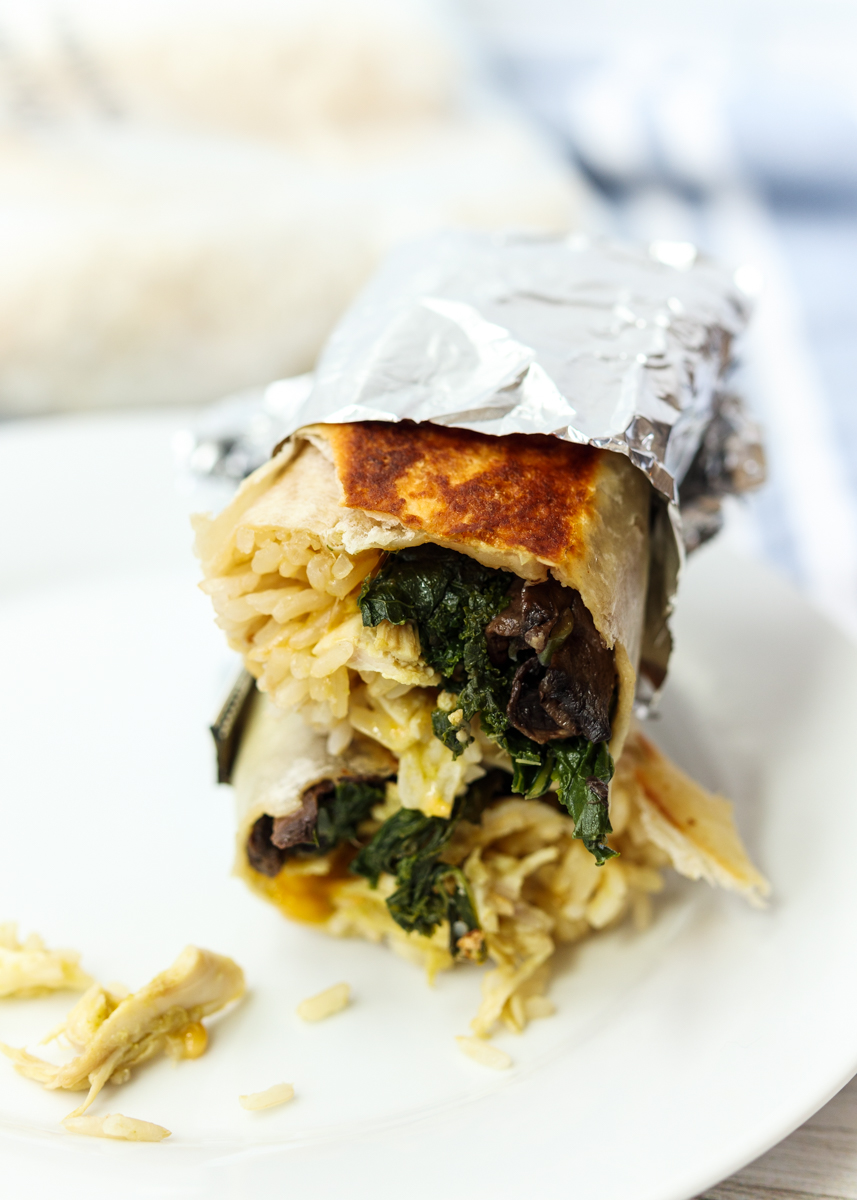
When I decided to try making my own I was skeptical that the version out of the freezer would taste just as good – and that the texture would be just as good – as a freshly made burrito. Much to my delight I discovered with a few simple tricks these homemade freezer burritos would become a mind-blowing game changer! How so? Because you can pop one out of the freezer, microwave it for three minutes and have a fresh, delicious and healthy (depending on what you put in them!) meal any day of the week. If you want to go one extra step further you can even sear it in a skillet for one to two minutes per side after microwaving to add that extra crispy factor. So let’s get into it.
Keep Moisture Out of Your Burritos
The key to having a freezer burrito taste like you got it fresh from your neighborhood Mexican joint and not be a soggy mess is to keep away the wet ingredients.
- You can still have salsa. This doesn’t mean no salsa. Just toss your protein or other ingredients in the salsa before adding to your burrito so that they are coated, but not dripping. This way you get the flavor the salsa provides without the moisture.
- Drain well. If you’re using beans make sure they are well drained before adding to the burritos.
- Sauté those veggies. Sautéing the vegetables before adding them to the burritos is a great way to add flavor while also reducing the moisture. Sautéing vegetables like mushrooms, peppers, onions and greens helps get the excess moisture out of them.
- Room temperature everything. Make sure all your ingredients are room temperature before starting to assemble the burritos. Warm fillings lead to steamy insides, which cause future soggy burritos. This also goes for your tortillas since cold tortillas are stiff and tend to break. You’ll want to use fresh (aka not the ones that have been sitting in your fridge for weeks) room temperature tortillas.
- Be smart about your fillings. If it doesn’t belong in the microwave then it doesn’t belong in your burrito. That shredded lettuce and sour cream? Back away from your burritos and put it back in the fridge.
Wrap the Burritos Well
This goes for making the actual burrito and for wrapping the finished burrito for freezer storage.
- Wrap a tight burrito. There are plenty of Youtube videos out there that show you how to properly wrap a burrito. I’m not that much of a perfectionist though; I layer my ingredients in a long line towards the bottom of the tortilla closest to me, tuck in the short sides and then wrap as tightly as I can from the bottom. Having all your ingredients tightly nestled in there will help keep moisture out while they’re in the freezer.
- Prep for the freezer. There’s a few different ways you can go about this, but I prefer to tightly wrap each burrito in plastic wrap or aluminum foil then place all the wrapped burritos in a gallon storage bag, labeling the burrito type on the outside of the bag. This provides double protection and also allows you to easily remove just one burrito at a time.
In a couple weeks I’ll be sharing another favorite of ours: Slow Cooker Pork and Roasted Sweet Potato Freezer Burritos. I’ll also use that post as a follow-up to this one and list out plenty of protein, grain and filling ideas so you can mix and match your own freezer burritos. What do you load into your ideal burrito?

- 2 tablespoons olive oil, divided
- 8 ounces kale, thick stems removed
- ¼ teaspoon garlic powder
- 8 ounces sliced cremini mushrooms
- 1½ cups shredded cooked chicken
- ⅓ cup salsa verde
- 6 10-inch flour tortillas, room temperature
- 3 cups cooked brown rice, cooled
- ⅓ cup shredded mozzarella or colby jack cheese, optional
- Salt and pepper
- Heat 1 tablespoon of the olive oil over medium-high heat in a large saucepan or lidded sauté pan. Add the kale, season with the garlic powder, salt and pepper. Sauté for 5 minutes. Reduce heat to medium, add ¼ cup water, cover the pan and cook for 12 minutes. Remove from the heat and let cool completely or put in the fridge to use later.
- While the kale is cooking, sauté the mushrooms. Heat the remaining tablespoon of olive oil in a sauté pan over medium-high heat. Add the mushrooms, season with salt and pepper and sauté for 7 minutes. Remove from the heat and let cool completely or put in the fridge to use later.
- When you’re ready to make the burritos, combine the shredded chicken with the salsa verde. Make sure all your ingredients are room temperature or cold. Place the first tortilla on a plate. Add some brown rice in a lengthwise strip towards the bottom of the tortilla closest to you. Top with some salsa verde chicken. Top with some kale, mushrooms and cheese, if using. Fold in each side then take the bottom of the tortilla closest to you and tightly roll it up and over the filling. Continue to roll up the burrito, tightly, tucking in the sides additionally as needed. Wrap in plastic wrap or aluminum foil. Set aside and repeat for the remaining tortillas and fillings. Place all the rolled burritos in a labeled gallon freezer bag and place in the freezer.
- To heat: Remove the burrito from the freezer. Remove and discard the plastic wrap or aluminum foil. Place the burrito on a microwave safe plate and microwave at 70% power for 3 minutes. Sear the burrito in a sauté pan lightly sprayed with cooking spray over medium-high heat for 1 minute on each side, until lightly browned. If you don’t want to sear your burrito, microwave for a total of 5 minutes instead of 3.
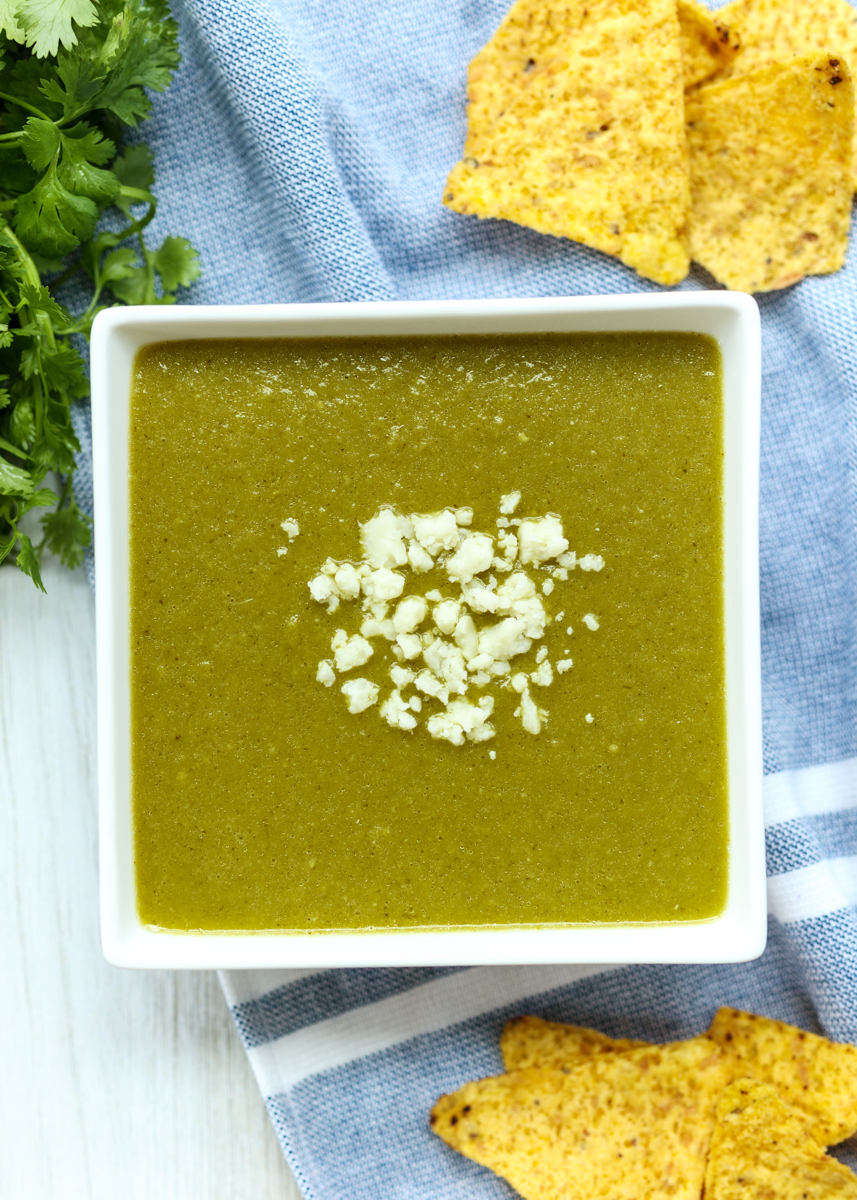
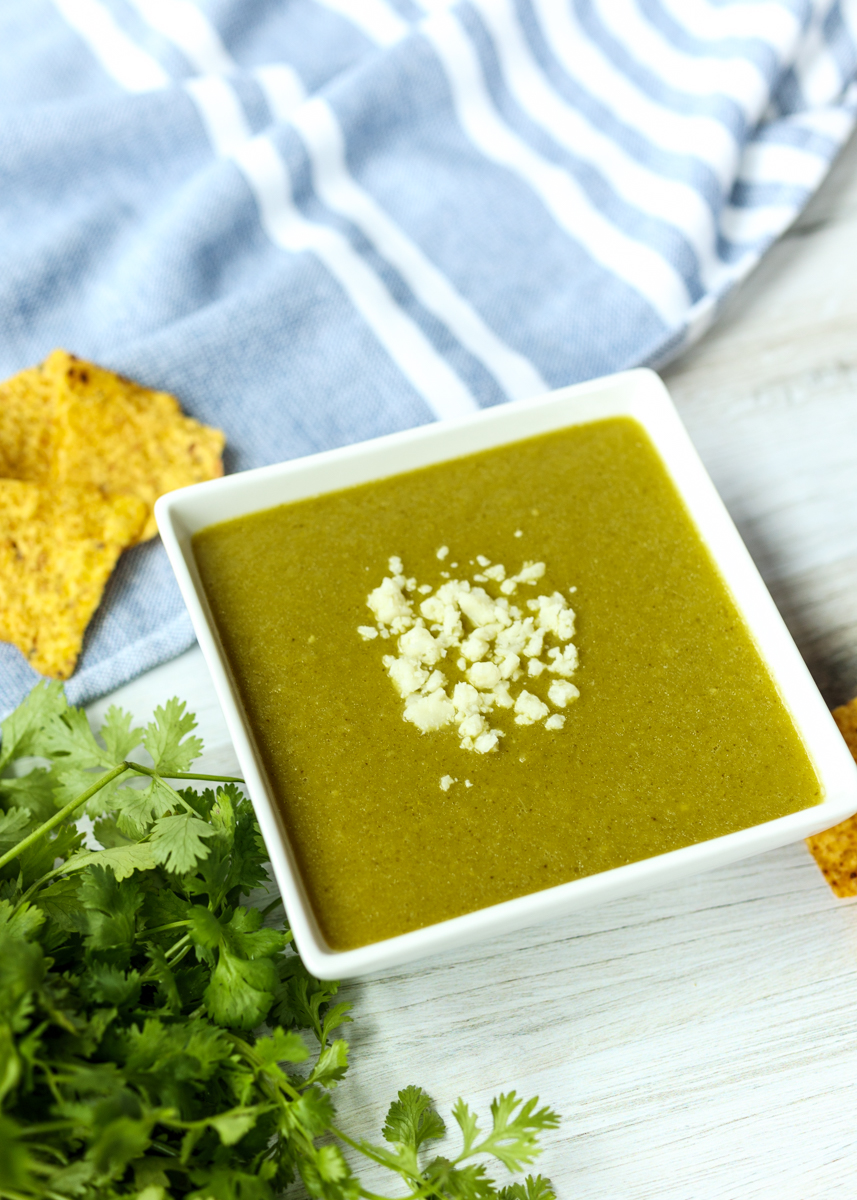
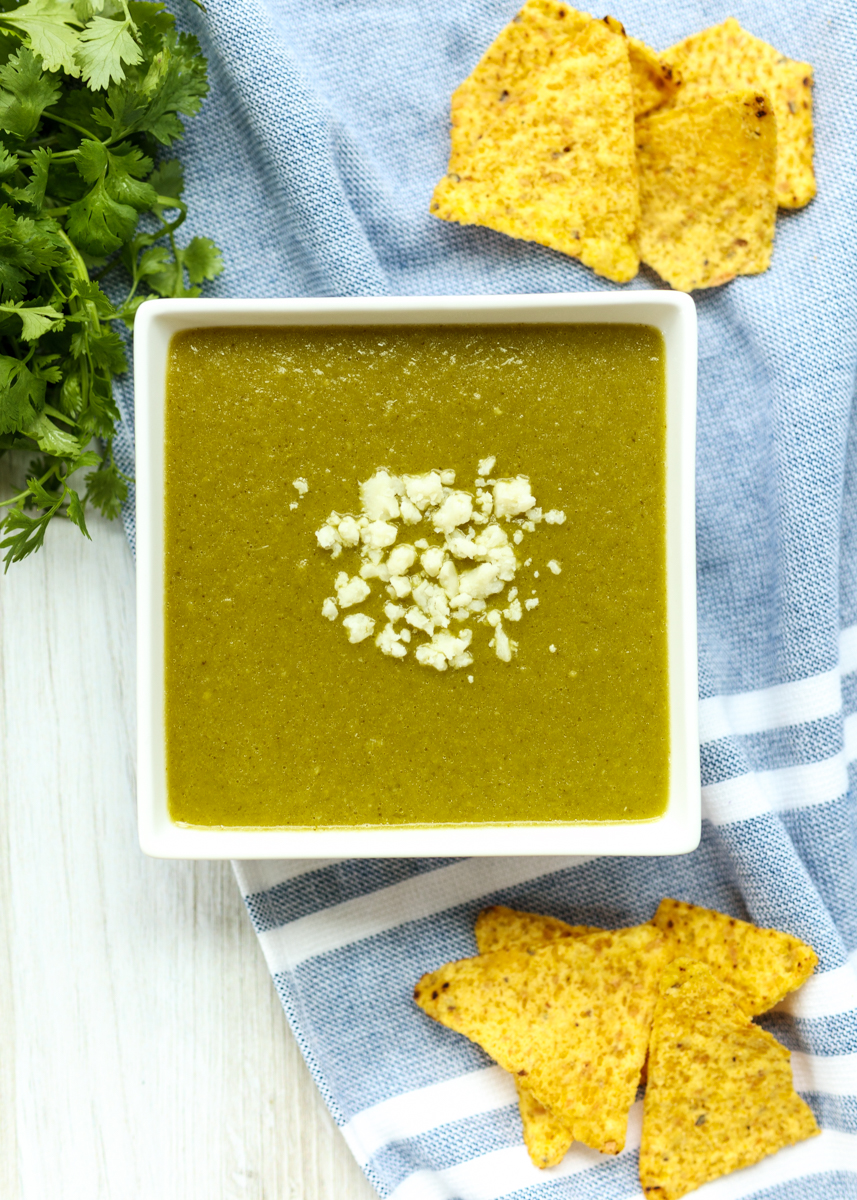
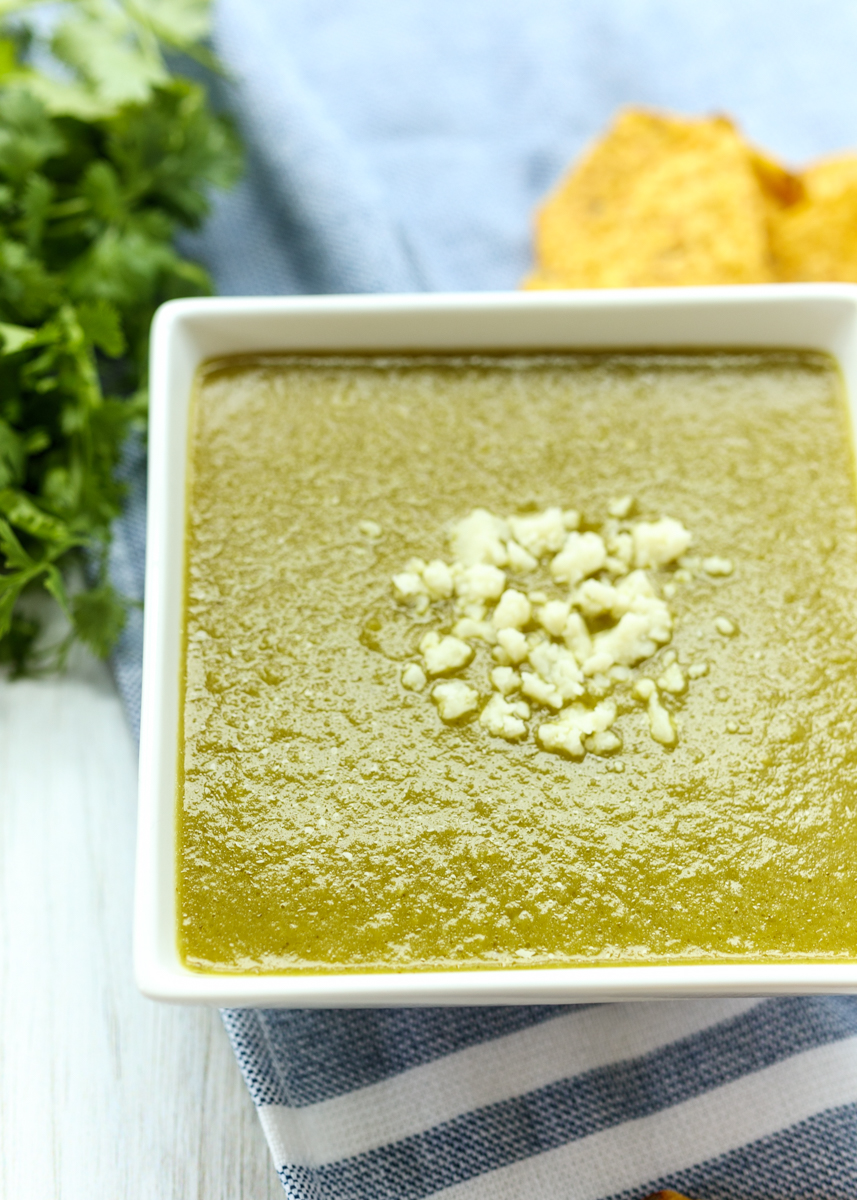
- 1 pound tomatillos, husks removed and rinsed
- 1 clove garlic
- 1-2 jalapeños, see note
- ⅓ cup roughly chopped white onion
- 1 cup cilantro leaves (can include top parts of stems)
- 1 teaspoon salt
- 3 tablespoons vegetable oil
- Add the tomatillos, garlic and jalapeño to a medium saucepan and then cover with water. Bring to a boil then reduce to low and simmer covered for 10 minutes. The tomatillos should become pale green and should be soft, but not falling apart.
- Use a slotted spoon to transfer the tomatillos, garlic and jalapeño to a high-speed blender or food processor. Add the onion, cilantro and salt then puree until smooth.
- Heat the vegetable oil in a medium saucepan over medium heat. Once hot, add the salsa and cook until thickened slightly, about 6-8 minutes, stirring occasionally. Serve warm or refrigerate for later and serve cold or at room temperature.