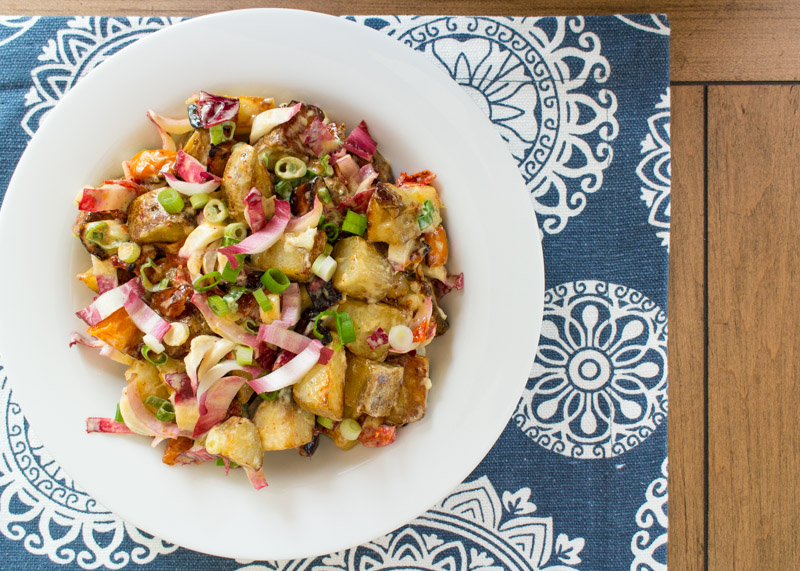
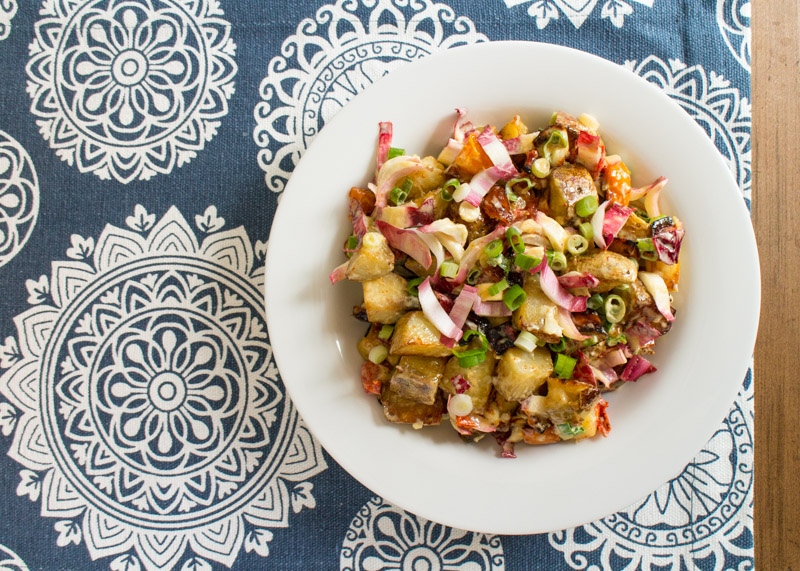
Asian Pineapple Slaw

Ta-da! Here is the slaw I referred to in Monday’s Hawaiian BBQ Slow Cooker Pulled Pork recipe. It’s an Asian Pineapple Slaw to be specific and, yes, it is definitely as delicious as it sounds.

It probably has the shortest and easiest directions of any post here on Lemon & Mocha. “Add all the ingredients to a medium mixing bowl. Stir well to combine. Season with salt and pepper to taste.” That’s it!

Two of the ingredients are reduced sodium soy sauce and sesame oil to bring in the Asian flavor profile, but the fresh pineapple and agave syrup sweeten it up. Add some lime zest to give it some citrus zing (and a bunch of other ingredients that aren’t as exciting so I won’t mention them here) and you have a bright and crunchy veggie side dish.

I have actually only ever made this slaw when I’m serving the Hawaiian BBQ Slow Cooker Pulled Pork, but it would taste great with chicken burgers or teriyaki grilled salmon. And probably a whole lot of other things, but those are the two dishes I think I will pair it with next. Enjoy!

- 3 cups shredded red cabbage, packed
- 1 carrot, peeled and grated
- 1 cup diced fresh pineapple
- 2 scallions, sliced
- 3 tablespoons apple cider vinegar
- 1 ½ tablespoons reduced sodium soy sauce
- 2 teaspoons agave syrup
- 2 teaspoons sesame oil
- Zest from ½ lime
- Salt and pepper to taste
- Add all the ingredients to a medium mixing bowl. Stir well to combine. Season with salt and pepper to taste.