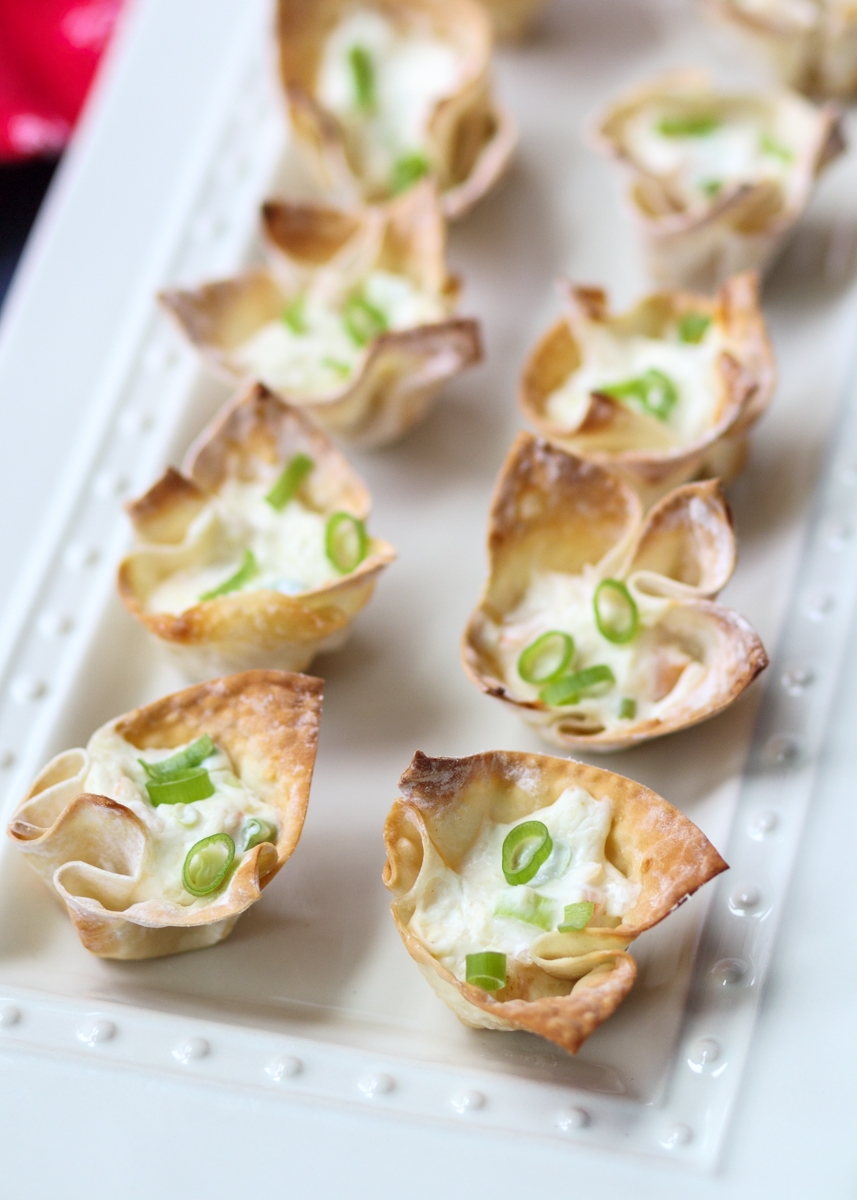
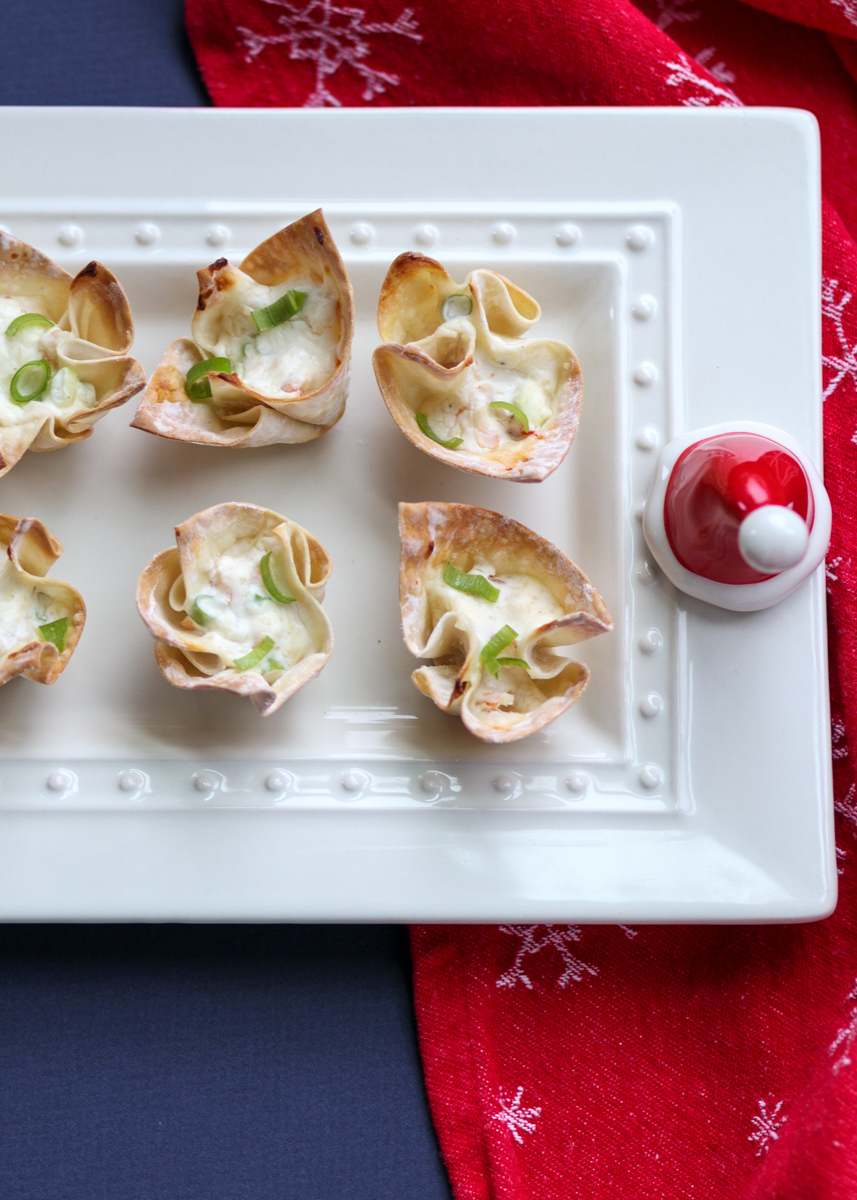
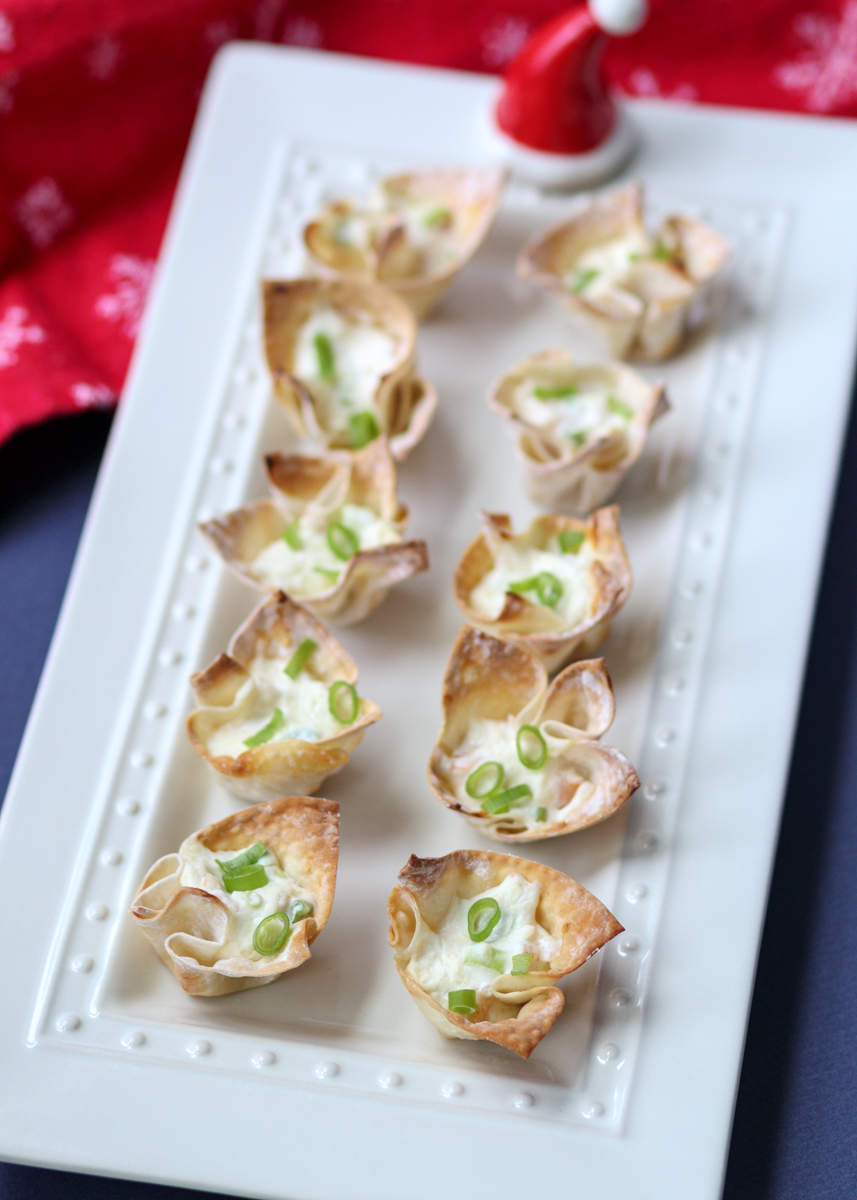
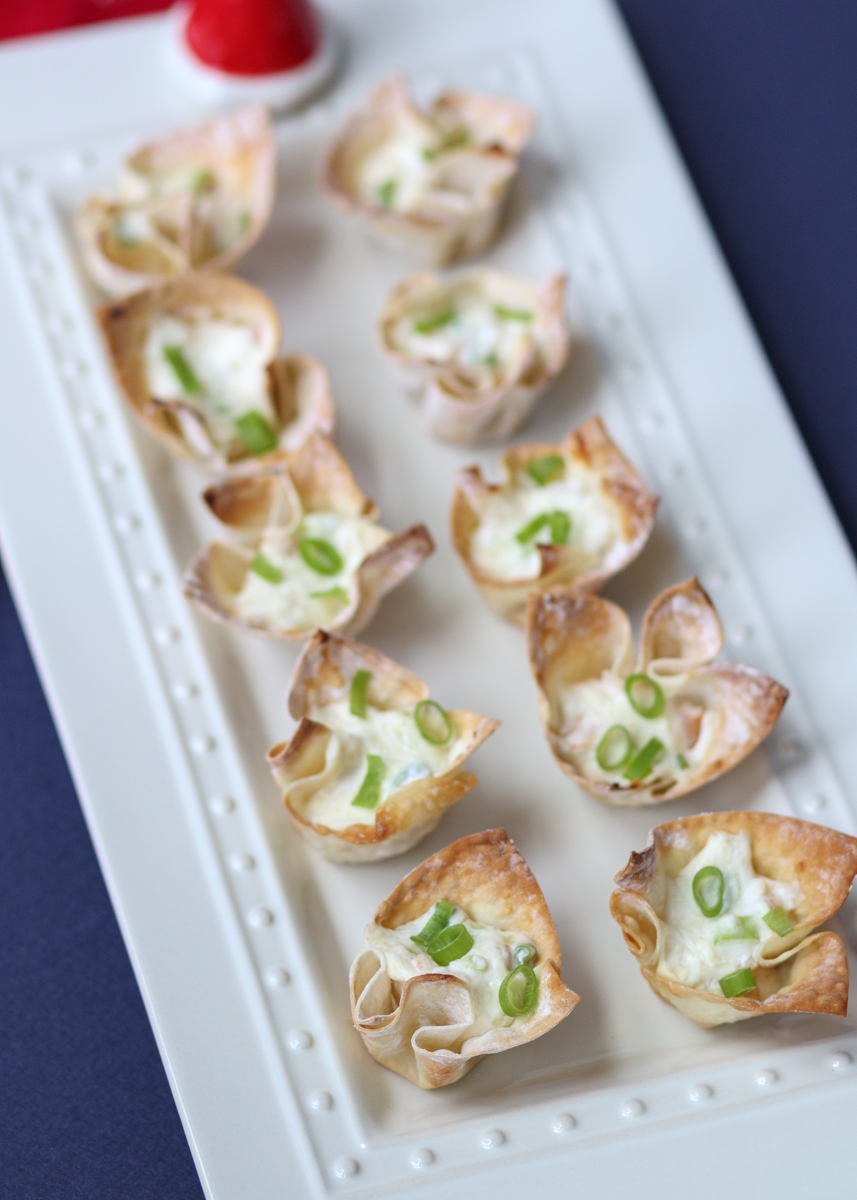
Shrimp Rangoon Wonton Bites
Today I am writing this post and I’m not hungry, but I have a feeling by the time I’m done talking about these Shrimp Rangoon Wonton Bites I’m going to be starving! I wanted to share a shrimp appetizer since firstly, shrimp is delicious, and secondly, I like having seafood as an appetizer especially if the main course is meat.
My inspiration for this recipe was the Crab Dip Puffs I posted forever ago. Also, can we briefly talk about those photos? I think I need to re-make and re-photograph them because that post is not doing the deliciousness of the Crab Dip Puffs justice! Anyways, I’m a sucker for crab rangoons and lately I’ve been seeing lobster rangoons on menus so I thought why couldn’t we just make shrimp rangoons?!
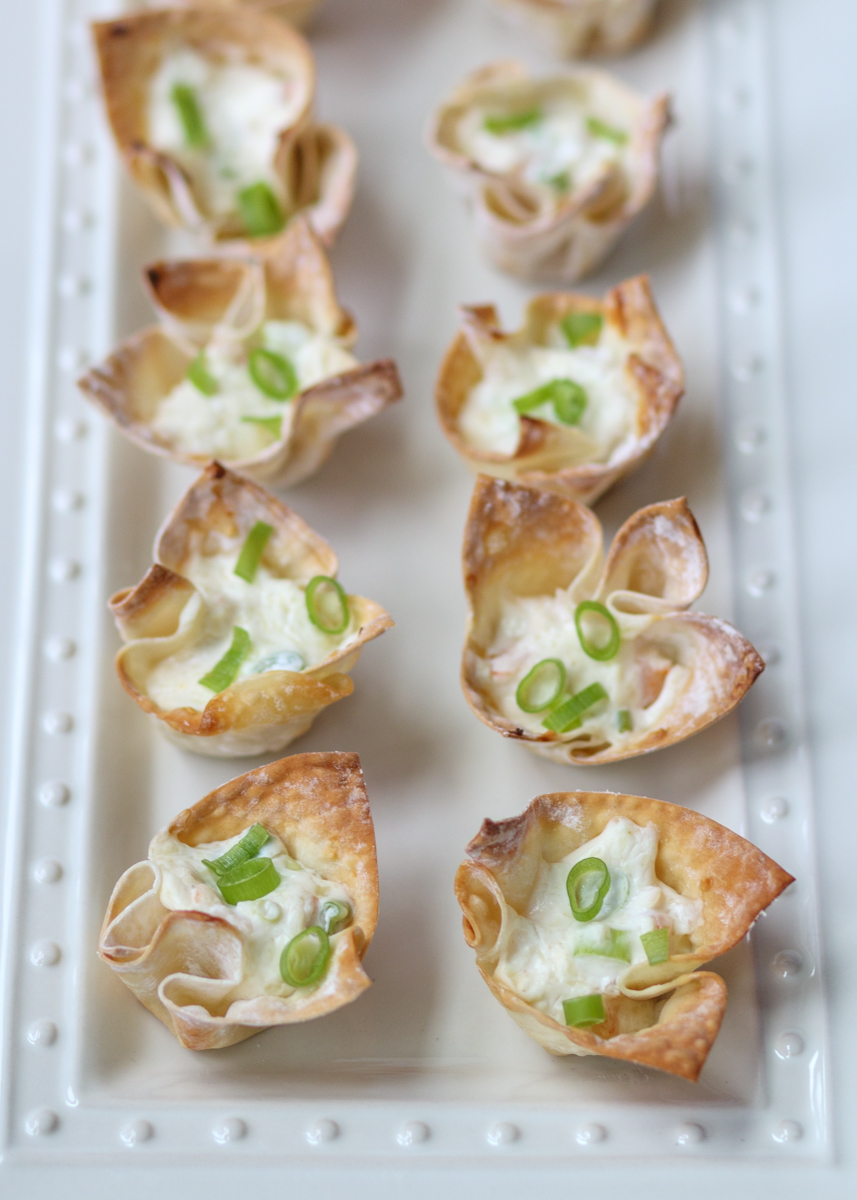
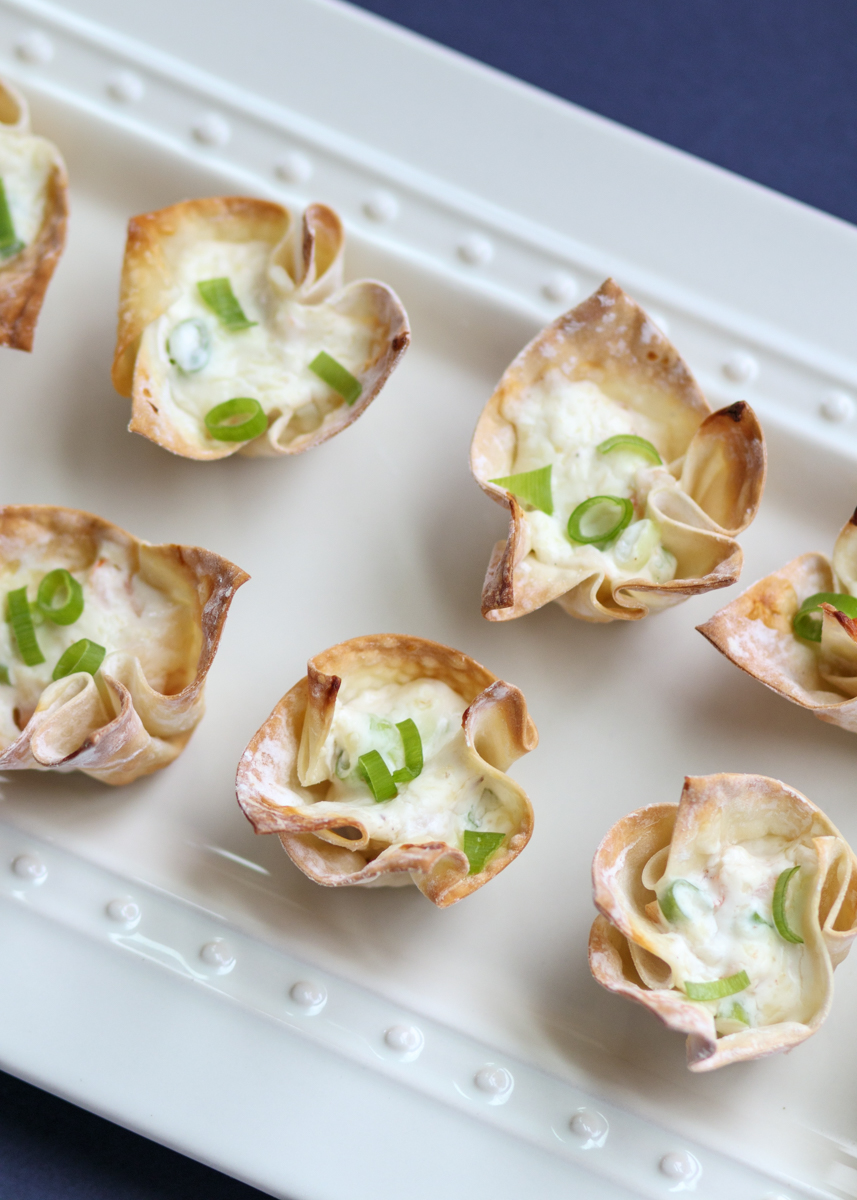
This recipe is so simple and the bites taste creamy and cheesy. Plus, they look extra fancy because of the little wonton cups. If you wanted to save time you could always bake the wonton cups the night before, but you don’t really need to save time because the whole recipe cooks in under fifteen minutes anyways.
We’re mixing up shrimp that we’ve cooked, cooled and chopped up, cream cheese, scallions, sour cream, shredded cheddar and garlic powder. I didn’t chop the shrimp too small because I wanted to get big bites of shrimp here and there. Feel free to use low fat cream cheese and sour cream if you would prefer.
Also, you can definitely use more shrimp if you would like. I only did four ounces because I was trying to keep it cost effective – cooking for a crowd can get expensive fast! If you aren’t concerned about that though feel free to pack in the shrimp. And like I thought, now I’m hungry! Happy Monday, everyone!
- 24 wonton wrappers
- 4 ounces shrimp, cooked and chopped
- 4 ounces cream cheese, softened
- 2 scallions, thinly sliced
- ¼ cup sour cream
- ¼ cup shredded cheddar
- ½ teaspoon garlic powder
- Preheat the oven to 350 degrees F.
- Spray a mini muffin pan then place the wrappers into the cavities so they create little wonton bowls. Lightly spray the wonton wrappers in the pan then bake for 5-7 minutes. Set aside.
- While the wrappers are in the oven, combine the rest of the ingredients in a medium mixing bowl, setting some of the sliced scallions aside for topping.
- After the wontons have baked on their own, spoon the mixture into the wontons in the mini muffin pan, evenly dividing between them. Bake for 6-8 more minutes. Top with the reserved sliced scallions then serve hot.