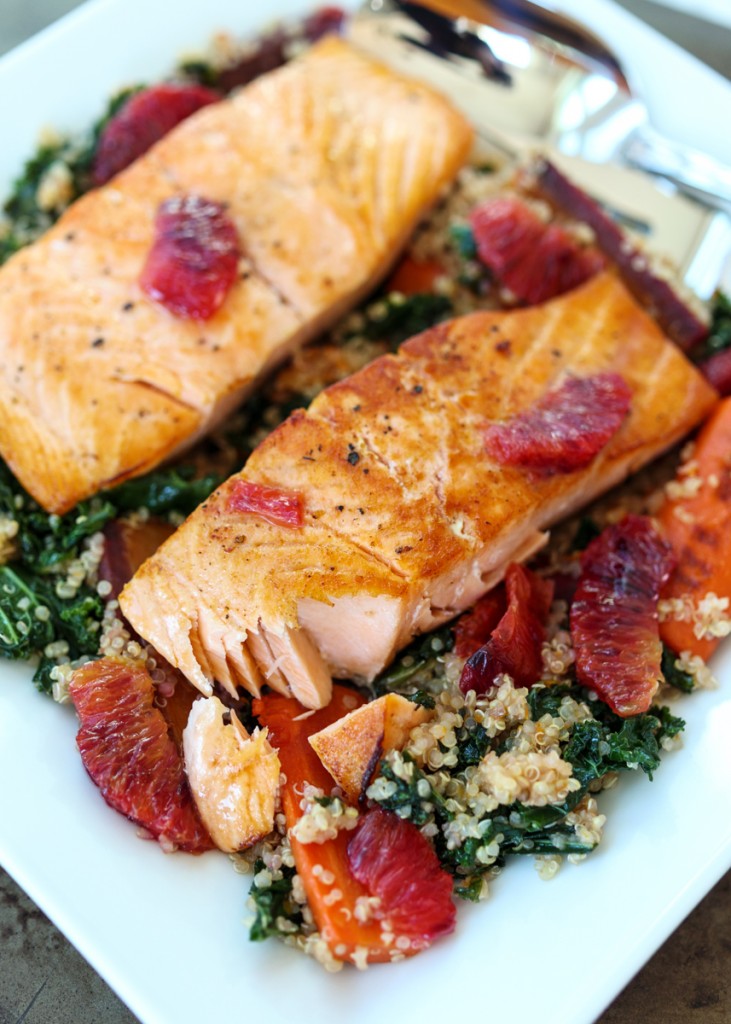
Pan Seared Salmon over Blood Orange Quinoa
You guys. I am so proud of this dish and I’m excited to finally be sharing it with you! I recently switched over to a recipe notebook, as opposed to my previous millions of scattered scraps of paper, and if you could see all my notes on this one you would know how I’ve been diligently working on perfecting it for the last couple months.
The original inspiration for this Pan Seared Salmon over Blood Orange Quinoa was to create a healthy salmon dinner that would incorporate a lot of seasonal produce. Kale and citrus fruits are at their peak, while carrots and shallots are still in season during the early winter in cooler climates. I also wanted to make an all-in-one meal, which is my term for a recipe that includes the protein, grain and veggies without having to come up with different sides. It does not, however, mean a one pot meal since you have to use a couple different pans, but that’s okay because the meal still comes together quickly enough for a weeknight dinner.
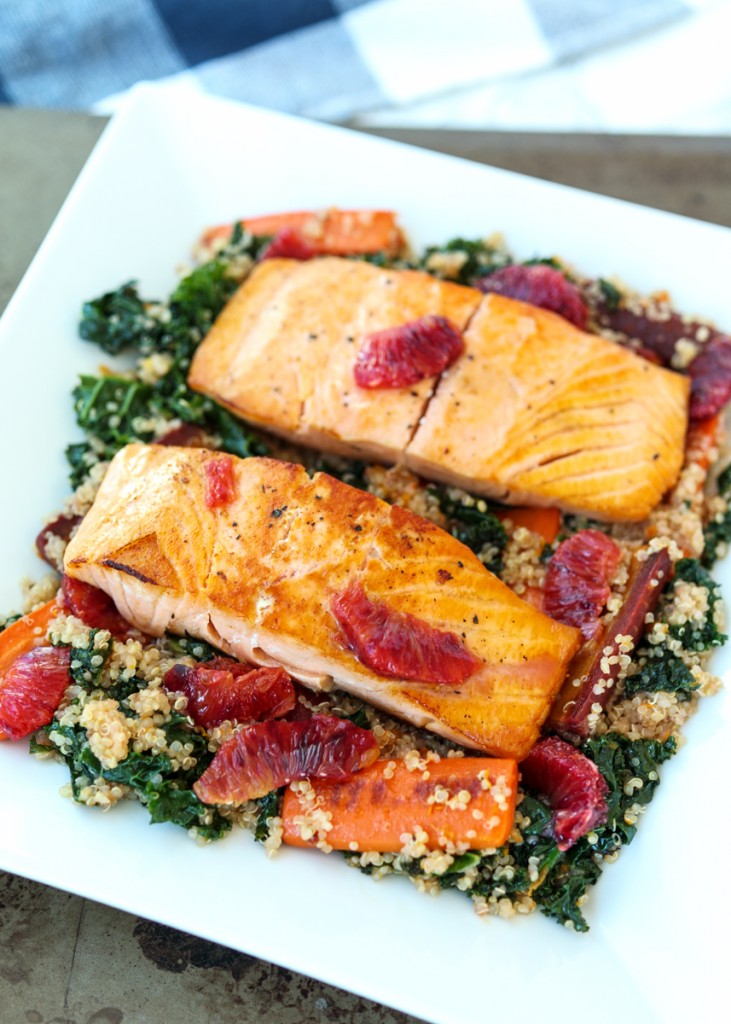
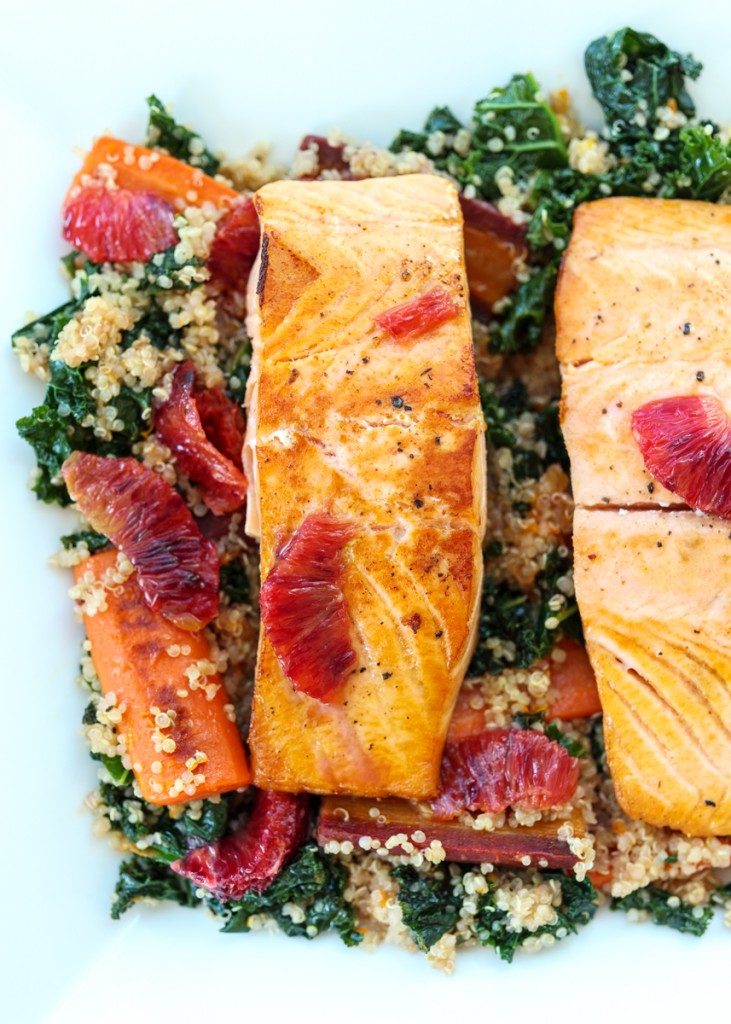
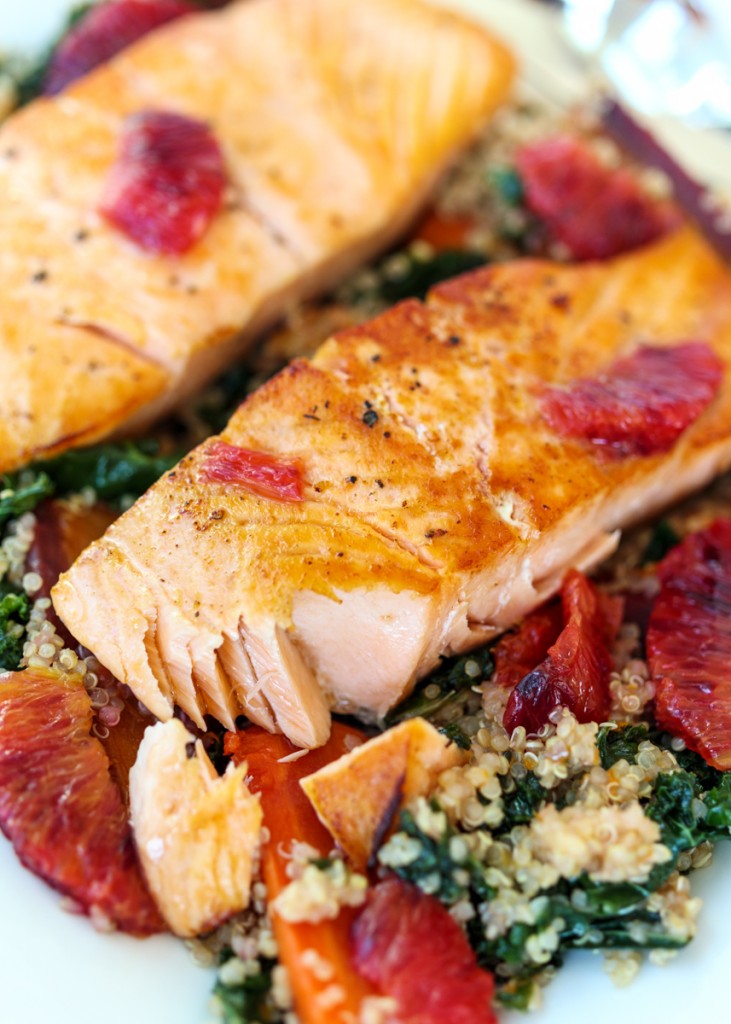
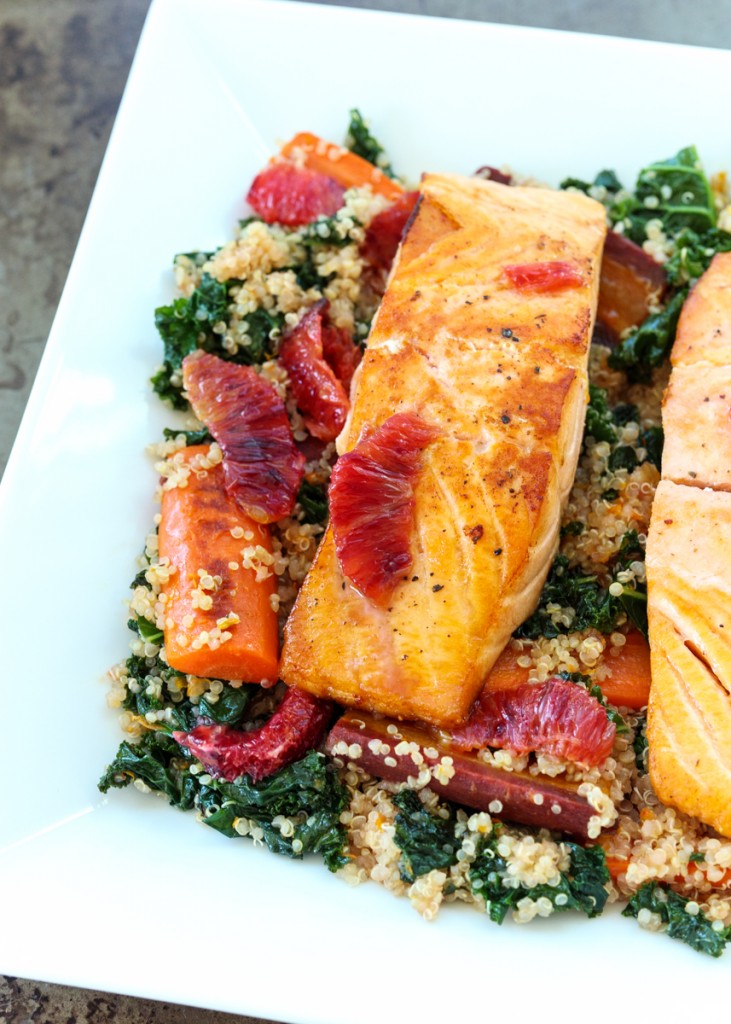
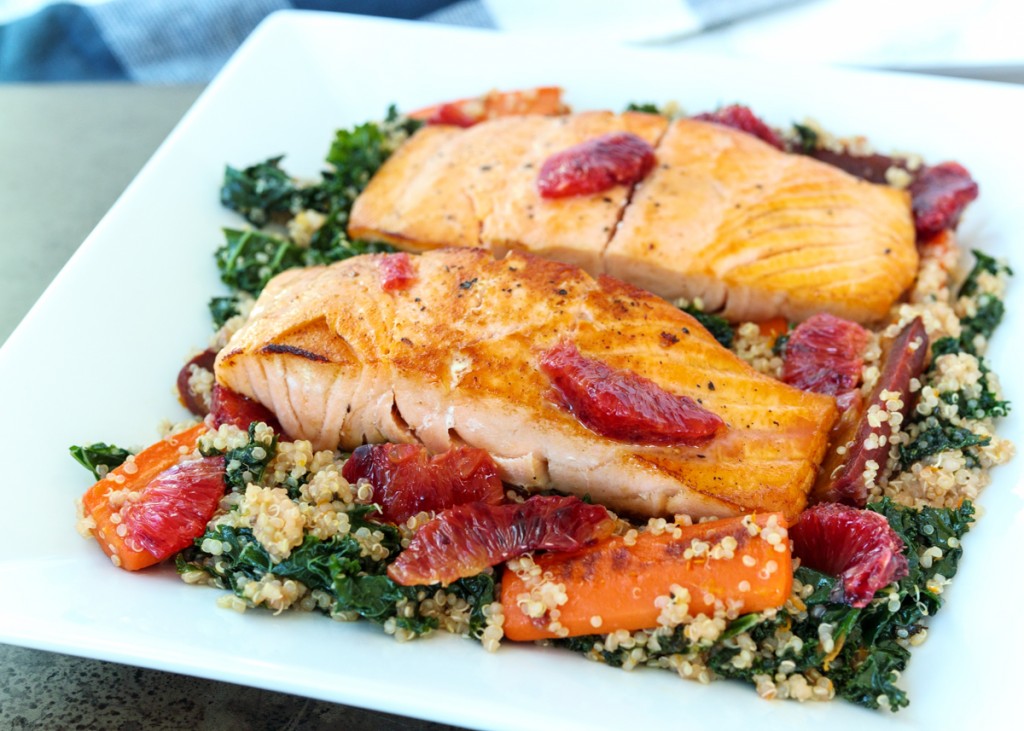
What you’re looking at is crispy salmon that has been pan seared to perfection and laid on top a flavor-packed bed of blood orange quinoa. You’re incorporating the blood oranges three ways to really help the flavor come through; we’re using the zest, its juice and the actual blood orange segments. This helps give the whole dish a bright acidity.
The garlic, shallot and carrots get lightly caramelized before the kale gets tossed in along with some water to help it steam. The kale gets perfectly wilted and tosses really well with the quinoa – no tough greens in this dish! The recipe makes two servings, but you can easily double it if you are cooking for more people.
I love seasonal cooking, not only because that means you get the best prices at the grocery store, but the produce with the best flavor and nutrients is going to be what is in season at the moment. One idea I had was to post a seasonal guide at the beginning of each month and then share a few recipes that used the seasonal ingredients as some inspiration. Is that something you would be interested in? If so, let me know in the comments below!
- ⅓ cup quinoa
- 3½ tablespoons olive oil, divided
- 2 carrots, peeled
- 1 clove garlic, minced
- ½ shallot, minced
- 4 cups chopped kale, thick stems removed
- 2 blood oranges
- 2 filets of salmon, skin-on or skinless
- Salt and pepper
- Bring the quinoa and ⅔ cup water to a boil in a small saucepan. Cover, reduce the heat to low and let simmer for 15 minutes, or until all the water has been absorbed. Fluff and set aside.
- Cut each carrot into three pieces then halve each piece lengthwise. Segment one of the blood oranges by cutting off the peel and pith then cutting segments out from the membrane of the orange. Set aside.
- Heat 2 tablespoons olive oil in a large pan (skillet with a lid preferred) over medium-high heat. Add the carrots and season with salt and pepper. Cook until lightly browned, about 5-7 minutes. Reduce the heat to medium and add the garlic and shallot. Cook for 1-2 minutes. Add the kale and ¼ cup of water. Cover and cook for 5-7 minutes. Remove the cover and cook for 2 more minutes, or until the water has finished evaporating. Add the zest and juice from 1 of the oranges, about ¼ cup of juice. Add the blood orange segments and quinoa; stir well and season with salt and pepper to taste. Remove from the heat.
- Make sure the salmon has been patted dry. Generously season both sides of the salmon with salt and pepper. Add enough olive oil to lightly coat the bottom of a skillet large enough to fit both salmon filets, about 1½ tablespoons of olive oil. Heat the oil over medium-high heat. Once the oil in the pan is hot (you can tell when the oil is shimmering), carefully place the salmon filets in the pan bottom side down. The bottom side is the skin side or the side where the skin was - the less “pretty” side. Once the salmon is in the pan do not move it until it’s time to flip the salmon so it gets nice and crispy. Sear for 2-3 minutes, carefully flip then sear for another 2-3 minutes. You want to take the salmon off the pan when it reaches an internal temperature of 120 degrees F for medium-rare, or 130 degrees F for medium. Plate the quinoa and kale then top with the salmon filet.