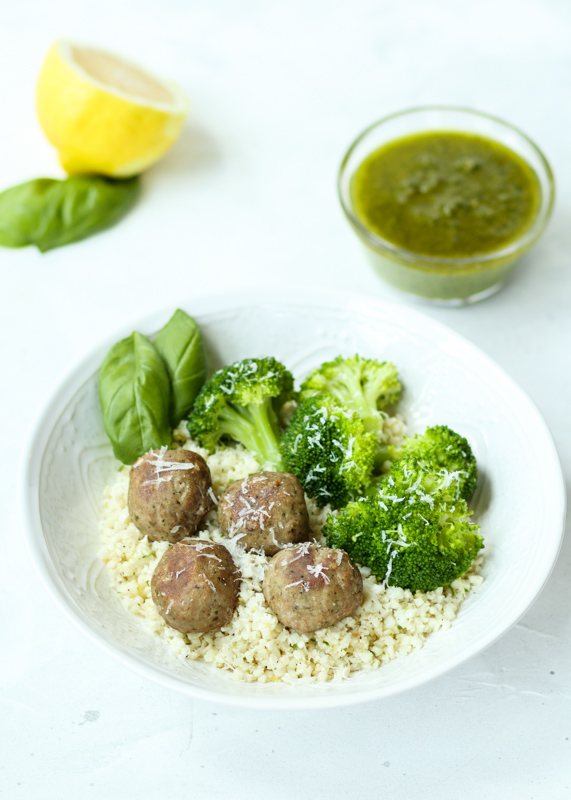
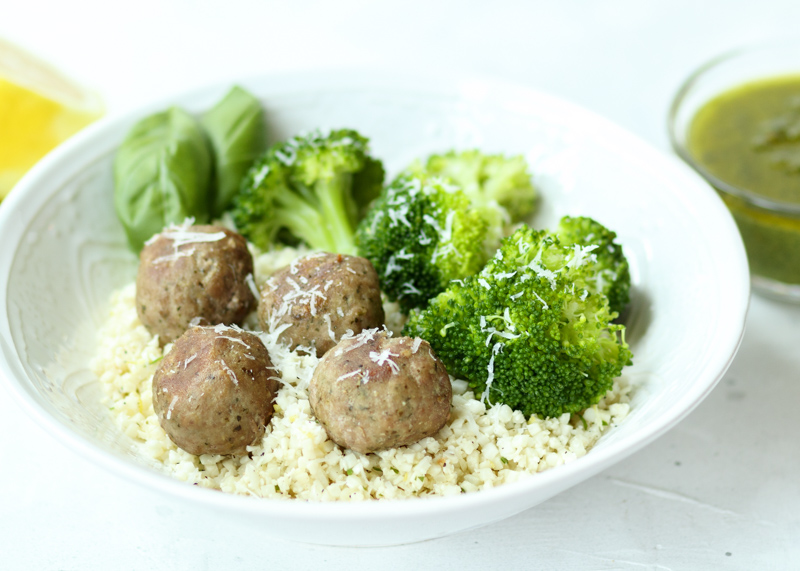
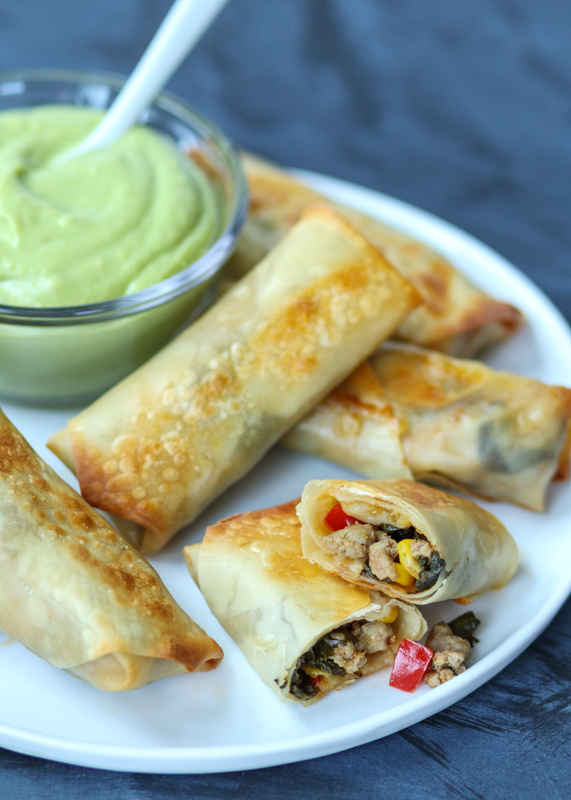
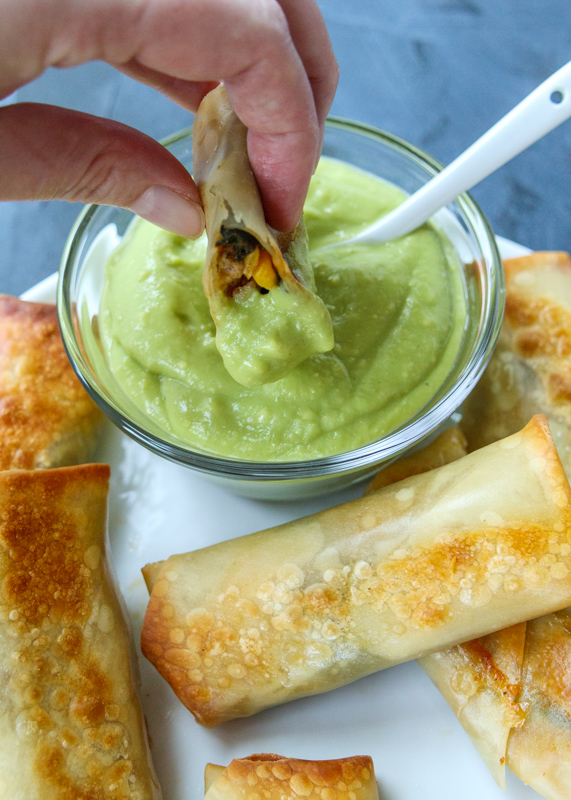
Pesto Presto Chicken
Welcome to the second recipe I made to use up my batch of Basil Pesto! This recipe is adapted from another cookbook I’ve had for a while and really love – Rachel Ray’s Look + Cook. The cookbook has awesome step-by-step photos to 100 different recipes that make my mouth water every time I flip through it.
It seems like people either love or hate Rachel Ray. I love her because all her recipes that I’ve made have come out so good. Matt, on the other hand, can’t stand when she comes on the Food Network and starts saying “EVOO” and “GB” (garbage bowl). Whatever Matt thinks about her acronyms, he is definitely a fan of this dish.
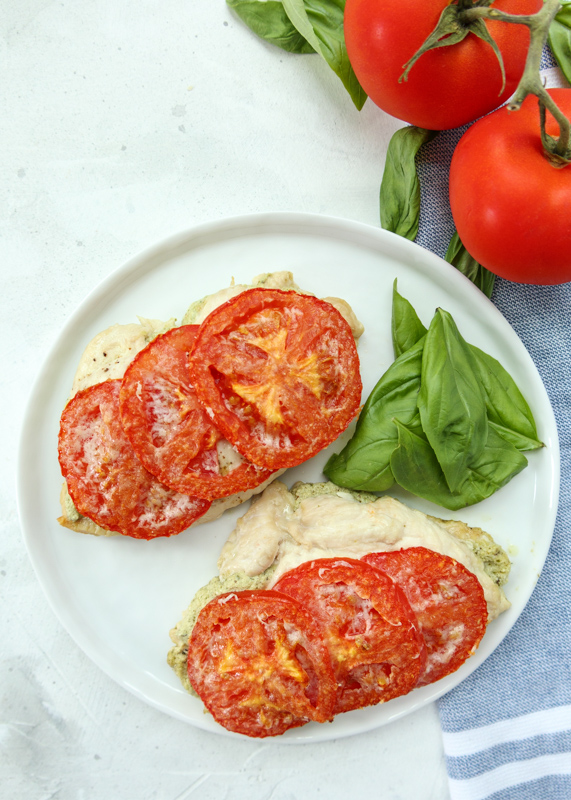
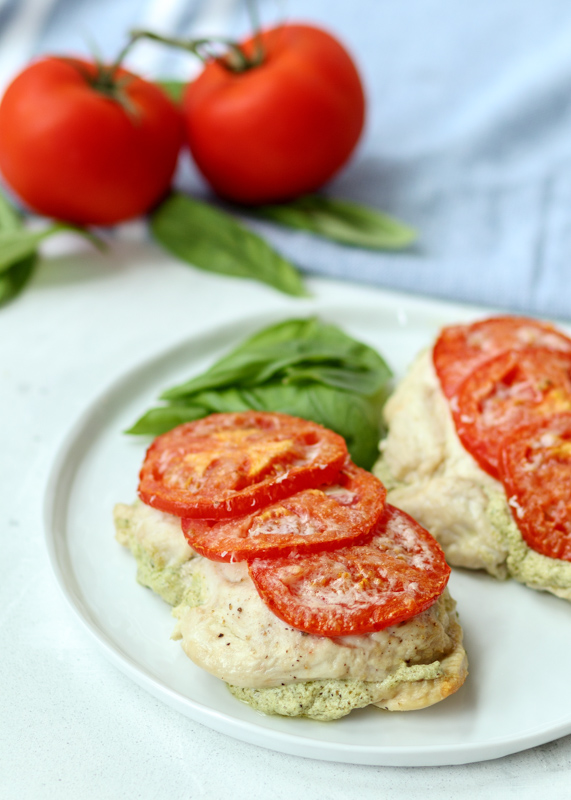
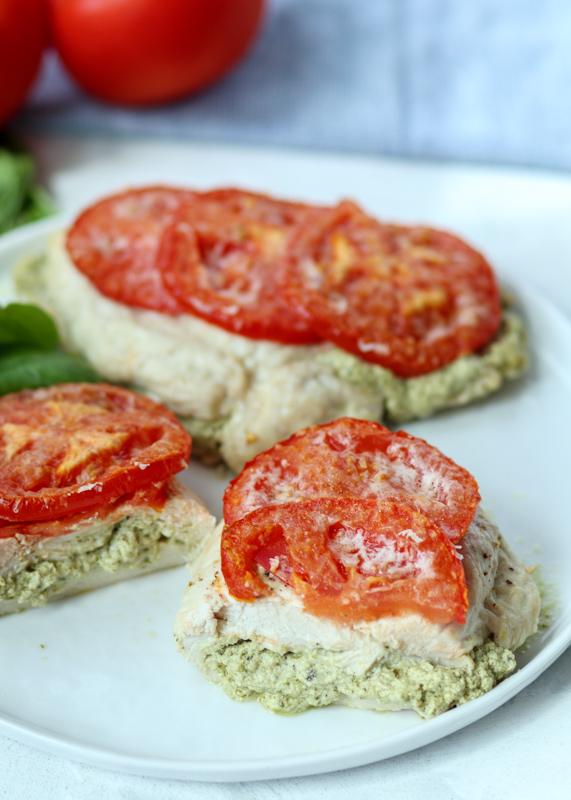
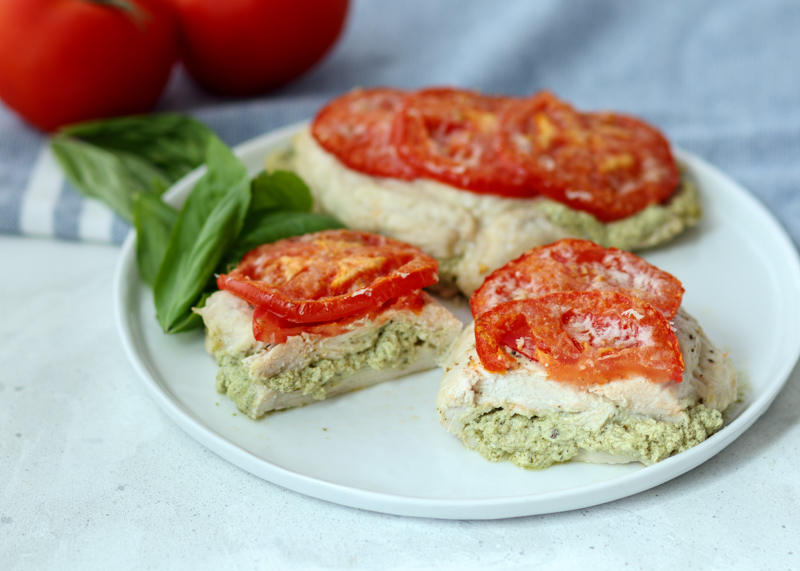
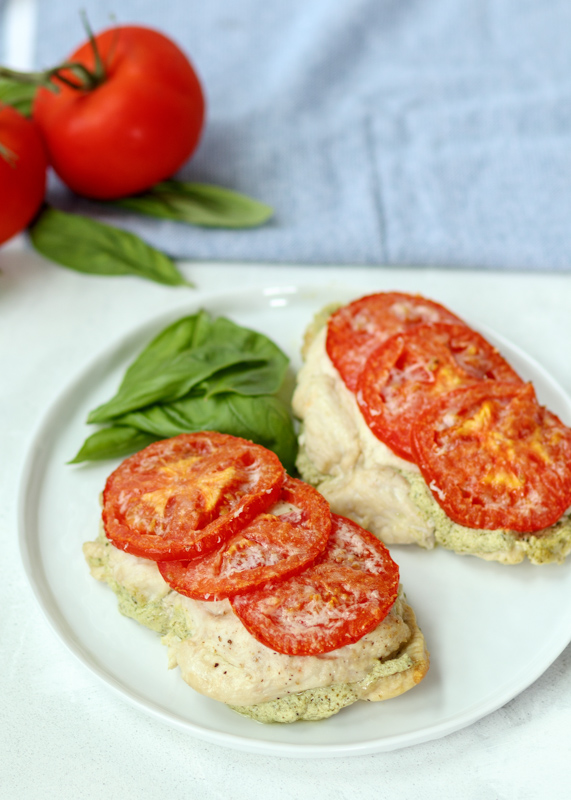
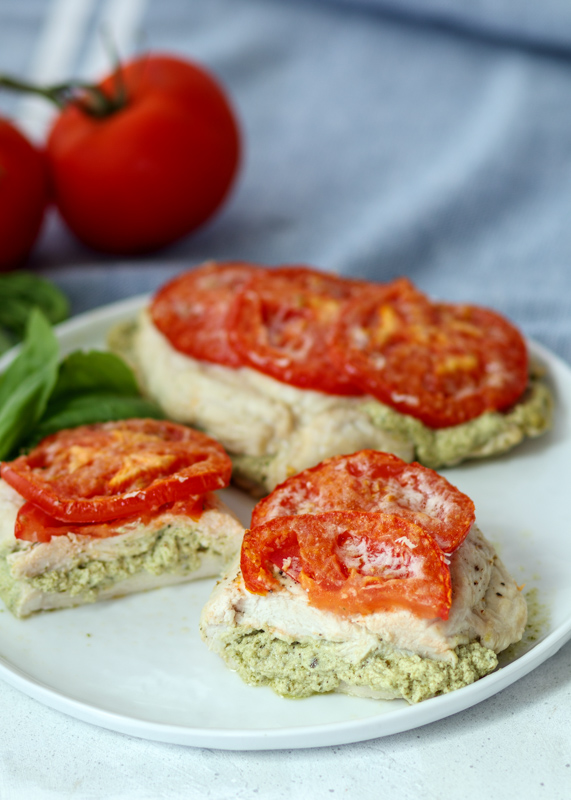
Rachel Ray named it Pesto Presto Chicken in her cookbook, so I kept the title since that’s how I always think of it. My version is chicken breasts stuffed with a pesto goat cheese mixture and topped with tomatoes and a little Parmesan. I know a lot of people don’t like tomatoes for textural reasons so you can certainly leave off the tomatoes if you are not a fan. If you are a fan, they add a fresh and juicy element to the dish that you don’t want to miss!
The first time I made this dish was for my Dad and I. As I’ve mentioned before, my Dad is very picky, especially when it comes to dinner meals. The chicken got rave reviews and he said he would definitely eat it again, which shocked both me and Diane! It’s kind of hard not to like this dish, though. Creamy pesto stuffed inside chicken? Yes, please!
The presto part comes from how quick the dish is to make. The only thing that takes me some time is butterflying and pounding out the chicken breasts so sometimes I will do that the day before so I can just fill and bake them the next night. Pesto Presto Chicken is perfect alongside some pasta or eaten with a side of asparagus or broccoli – yes, I know, my answer to everything! My Dad is my ultimate picky-meter so I guarantee your family will like this dish!
- ⅓ cup pesto
- 4 ounces goat cheese
- 3 tablespoons milk (whatever you have in your fridge is fine)
- 1 garlic clove, minced
- 1 teaspoon Italian seasoning
- ½ cup Parmesan, divided
- 4 boneless skinless chicken breasts
- 1 tomato
- Cooking spray
- Preheat the oven to 450 degrees F. Line a baking sheet with nonstick aluminum foil or spray with cooking spray. Set aside.
- In a small mixing bowl, combine the pesto, goat cheese, milk, garlic, Italian seasoning and ¼ cup of the Parmesan. If your goat cheese is too hard to stir, microwave it for 15 seconds or so until soft.
- Butterfly each chicken breast so it resembles an open book. You do this by using a sharp knife to slice the chicken horizontally, but don’t cut all the way through to the other side because you want to be able to open it like a book. Lay plastic wrap over the butterflied chicken breast then evenly pound with a meat mallet or rolling pin until it’s ¼-inch thick. Place the chicken breast on the prepared baking sheet, still open. Spread ¼ of the prepared pesto mixture on one half of the chicken breast then fold the other half over top of it. Repeat with the remaining 4 chicken breasts.
- Lay the tomato slices over top of the folded over chicken breasts. Lightly spray with cooking spray. Sprinkle the remaining Parmesan over the tomato slices. Bake for 20 minutes or until they reach an internal temperature of 165 degrees F. If you want more color on the tomatoes and Parmesan on top you could always broil them for 1 minute towards the end of baking.
Recipe adapted from Rachel Ray’s Look + Cook.
Some of the links above are affiliate links, which means I may receive a small commission for my referral. This does not affect the retail cost of the item. Thank you for supporting Lemon & Mocha!