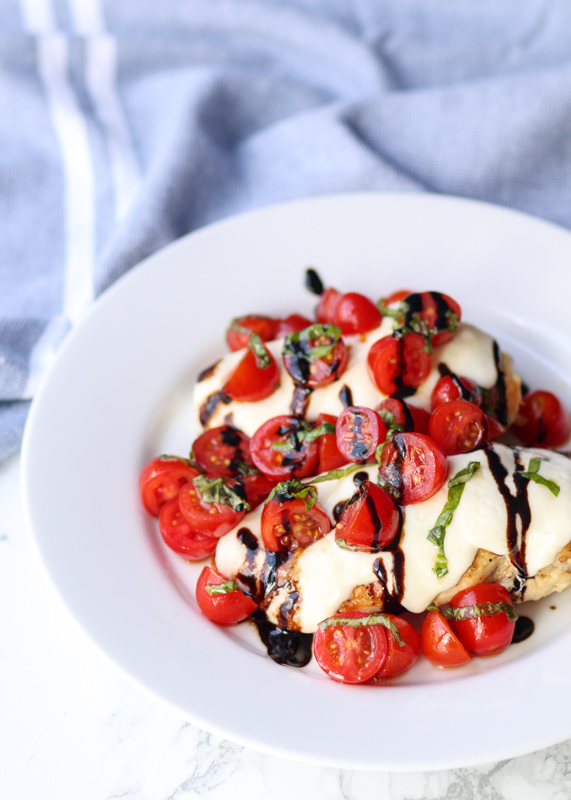
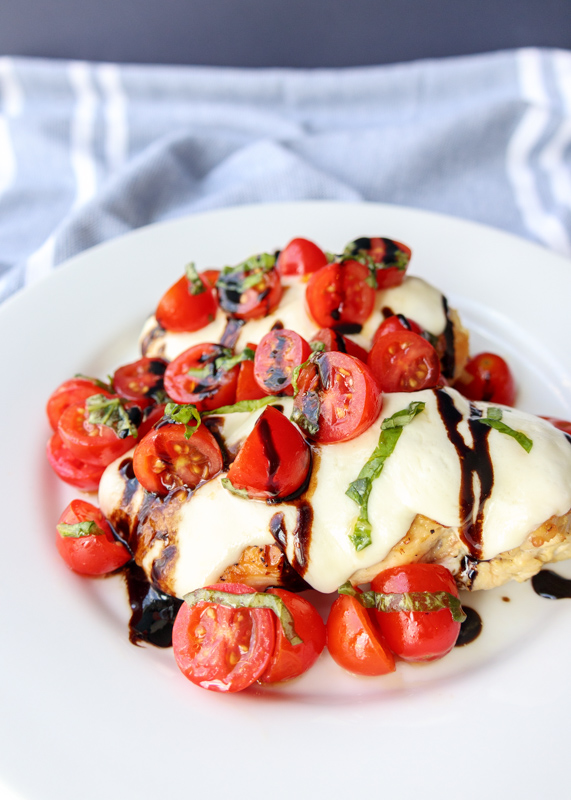
Caprese Grilled Chicken
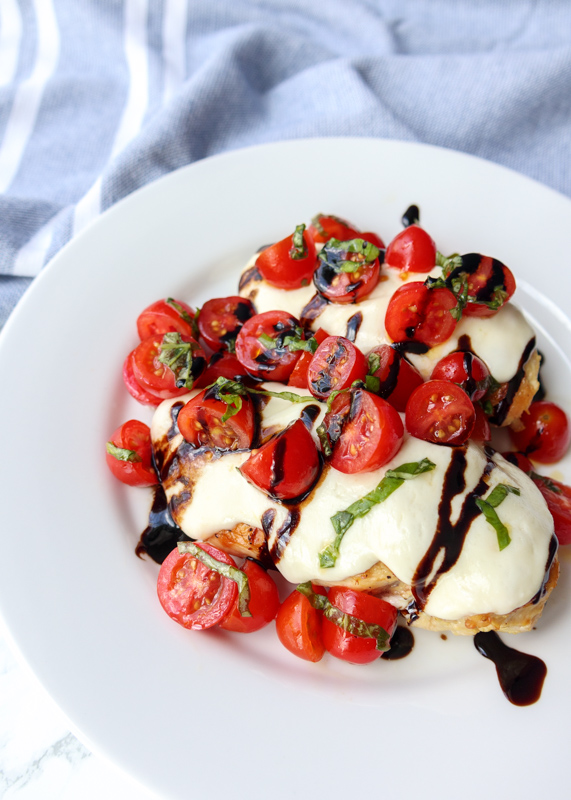
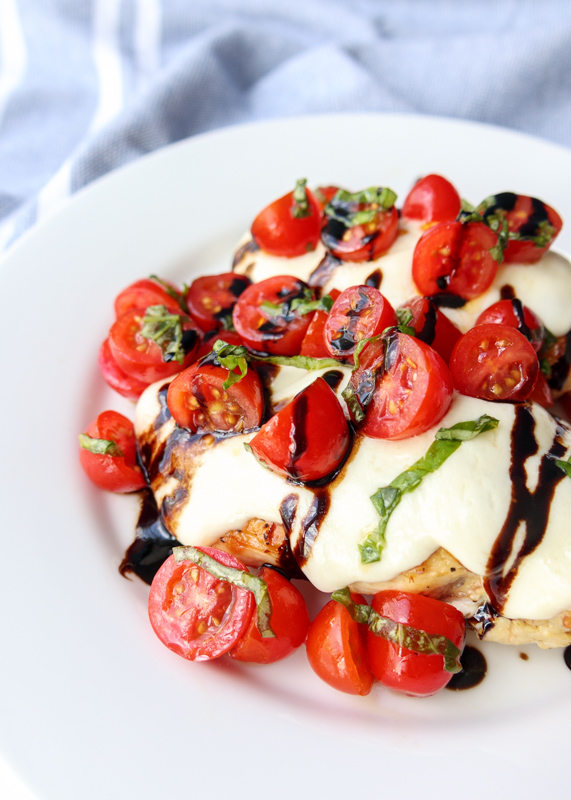
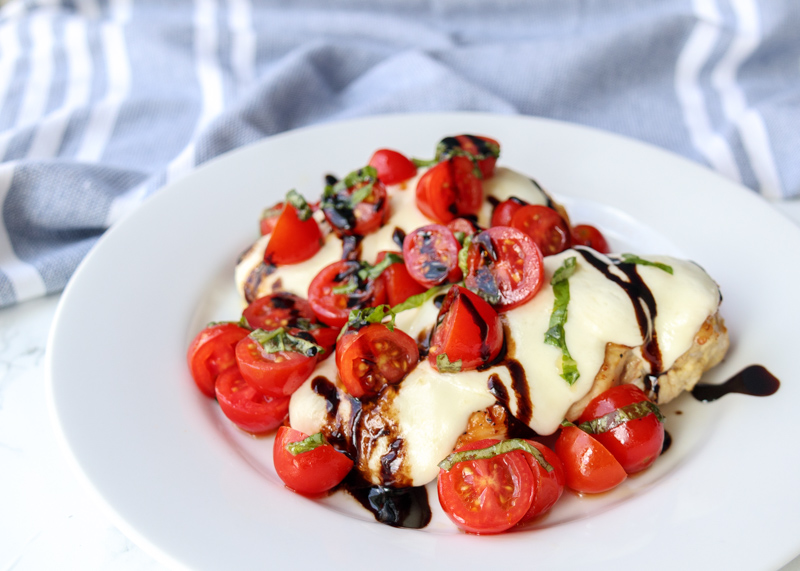
Summer makes me want all things caprese. The other week I shared one of my favorite caprese recipes that I’ve been making for a few years, Watermelon Caprese Salad. This Caprese Grilled Chicken is a new favorite and it’s so simple I’m shocked I hadn’t made it until this summer. Say hello to tender grilled chicken topped with melty mozzarella, juicy grape tomatoes, fresh basil and a sweet balsamic glaze.
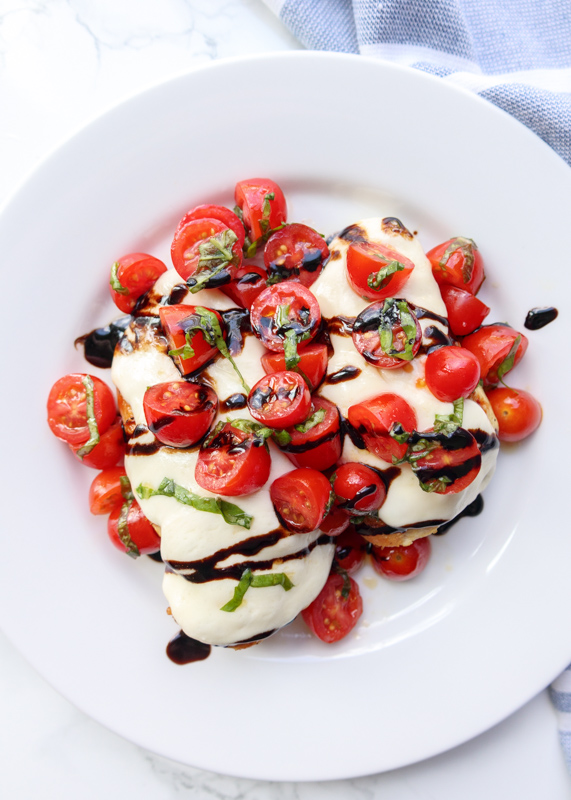
This dish is so easy making it all the more ideal for a perfect summer meal. Fresh mozzarella is amazing cold, but get it a little ooey and gooey and you’ll want to dive right in. Literally. But please use a fork and save yourself some embarrassment.
Caprese Grilled Chicken would be delicious over some pasta or a big salad. Or you can be like Matt and I and eat it alongside some grilled asparagus. And yes, asparagus does seem to be our meal solution to everything, but I’m okay with that.
In addition to weeknight dinners I was also thinking this chicken would be perfect for serving at 4th of July or other summer barbecues as a fresh change from hamburgers and hot dogs. I can’t believe 4th of July is already this Wednesday! It feels like summer just started. Do you have any fun plans for the holiday?
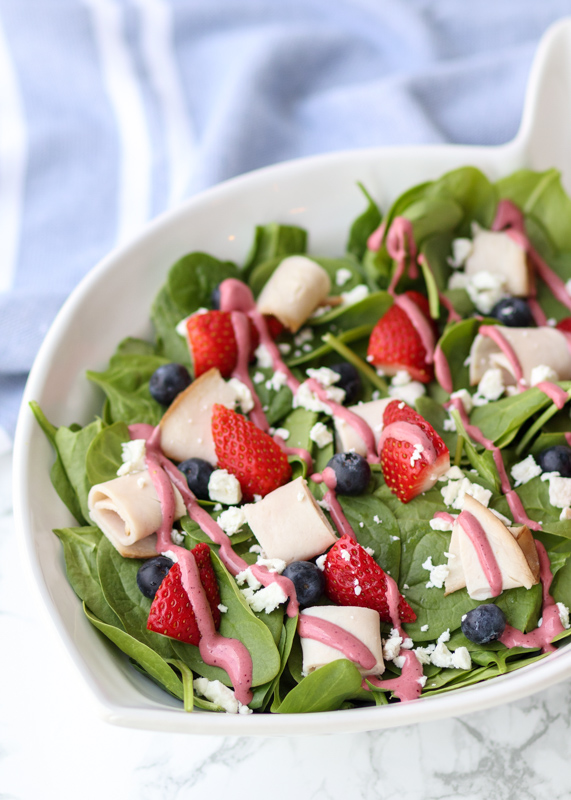
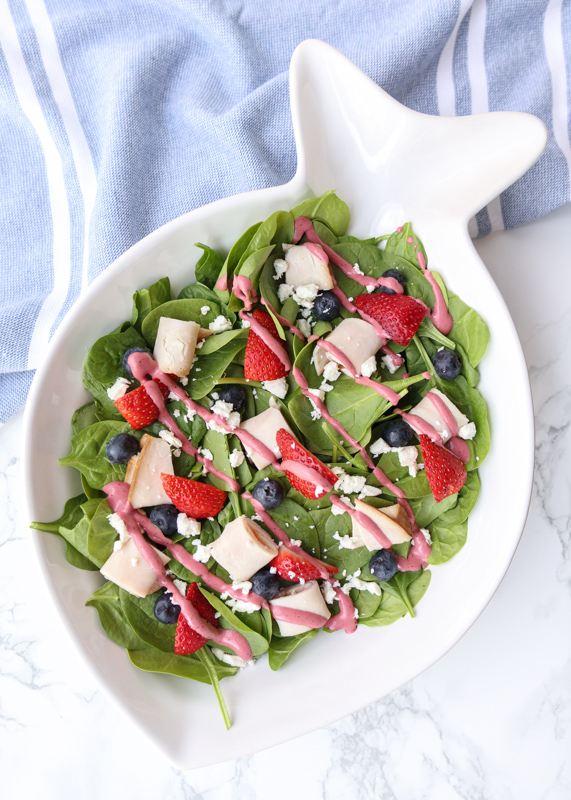
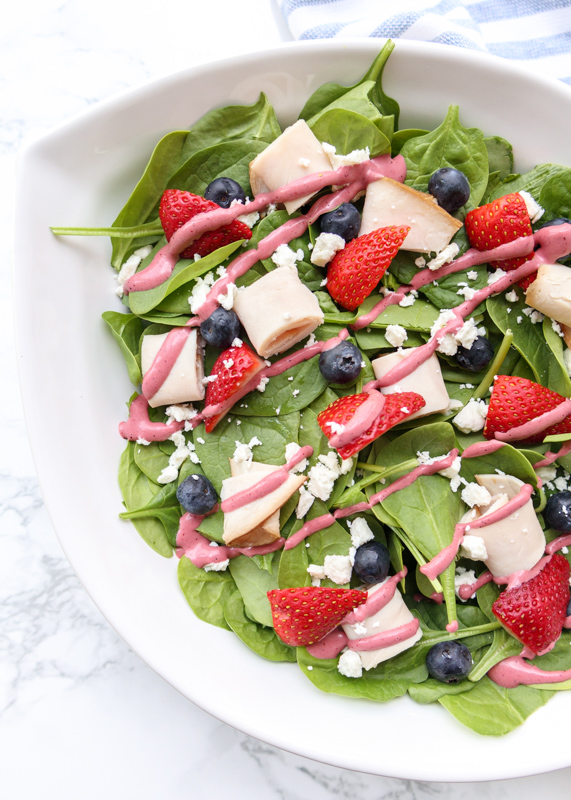
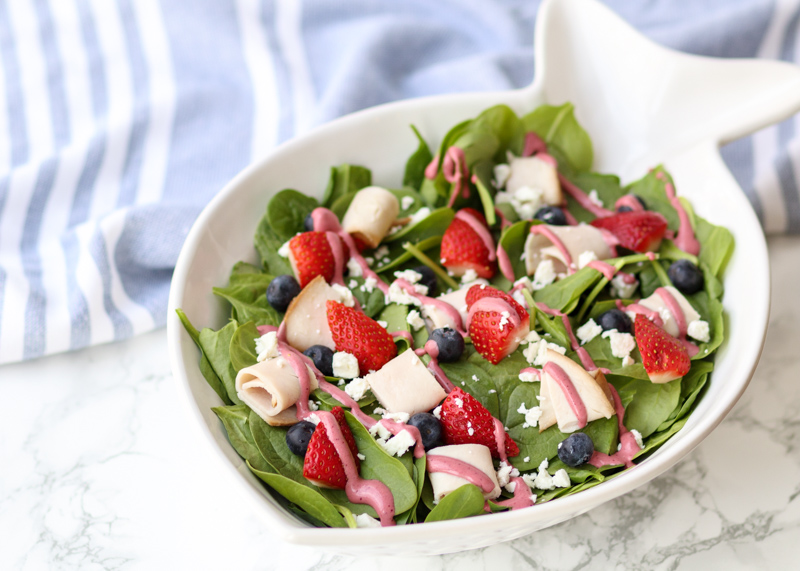
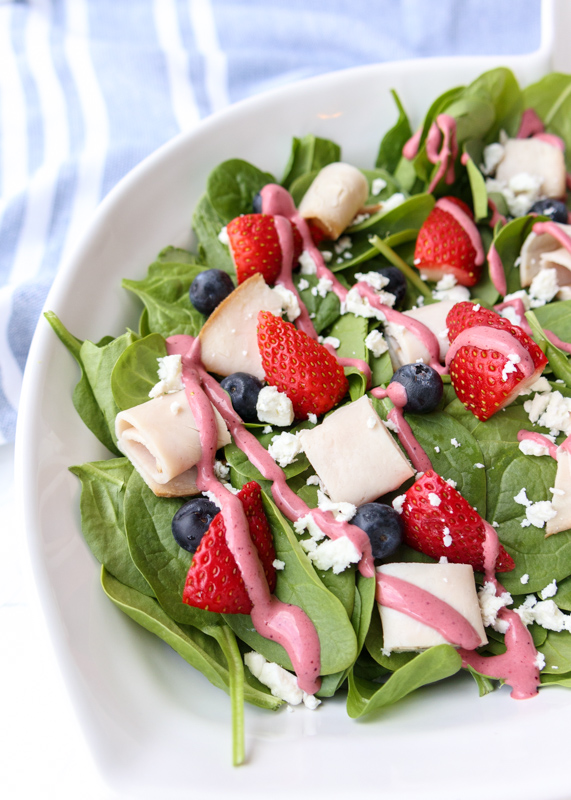
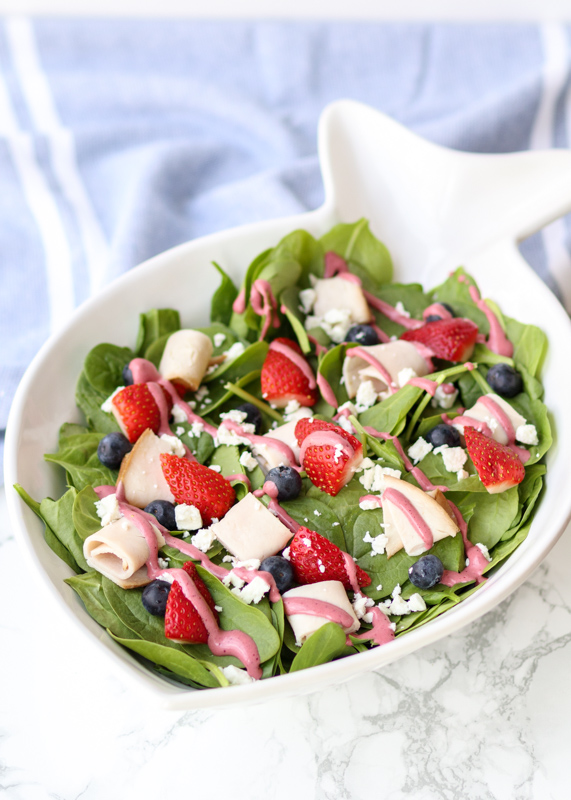
The middle of the week timing isn’t great, but we plan to sneak in some family and friends time, along with some red, white and blue food of course! If you’re looking for recipe inspiration there is a 4th of July drop-down in my recipe index. Have a great week everyone and I’ll be having my next post go out on Thursday. Trust me, you will not want to miss this one! Happy 4th of July!
- 1 pound boneless skinless chicken breasts
- 2 tablespoons olive oil, divided
- 4 ounces fresh mozzarella, sliced
- 1 cup halved grape tomatoes
- 1 tablespoon chopped fresh basil
- 1 teaspoon balsamic glaze
- Salt and pepper
- Either place the chicken in a plastic bag or place some plastic wrap over the chicken sitting on a cutting board and carefully pound the chicken so they have a more even surface. You don’t want to pound them thin, you are just trying to even them out so they cook more evenly.
- Lightly drizzle 1 tablespoon of the olive oil over the chicken breasts. Toss or use a basting brush to coat. Season on both sides with salt and pepper. Heat a grill or grill pan to medium-high heat. Grill the chicken for about 4-5 minutes per side, until they reach an internal temperature of 165 degrees F. When the chicken is almost done, carefully place the sliced mozzarella on the top of the chicken. Remove the chicken from the heat when the chicken is cooked through and the mozzarella is melted. Let rest before cutting into the breasts. I typically grill the chicken to 160 degrees F and allow for some carryover cooking, which is where your chicken or meat continues to cook once it’s been removed from the grill. I temp it after a few minutes and make sure it has risen to 165 degrees. This is one way to make sure you don’t overcook your chicken.
- In a small bowl, toss the halved grape tomatoes and fresh basil with the remaining tablespoon of olive oil. Season with coarse salt. Place on top of the chicken and finish with a drizzle of the balsamic vinegar.