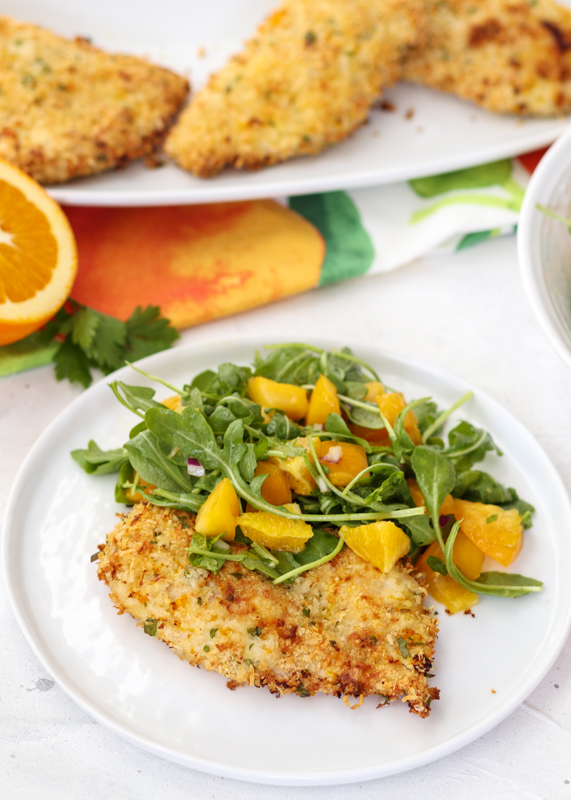
Crispy Baked Chicken Cutlets with an Orange and Arugula Salad
I’m back with another delicious family-friendly dinner recipe, courtesy of Rachael Ray’s Look + Cook cookbook. When I was flipping through the cookbook to get to the Pesto Presto Chicken recipe a few weeks ago I kept seeing all these recipes I made from the book when I first got it that were so good. I was suddenly craving all these dishes I hadn’t made in years because I always have a million new recipes on the agenda. I decided these Crispy Baked Chicken Cutlets with an Orange and Arugula Salad needed to be pulled out of the archives immediately so here we are.
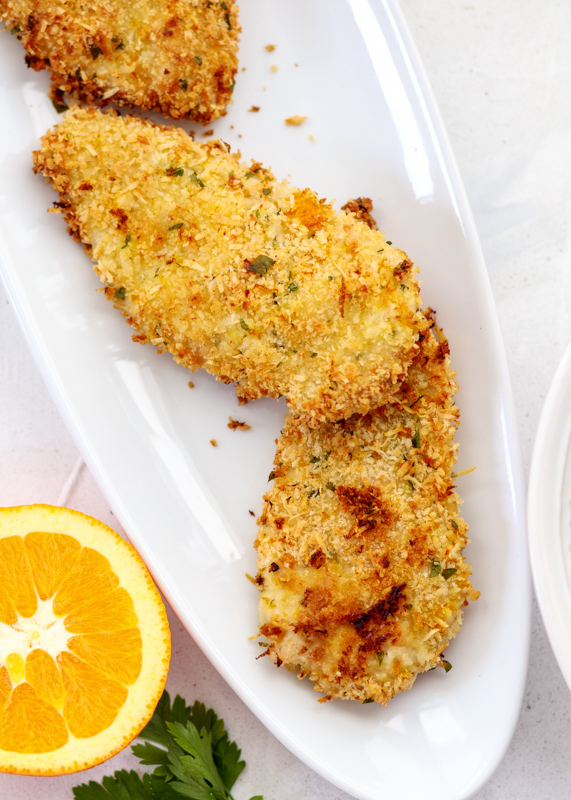
I’m so excited I rediscovered this dish because I am always looking for new ways to cook chicken for dinner. This dish has a fresh twist on your classic baked chicken cutlets by including some orange zest in the breadcrumb mixture. The chicken cooks at a high temperature to get super crispy without any frying. One quick tip is to move the cooked chicken cutlets to a wire cooking rack as soon as they are done cooking in the oven so they stay extra crispy until you’re ready to eat them.

Since I tend to cook and photograph during the day when the light is best, Matt and I eat a lot of reheated food for dinner. I was so bummed Matt couldn’t try this dish right when I made it because it definitely lost its crispiness. He still loved it, but this isn’t a dinner you will want to make ahead of time. Which is fine since it’s so quick to make!
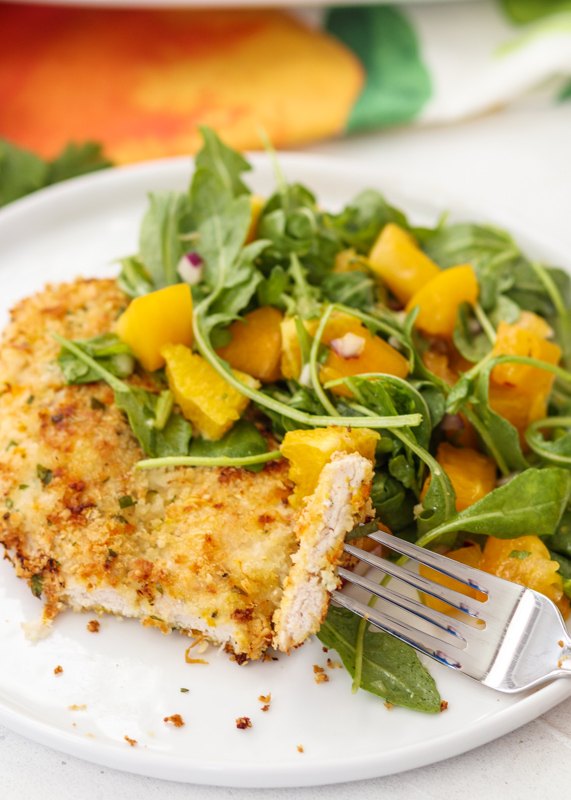
I love recipes that are an all-in-one deal so I don’t have to worry about additional side dishes. While the chicken is baking, you make a very simple salad of peppery arugula, juicy orange segments, fresh yellow tomatoes, red onion and a little extra virgin olive oil. Season with some salt and pepper and it’s the perfect fresh accompaniment to the crispy chicken. I especially love the sweetness the oranges bring to the chicken when you get a bite of the two of them together.

I hope you all enjoy this quick and tasty dinner dish!

- ⅔ cup all-purpose flour
- 1 egg, beaten
- ¾ cup panko bread crumbs
- ⅓ cup grated Parmesan cheese
- 1½ tablespoons finely chopped fresh parsley leaves, divided
- 2 seedless naval oranges
- 2 large boneless skinless chicken breasts, about 1 pound
- 2 yellow tomatoes
- ½ small red onion
- 2 tablespoons extra virgin olive oil
- 4 cups baby arugula leaves
- Salt & pepper
- Preheat the oven to 425 degrees F. Line a baking sheet with nonstick aluminum foil or parchment paper and set aside.
- Set up your breading station with 3 shallow bowls. Place the flour in the first bowl. In the second bowl, add the beaten egg. In the third bowl, combine the panko bread crumbs, the Parmesan, and 1 tablespoon of the chopped parsley. Add zest from 1 of the oranges. Stir to combine.
- Split the chicken breasts in half lengthwise so that you have 4 chicken cutlets. Season both sides of the chicken cutlet with salt and pepper then coat the cutlet with the flour mixture, shaking off any excess. Dip the flour-coated cutlet into the egg mixture, letting any excess drip off. Then place it in the panko mixture and make sure the cutlet gets completely coated, pressing panko on if necessary. Place on the prepared baking sheet and repeat for the rest of the cutlets.
- Spray the breaded chicken cutlets with cooking spray then flip them over to spray the other side. Bake for 10 minutes then flip the cutlets over and bake for another 12 minutes, or until they reach an internal temperature of 165 degrees F. When the cutlets are done, place them on a wire cooling rack if you aren’t ready to serve them right away so they stay crispy.
- While the chicken is baking, make the orange and arugula salad. Peel the oranges, then section and dice them. Seed and dice the tomatoes. Finely chop the red onion. In a medium mixing bowl, stir together the diced oranges, tomatoes, chopped red onion and the remaining ½ tablespoon chopped parsley with the olive oil. Season with salt and pepper to taste. When you’re ready to eat, add the arugula, toss and season with additional salt and pepper if needed.
Recipe adapted from Rachel Ray’s Look + Cook.
Some of the links above are affiliate links, which means I may receive a small commission for my referral. This does not affect the retail cost of the item. Thank you for supporting Lemon & Mocha!