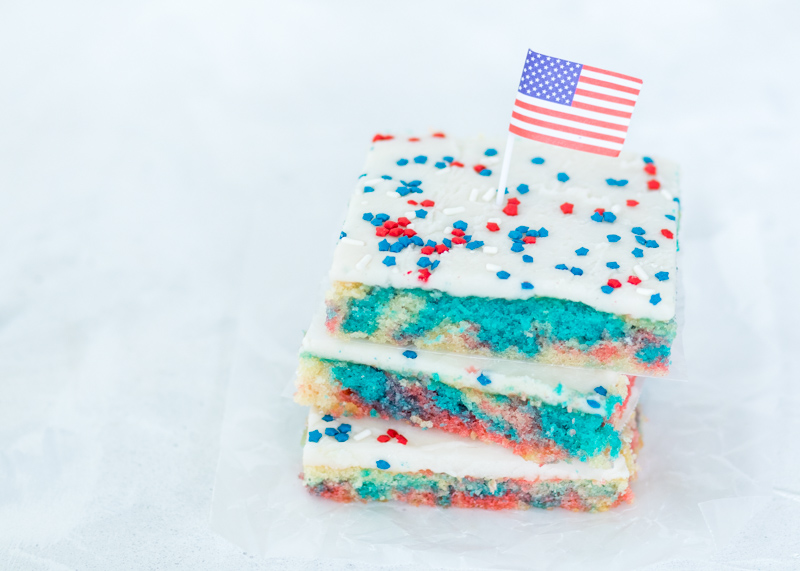
4th of July Tie-Dye White Texas Sheet Cake
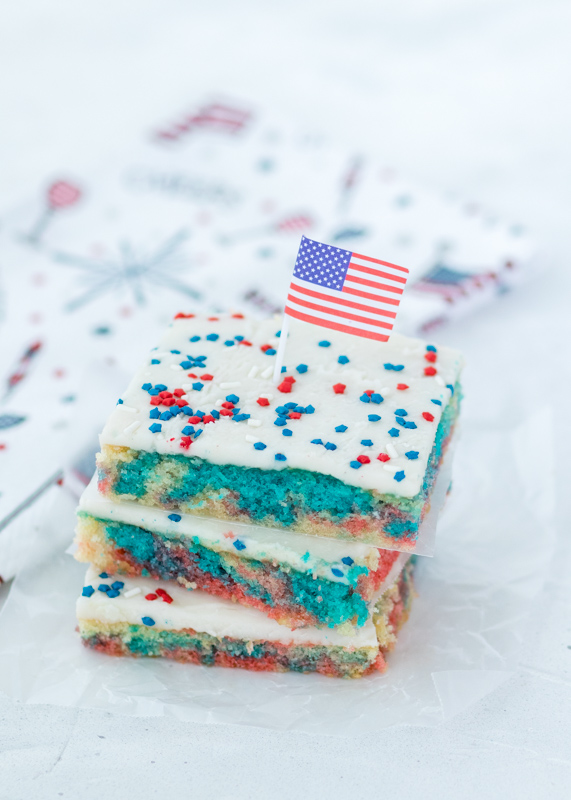
I’m back with my annual 4th of July red, white and blue dessert! This year I decided to switch it up. As much as I love berries, they can get expensive, especially if you are cooking for a crowd. Also, berry desserts can sometimes be tricky to make ahead. Instead, I made a tie-dye white Texas sheet cake loaded with red, white and blue batter and tons of festive sprinkles.
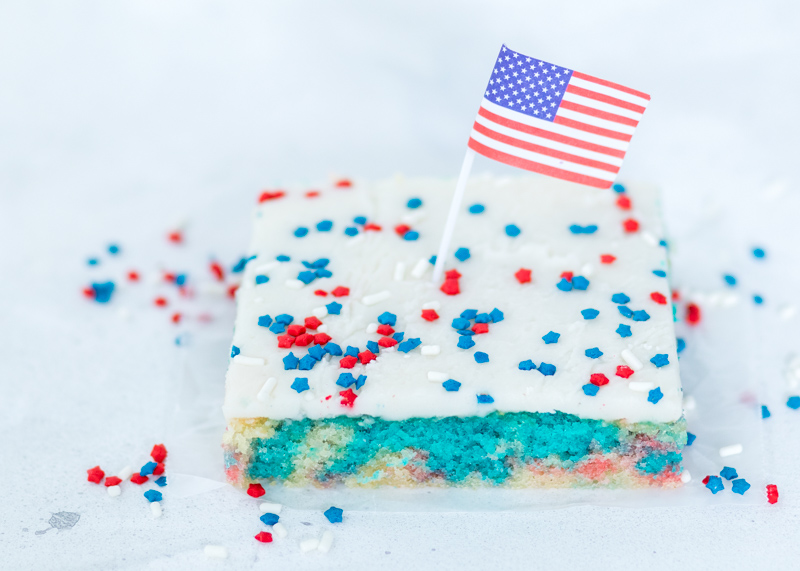
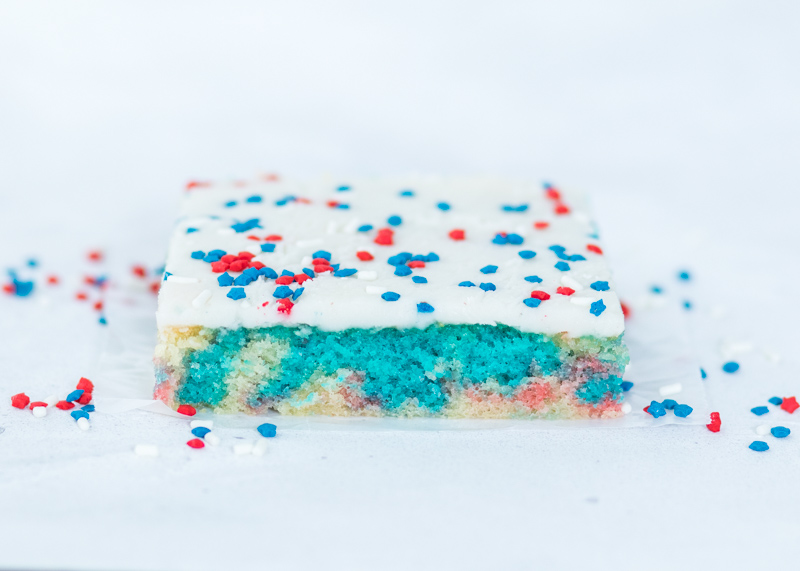
I’m surprised I’ve kept it together this far into my post because I am SO EXCITED about this cake! I will try to explain to you how buttery and moist this vanilla cake is, but I know I won’t be able to do it justice. It tastes like funfetti box mix cakes, but with no box mix involved. Check out the photos and look at those big crumbs! Yum!
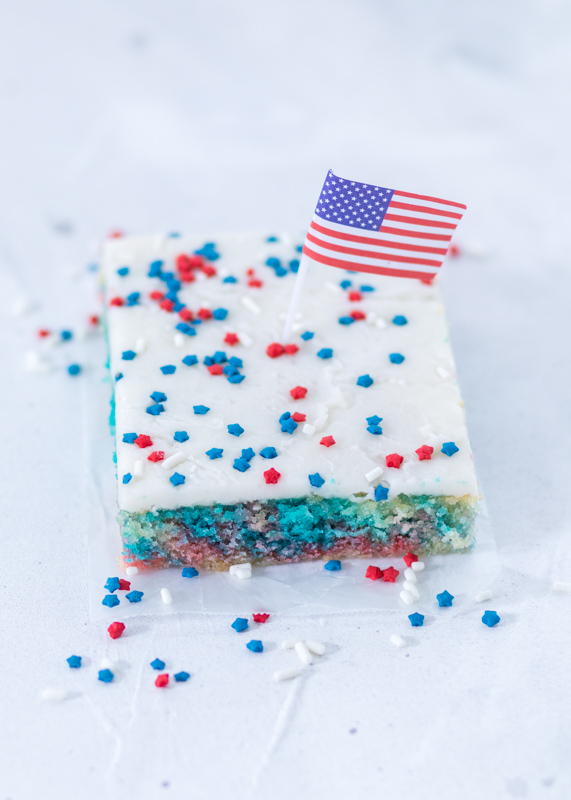
The vanilla icing slightly hardens on top and the thin layer of icing creates the perfect frosting to cake ratio since the cake is also very thin. The thin layer of icing is also good because it is definitely sweet. This cake is for all the butter and sugar lovers out there! Any baked good is dangerous around me, but this sheet cake was especially addictive.
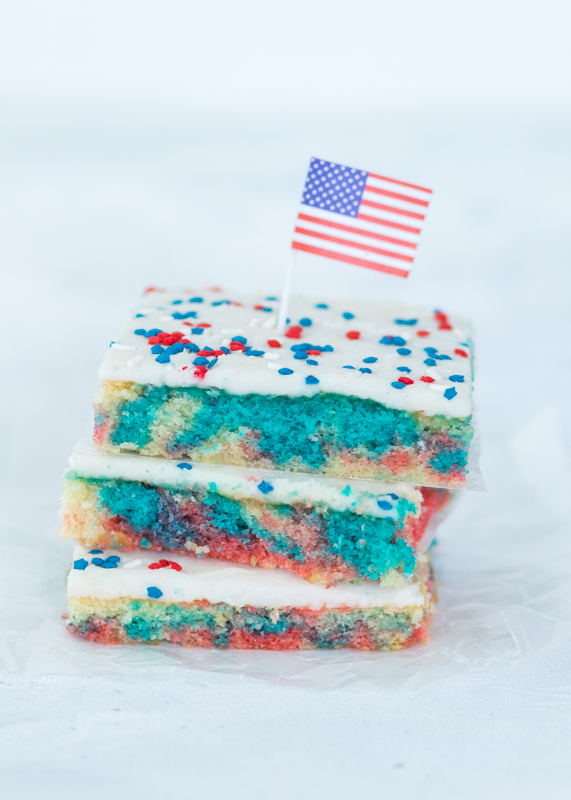
This is the best type of cake to make for a crowd because the cake is the size of a standard jelly roll pan or half sheet pan. Matt and I ate some, then I gave away multiple slices each to six of my girl friends and I STILL had a whole bunch that I packaged for the freezer! If you do have leftovers it does freeze well, but if you bring this cake to a big party I promise you there will be nothing left!
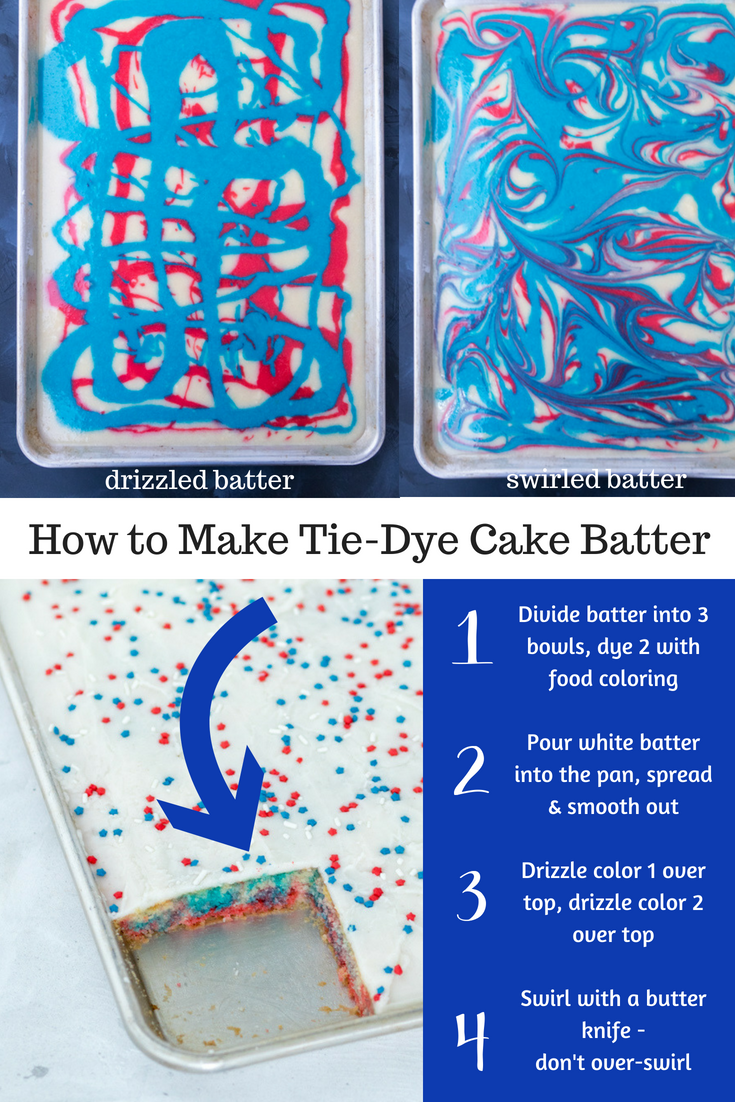
The tie-dye batter was really easy and didn’t add much extra time. I divided the batter into three bowls and left one white while dying the other two red and blue. I then poured the white batter into the prepared sheet pan and smoothed it out. Then I drizzled the red batter followed by the blue batter and swirled it all around with a butter knife. Ta-da! Red, white and blue tie-dye cake batter!
The 4th of July sprinkles and mini flags definitely give it that extra patriotic look though – you can find those here and here. I cannot wait for you all to try baking this cake! Make sure to save me a slice ;-).
- 2 cups flour
- 2 cups sugar
- 1 teaspoon baking soda
- 2 large eggs, beaten
- ½ cup yogurt, see note
- 1 teaspoon vanilla extract
- 1 cup unsalted butter
- 1 cup buttermilk
- ½ teaspoon salt
- Red and blue food coloring
- 4½ cups powdered sugar
- ¼ teaspoon salt
- ½ cup unsalted butter
- ¼ cup milk
- ½ teaspoon vanilla extract
- Preheat the oven to 375 degrees F. Grease a half sheet pan, 13” x 18”. Set aside.
- In a large bowl, sift together the flour, sugar and baking soda. Add the beaten eggs, yogurt and vanilla then stir until just combined.
- In a small saucepan, melt the 2 sticks of butter over medium heat. Add the buttermilk and salt. Bring to boil, removing from the heat as soon as it starts to boil. Let cool slightly then pour into the flour mixture. Stir until just combined and smooth.
- Pour ⅓ of the batter in a bowl, ⅓ of the batter in a second bowl and leave the remaining ⅓ in the original bowl. Use food coloring to dye the batter in one bowl red and the other bowl blue. Leave the third one as is. Pour the batter you didn’t dye into the prepared sheet pan. Smooth into an even layer. Pour the blue batter over the white batter. I zigzagged back and forth. Repeat with the red batter. Using a butter knife, lightly swirl the batters around. Don’t over-mix or they will be one color instead of tie-dye.
- Bake for 20-22 minutes, or until a toothpick inserted in the center comes out clean. Let cool in the pan on a wire cooling rack for 20 minutes. Meanwhile, while the cake is cooling make the frosting (the frosting needs to be added when the cake is still a little warm).
- Sift the powdered sugar into a medium mixing bowl then mix in the salt.
- Melt the butter in a small saucepan over medium heat. Once melted, add the milk and bring to a boil, removing from the heat as soon as it starts to boil. Stir in the vanilla extract. Pour the butter mixture into the bowl with the powdered sugar. Stir until smooth. If it’s too thick, add a little more milk. Pour over the cake as soon as it has cooled for 20 minutes and spread in an even layer. Try to do this quickly as the frosting will start to set as soon as you start spreading it.
To make your own buttermilk pour 1 tablespoon of lemon juice or vinegar (I like to use lemon juice) in a liquid measuring cup then add enough milk to equal 1 cup. The fat percentage of the milk does not matter - I use nonfat milk. Let sit for 5-10 minutes before using in the recipe.
The fat percentage of the milk in the frosting does not matter. I used nonfat milk.
Recipe adapted from Genius Kitchen.
Some of the links above are affiliate links, which means I may receive a small commission for my referral. This does not affect the retail cost of the item. Thank you for supporting Lemon & Mocha!