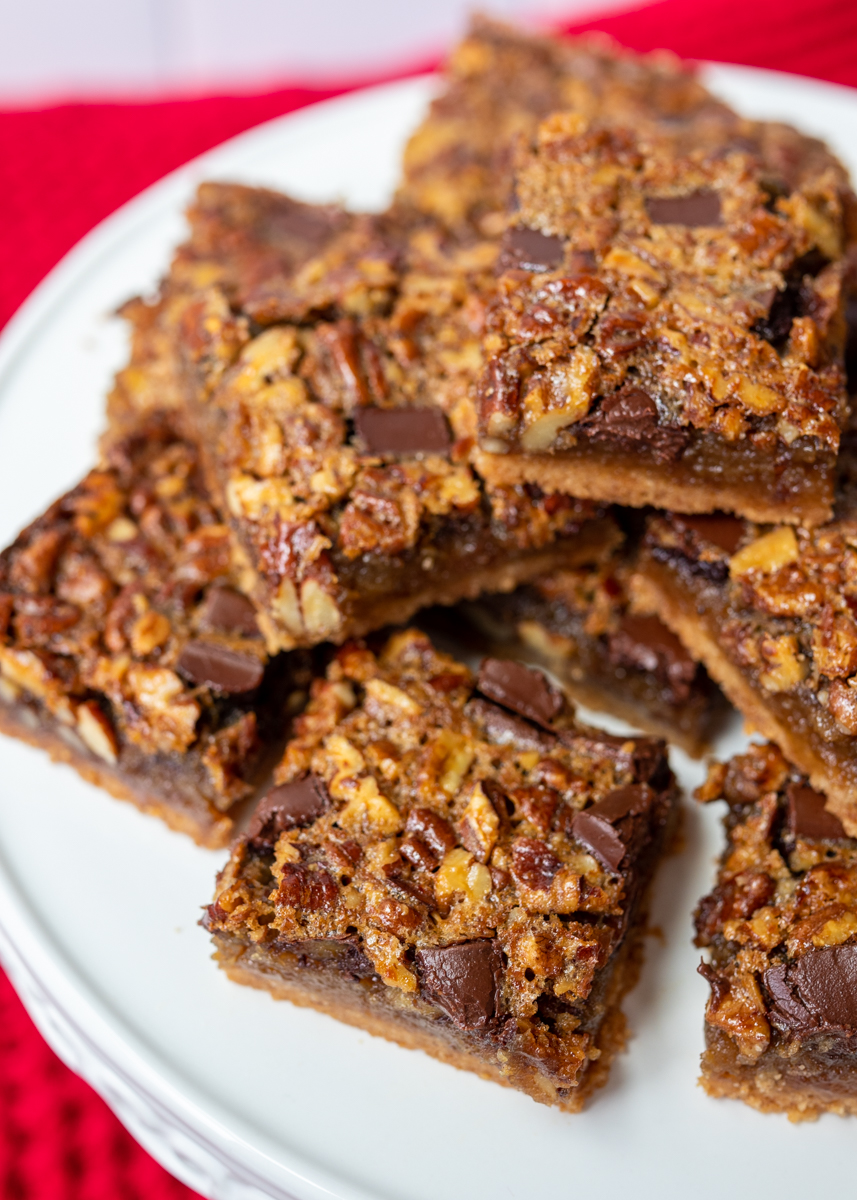
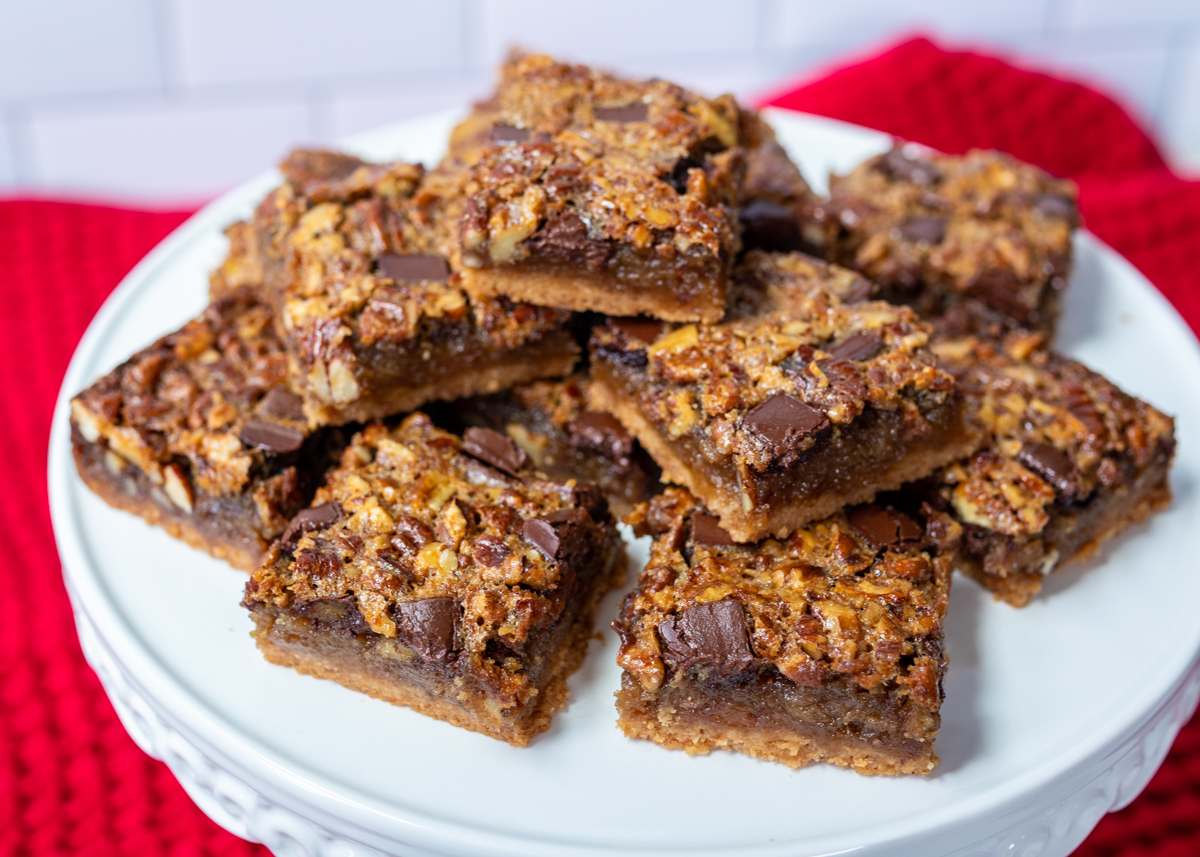
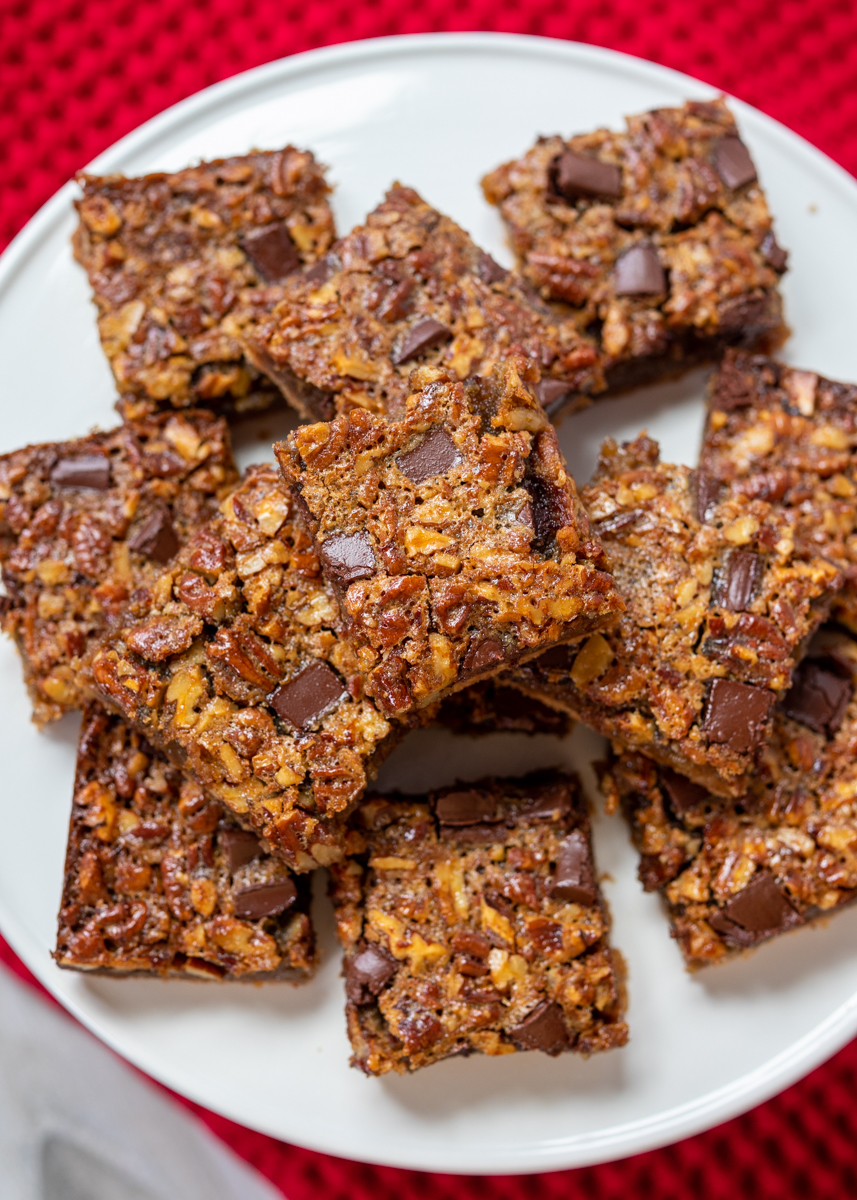
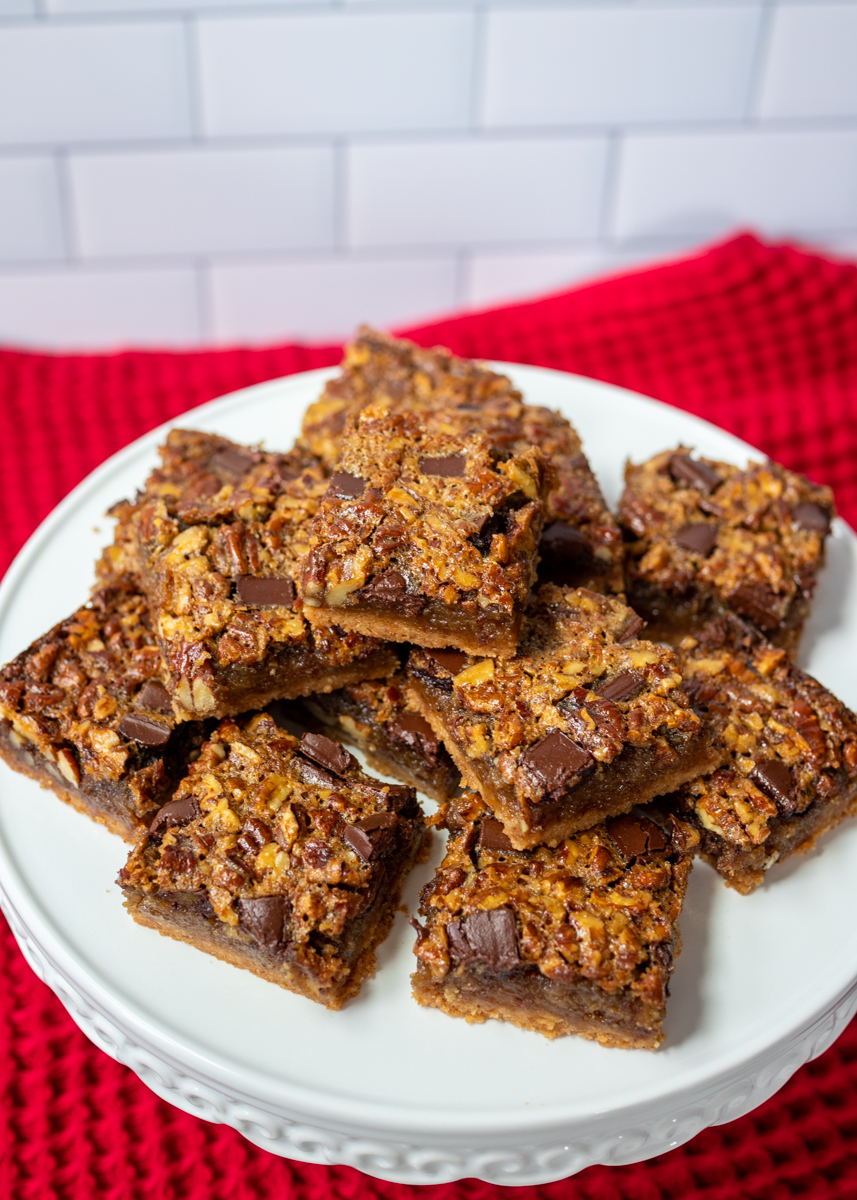
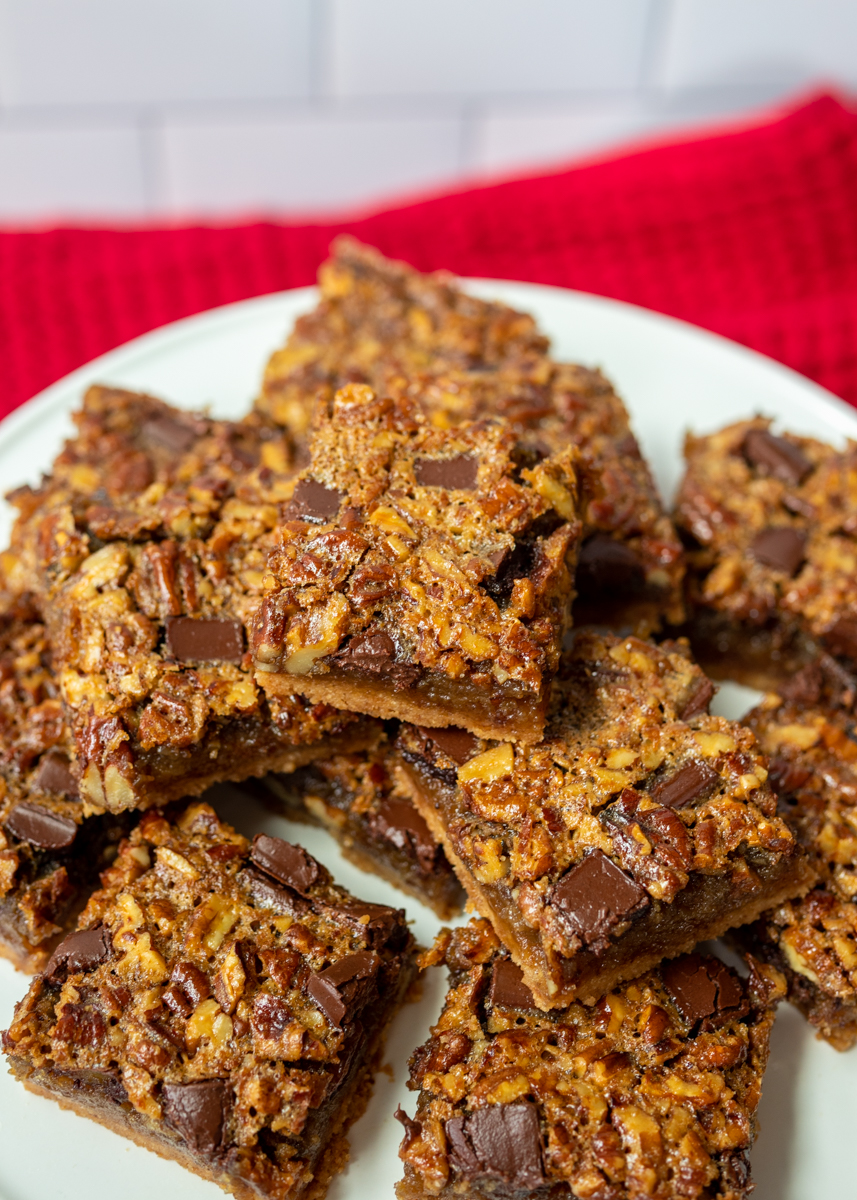
Dark Chocolate Pecan Bars
Today is a very special day for two reasons! The first reason November 25, 2019 is so incredibly awesome is because I’m sharing these epic Dark Chocolate Pecan Bars with you all. I promise after you try these bars life will soon be B.D.C.P.B. (Before Dark Chocolate Pecan Bars) and A.D.C.P.B. (After Dark Chocolate Pecan Bars).
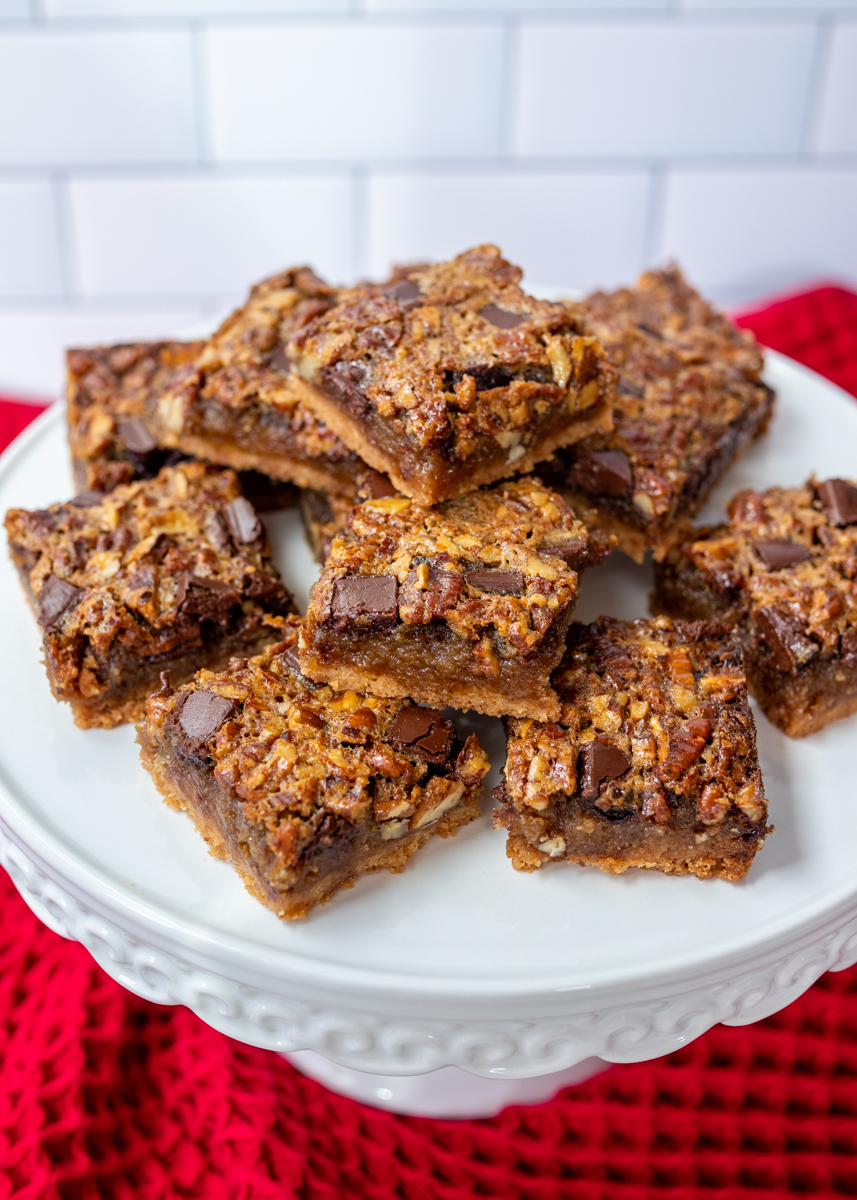
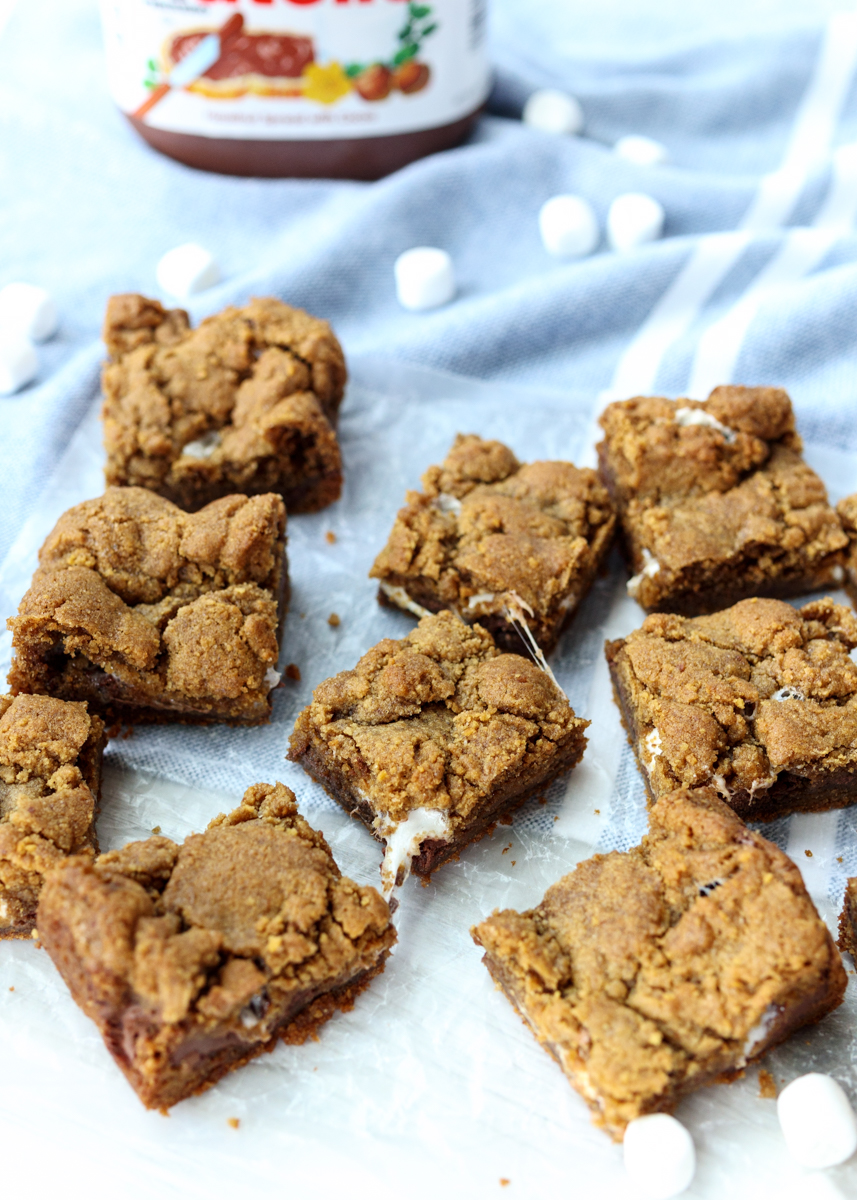
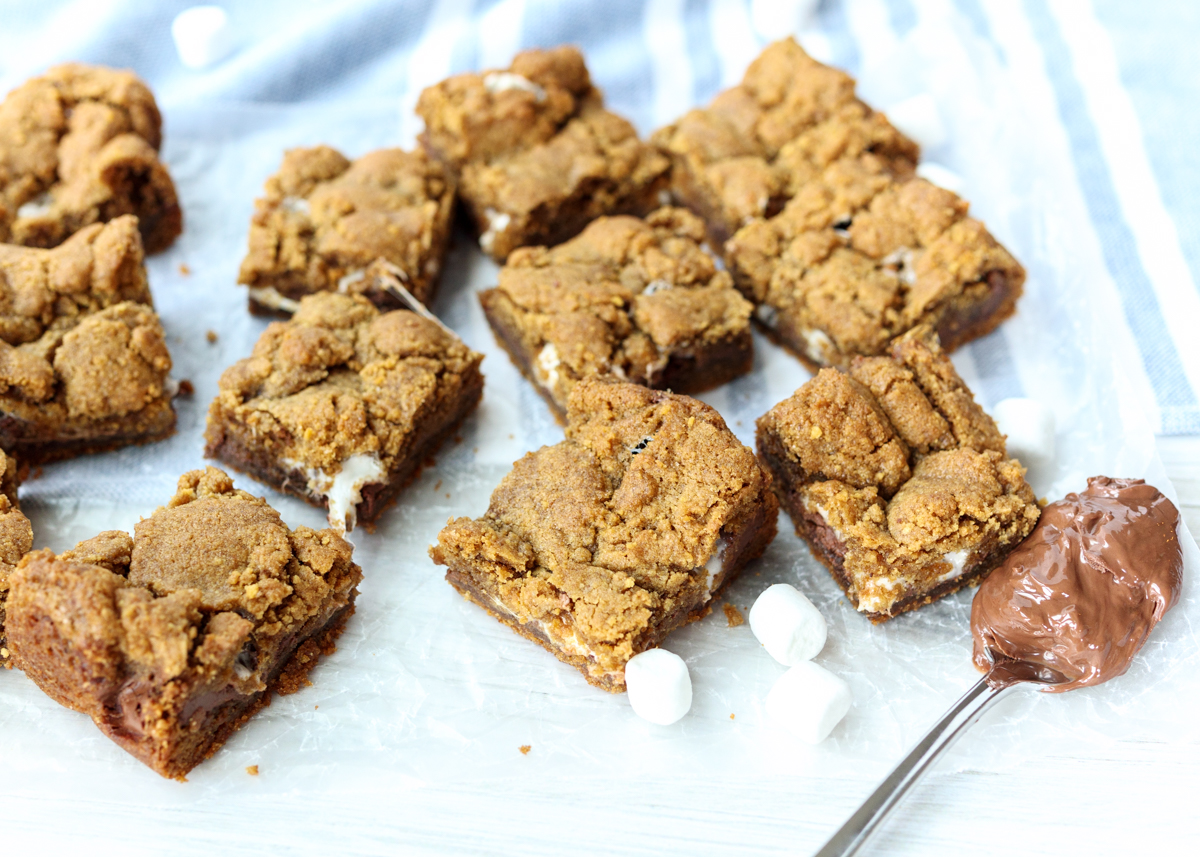
Gooey, crunchy and loaded with pecans, these bars are really just that good. Plus, they have chocolate chunks in them, which always, always takes pecan pie to the next level. They are like your favorite pecan pie in an easy to eat bar form with a crust made from ground pecans, flour, sugar, salt and butter instead of a pie crust.
I’ve eaten these Dark Chocolate Pecan Bars at a variety of temperatures and they all taste delicious. By that I mean the temperature of the bars, by the way, not the temperature outside, although I’m sure I would enjoy these bars in all weathers as well! Room temperature, chilled in the fridge or straight from the freezer have all resulted in perfectly tasty pecan bars. Then there was this one day when I decided to defrost a pecan bar I had frozen a little in the microwave and it got a little warm and it was melty and extra gooey and I’m starting to feel a little faint just thinking about it.
I would talk about how you could add a little scoop of vanilla ice cream to it, but then I definitely might actually pass out from how amazing that sounds so I’m going to change gears and talk about the second reason today is special. It’s my stepmom’s, Diane, birthday! Yay! For those of you who have been following Lemon & Mocha for a while, you know that Diane loves chocolate and also pecan pie so it’s only fitting to post these bars on her birthday.
Oh, I almost forgot to mention that these are cookies #3 in our 12 Days of Cookies series we’re doing this holiday season on Lemon & Mocha and they also are the Food Network Magazine November cookies so thumbs up to Food Network Magazine for coming up with such an awesome recipe!
- ⅓ cup pecans
- 2 cups all-purpose flour
- ½ cup granulated sugar
- ½ teaspoon salt
- 12 tablespoons cold unsalted butter (1½ sticks), cut into cubes
- ¾ cup dark corn syrup
- ½ cup granulated sugar
- ½ cup brown sugar
- 4 large eggs
- 4 tablespoons unsalted butter, melted
- 2 teaspoons vanilla extract
- ⅛ teaspoon salt
- 1½ cups pecans, roughly chopped
- ½ cup semisweet chocolate chunks
- Preheat the oven to 350 degrees F. Line a 9x13” baking pan with aluminum foil, being sure to leave a 2-inch overhang on 2 sides. If not using nonstick aluminum foil, coat the foil with cooking spray. Set aside.
- In a food processor, pulse the pecans until they are finely ground. Add the flour, sugar and salt. Pulse to combine. Add the cold butter cubes and pulse until the dough starts to clump together. The dough will still be crumbly and sand-like. Pour the pecan mixture into the prepared baking sheet and use your fingers to press down into an even layer. Bake for 25-30 minutes, or until golden brown and set.
- While the crust is baking, make the filling. In a large mixing bowl, whisk together the corn syrup, granulated sugar, brown sugar, eggs, melted butter, vanilla and salt. Once smooth, stir in the pecans. Pour the filling over the warm crust as soon as it’s out of the oven. Sprinkle the chocolate chunks over top. Return to the oven and bake for 25-30 minutes, or until the top is set and doesn’t jiggle if you wiggle the pan. Place the baking pan on a wire cooling rack and let the bars cool completely in the pan. Once cool, remove from the pan and cut into squares.
Recipe from January/February 2019 issue of Food Network Magazine.
Some of the links above are affiliate links, which means I may receive a small commission for my referral. This does not affect the retail cost of the item. Thank you for supporting Lemon & Mocha!