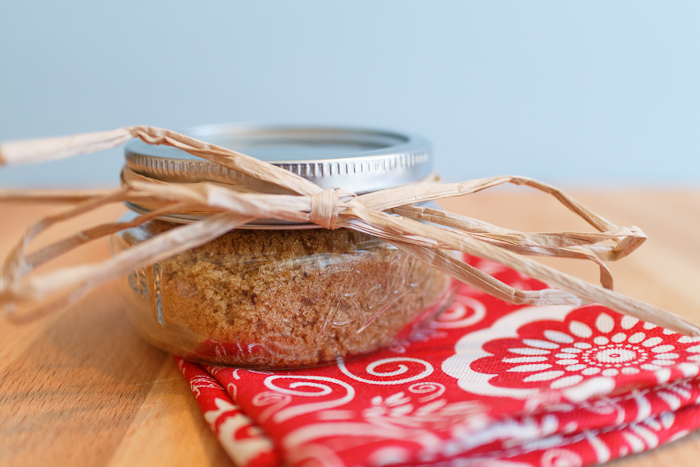
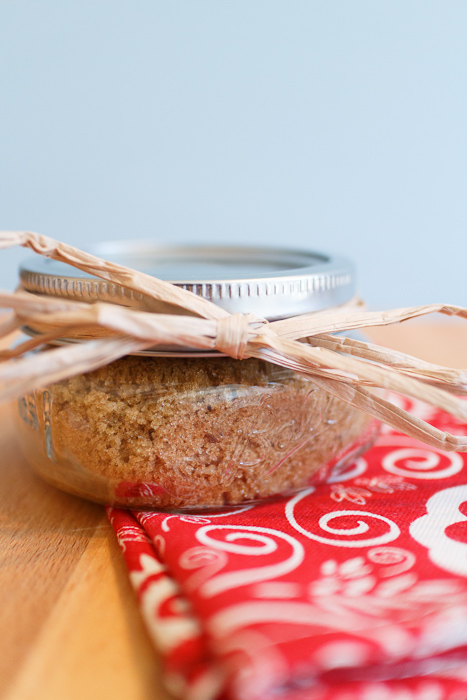
Homemade Brown Sugar
I am about to reveal a secret that will blow your mind. If you already are aware of the fact I am about to share, I am obviously very excited so the least you can do is play along. So here it is: you can make your own brown sugar. Are you still there or did your head explode with that knowledge? That is how I felt when I stumbled across this nugget of information. Brown sugar is simply granulated sugar with molasses added. Who knew?! Well, maybe you did. But shh! Don’t spoil the moment.
When you buy a fresh box of brown sugar at the store, bring it back and open it up, it’s so soft and fluffy. You measure out your necessary amount with ease and since no recipe exists that calls for an entire pound of brown sugar you always store the rest of it. A few weeks later you have a cookie craving so you go to take your brown sugar out of the pantry and it looks like this:
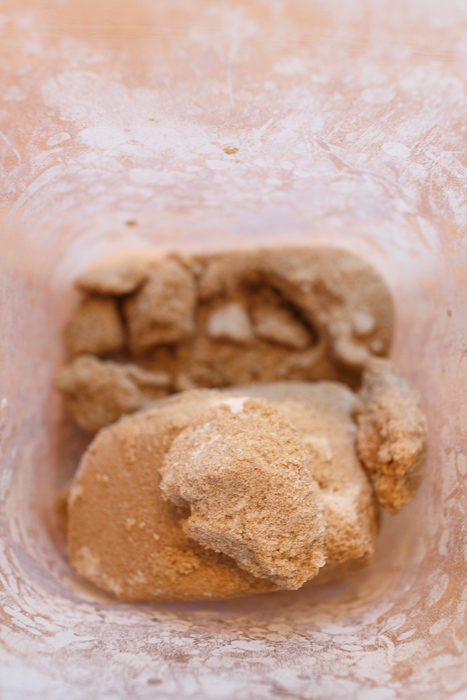
Look familiar? You chip off a chunk and follow the “re-softening” directions on the box. Somehow after putting it in the microwave with a wet paper towel over top it is now both syrupy and still hard. How is that combination of qualities even possible?
It’s time to say goodbye to your brown sugar woes forever. You can simply make your own fresh brown sugar whenever you need it. Just mix one cup of granulated sugar with one tablespoon of molasses. That’s it! For dark brown sugar use two tablespoons of molasses.
- 1 cup granulated sugar
- 1 tablespoon molasses, 2 tablespoons for dark brown sugar
- Pour the sugar in a medium mixing bowl. Add the molasses.
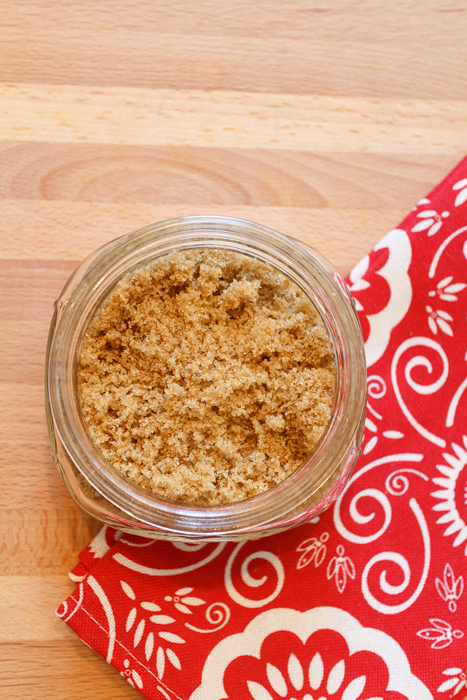
- Stir with a fork. This takes some time. After the first five minutes it will look barely any different and you will think there’s no way this is going to look like the picture. You will want to give up, but you can’t! All good things come to those who wait so keep stirring and fluffing with the fork. Stir and fluff until no molasses clumps remain. Suddenly, ta-da! Brown sugar.
*Sometimes I have had some excess brown sugar and have stored it in a plastic container. I used it in the next couple weeks and it was still soft enough to measure out perfectly.
Recipe from Joy the Baker.