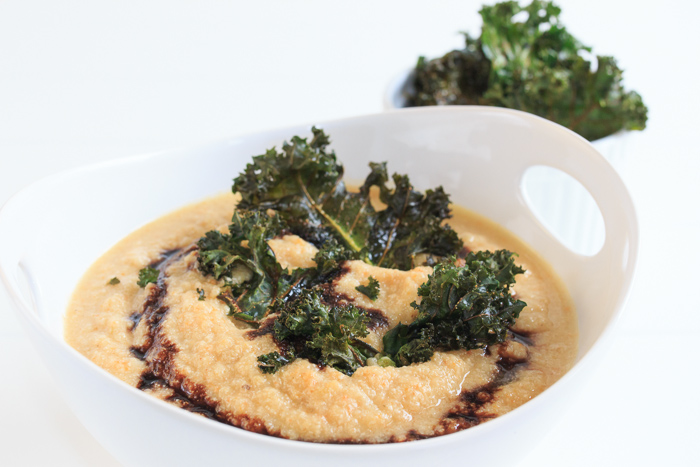
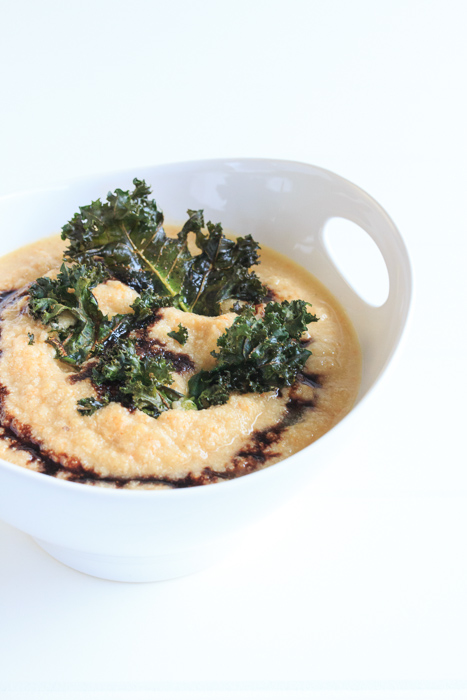
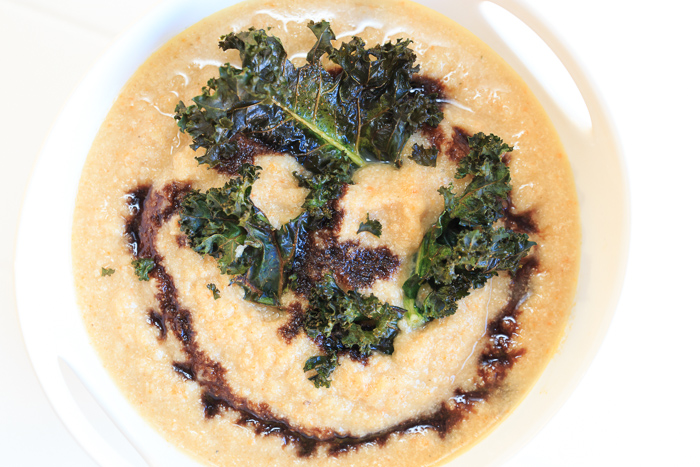
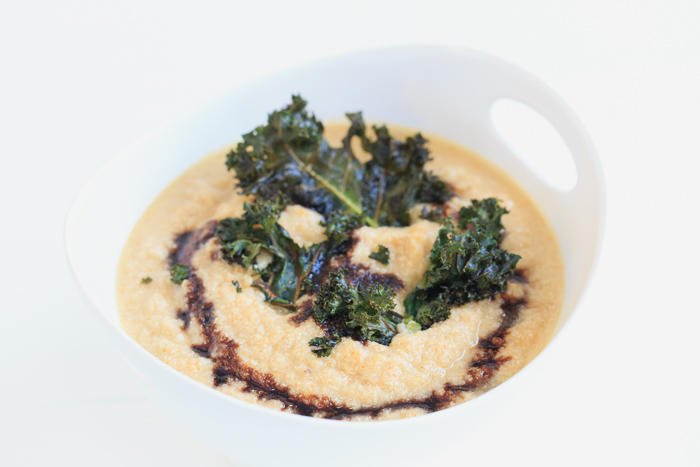
Roast Cauliflower and Garlic Soup with Crispy Kale Chips and a Balsamic Drizzle
Hang onto your hats folks, we’re in for a whirlwind! My excitement over this soup is bursting out of me and it cannot be contained. The best thing for you to do is to hold on, take it all in and then get cooking. I first cooked this soup a couple years ago, but every time I make it I wonder to myself why I wait so long in between whipping it up.
I love creamy vegetable soups, but they are usually laden with heavy cream and high fat milk. A creamy soup that is low in calories and fat, but high in nutrition and flavor? Definitely a win. But a soup that also has added protein? Now that is the ultimate trifecta! A tasty tender trifecta.
Roasted cauliflower and garlic soup topped with kale chips and a balsamic drizzle. No, you don’t have to go to some fancy farm-to-table restaurant to enjoy this cozy dish; you can make it in your kitchen right this minute. Cauliflower is roasted to add depth to its flavor and tenderize it. Roasting the garlic mellows it and causes it to develop a creamy texture. While the vegetables are roasting a light roux is created then mixed with onions, carrots, celery and seasonings.
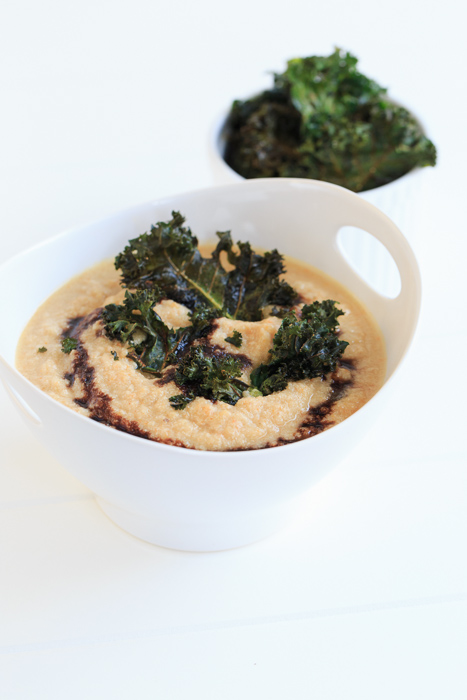
The sautéed vegetables brown and release their inner juices just before being combined with rich vegetable stock and white wine. The roasted vegetables are added to the pot and everything is pureed to a rustic creaminess. Nonfat plain Greek yogurt lends to the creaminess and provides a very subtle tang. Finally the soup is topped with kale chips for crunch and an easy balsamic drizzle for continued depth of flavor. Go make this. Now. I’ll be running to the kitchen for more leftovers before I pass out from excitement.
- 2 heads cauliflower
- 4 tablespoons olive oil
- 2 heads garlic
- 2 tablespoons flour
- 4 stalks celery, chopped
- 2 large yellow onions, chopped
- 2 carrots, peeled and chopped
- 1 teaspoon salt
- 1 teaspoon pepper
- ½ teaspoon italian seasoning
- ¼ teaspoon paprika
- ¼ teaspoon oregano
- ⅛ teaspoon chili powder
- 1 cup white wine
- 1 cup water
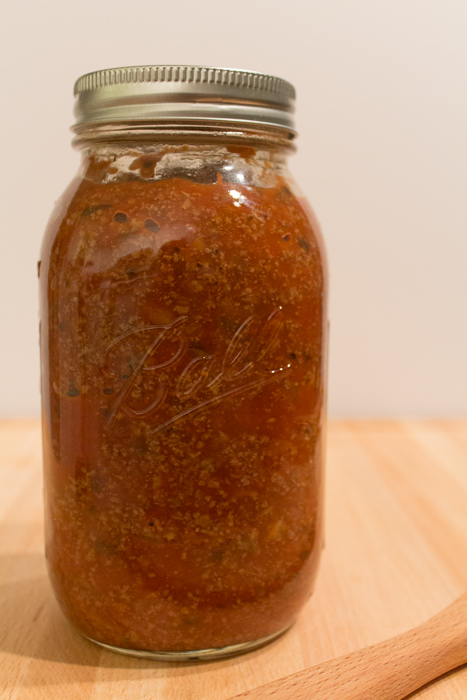
- 4 cups vegetable broth
- 12 ounces fat free plain Greek yogurt
- Salt and pepper
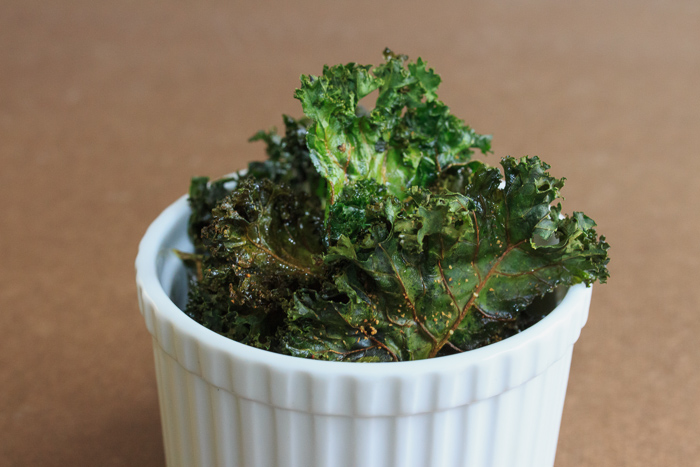
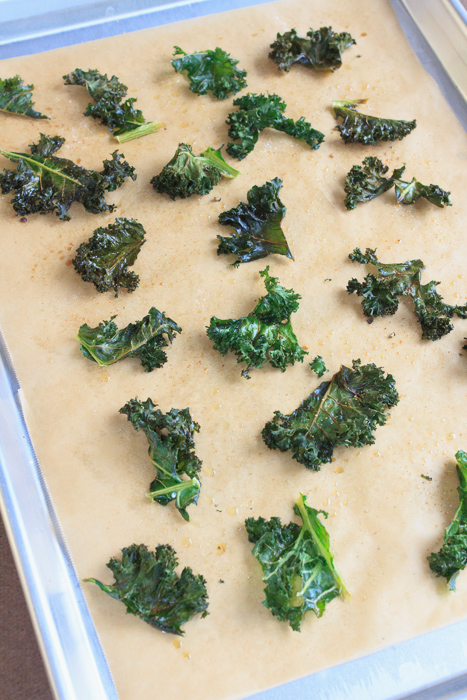
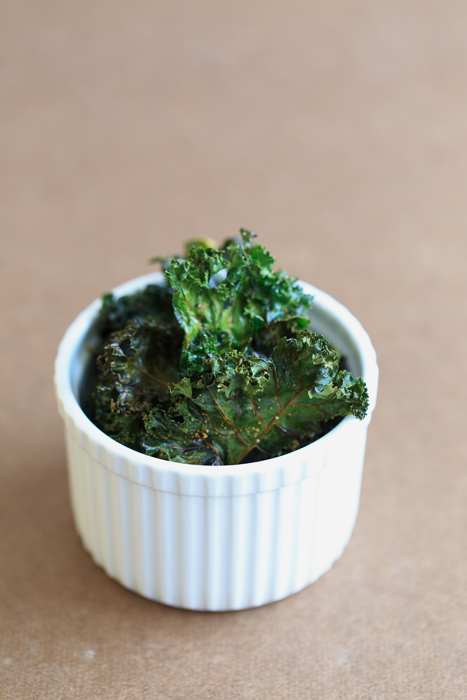
- 1 batch crispy kale chips
- ¼ cup balsamic vinegar
- Preheat the oven to 400 degrees F.
- Line a large baking sheet with tinfoil and set aside.
- Cut the cauliflower into similar sized florets and evenly place on the baking sheet. Toss the cauliflower with 2 tablespoons of olive oil and season with salt and pepper.
- Cut the tops off both heads of garlic so that almost all the cloves are exposed. Place each head of garlic in a little square of tinfoil and curve up the sides. Lightly drizzle the garlic heads with olive oil then season with salt and pepper. Seal up the tinfoil to make little packets of the garlic heads.
- Place the cauliflower and garlic packets in the oven. Let the cauliflower roast for 25 minutes then remove from the oven. Let the garlic continue to roast for another 10 minutes.
- While the cauliflower and garlic are roasting, heat a large pot over medium-high heat. Add two tablespoons of olive oil and the flour and whisk to combine. Continue to whisk until the mixture is light brown in color, about 5 minutes.
- Add the celery, onion and carrot. Stir to combine and cook until the onions have started to brown and the vegetables have started to soften.
- Add the salt, pepper, italian seasoning, paprika, oregano and chili powder, stirring to combine. Add the wine and water. Bring to a slow boil then cook for 5 minutes.
- When the heads of garlic have cooled, squeeze out the garlic cloves and add them to the soup along with the vegetable broth. Cook for 10 more minutes.
- Add the cauliflower and cook for 5 more minutes. Using a food processor or immersion blender puree the soup until smooth. Add the greek yogurt and puree until smooth. Taste and season with salt and pepper as desired.
- Heat the balsamic vinegar in a small saucepan over medium heat, stirring occasionally. Continue to heat until it has reduced to a 2-3 tablespoons.
- Top each bowl of soup with kale chips and a drizzle of the balsamic reduction.
Recipe adapted from The Novice Chef.