Main Dishes

Lemon Dill Salmon

Lemon Dill Salmon  |  Lemon & Mocha

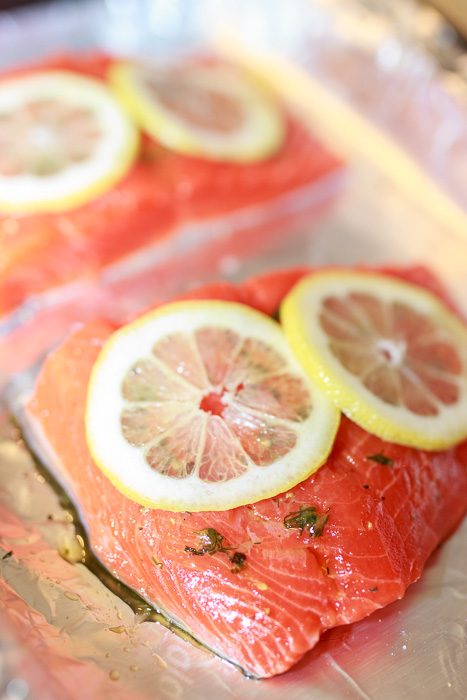
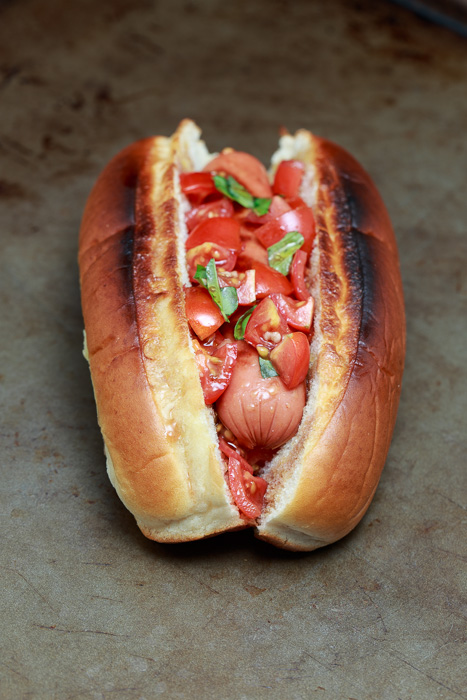
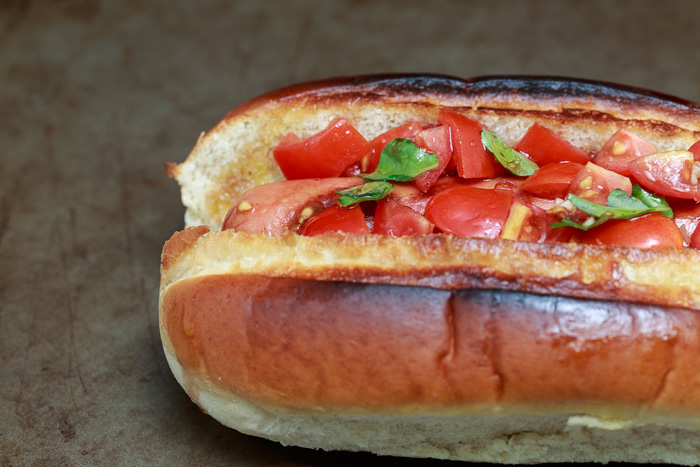
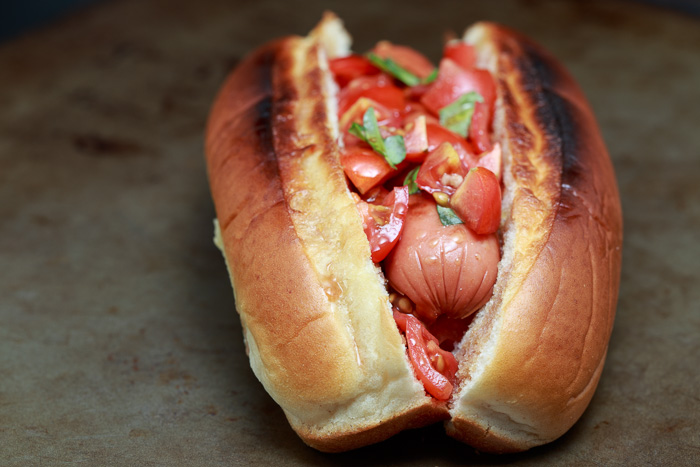
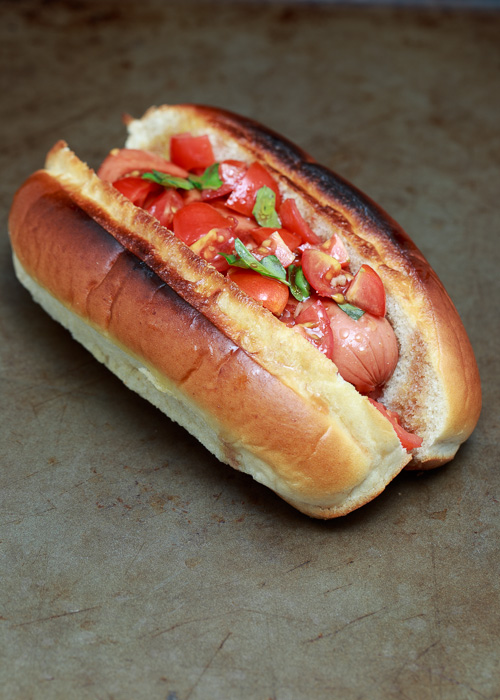
Just as a quick note before we get started here I would like to point out that all the photos in this post are of the uncooked salmon. I was serving this salmon at lunch quite a while back and didn’t get to photograph the finished product, but I didn’t want you to think this is what the salmon should look like when it is done. Not that you would think that, but you never know.

Lemon Dill Salmon  |  Lemon & Mocha

As much as I love grilled salmon there is no grilling salmon in my house. We live in an apartment and do not have the luxury of an outdoor grill so all our grilling is relegated to our single grill pan. No one enjoys the lingering smell of cooked fish in the kitchen and even an odor absorbing splatter screen can’t protect the kitchen from grill pan salmon. So oven-cooked salmon it is in my house. Which is fine by me when you have great simple oven-cooked fish recipes like this lemon dill salmon. Dinner can be on the table in twenty minutes with this quick, fresh and healthy salmon dish. I’ve tried other flavor combinations, but this is my favorite that I always keep making. It may seem weird, but don’t be afraid to eat the whole lemon slice on top of the salmon. You slice it so thin that it just adds the right amount of acidity to the fish. Enjoy!

Lemon Dill Salmon
 
Yield: 2 servings
Ingredients
  • 2 4-ounce salmon filets
  • 3 tablespoons olive oil
  • Salt and pepper
  • 2 teaspoons finely chopped fresh dill
  • 4 very thin slices lemon
Directions
  1. Place the salmon filets in a small baking dish. Drizzle both sides of the salmon filets with the olive oil then season both sides with salt and pepper. Sprinkle the dill evenly on top of the salmon filets then lay the slices of lemon on top. Cover the baking dish and refrigerate for 30 minutes.
  2. Preheat the oven to 350 degrees F.
  3. Bake for 18-20 minutes for until the salmon flakes easily.

Bruschetta Hot Dogs

Bruschetta Hot Dogs  |  Lemon & Mocha

Something about summertime makes me want hot dogs. I won’t eat a hot dog all fall and all winter, but the minute it gets warm outside I buy a package at the grocery store.

Bruschetta Hot Dogs  |  Lemon & Mocha

If I’m at a barbecue and the hosts went all out for some delicious steak and chicken, deep down I’m disappointed I couldn’t have just a couple bites of a classic hot dog.

Bruschetta Hot Dogs  |  Lemon & Mocha

As perfect as that classic hot dog is smothered in ketchup, mustard and onions, there are too many amazing hot dog variations out there that have been ignored for far too long. It’s time to elevate our barbecue hot dogs so they can stand there proud with the steak and chicken!

Bruschetta Hot Dogs  |  Lemon & Mocha

These bruschetta hot dogs do just the trick. Hot dogs are grilled, placed in a toasted Italian bun, then topped with tomatoes, fresh basil, garlic, balsamic vinegar and olive oil. Dang-nabbit, these hot dogs are good!

Bruschetta Hot Dogs  |  Lemon & Mocha

The bruschetta ingredients bring freshness, acidity and complexity to the hot dog, while the crusty bun envelopes the dog with enough room to hold the flavorful topping in place.

Bruschetta Hot Dogs  |  Lemon & Mocha

If you’re someone who can’t imagine a hot dog without ketchup or mustard trust me when I say the tomatoes, balsamic vinegar and olive oil provide no need for condiments. Elevate your barbecue hot dogs this summer and make some fancy bruschetta hot dogs!

Bruschetta Hot Dogs  |  Lemon & Mocha

Bruschetta Hot Dogs
 
Yield: 4 hot dogs
Ingredients
  • 2 tomatoes, diced
  • 1 garlic clove, chopped
  • 1 tablespoon balsamic vinegar
  • 2 tablespoons olive oil, plus more for serving
  • 2 large leaves fresh basil, torn
  • Salt
  • 4 hot dogs, grilled
  • 4 Italian buns, toasted
Directions
  1. In a small mixing bowl combine the diced tomatoes, garlic, balsamic vinegar, olive oil, basil, and salt to taste.
  2. Place the grilled hot dogs in the toasted buns then top with the tomato mixture. Drizzle with olive oil before serving.

Recipe from July/August 2010 issue of Food Network Magazine.

Dallas Burger with Barbecue Sauce and Coleslaw

One of my first cookbooks I purchased was Bobby Flay’s Burgers, Fries, and Shakes. As soon as I saw the title I knew I had to have it. I like burgers! I love fries! I would bathe in milkshakes!

Unfortunately I haven’t tried nearly enough of the mouthwatering recipes by now, but everything I have tried has been mmm-don’t-talk-to-me-right-now-I’m-busy-eating good.

One of those is the Dallas burger. Complete with creamy coleslaw, pickles and a sweet and spicy sauce, this burger is a barbecue lover’s dream. All the components add an extra flair to your average backyard burger, but this finger-lickin’ amazing sauce needs to get a special mention.

Sautéed onions, molasses and ancho chiles are just a few of the ingredients that add layer upon layer of flavor to this pourable gold. The ultimate proof for how good this sauce is? I am a cheese addict and never eat a burger without cheese. Notice something? This is a burger recipe, not a cheeseburger recipe. Now that is the delicious power of this sauce.

Impress your guests this Fourth of July and serve up these extreme barbecue burgers. They will not only thank you, but might randomly show up at your house all summer long with a six-pack of beer just hoping you’ll have an impromptu barbecue featuring these burgers. Don’t worry, you’ll want one too.

Dallas Burger with Barbecue Sauce and Coleslaw
 
Yield: 4 burgers, 2 cups barbecue sauce
Ingredients
for the barbecue sauce
  • 2 tablespoons canola oil
  • 1 Spanish onion, chopped
  • 3 cloves garlic, chopped
  • 1 cup ketchup
  • 1 tablespoon paprika
  • 1 tablespoon dijon mustard
  • 1 tablespoon red wine vinegar
  • 1 tablespoon Worcestershire sauce
  • 1 chipotle chile in adobo, chopped
  • 2 tablespoons dark brown sugar
  • 1 tablespoon honey
  • 1 tablespoon molasses
  • Salt and pepper
for the burger
  • 1 teaspoon salt
  • ½ teaspoon pepper
  • 1 pound 80% lean ground beef
  • 2 tablespoons canola oil
for assembly
  • 4 burger buns
  • 1 cup coleslaw
  • Dill pickles
Directions
for the barbecue sauce
  1. Heat the oil in a medium saucepan over medium-high heat. Cook the chopped onion until softened, about 3-4 minutes, stirring occasionally. Add the garlic and cook until fragrant, about 1 minute.
  2. Add ⅓ cup water and the ketchup and stir. Bring to a boil then let simmer for 5 minutes. Add the remaining ingredients, except the salt and pepper, and simmer until thickened, about 10 minutes, stirring occasionally.
  3. Remove from the heat and puree until smooth in a food processor. Season with salt and pepper to taste. Pour into a bowl and let cool to room temperature.
for the burger
  1. Preheat a grill or grill pan to medium-high heat.
  2. Divide the ground beef into four equal parts and create 4 uniform burgers. Make an impression with your thumb in the middle of each burger patty so it doesn’t bulge in the middle when it cooks. Season both sides of the burgers with salt and pepper.
  3. Lightly brush the seasoned patties with the prepared barbecue sauce as they cook and grill until cooked the way you prefer, turning once. For medium cook for 8 minutes total.
for assembly
  1. Lightly toast the burger buns then top with the cooked patties, some barbecue sauce, coleslaw and dill pickles.

Recipe adapted from Bobby Flay’s Burgers, Fries, and Shakes.

Hobo Egg Grilled Cheese

Naturally I ponder about my favorite foods multiple times throughout the day so it is no surprise that I also fantasize about ways to make them even better. To make the ultimate version of all your favorite foods, now that is the dream.

When I stumbled upon this ingenious idea to elevate my family’s beloved hobo egg I almost couldn’t breathe from the excitement. A. Hobo. Egg. Grilled. Cheese? Must. Make. One. Now.

And of course my list of recipes to try is so long I didn’t get to it until many months later, years even, but I’m so happy I finally did. Combining the best of breakfast and lunch this is a spot-on lazy Sunday brunch meal.

Cheese and eggs have been a classic combination since the stone age when a caveman accidentally knocked a bowl of cheese curds onto his sizzling dinosaur egg omelette, or so I imagine, so before even taking a bite you know this sandwich is about to blow your mind.

And it does, again and again with every bite until you find yourself standing over the stovetop already making a second one. I hope you enjoy as much as I did, and don’t forget the bacon!

Hobo Egg Grilled Cheese
 
Yield: 1 serving
Ingredients
  • 2 tablespoons butter, divided
  • 2 slices bread
  • 2 slices cheese, preferably cheddar, American, or any cheese that melts well
  • 1-2 slices cooked bacon
  • 1 egg
  • Salt and pepper
Directions
  1. Melt 1 tablespoon butter in a skillet over medium-low heat. Meanwhile prepare your grilled cheese by covering one of the slices of bread with the cheese and bacon then sandwiching the other slice of bread on top. When placing the bacon on the sandwich try to keep it around the corners of the bread so it doesn’t get cut out when you later cut out the circle from the middle.
  2. When the butter is melted and the pan is hot carefully place the grilled cheese in the skillet. Place a pan lid or tent a piece of foil over-top the sandwich in the skillet to help the cheese melt.
  3. When the cheese has started to melt and the bread is very lightly browned, about 2-3 minutes, carefully flip the grilled cheese. Cook until the other side of the bread is very lightly browned, about 1-2 minutes. Remove from the pan.
  4. Using the rim of a glass or a 2” cookie cutter cut a circle out of the center of the grilled cheese. Enjoy as a pre-meal appetizer. Press down on the sandwich to flatten it slightly.
  5. Melt the remaining tablespoon of butter in the skillet over medium heat and return the sandwich to the pan. Carefully crack an egg in the hole of the sandwich. Season with salt and pepper. Cook for 3 minutes then carefully flip over. Cook until the egg is no longer jiggling, but still feels soft to the touch, about 3-4 minutes. You want to make sure the whites are cooked through, but the yolk is still runny. Remove from the pan, cut in half and serve dipping the sandwich halves into the runny yolk.


Crisp Gnocchi Salad with Shiitakes and Asparagus

My brother gave me one of the most thoughtful Christmas gifts last year: a copy of this beautiful Tasting Colorado cookbook. Every recipe is a popular dish from a Colorado restaurant, covering everything from fluffy biscuits to local mouthwatering steak. Not only did I wish I could stuff my face into every picture and eat the contents, but I’ve actually been to a few of the restaurants!

Although he’s a Boston native, Colorado stole my brother’s heart 10 years ago and he’s lived there ever since. I get a chance to visit him once or twice a year and for those of you who have never been add it to your bucket list. It’s one of the most beautiful places I’ve ever visited and I’ve had some of my favorite dishes there.

While flipping through the cookbook and mopping drool from my mouth I was so excited to stumble upon this recipe from the restaurant Six89. Six89 closed in 2012 and their gnocchi salad disappeared along with it. Until now.

I cannot properly express in words the deliciousness of this dish. The crispy gnocchi together with the savory shiitake mushrooms, asparagus and nutty Parmesan is enough to have you going back for more. But when you add the shallot vinaigrette and leafy greens this meal becomes irresistible.

You can certainly use store-bought gnocchi to make this dish, but I highly recommend taking the extra time to tackle homemade gnocchi to experience the full potential of each mouthwatering bite.

Gnocchi Salad with Shiitakes and Asparagus
 
Yield: 4 appetizer servings
Ingredients
for the gnocchi
  • 2 cups gnocchi
  • 2 tablespoons olive oil
  • 2 tablespoons butter
  • 2 tablespoons minced shallots
  • 2 cups sliced shiitake mushrooms
  • 2 cups asparagus, blanched and cut into 1” pieces
for the vinaigrette
  • 2 tablespoons minced shallots
  • 1 tablespoon dijon mustard
  • 2 teaspoons dried oregano
  • 2 tablespoons white wine vinegar
  • ¾ cup olive oil
  • 4 cups baby field greens
  • Salt and pepper
  • Fresh grated Parmesan, for serving
Directions
  1. Boil the gnocchi in a medium saucepan until they float to the top and are heated through, about 3 minutes. Drain and set aside.
  2. Heat 2 tablespoons butter and 2 tablespoons olive oil in a large skillet over medium-high heat. Pan-fry the gnocchi until crispy and lightly browned.
  3. Reduce the heat to medium then add the shallots and sauté until softened and lightly browned, about 5 minutes, stirring often. Add the mushrooms and sauté for 5 more minutes. Add the asparagus slices and sauté until warmed through then remove from the heat. Season with salt and pepper.
for the vinaigrette
  1. Combine the shallots, mustard, oregano and white wine vinegar. Whisk together well with the olive oil. Season with salt and pepper. Toss the gnocchi with 4 tablespoons of the vinaigrette. Plate the gnocchi.
  2. Toss the baby field greens with some of the vinaigrette and place over the gnocchi. Top each plate with a generous serving of fresh grated Parmesan.

Recipe from Tasting Colorado:  Favorite Recipes from the Centennial State.