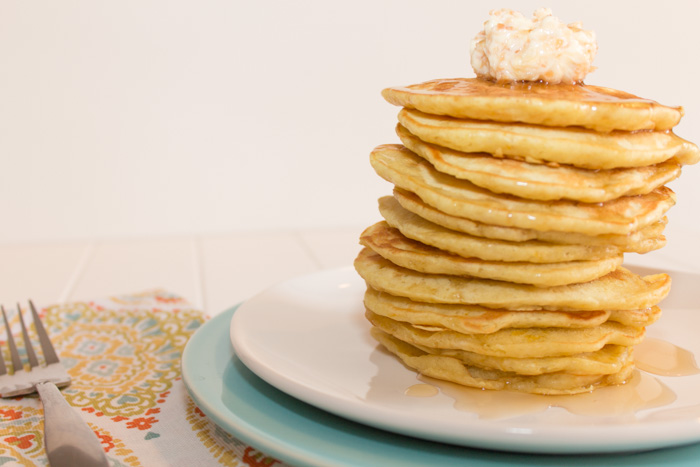
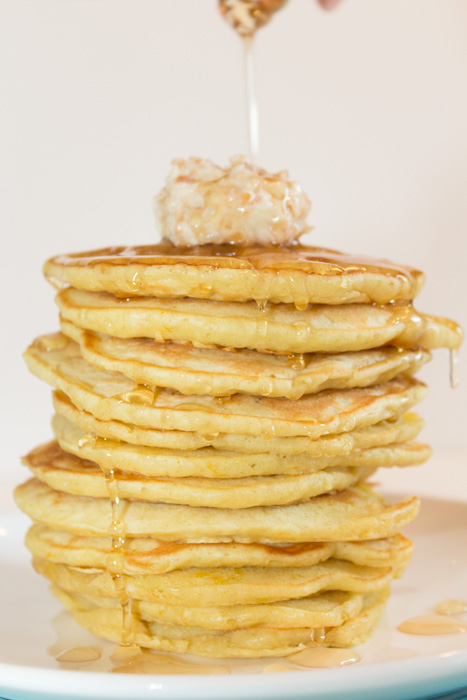
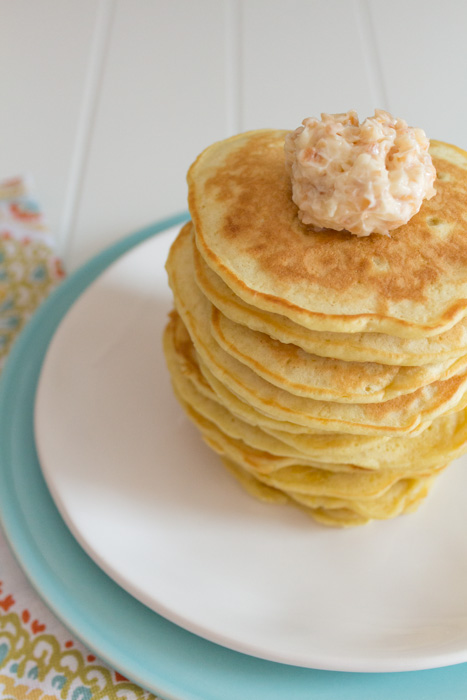
Orange Pancakes with Toasted Coconut Butter
I’m not sure why I love pancakes so much. Maybe it’s because you just mix everything in a big bowl, ladle it in a hot pan and next thing you know you’re chomping away on breakfast. Maybe it’s because the flavor combinations are endless and I love the possibilities they present.
But I have a strong feeling it’s because they are basically dessert and there is certainly no question I would eat dessert every meal if I could afford to buy new clothes each month. Think about the word pancakes. See it? Cakes made in a pan. Covered in maple syrup. Also known as sugar. And it’s acceptable to eat these for breakfast! The world is good!
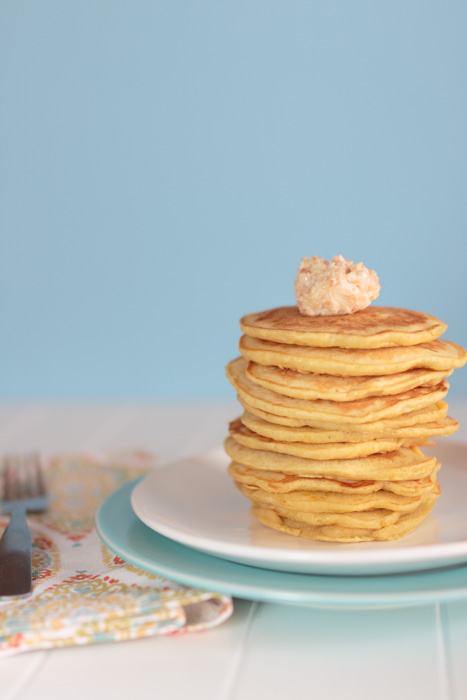
I have several different lemon pancake recipes I enjoy so my love for citrus prompted me to try substituting orange. These orange buttermilk pancakes are light and fluffy with a bright orange flavor from the orange zest and juice.
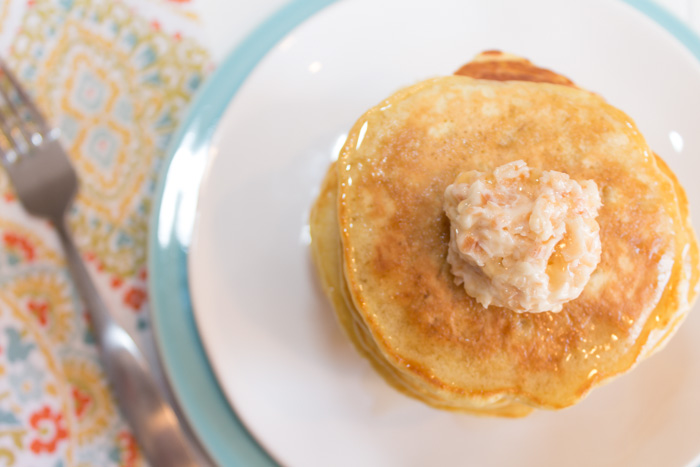
I wanted a little something extra to complement the pancakes and came up with this toasted coconut butter. So yummy! The orange and coconut together is a tropical explosion of flavor that is so good on it’s own you don’t even need syrup. But go ahead and put some on anyways because when else can you pour sugar on a cake and eat it for breakfast?
- 3 tablespoons shredded coconut
- 4 tablespoons unsalted butter, softened
- Zest of 1 orange
- 1 tablespoon sugar
- 1 cup flour
- 1 teaspoon baking powder
- ½ teaspoon baking soda
- ½ teaspoon salt
- 1 egg
- 1 cup buttermilk
- 2 tablespoons unsalted butter, melted
- 1 tablespoon orange juice
- Heat a small skillet over medium heat. Add the shredded coconut in a single layer and stir in the skillet until the coconut is mostly browned. Remove from the heat and set aside.
- Rub the orange zest into the tablespoon of sugar in a small bowl until the sugar has turned a pale orange. Set aside.
- In a medium bowl sift together the flour, baking powder, baking soda and salt until combined.
- Whisk together the egg, buttermilk and melted butter in a large bowl. Add the flour mixture and orange sugar to the liquid mixture and stir until just combined. The batter is supposed to be lumpy so make sure you don't over-mix it.
- Heat a griddle or large skillet over medium heat. Melt some butter in the pan to coat it. When the butter is hot in the pan add ¼ cup of batter for however many pancakes will fit on your griddle or pan at one time.
- When the top of the batter has started to bubble all over carefully flip the pancakes and for about 2-3 minutes or until cooked through. Continue until all the batter has been used up.
- Serve the pancakes with coconut butter and maple syrup, if desired.
Pancakes slightly adapted from Becky Bakes.