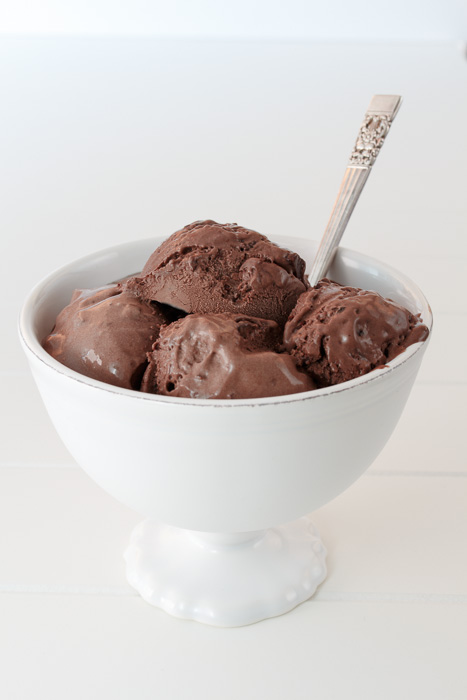
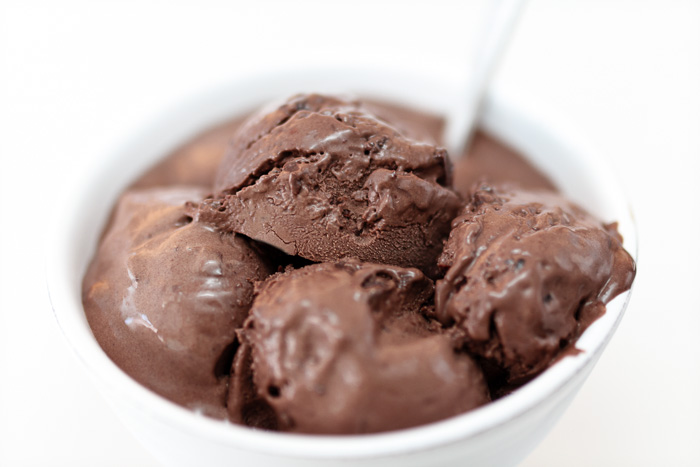
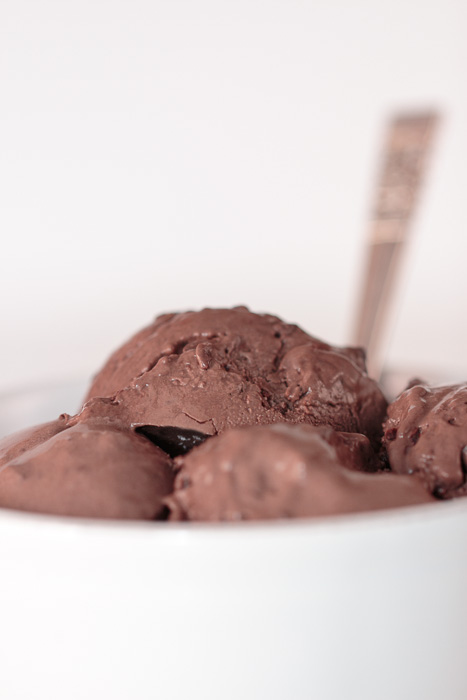
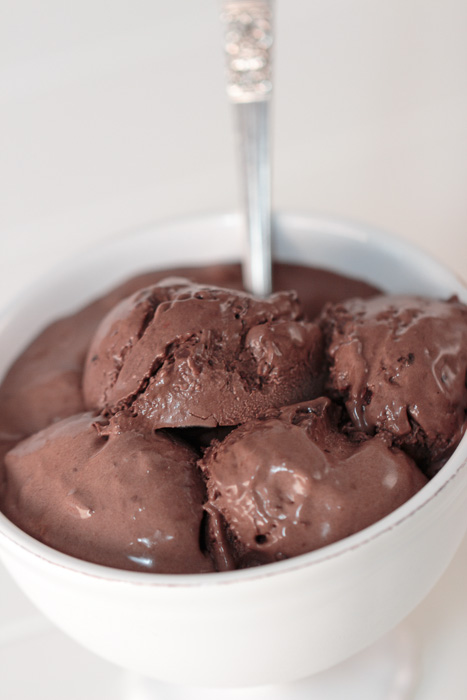
Double Chocolate Chip Ice Cream
I wasn’t always a chocolate ice cream person. During the years of my youth I was a vanilla ice cream gal. Well, my true preference was a chocolate-vanilla swirl, but you can’t always have it all. When forced to decide between chocolate and vanilla at the hands of ice cream or no ice cream, clearly a situation of life or death, I would choose vanilla.
Sometime during my preteen years I smartened up and converted to my current chocolate ice cream ways. I like to attribute the switch to me being older and wiser, but it was probably due to hormones. Lets stick with the older and wiser thing though.
Now I don’t have anything against vanilla ice cream. I love vanilla ice cream. I try not to discriminate against any flavors of the frozen sugary variety, unless it’s mint ice cream. What is that monstrosity? Anyways, all I’m saying is that all vanilla based ice creams are better in chocolate form. Chocolate chip cookie dough, cookies and cream and peanut butter cup ice cream are all delicious vanilla based ice creams. But put them against chocolate chocolate chip cookie dough, chocolate cookies and cream and chocolate peanut butter cup ice cream? Not even close!
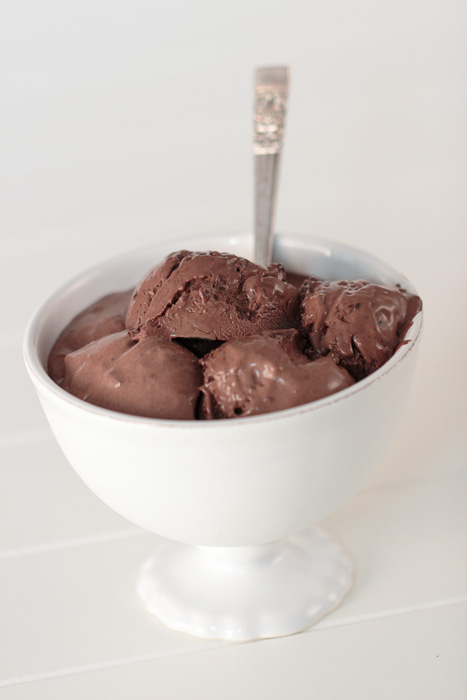
Today I’m sharing a rich and chocolate-filled ice cream. Double chocolate chip ice cream. The question becomes is it chocolate ice cream with extra added chips or is it a vanilla based chocolate chip classic turned to the delicious dark side? The answer, my friends, is both. In my humble chocolate obsessed opinion there is no better way to improve upon a vanilla based ice cream than by turning it into a chocolate based ice cream, and there is no better way to upgrade a chocolate ice cream than by adding even more chocolate. So where do you stand in the oldest debate of time: chocolate or vanilla?
- 2 cups heavy cream, divided
- 3 tablespoons unsweetened Dutch-process cocoa powder
- 5 ounces semisweet (or bittersweet) chocolate, chopped
- 1 cup whole milk
- ¾ cup sugar
- Pinch of salt
- 5 large egg yolks
- ½ teaspoon vanilla extract
- 1 cup semisweet or bittersweet chocolate, chopped into small chunks
- In a medium saucepan over medium heat warm 1 cup of the cream with the cocoa powder. Whisk until the cocoa is blended then bring to a boil. Once boiling, reduce the heat to simmer for 30 seconds, whisking continuously.
- Remove the saucepan from the heat before adding the chopped chocolate and stirring until smooth. Add the remaining cup of cream, stir, then pour the whole mixture into a large bowl. Place a mesh strainer on top of the bowl.
- Using the same saucepan combine the milk, sugar and salt over medium heat until warm. In a medium bowl whisk the egg yolks then slowly pour the warm milk mixture into the egg yolks, whisking constantly, to temper the eggs. Pour the milk and egg mixture back into the saucepan. Constantly stir the mixture over medium heat with a heatproof spatula making sure to scrape the bottom and not let any clumps form. Continue stirring until the mixture is thick enough to coat the spatula.
- Remove the mixture from the heat and pour it through the mesh strainer into the large bowl with the chocolate mixture. Stir until combined then mix in the vanilla extract.
- Insert the bowl into an ice bath and continue stirring until cool.
- Chill the mixture in the fridge. Once cold, pour into your ice cream maker following the manufacturer's directions. During the last 5 minutes pour in the cup of chocolate chunks.
Recipe from The Perfect Scoop.