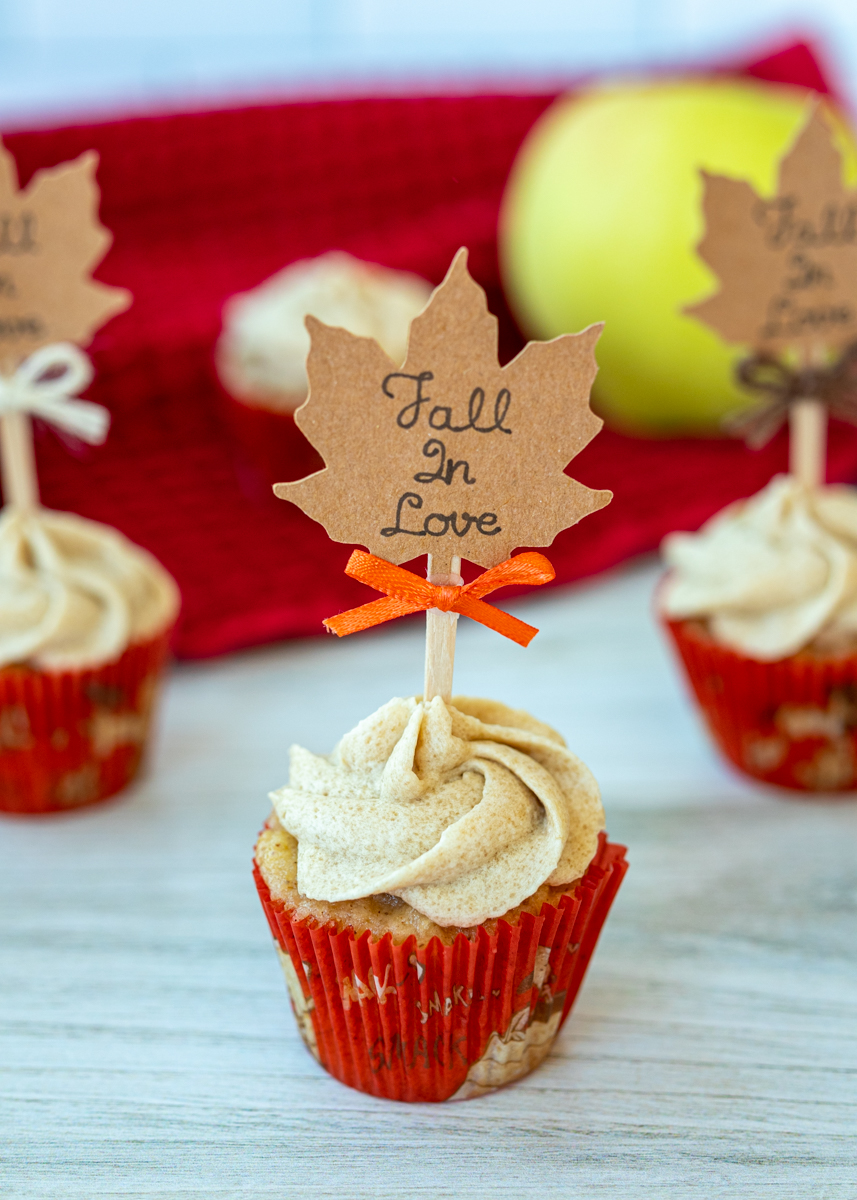
Apple Spice Mini Cupcakes with Maple Brown Sugar Buttercream
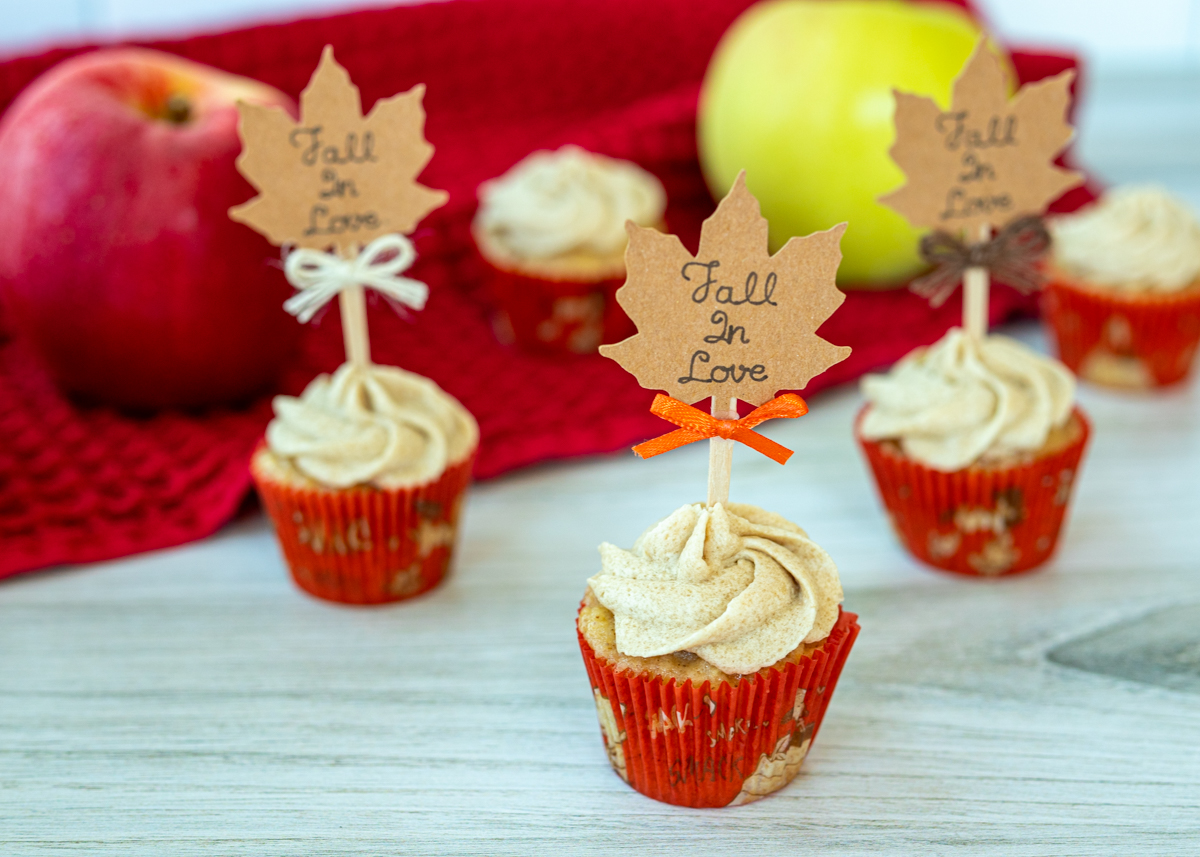
It’s time for the final seasonal cupcakes on Lemon & Mocha! Of course not the last seasonal cupcakes I’m ever going to post, just the final ones this year. For those of you who haven’t been following along, last year for my birthday my goddaughter gifted me with unique cupcake toppers from Etsy for each season. The cute toppers inspired plenty of delicious cupcakes all year long, including winter’s Hot Chocolate Cupcakes, the Strawberry Lemonade Cupcakes in spring and summer’s Classic Vanilla Cupcakes with Vanilla Buttercream.
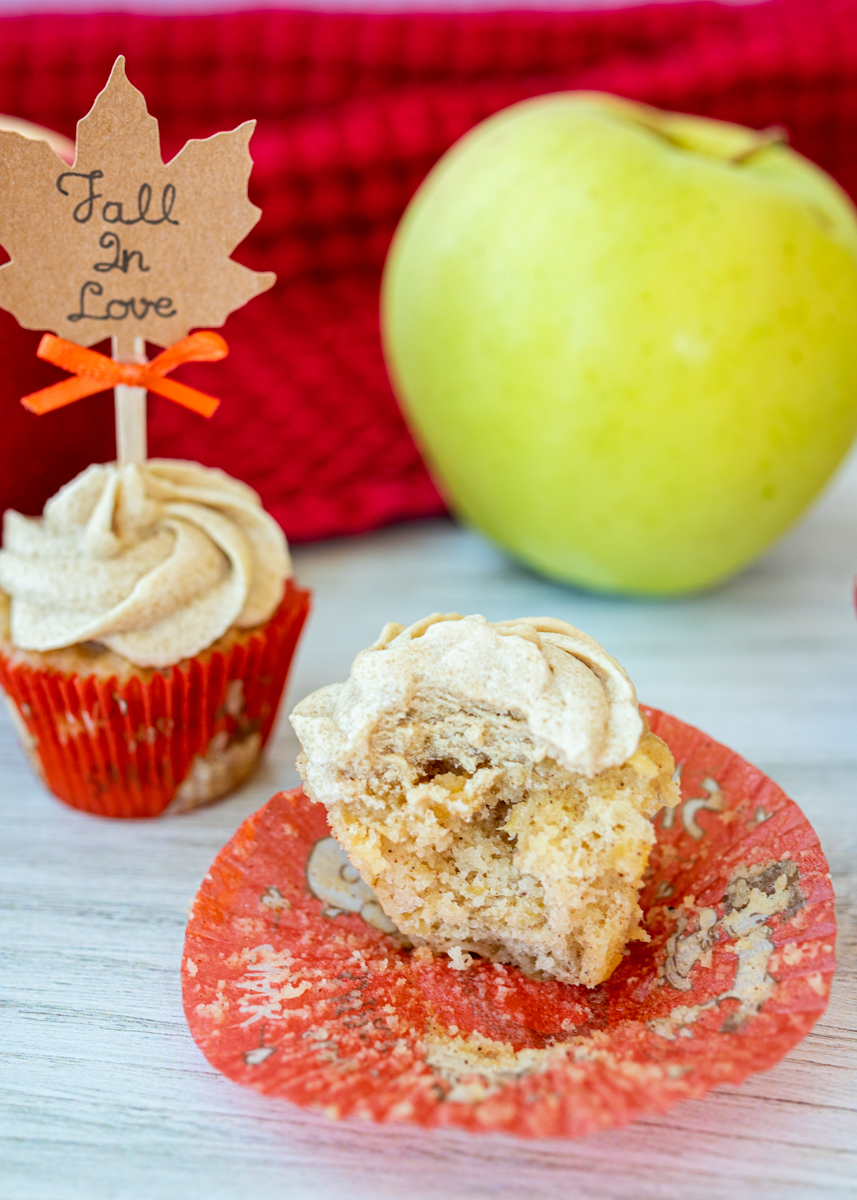
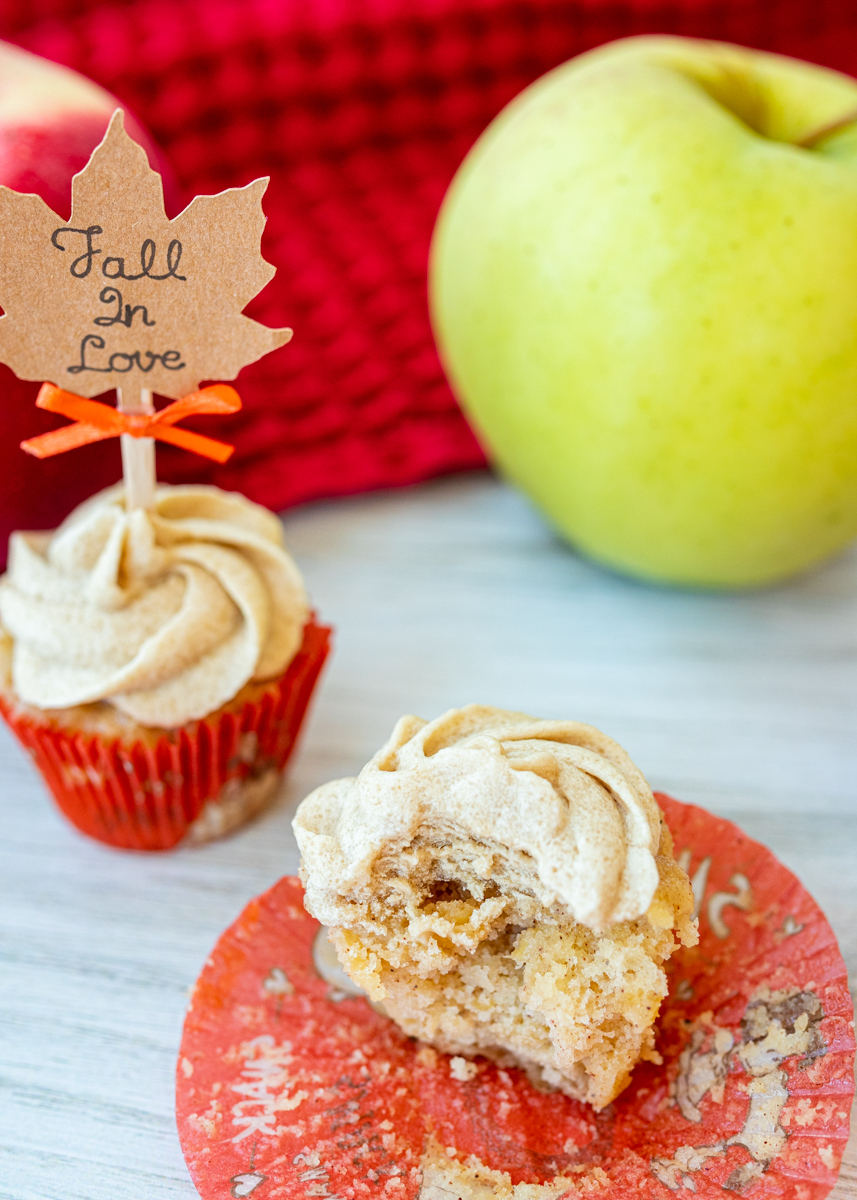
There are so many warm and inviting fall flavors to choose from so I decided to go with two of my favorites: apple and maple. These are Apple Spice Mini Cupcakes with Maple Brown Sugar Buttercream – and they are crazy delicious. The cupcake is moist, loaded with shredded apple and filled with plenty of the warming spices you find in apple pie, such as cinnamon, ginger and nutmeg.
The buttercream on top balances both the maple and brown sugar flavors while bringing the perfect amount of sweetness to the little apple spiced cupcakes. There’s also a hint of saltiness in the buttercream, which really works well with the sweet flavors.
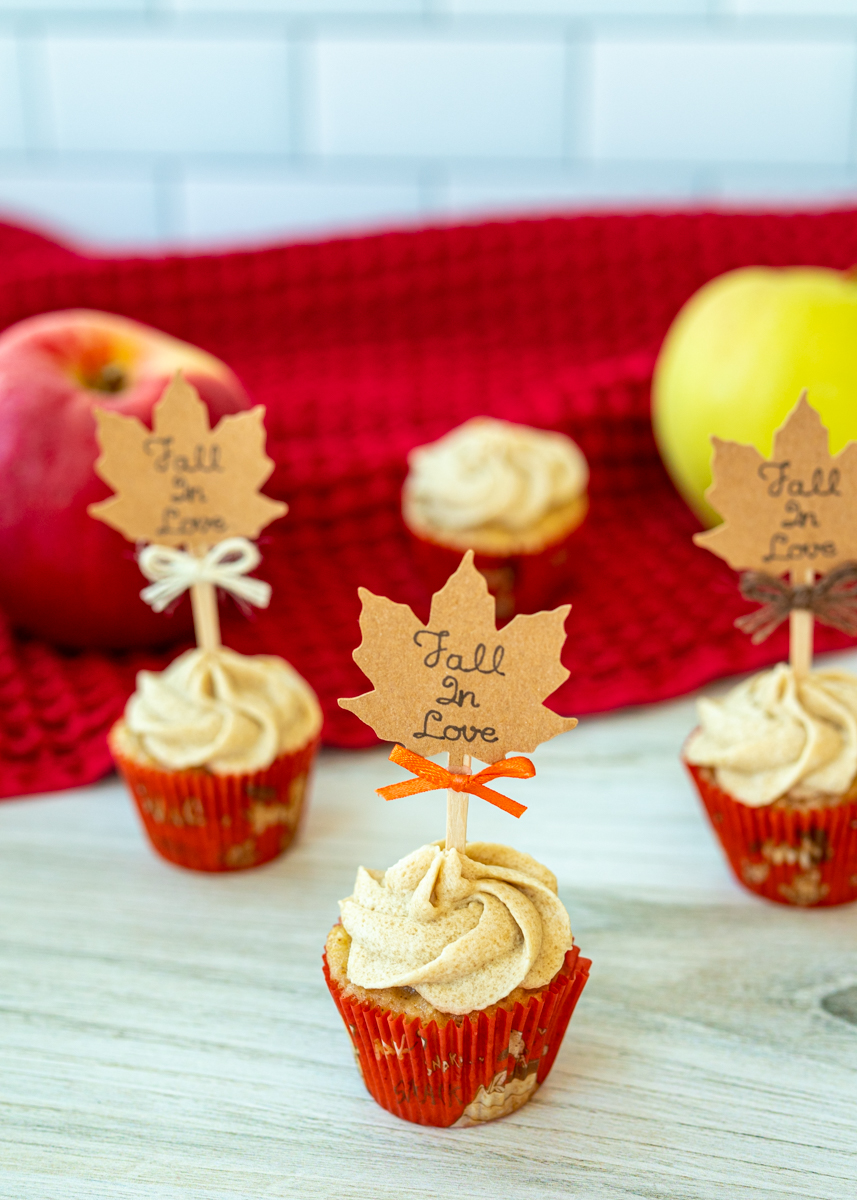
I chose to make mini cupcakes this time because I’ve been baking so many desserts that just a little mini cupcake (or two) was preferable to having a huge cupcake every time. They were super easy to frost with a piping bag, too, because each one just needs a little dollop of frosting.
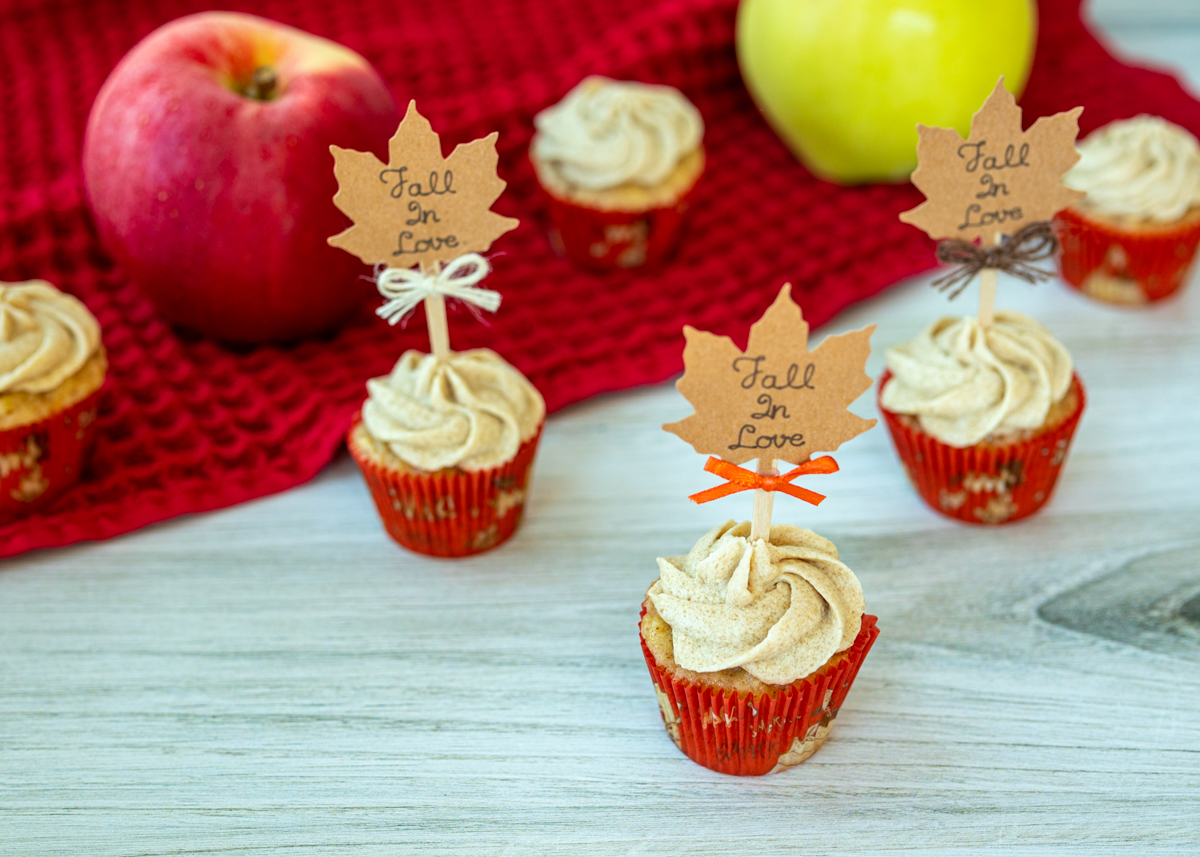
I was worried about making a cupcake filled with fruit because sometimes it can add too much moisture to the batter, as seen from a few failed experiments I had this summer. I’m excited to report that the combination of straining and squeezing the shredded apple dry to get as much liquid out as possible worked perfectly to allow for a moist apple-filled cupcake, while still having that light and springy texture an ideal cupcake should have. I hope you all love these cute fall mini cupcakes as much as we do!
- 2½ cups all-purpose flour
- 2 teaspoons baking powder
- 1 teaspoon salt
- 1 teaspoon ground cinnamon
- ½ teaspoon ground ginger
- ¼ teaspoon nutmeg
- 8 tablespoons unsalted butter (1 stick), room temperature
- 2 cups granulated sugar
- 1 teaspoon vanilla extract
- 2 large eggs, room temperature
- ¾ cup buttermilk (see note)
- 3 cups peeled, shredded and strained gala apples, about 3-4 medium apples
- 2¼ cups confectioners’ sugar
- ½ cup brown sugar
- 8 tablespoons unsalted butter (1 stick), room temperature
- 1 teaspoon salt
- ½ cup real maple syrup
- 1 teaspoon vanilla extract
- Preheat the oven to 350 degrees F. Line a 24 cup mini muffin pan with mini cupcake liners. Set aside.
- In a medium bowl, whisk together the flour, baking powder, salt, cinnamon, ginger and nutmeg. Set aside.
- In a large bowl with a hand mixer or in the bowl of a stand mixer, beat the butter with a paddle attachment on medium-high speed for 2 minutes. Add the sugar and vanilla extract. Beat on medium-high for 2 minutes, scrapping down the sides as needed. Add the eggs, 1 at a time, beating for 1 minute after each addition. Add the buttermilk and beat on low until combined. Add the flour mixture and beat on low until a few streaks remain. Use a rubber spatula to fold in the shredded apple, making sure you’ve strained the water out and squeezed the apple shreds dry with a paper towel or cheesecloth.
- Use half the batter to fill the 24 prepared mini cupcake liners. Bake for 15 minutes, or until a toothpick inserted in the center comes out with just a few moist crumbs and the tops spring back when lightly pressed. Let cool for a couple minutes in the pan then carefully move the mini cupcakes to a wire cooling rack to cool completely. Add 24 more cupcake liners to the pan and repeat with the rest of the batter.
- In a large bowl with a hand mixer or in the bowl of a stand mixer, beat the confectioners’ sugar, brown sugar, butter and salt, first on low then on medium until fluffy. Add the maple syrup and vanilla then beat on medium-high until combined. Frost the cooled cupcakes. If piping on the frosting, use a Wilton 1M tip to pipe small star swirls onto each mini cupcake.
Cupcake recipe adapted from Chowhound.
Frosting recipe adapted from Country Living.